Goose, nice job on the electro-mechanical switches to run your lights. Way back before I knew anything about other methods of turning lights on and off, I had the same exact idea. A limit switch activated with a servo arm and cam type system. Really a very effective and simple way to do things on a budget!
A couple months ago I picked up a new RC truck. This time an Axial SCX-10 Jeep Rubicon. Just a quick build so I would have something to run again. Happens that a friend of mine is also into the RC rock crawlers, and so am I. We got together in late fall to run our trucks. Anyway, I thought I'd like to dress up my Jeep a little bit with some lights, so I came up with a really simple lighting system of my own.
If anyone is curious to see a real world example, here's how I did it.
First the electrical schematic -
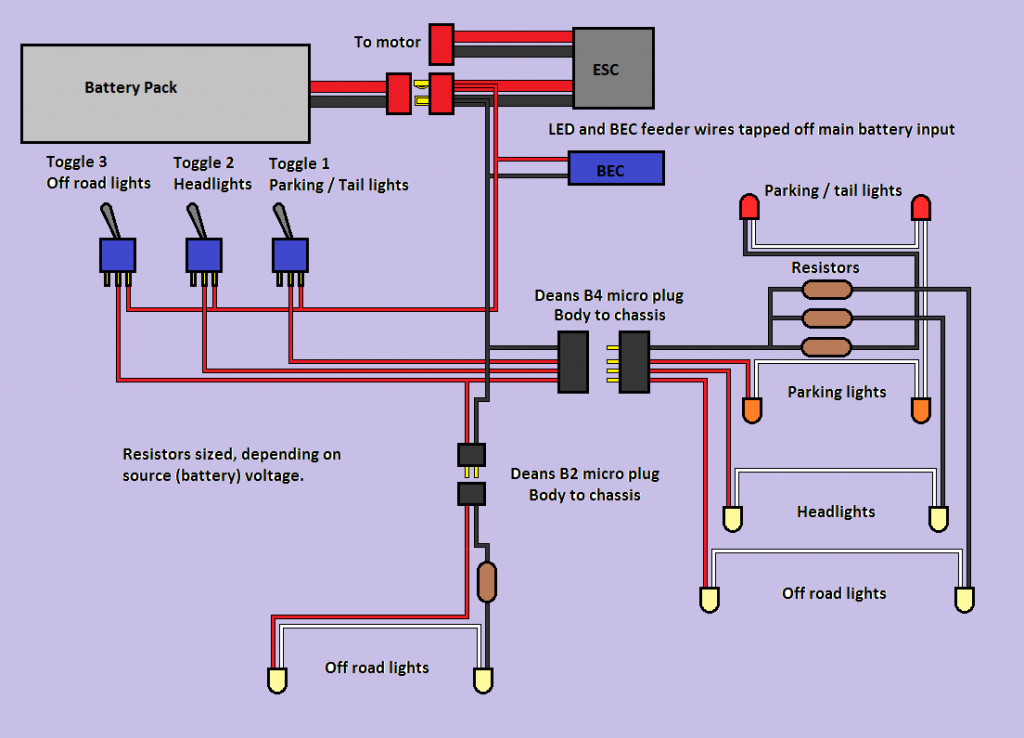
For clarity's sake, I didn't include the fog lights, but they are wired in with my parking lights. It is very easy to add, change, or modify this print to suit your own project. I used three toggle switches, but you could easily add more, or even replace the toggles with some other means of switching the lights on or off. This was a budget minded build, and I run my Jeep with a 3 channel radio, so I opted to keep it simple, with toggle switches.
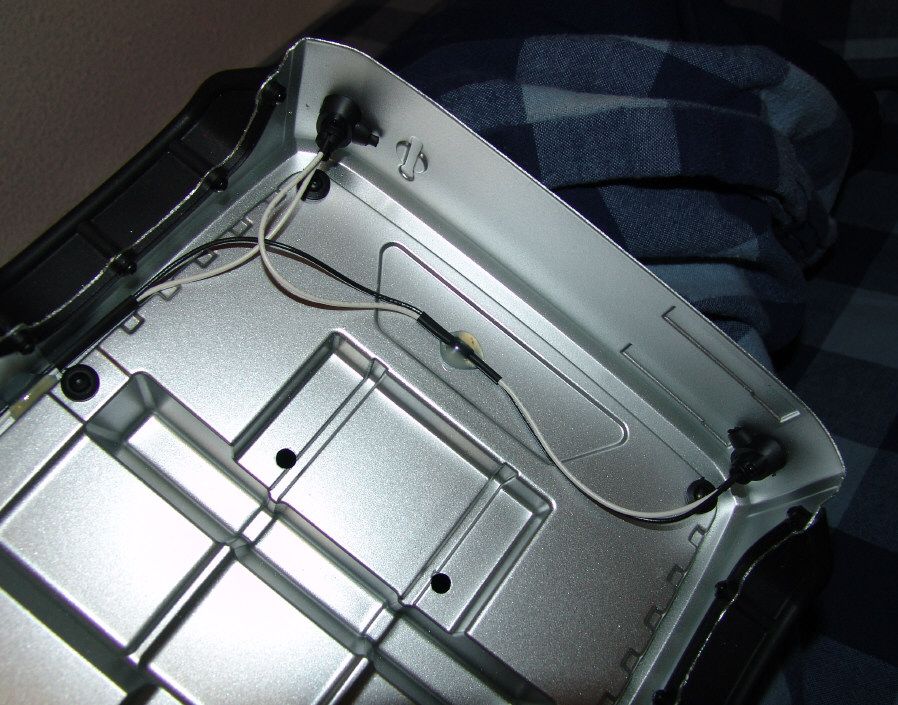
My body (and front bumper) can be separated from the chassis with the Deans B4 and B2 micro plugs I used. To keep things neat I used one common (black) wire for all of the LEDs. To turn the LEDs off or on I am only switching the hot (red) wires with the toggles. My toggles are SPDT (single pole double throw) switches. Most of the wires under the body are shrunk wrapped together with heat shrink, to consolidate and keep things neater. I used some hot melt glue to secure the wires to the underside of the body. This is a lexan body, so the hot glue didn't wreck a thing, but I would suggest you be careful if you choose to use this same method on a ABS body. I don't think the glue is hot enough to melt the plastic, but you never know! It does a good job of keeping the wires out of the way, and the wires are very secure.
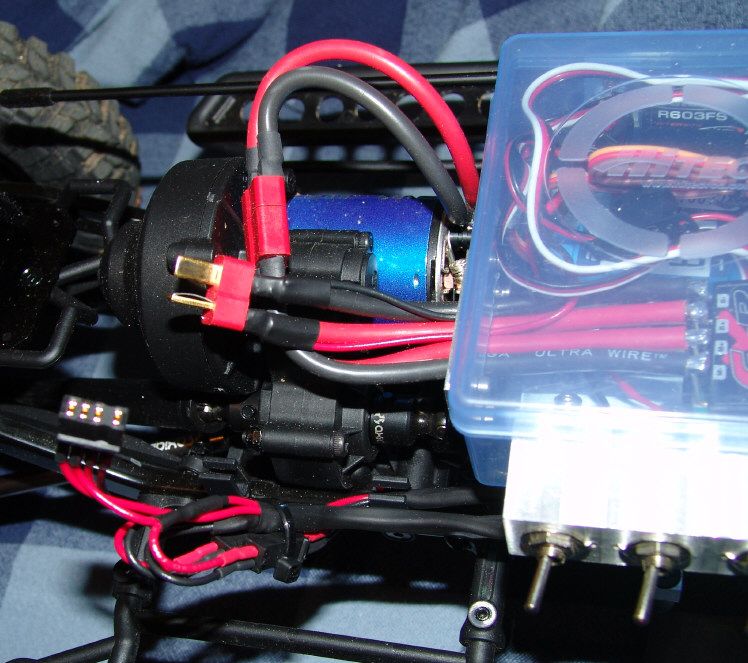
In this photo, I'm mainly trying to show my LED feeder wires, coming off the terminals of the Deans plug for my ESC. I am using a 3S LiPo to run all of the electronics on my Jeep, including the external BEC. The 4 pin Deans, which connects to the harness inside the body is also there.
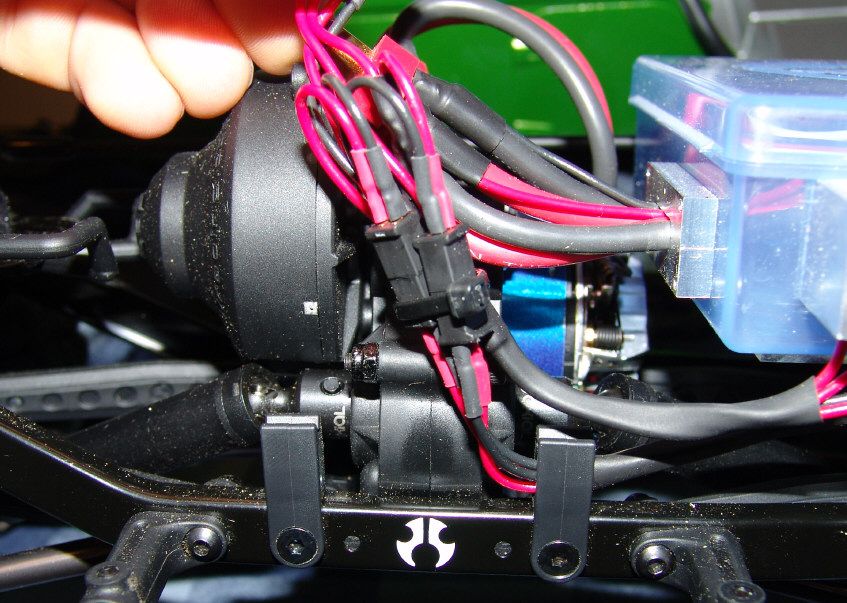
A quick picture of the 2 pin micro Deans plugs that I used to give me the ability to remove the front bumper on the Jeep. If I ever need to pull the chassis apart, I can easily take the bumper off.
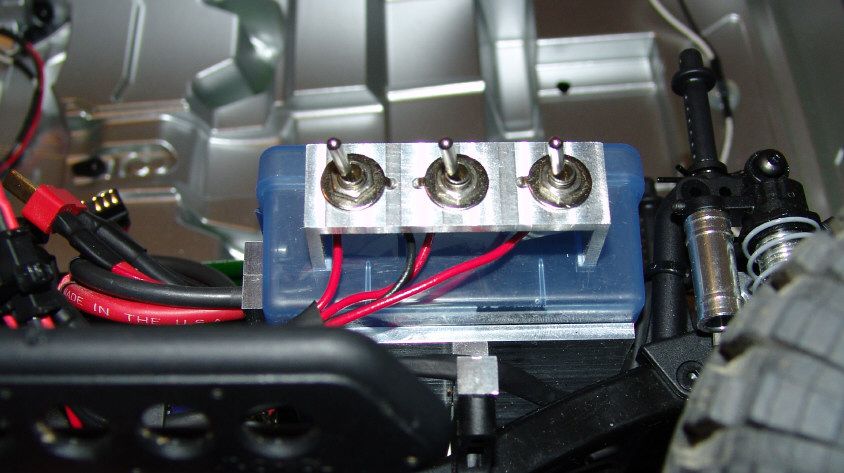
Here's a photo of my toggle switches. They are mounted to the side of my custom electronics box, which happens to be a HiTec servo package.

It worked perfect to fit all the electronics inside. We run our crawlers in harsher conditions, so I thought it would be a good idea to protect the ESC, BEC, and receiver better. Anyway, the toggles are all wired in parallel, and the juice comes from the positive (hot) feeder wire, straight off my battery pack.
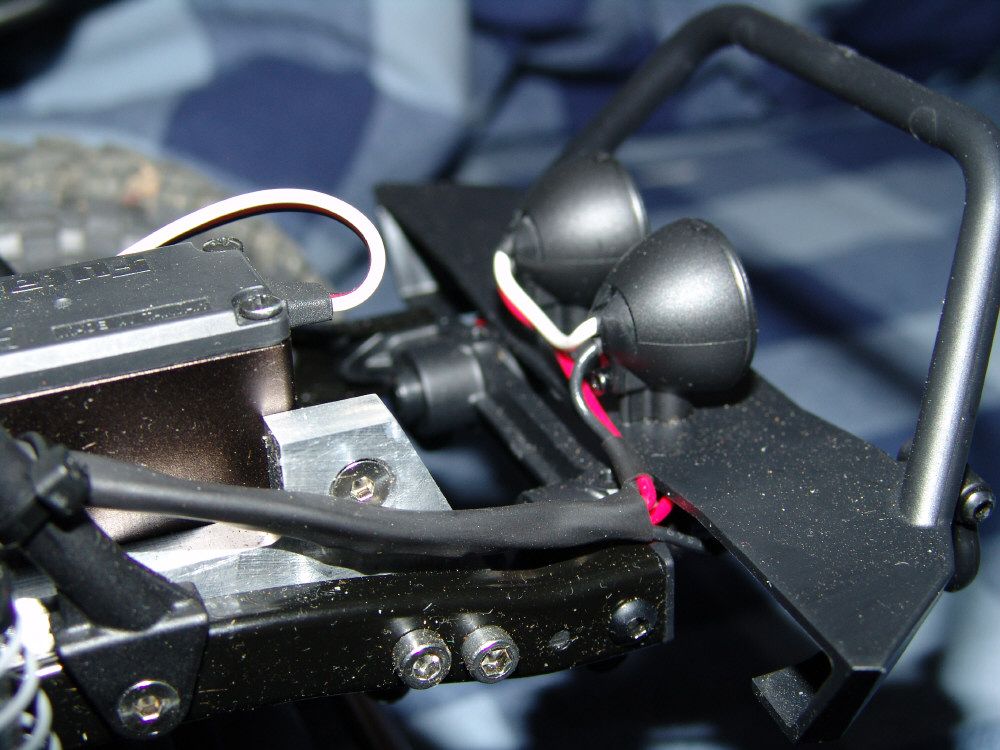
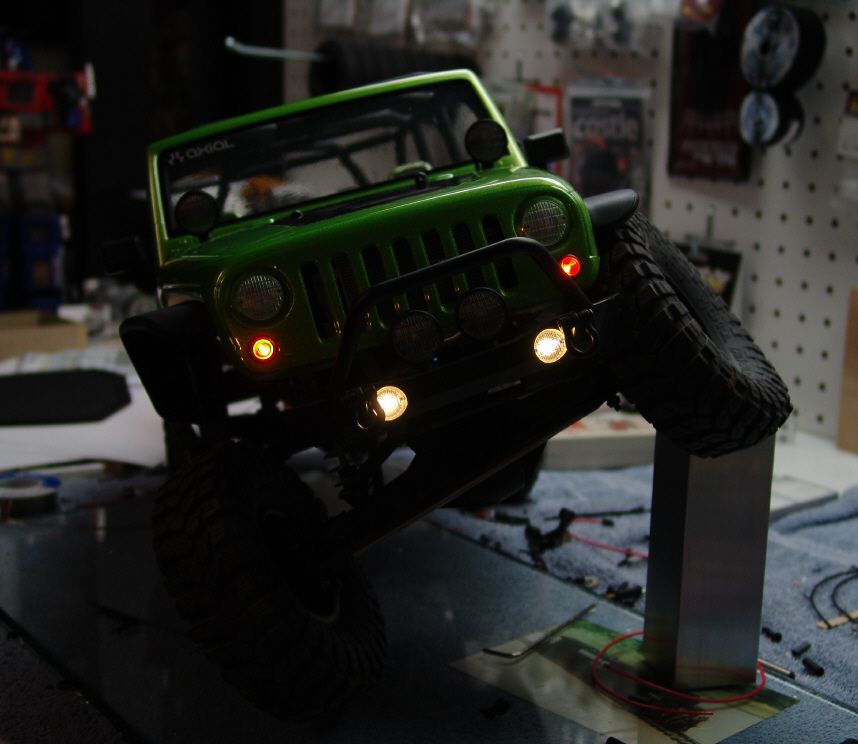
Front bumper with lights, and some of the wires.
Headlights, parking, and off road lights can be seen here.
Tail lights much the same, but simpler because there are only two.
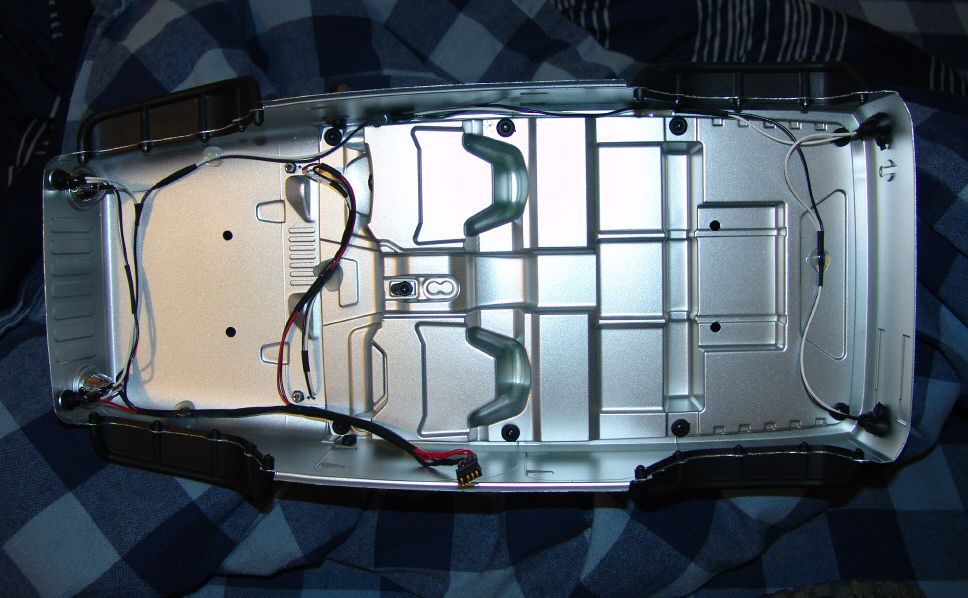
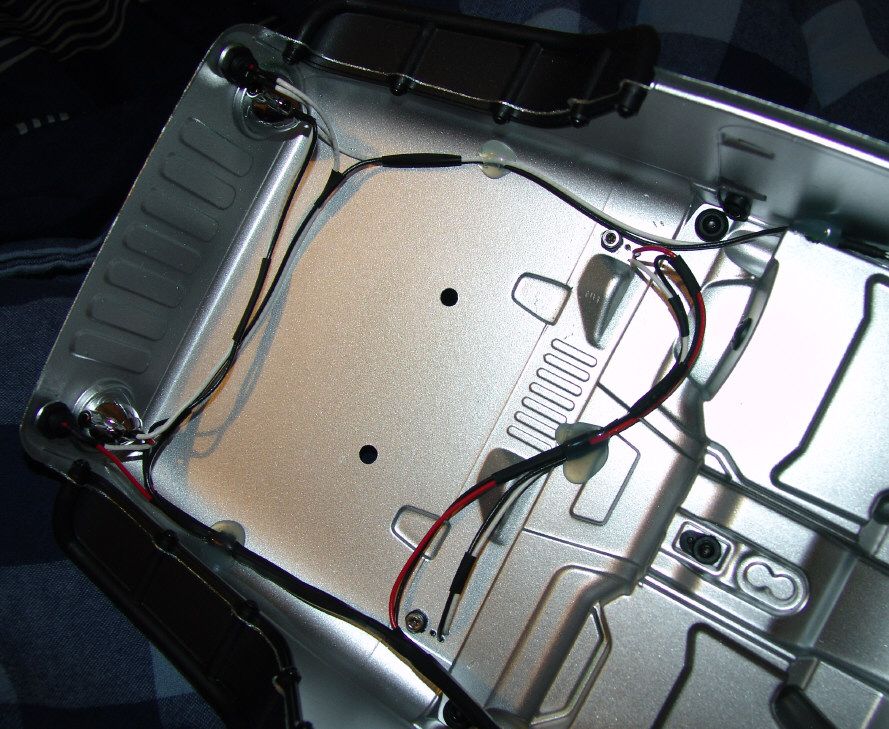
Finally, one of the underside of the body, with the wires ran and secured. Pretty simple really. Any model could be wired in a similar fashion. The real test will come with those trucks that have chicken lights everywhere!
Maybe mine will be one of them.... if I ever get them done.
Yeah, I know, it's not a semi truck, but the principals are all the same. Just thought I'd add some photos to give a better example. Schematics are one thing, but then there is the actual wiring.
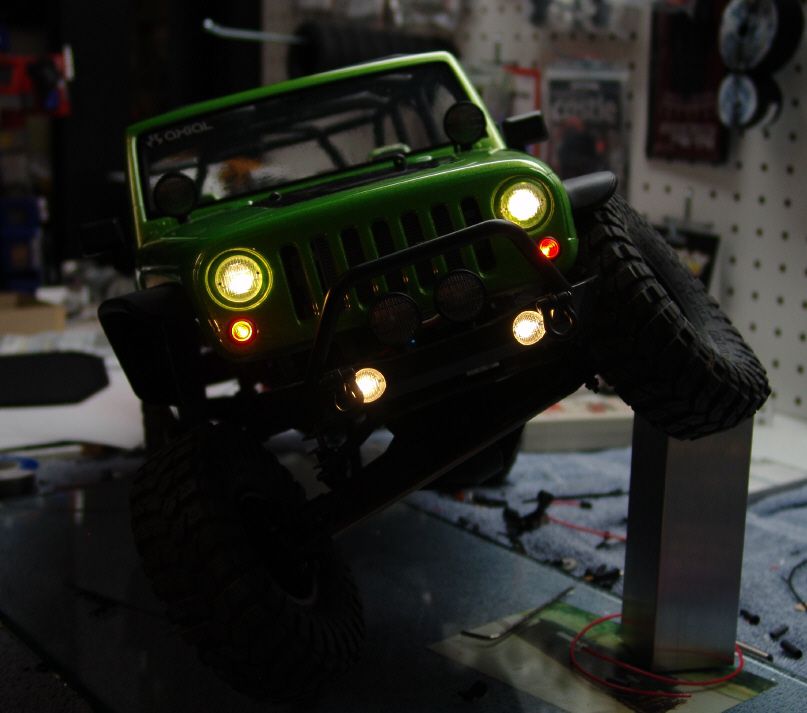
Here are some finished pictures. Enjoy.