|
|||||||
| Highway Trucks and Trailers On road trucks and trailers single and twin axle trucks. |
 |
|
|
Thread Tools | Display Modes |
|
|
|
#1
 12-10-2011, 09:11 PM
|
|||
|
|||
|
Great build Sir! I am also building a couple of brass trucks and when it came time to build the hood and roof I decided to build them from copper instead of brass. The main reason is due to how malleable it is over the brass It will form the corner with the use of a little heat. You can just build a wooden buck instead of foam so you can hammer and heat it over the wood..just another way to build...

|
|
#2
12-12-2011, 07:25 PM
|
|||
|
|||
|
Crawler07, thank you. I've used woodenbucks many times in my day to day job as an automotive restorer. I may still go that route if I can find a small piece of hardwood. I shied away from copper only for the reasoning of possably polishing the brass as opposed to painting, but copper could be a neat contrast, I may just do that now
Last edited by Timmy; 12-12-2011 at 07:27 PM. Reason: Error
|
|
#5
12-15-2011, 08:54 PM
|
|||
|
|||
|
So I've decided since I have to build he roof again anyway, I might as well take crawler07's advise, and build a wooden buck. The buck I've made is a simple one, and I built it out of 1/2 inch balsa. I don't intend to hammer against the form, just use it as my guide. I've annealed my brass before starting so that I don't have to heat against the wood either, not a good idea with balsa, my wife would kill me if I set fire too it. Here's some shots of the basic wood form
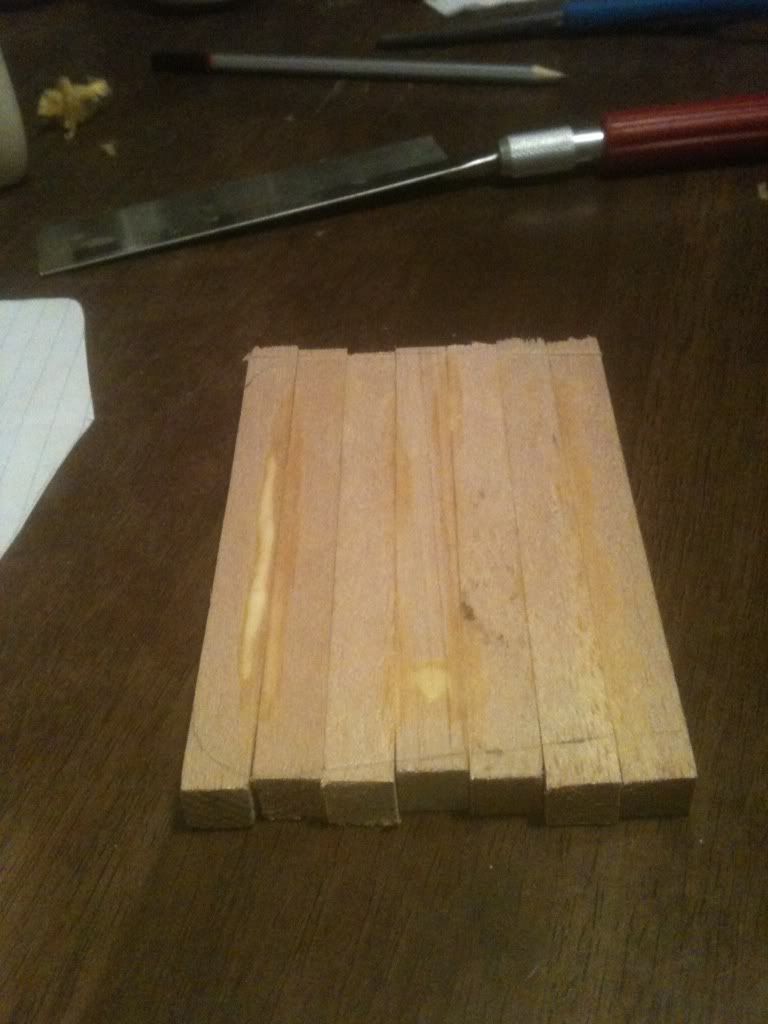 It's a nice dock isn't it 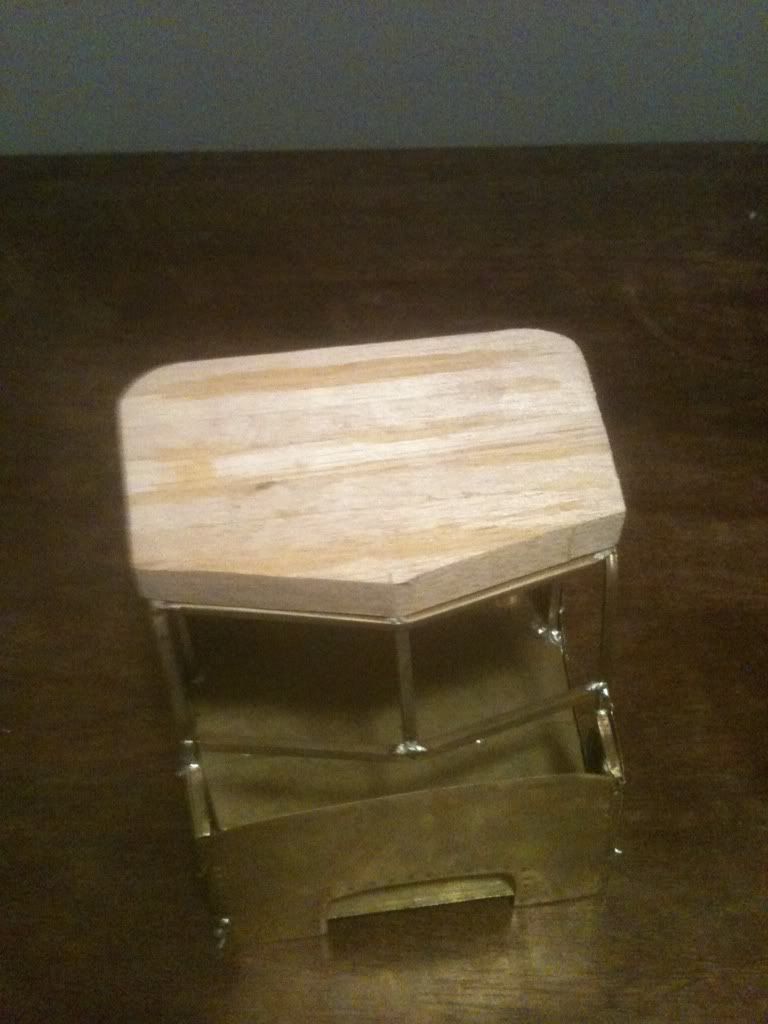 Cut to general shape 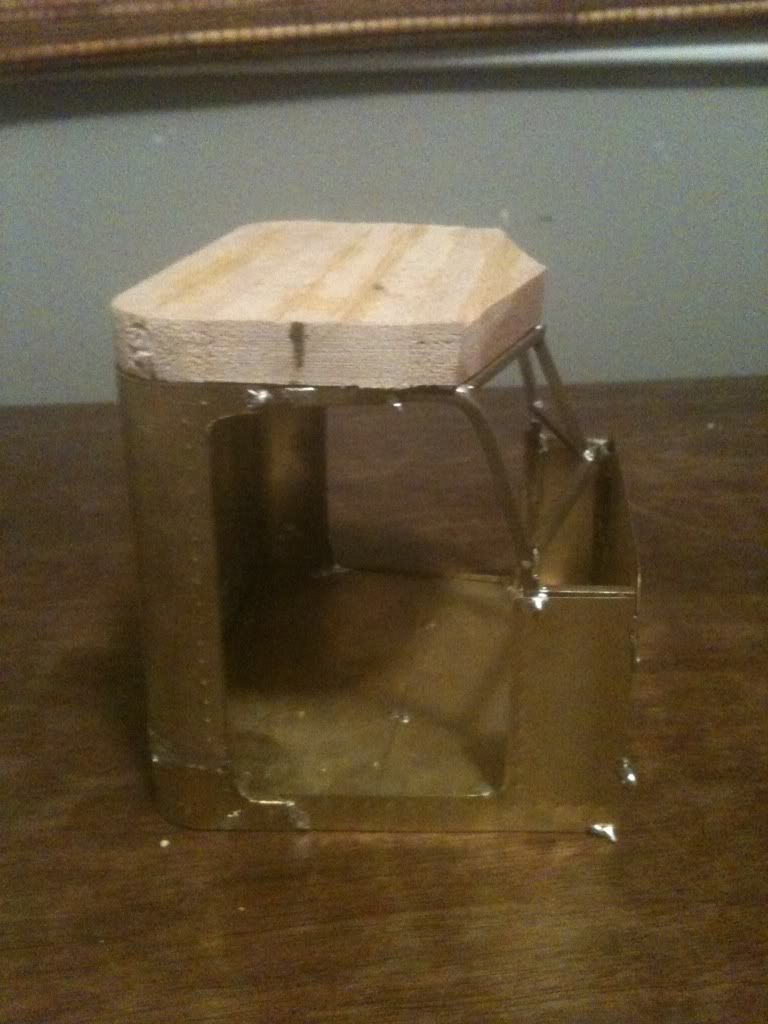 Now this picture shows the height of the buck, the buck it self is 1.3cm tall (when I scale I use centimeters and millimeters, one cause I'm Canadian, and two it's easier then figuring out thousandths) this happens to be the exact scale height of the roof after it slips onto the cab, so as I shape the buck, I will have to keep this in mind I'll post more pics as I go
|
|
#6
12-16-2011, 09:48 AM
|
|||
|
|||
|
I finished the final shaping and started building my new roof panel last night
 It looks tall, but the dimensions are correct, and the roof will slide down slightly from here  The shape looks very good in the side profile  This is the beginning of the new skin I may build the roof in 4 pieces just to ease the metal forming, it will cause more work finishing the solder joints and smoothing it, but sometimes the longer route is the easiest. And if all else fails, I can smooth the buck even farther and stain it, a nice wooden roof for this Pete lol Hope you enjoy
|
|
#7
12-16-2011, 11:45 AM
|
|||
|
|||
|
this may be a stupid question, but how do you guys get such nice cuts in the brass sheet? I find if I use snips the edges arent very nice no matter how i cut it, you can see "pinching" and tooth marks from the jaws. is there different shears available that are better? the only sheet metal experience i have is from high school shop and we used a foot operated shear that made nice cuts but i dont have the room or budget for such a machine.
|
|
#8
12-16-2011, 12:11 PM
|
|||
|
|||
|
There's no such thing as a stupid question! I've posted a pic of the cutters I use
 I'm using .010 brass so any good quality scissors from a sewing store are the best choice. I also use a pair of my old snips from work, they work good, but yes they do leave a knurled edge which you can fix with a fine file. The pair in the picture are snap-on, but a quality pair of Wiss snips from a hardware store work aswell. I also use flush cutters. You can get them from your Lhs. I use these in very tight corners, and you need to dolly the brass smooth after which can cause or will cause some stretching in your piece. Another thing to consider, especially if your cutting long pieces is that both the scissors and the snips will curl the brass as you cut. Scissors aren't as bad as snips, but it will happen. So to solve this I use my little brake. Insert your piece, line it up as if you were going to bend it, then simply score the brass with a hobby knife or utility knife, bend it, fold it back and it will brake with a nice clean edge. I hope this helps, if there's anything else feel free to ask
|
|
#12
12-17-2011, 01:32 PM
|
|||
|
|||
|
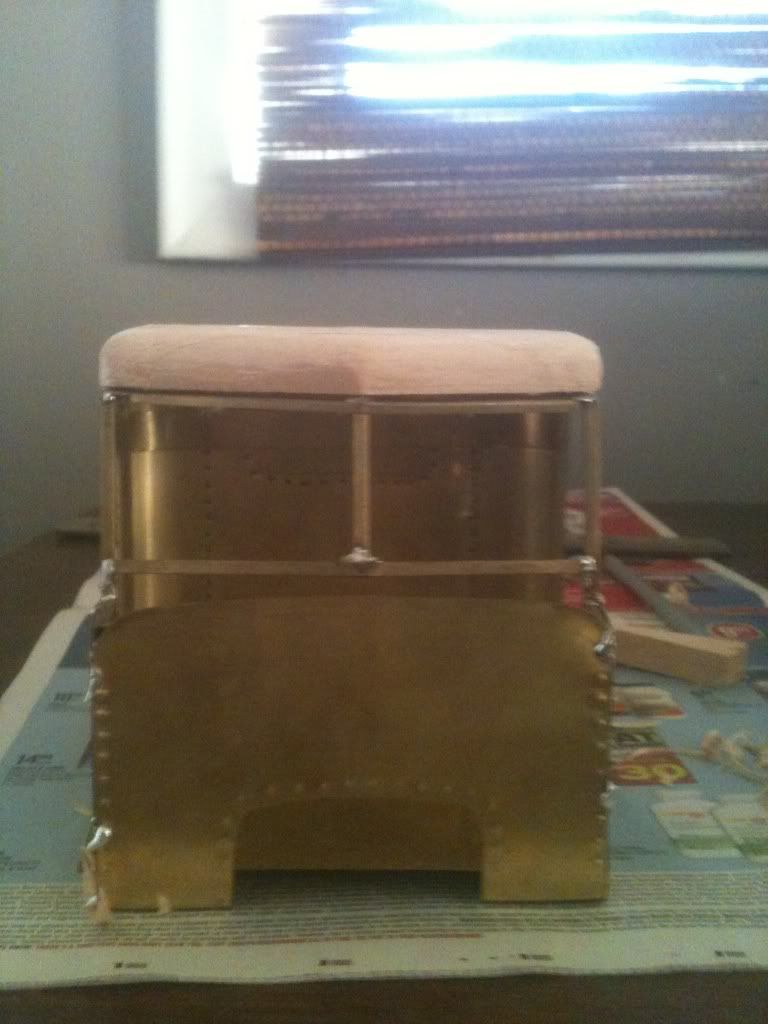
Here's the update on the roof. It took approximately 6 pieces, but it looks pretty good
 In this pic, I've just finished soldering hence the clips  And here it is beside the buck It's going to take much time to file and smooth, but I'm hopeful the end result will be worth it
|
|
#13
12-17-2011, 10:02 PM
|
|||
|
|||
|
I either need a life, or I need to go back to work lol! Anyway, here's the rest of today's accomplishments
 These are the four pieces that make up the cowl  They fit quite well  Three pieces become one 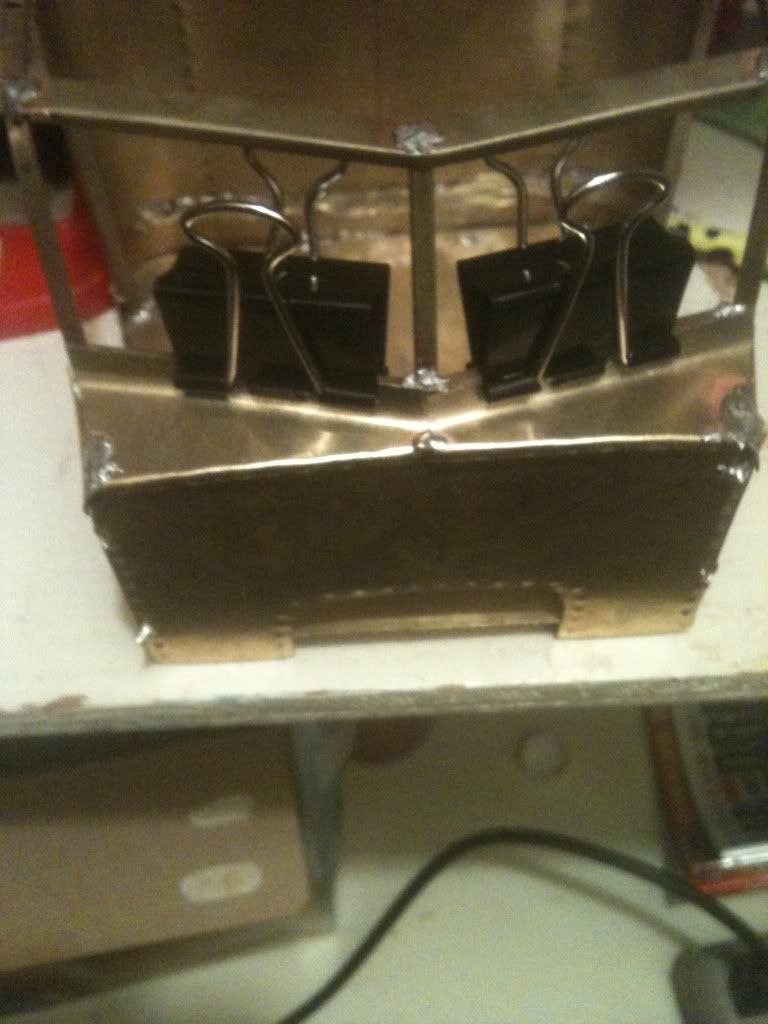 Here it's all fitted together and tacked together, just a couple of tweaks needed 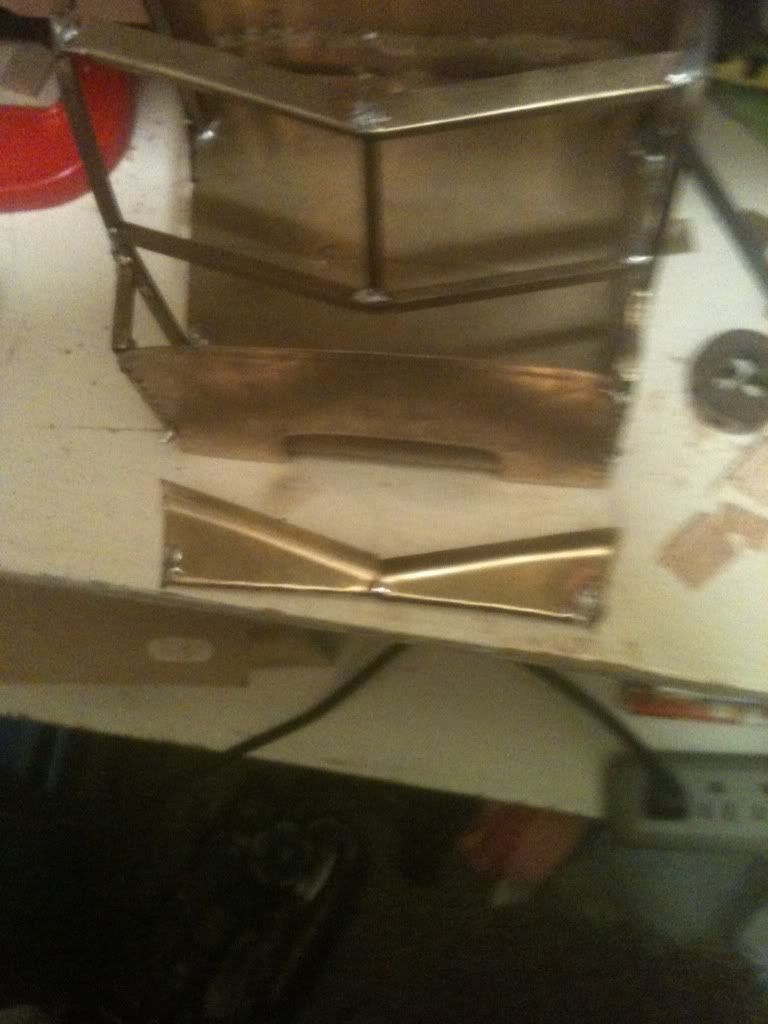 I think it's pretty 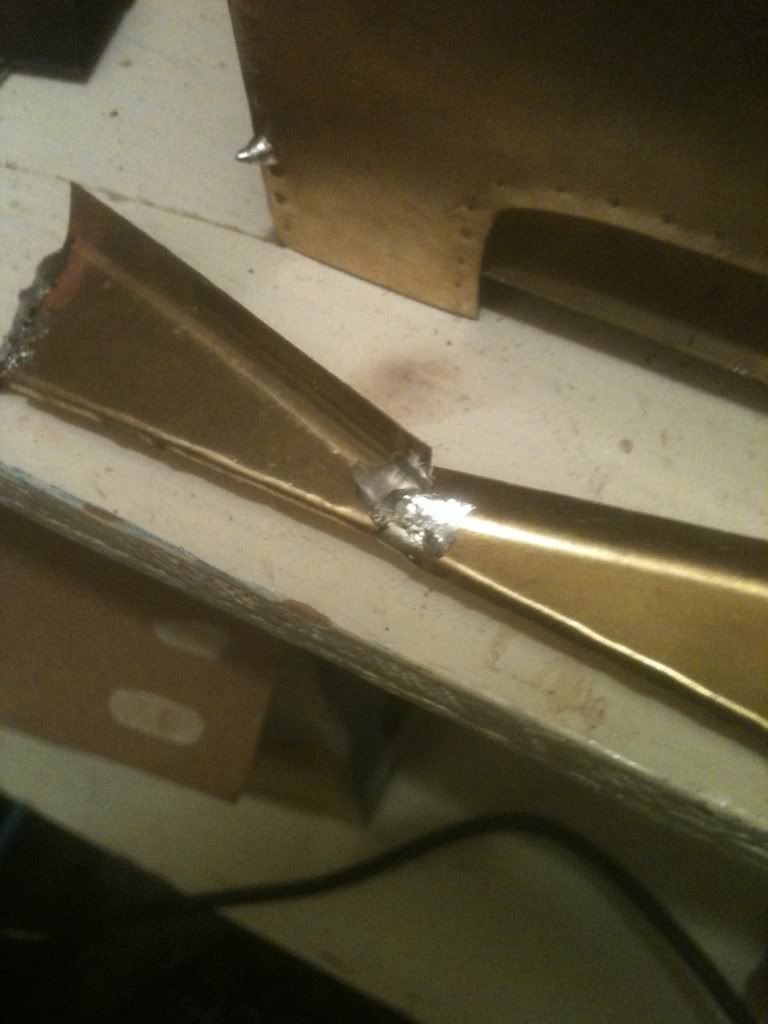 Here's the finish solder 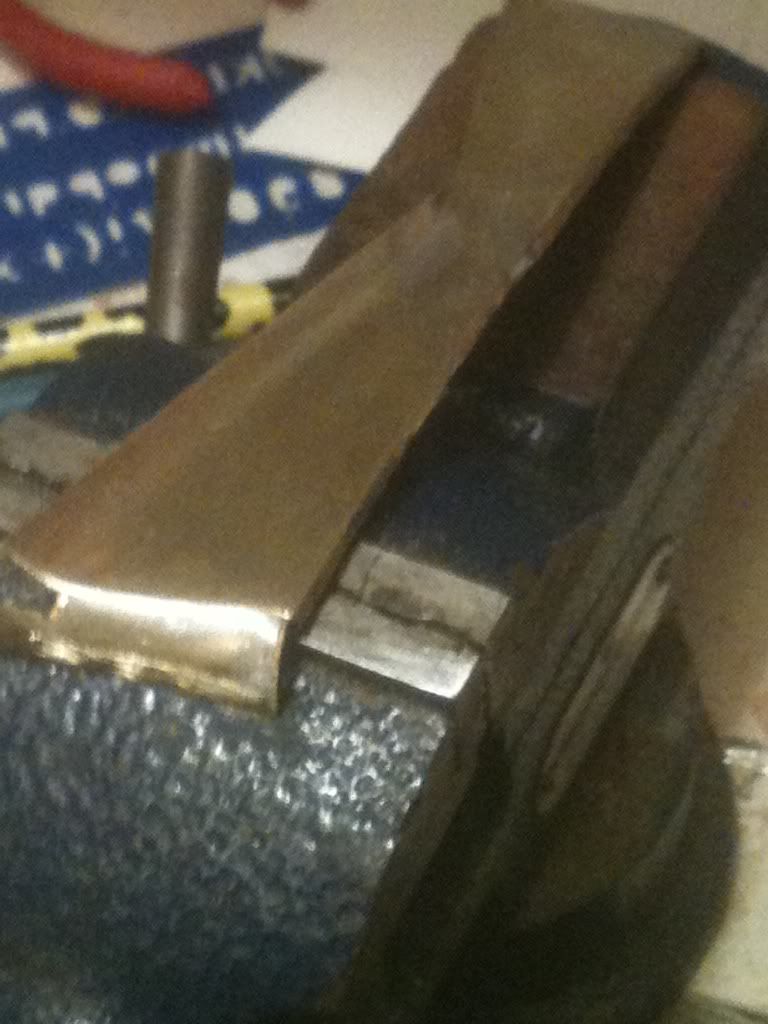 It took close to 2 hours to get it filed and smoothed this clean, and there's a touch more to do 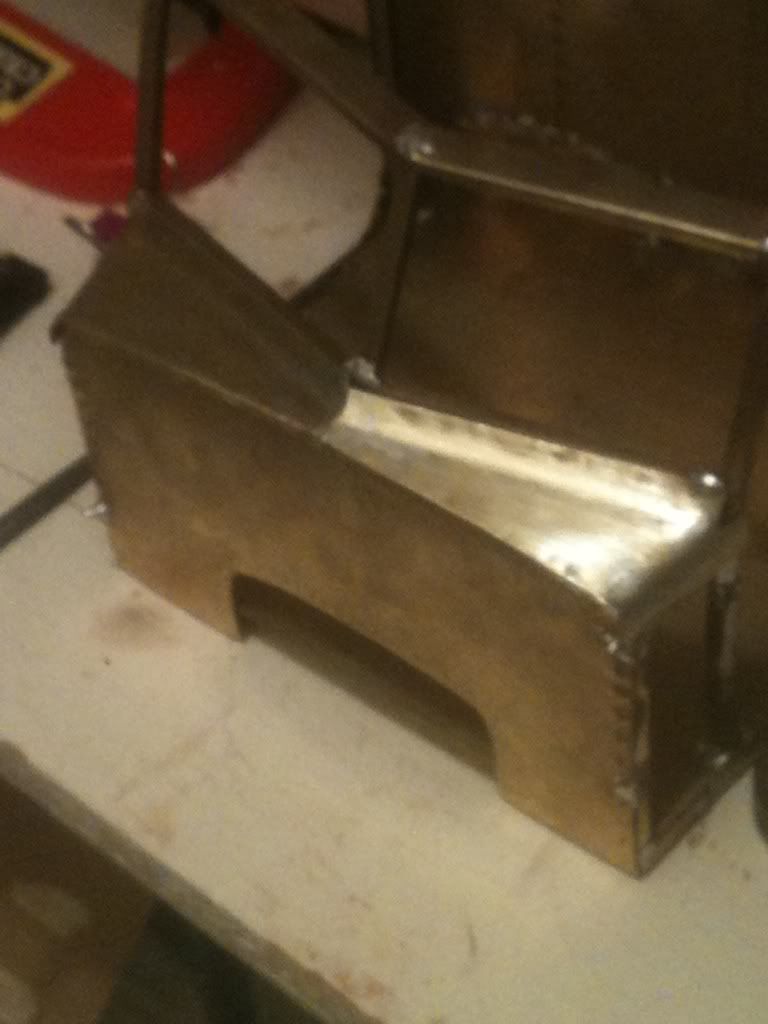 Here it's fitted back to the cab, the fits quite good 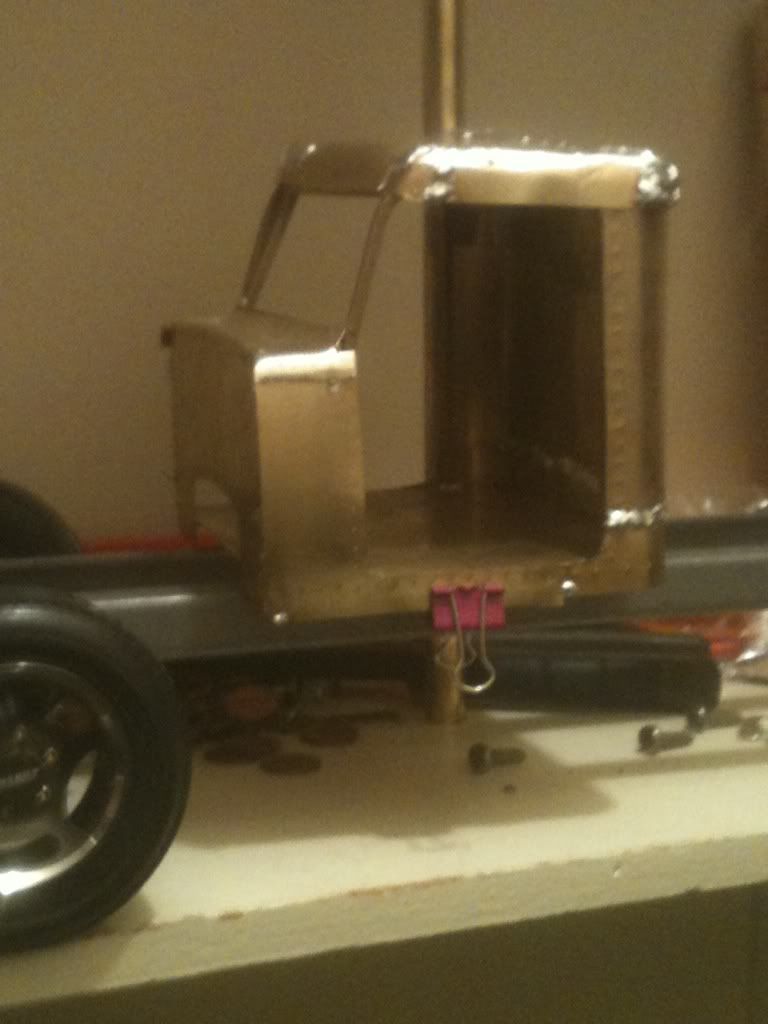 Sitting on the frame with the roof in place. However, I realized one of my fears, the roof took on a twist from the heat. I should have added my inner structure before I finish soldered it, impatience wins everytime. In the end though it should be good. Hope I'm doing a decent job of representing a Pete at this stage.
|
|
#14
12-18-2011, 09:33 AM
|
|||
|
|||
|
I think it looks great. Your well on your way to having a pete! Keep up the great work!
Scott
__________________
I run a single stack Mack with a dump body on the back!
|
|
#15
12-18-2011, 02:04 PM
|
||||
|
||||
|
That's some seriously good brass work there. I think you are doing a great job and I admire your patience and skill. Good on ya!
__________________
Never judge a man until you have walked a mile in his shoes. Then, when you judge him, you are a mile away and you have his shoes! To view links or images in signatures your post count must be 10 or greater. You currently have 0 posts.
|
|
#16
12-18-2011, 02:30 PM
|
||||
|
||||
|
Looks like a Pete so far!!
Brian
|
|
#18
12-19-2011, 09:32 PM
|
|||
|
|||
|
Thank you everyone for the kind words. I was afraid it was looking generic.
So today I started on the hood. I have much more to do to the cab, but I want a small change of pace for a bit 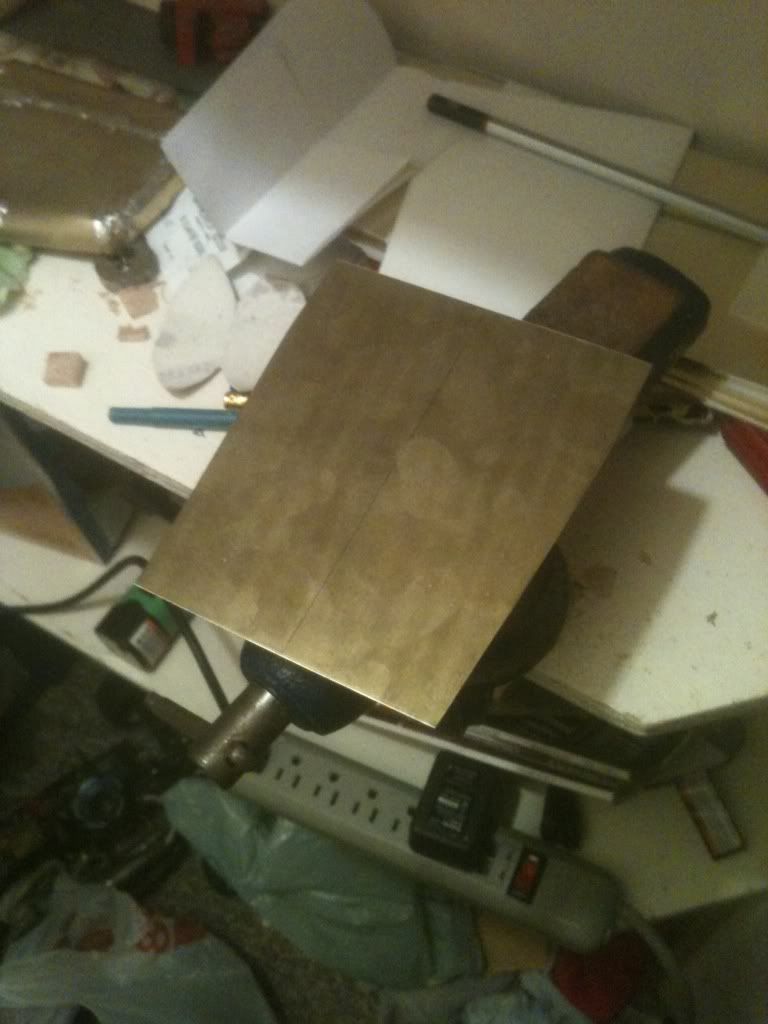 This is the top panel, cut slightly larger then needed 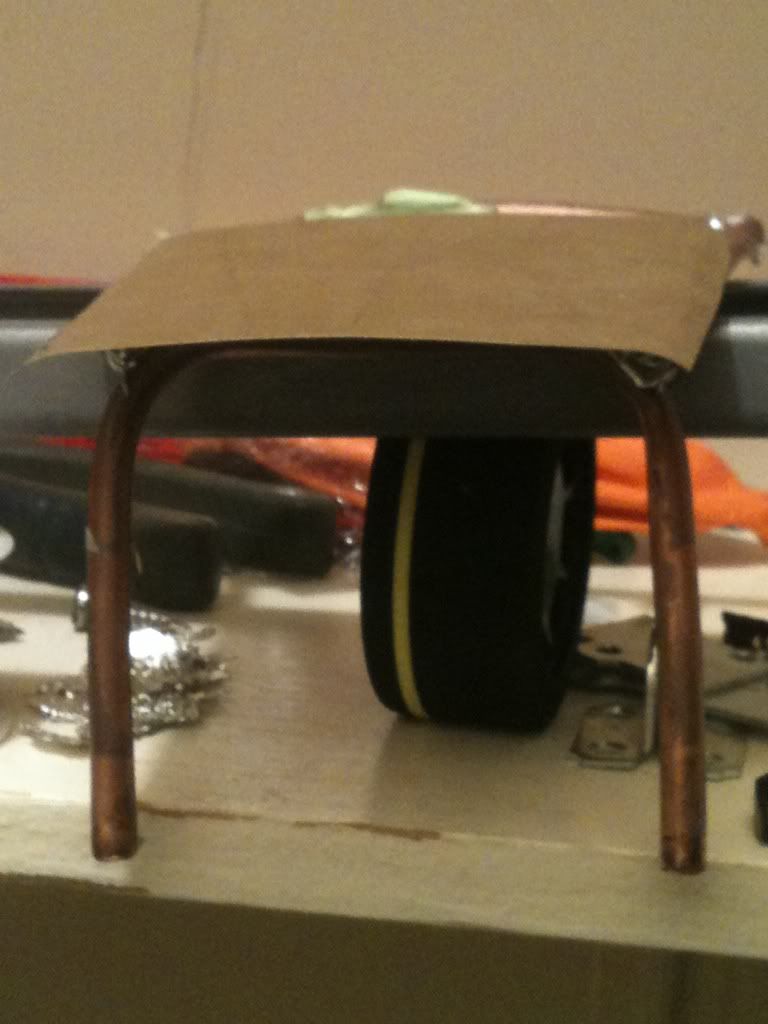 Really it doesn't look much different other then a slight curve added 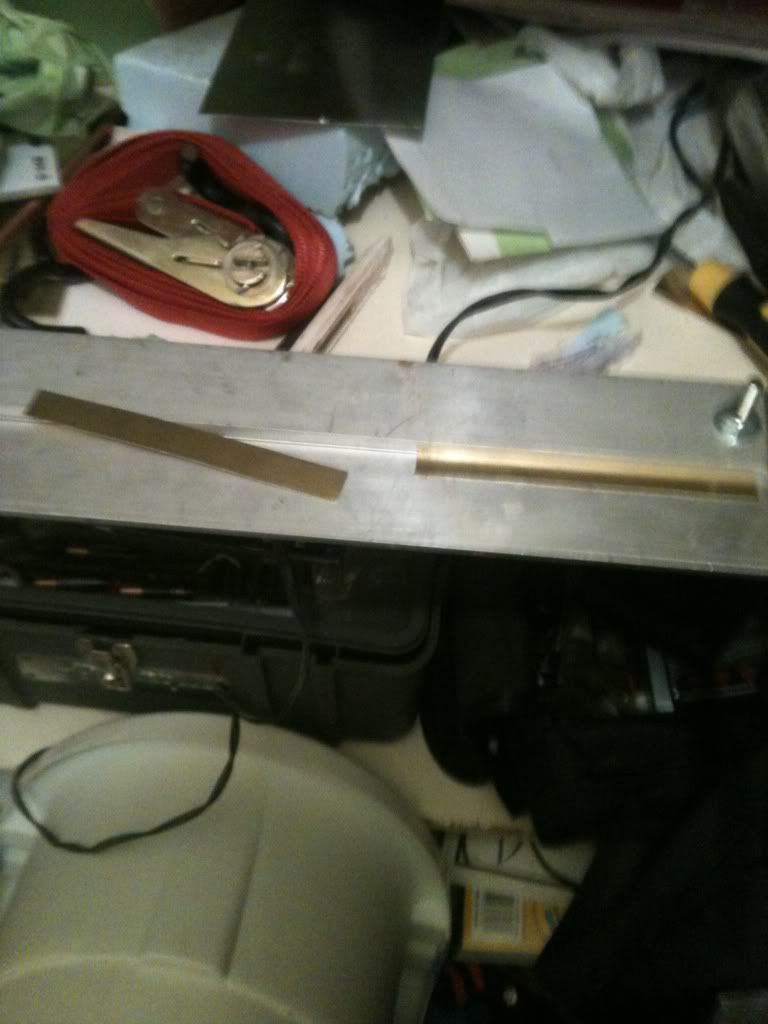 These are my curved extensions to reach down to the side panel, this also shows the break I use aswell 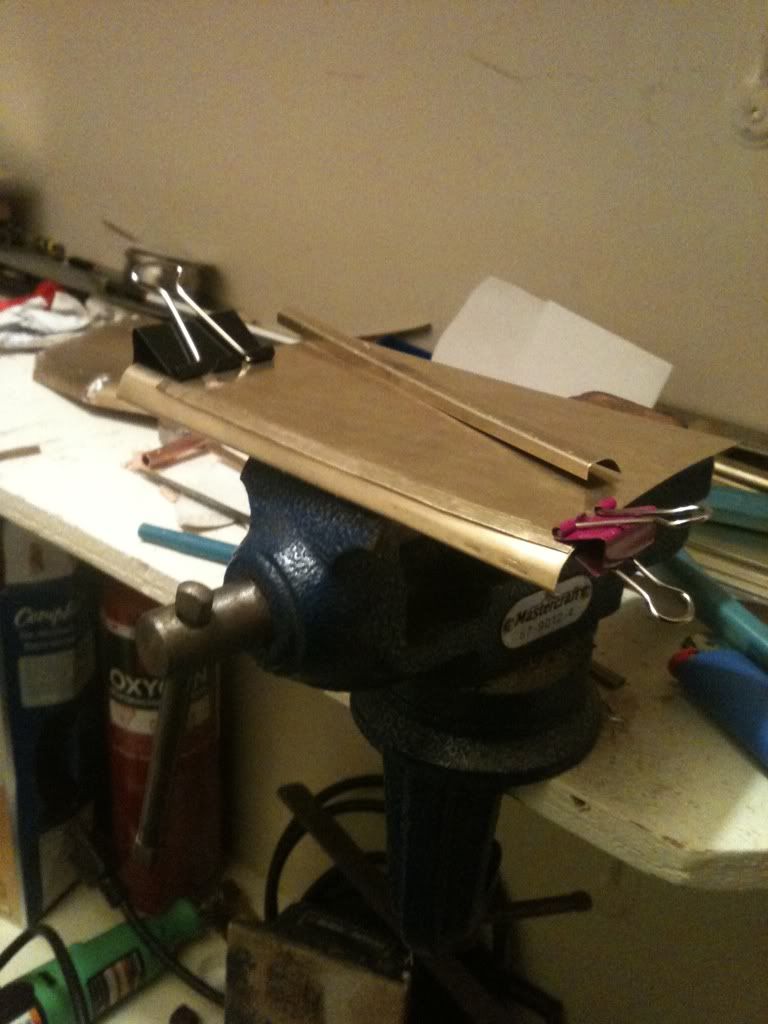 This makes the last pic make alittle more sense 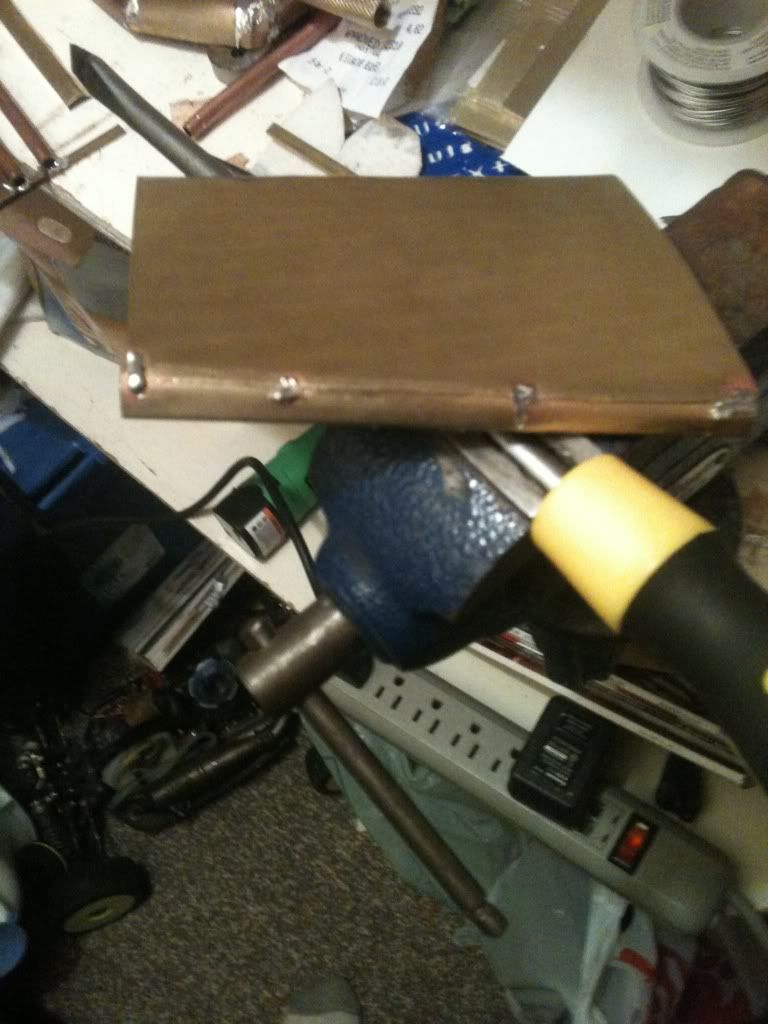 The needed " I started to solder it" pic lmao 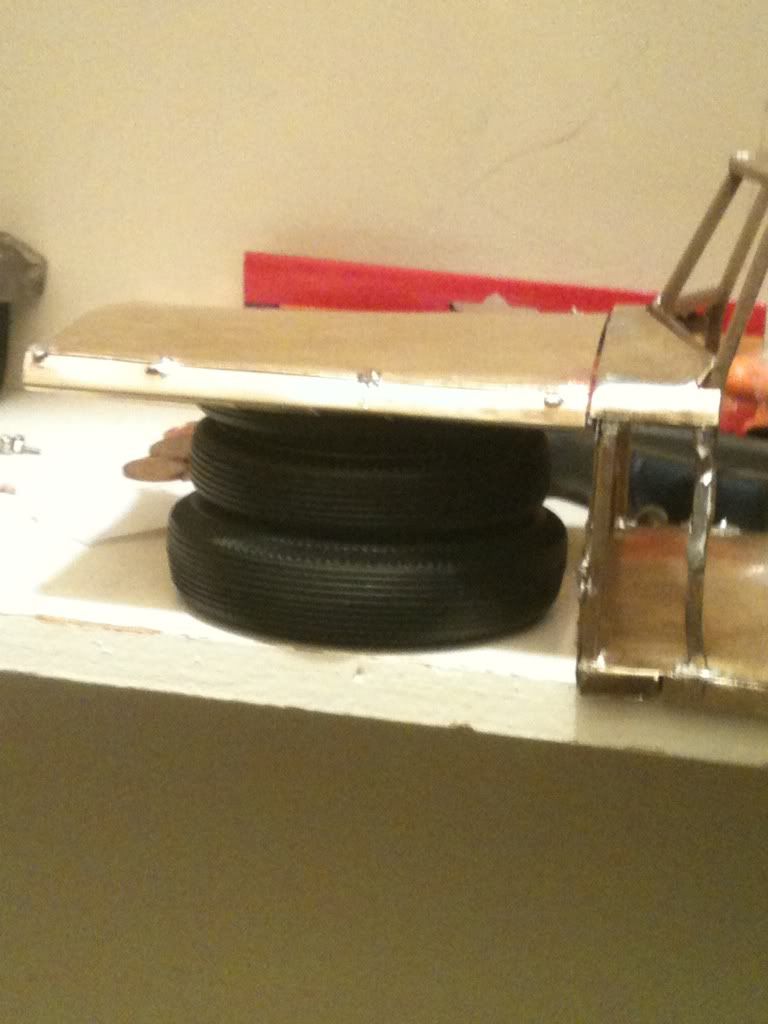 And here I've lined it up to the cab, it looks kind of silly yet, but in the end it should look just right. Some of you may have noticed I've strayed from the 367 models hood design. I made a fiberglass hood for it, but I just didn't like the look, this hood design is based on a 389 model, but could I get some one to give me the overall height measurements front and rear of the hood. A standard kh hoods dimensions are fine. It would be extremely helpful, thanks in advance Tim
|
|
#20
12-20-2011, 08:10 PM
|
||||
|
||||
|
You make this look like a blast to do and you do it very well! I've got to get some brass and practice soldering. Do you sand your tacks and joints or use heat to smooth them out?
|
|
| Currently Active Users Viewing This Thread: 1 (0 members and 1 guests) | |
|
|


 Hybrid Mode
