|
|||||||
| Highway Trucks and Trailers On road trucks and trailers single and twin axle trucks. |
 |
|
|
Thread Tools | Display Modes |
|
|
|
#1
 12-20-2011, 09:44 PM
|
|||
|
|||
|
Thank you for the compliment Truckmaker. It really is a blast working with brass. All I can say is try it! I'm sure it will hook you. As for smoothing tacks and joints, I use many methods. I use heat to smooth as well as a stick for lead. For the most part though I scrap and file and sand. It's slower, but using heat on larger joints will work against you, too much heat and your parts start to float out of alignment. It sucks when it happens, and can quickly turn you from working with brass.
And now....... Today's progress 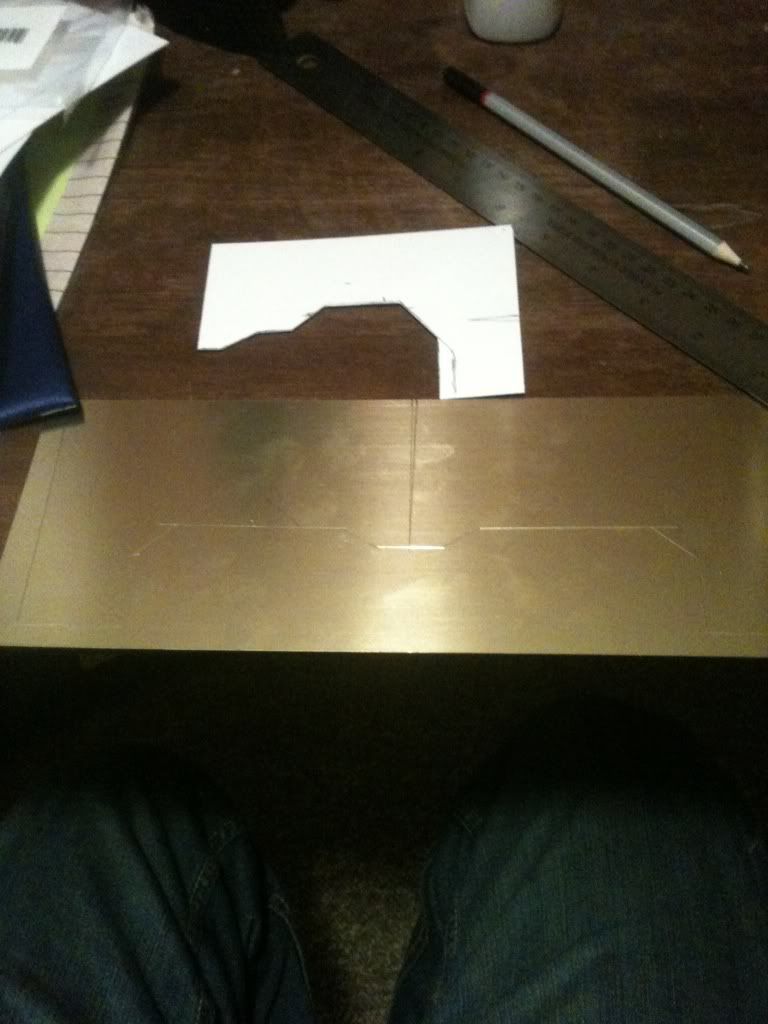 This is the cardstock side I cut, and scribed onto my brass sheet 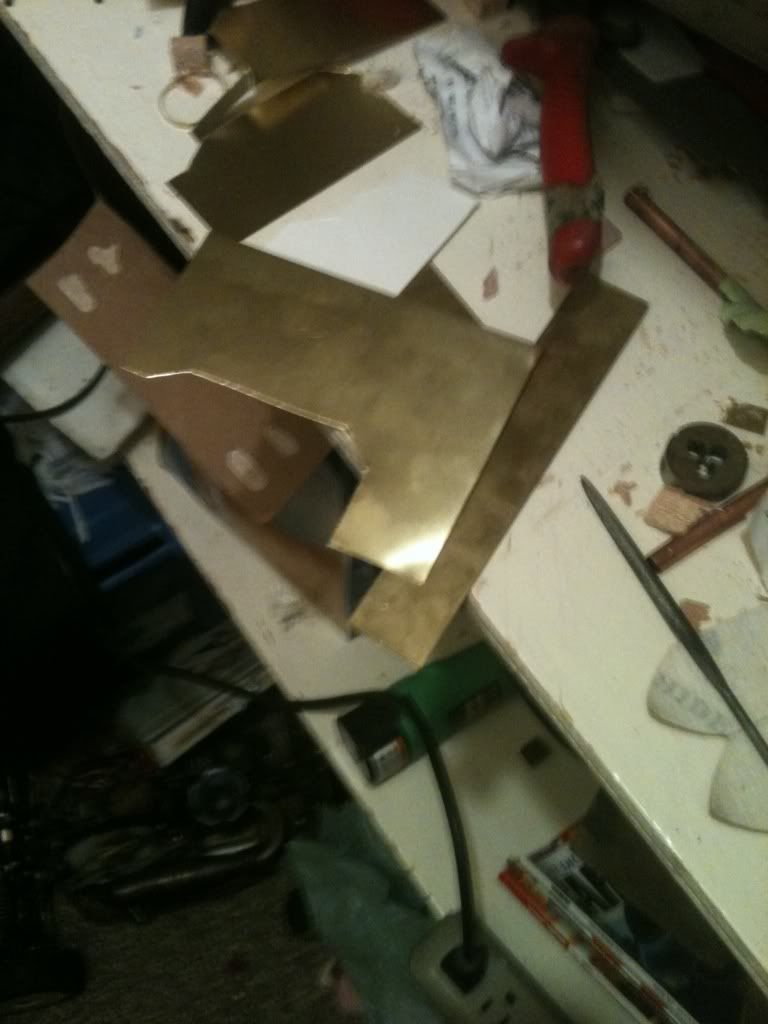 I didn't cut the brass near as high as my cardstock cut out because it seemed to high to me. I also added 1/8 or 3mm to the top and bent it 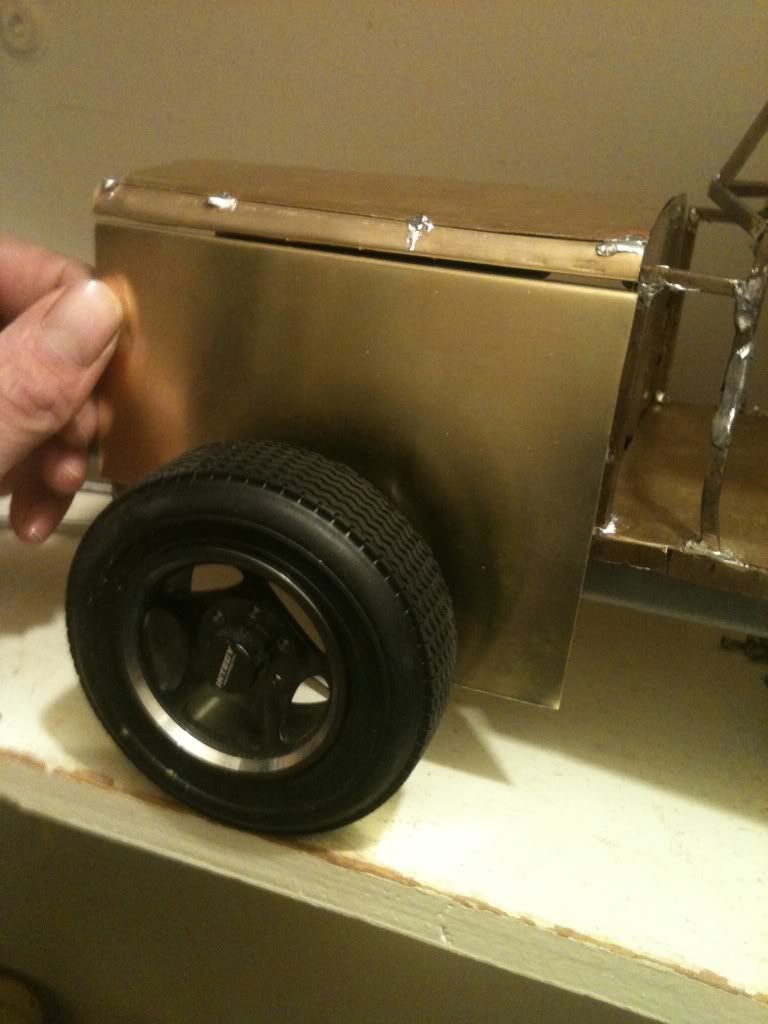 If you look closely at the seam, you'll see the bend at the top, this bend will keep it true to the top, and keep the warping to a minimum 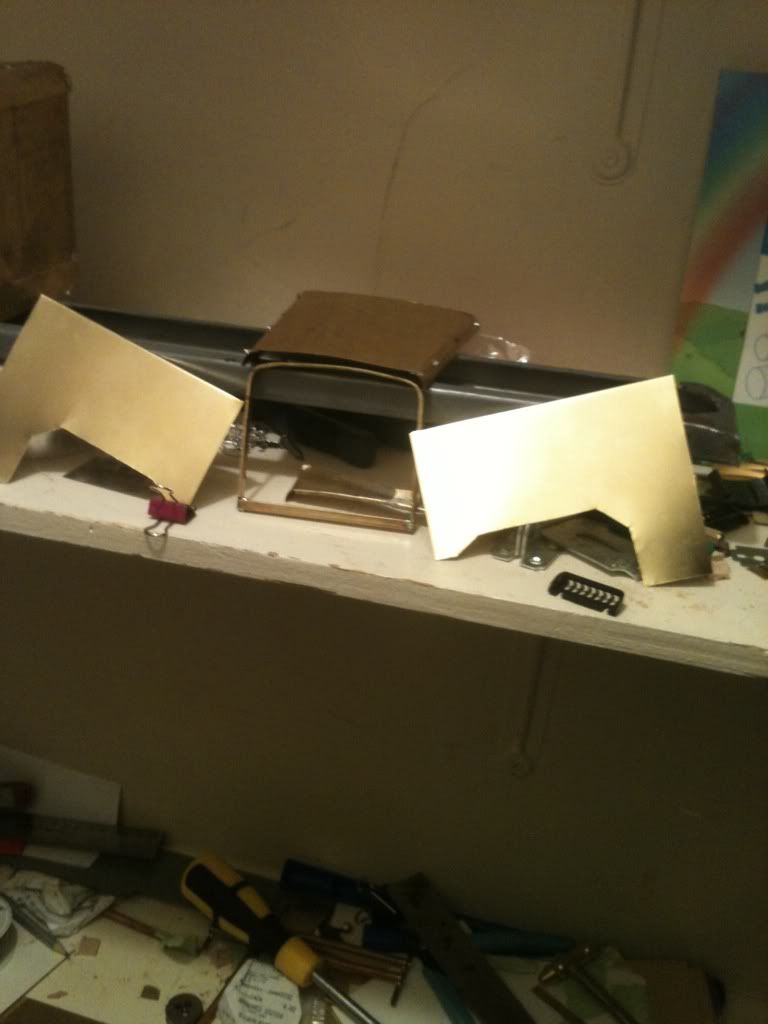 I failed to take a picture of the grill reinforcement as I was doing it, it's sitting in the middle 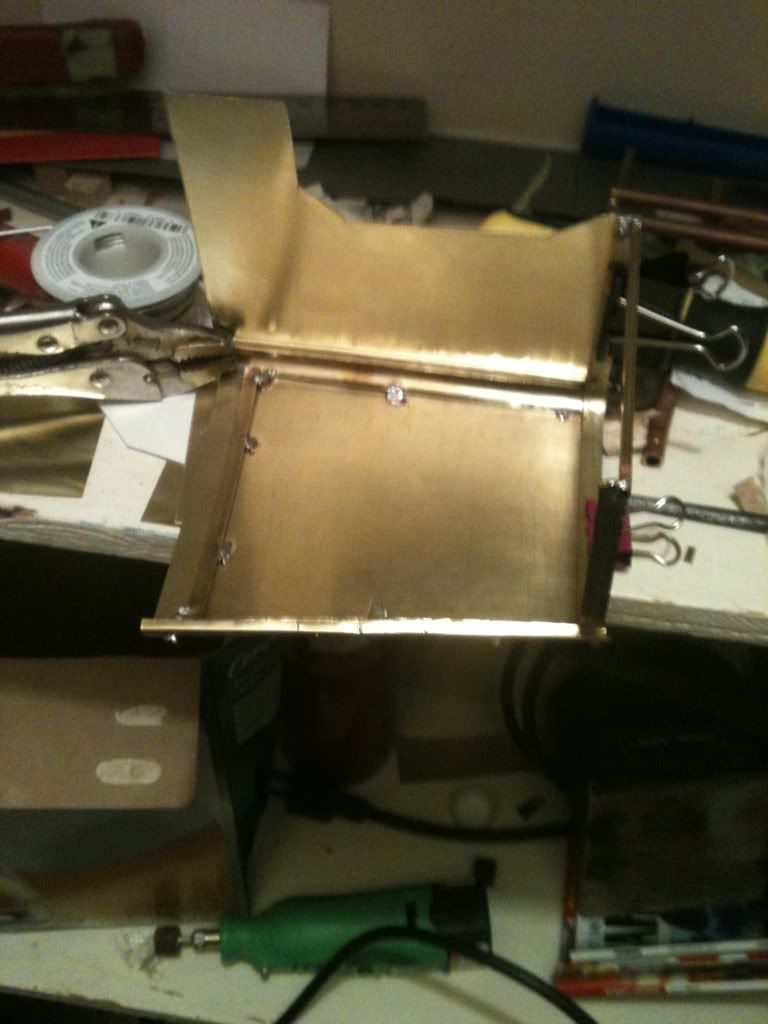 Here's how I installed both sides, a couple clips and work fast 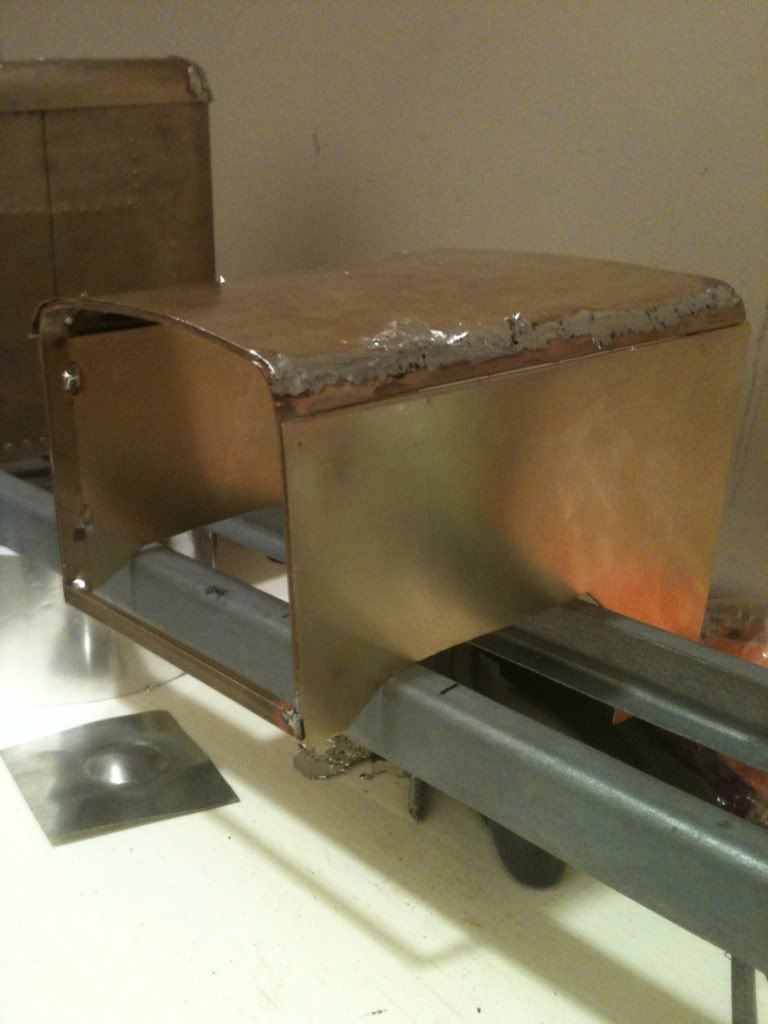 And here's the almost finished product 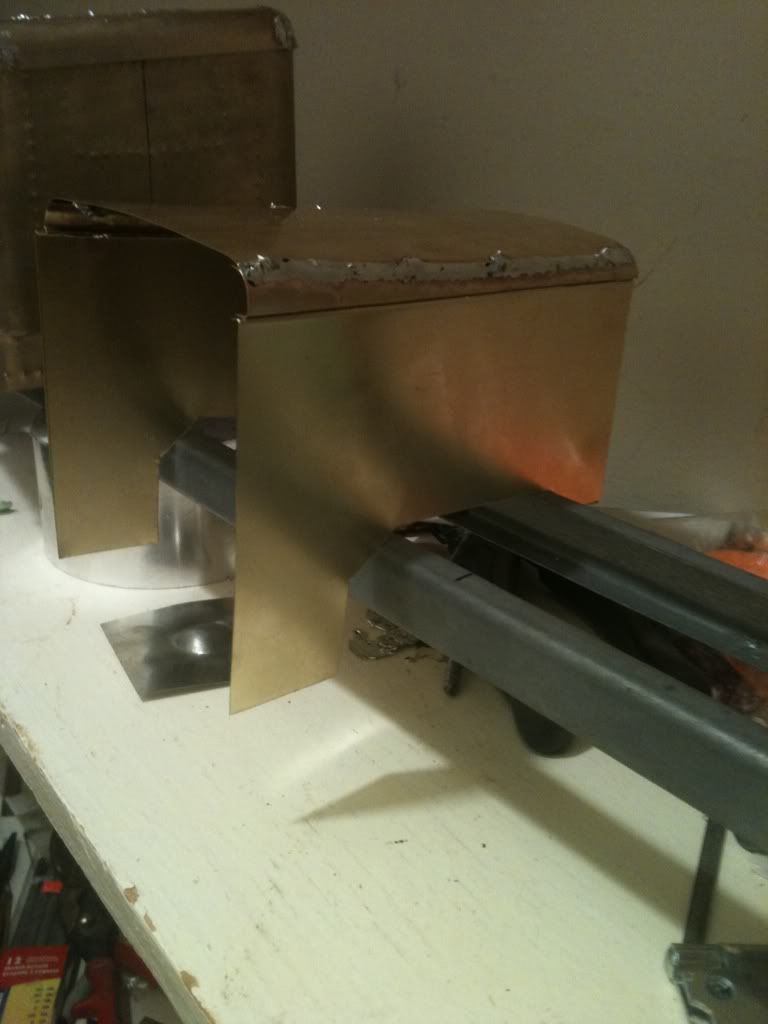 From the back 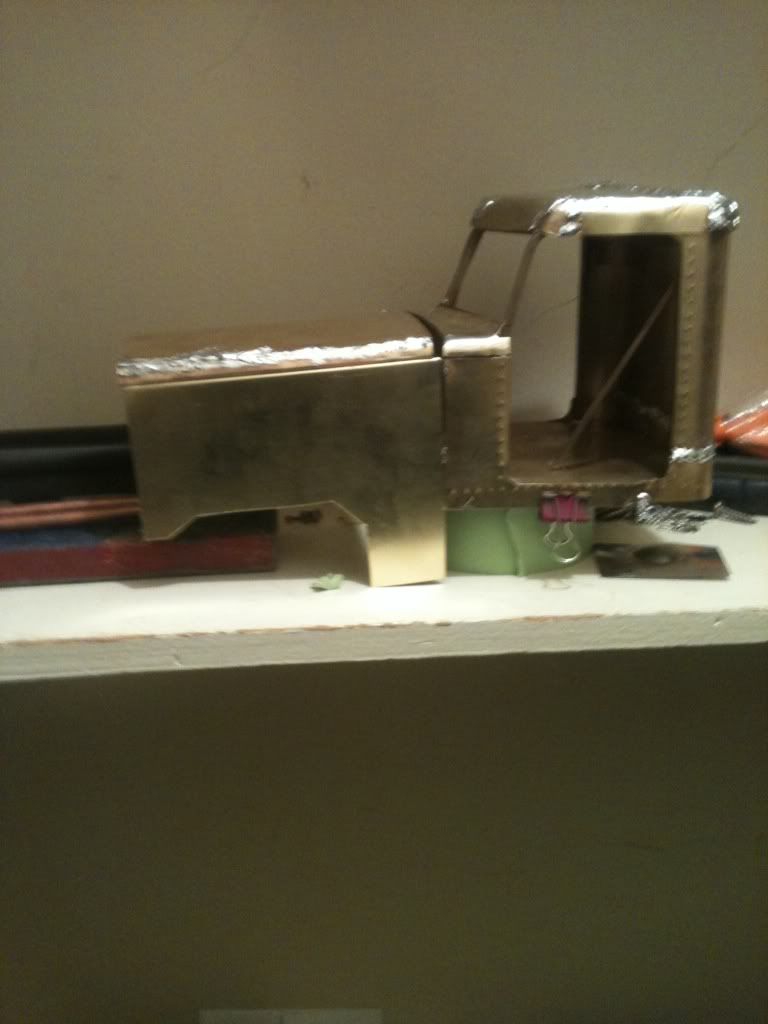 I decided I should mock it up a bit to see if my proportions are correct 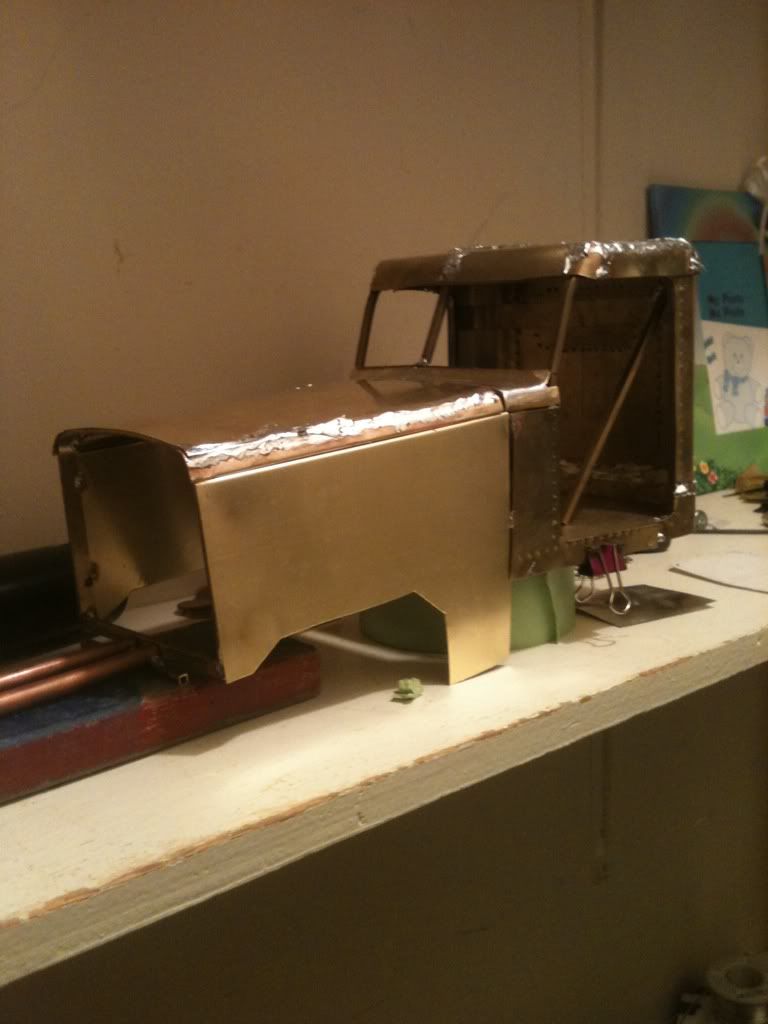 I'm really happy with the look 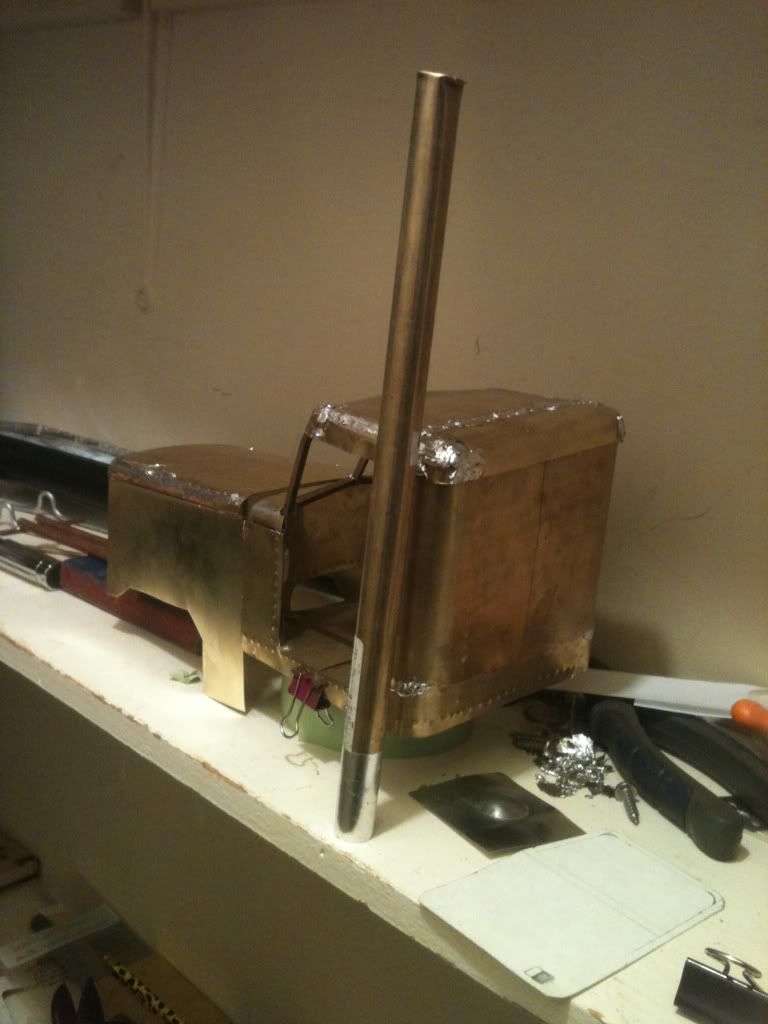 And I thought I'd put a stack there to get a feel for the progress 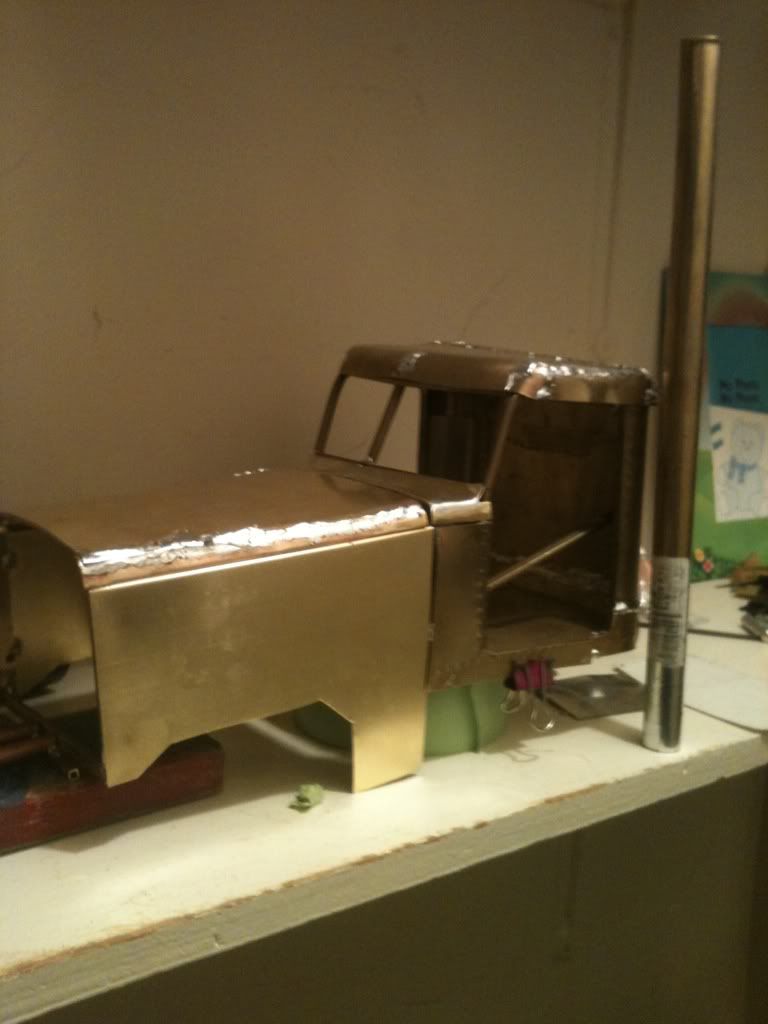 I'm liking the look Next up are the fenders, and the rear reinforcement, then the hood hinges. I'd like to put the old style 3 piece steel wheels on this truck to give it an old school feel, does anyone know if anyones making such a wheel? I hope you enjoy Tim 
|
|
#2
12-21-2011, 10:10 AM
|
||||
|
||||
|
Wow this is really coming along! You sure are a brass master! keep up the amazing work
|
|
#3
12-21-2011, 10:51 PM
|
|||
|
|||
|
A brass master.......
I'm not so sure, but thank you for the compliment As for polished versus painted I'm still tossing that idea around. If I could get larger sheets of brass, I wouldn't second guess it, polish it all the way. However I'm using 4x10 sheets which is causing more joints. But we shall see. I didnt get as much done today as I'd hoped, I had to clean shop a bit(I could find $:&@) however I did get a start on the fenders  This was the first form I made. My hope was to be able to form both sides at the same time 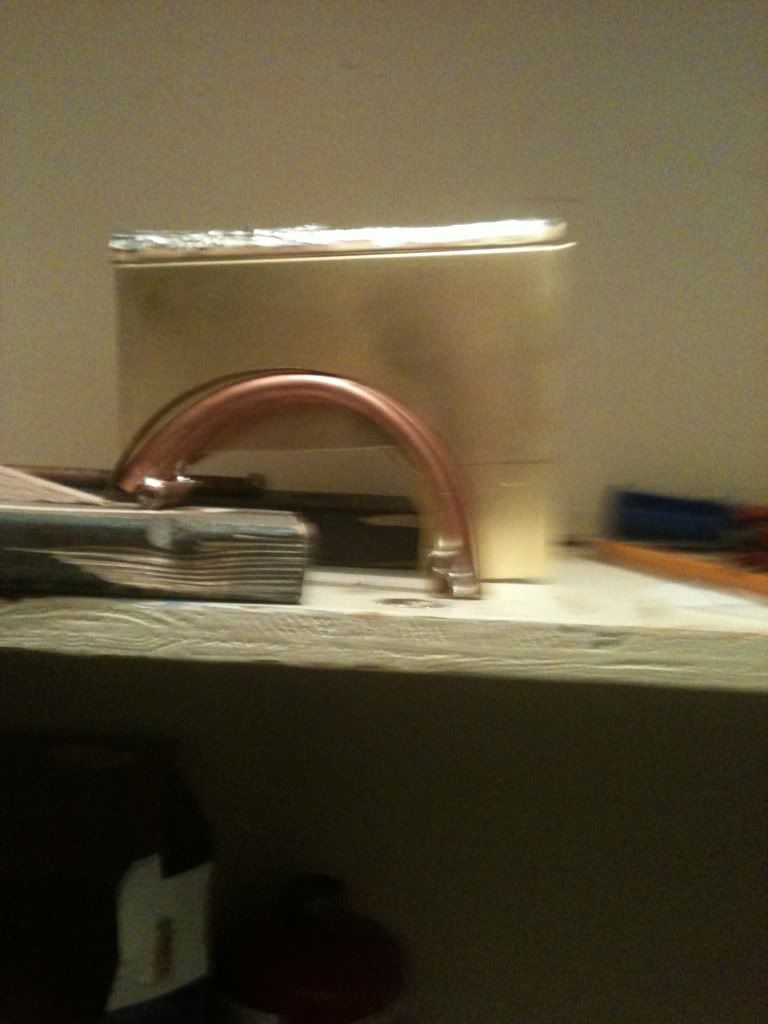 However, if you look closely, it doesn't follow a consistent curve, it's to flat at the front 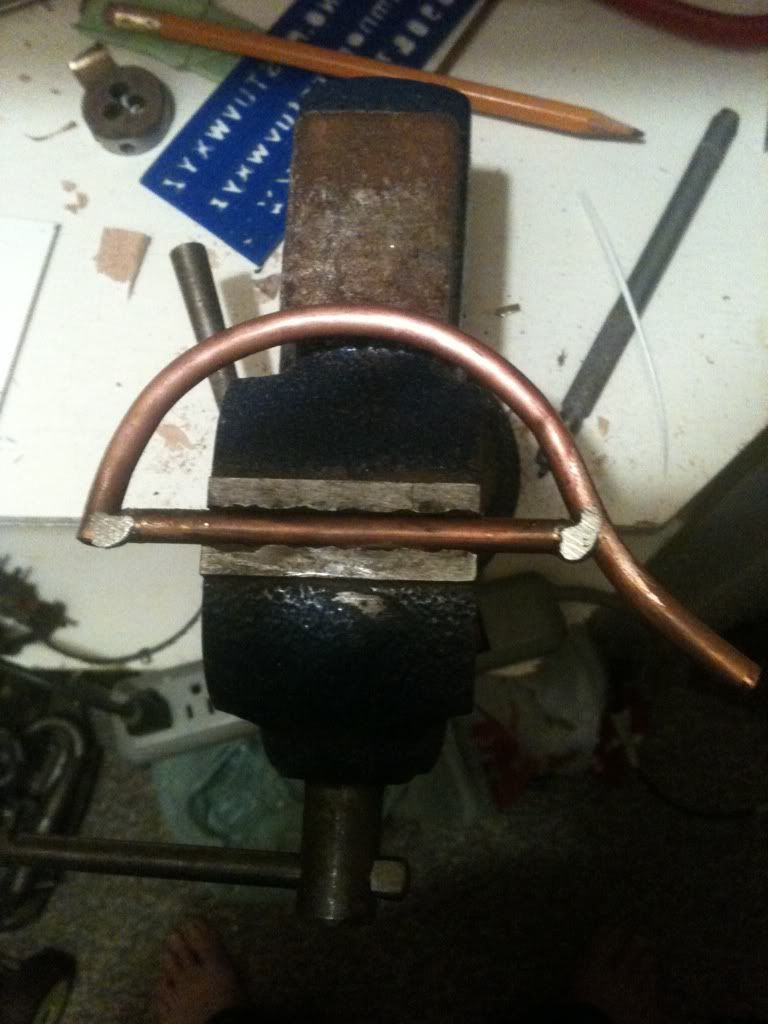 So I built a new one, but I decided to only build one side, and work one side at a time 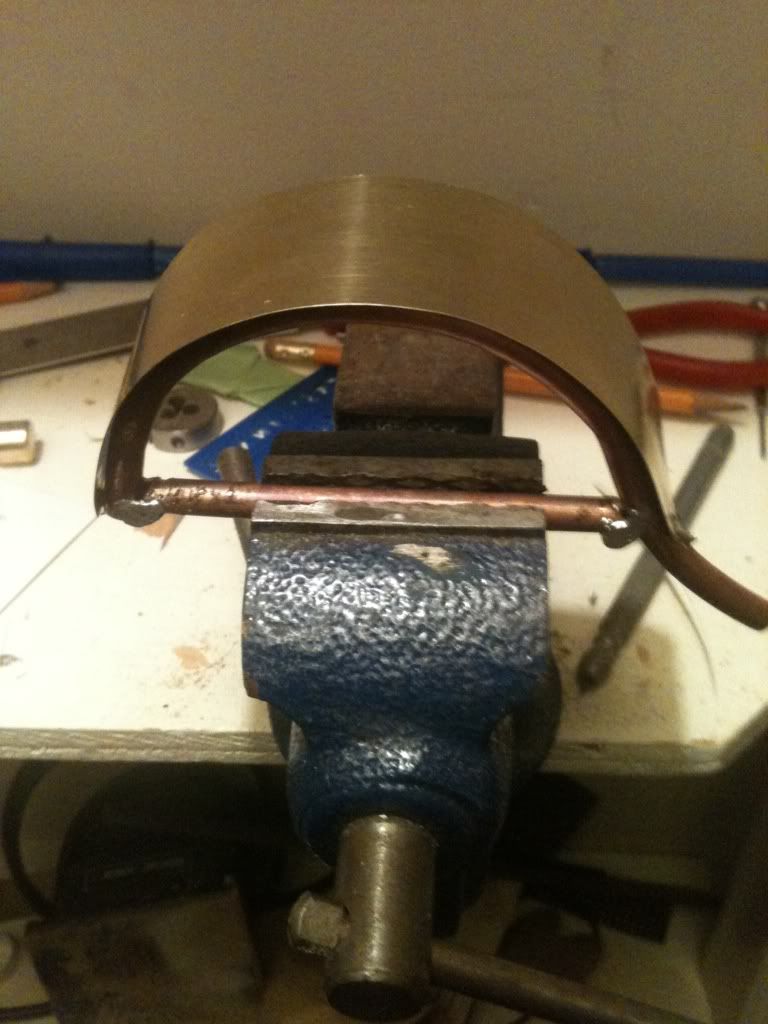 So I cut a fender blank, and soldered it to my form 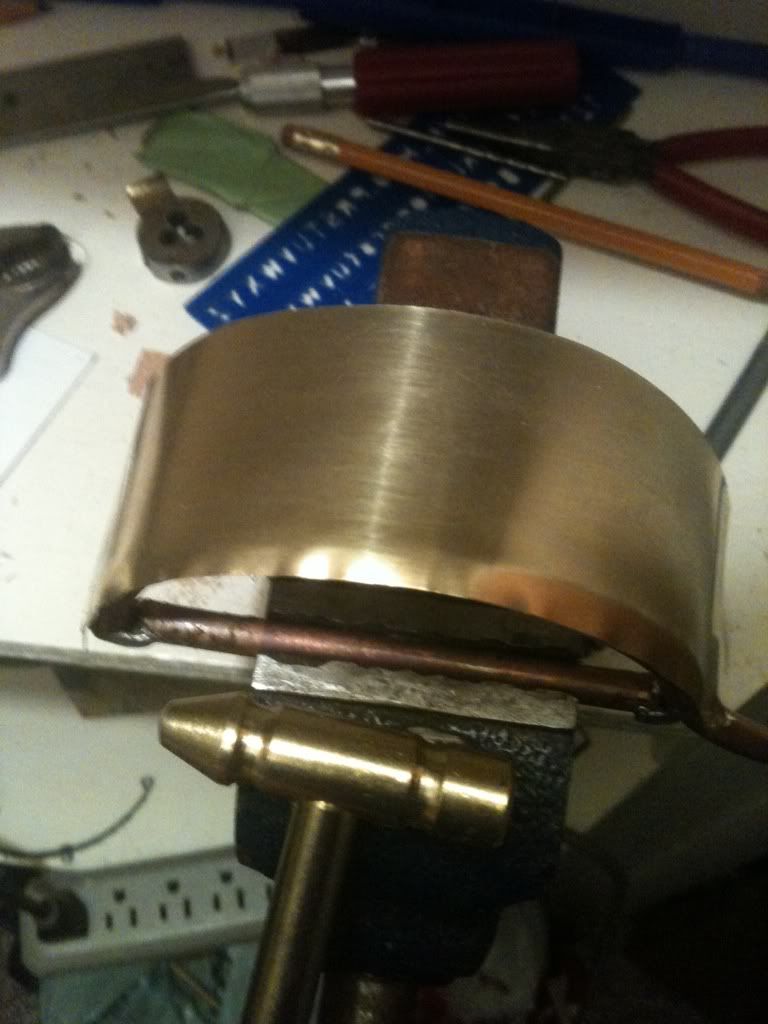 I then began hammering it around using my trusty dollar store brass hammer That's right, I got it at the dollar store, and I use it almost exclusively, and I have purpose built hammers in my tool box! Unfortunately that's as far as I got. All my hammering woke the baby and angered mommy, so I had to stop. I'll be back at it in the morning, I'm going to start by heat shrinking the edge to form a nicer curve. Thanks for looking. If there's another way to form this fender, I'm open to ideas Tim
|
|
#4
12-22-2011, 10:09 PM
|
|||
|
|||
|
This truck seems to just fall together lately.
I was able to finish one fender about 85% today. I used two methods of shrinking and I'll explain them with the respected pictures 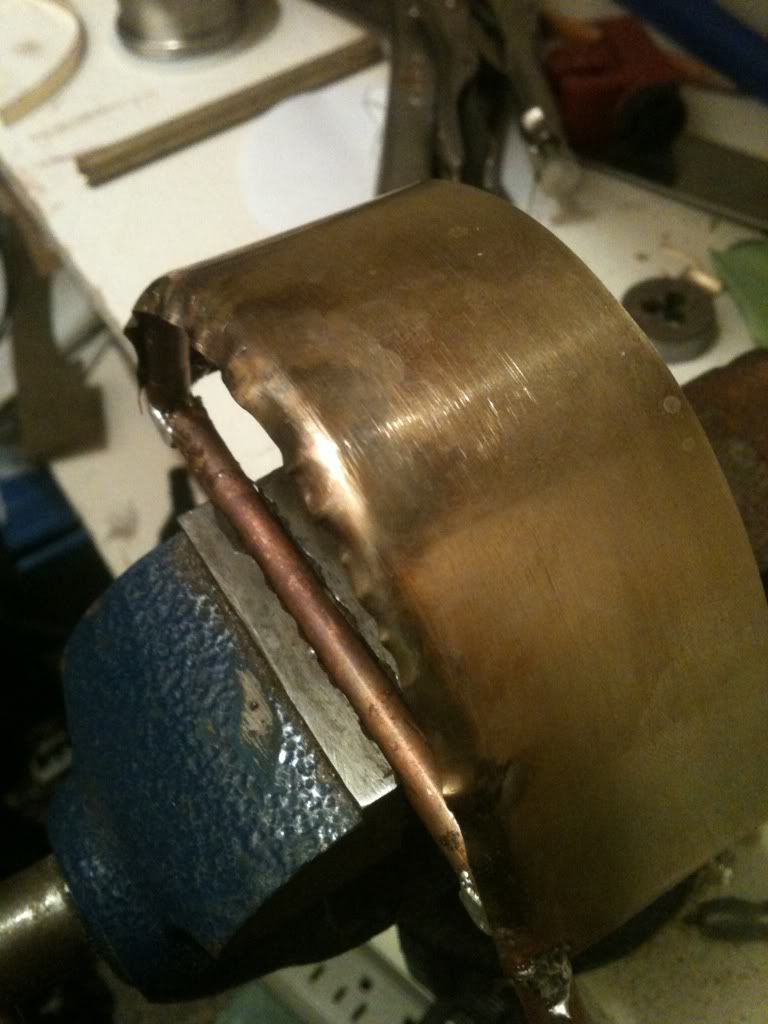 On the outside edge I heat shrank the edge using my torch. I didn't do it all the way around the way as I didn't want to have the heat ruin the rest of the fender 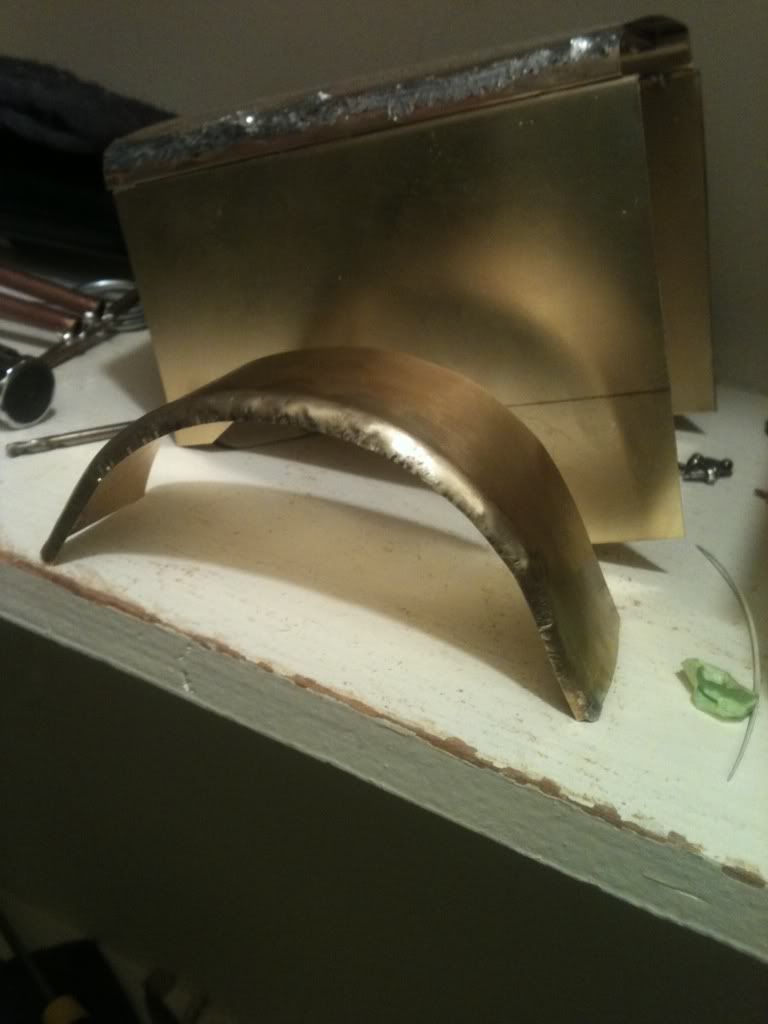 But after some hammering, it left a fairly wave free roll. It's not perfect, and I can still work it a little, but the brass being thin to begin with, and my introduction of heat, I decided to leave this side alone at this point 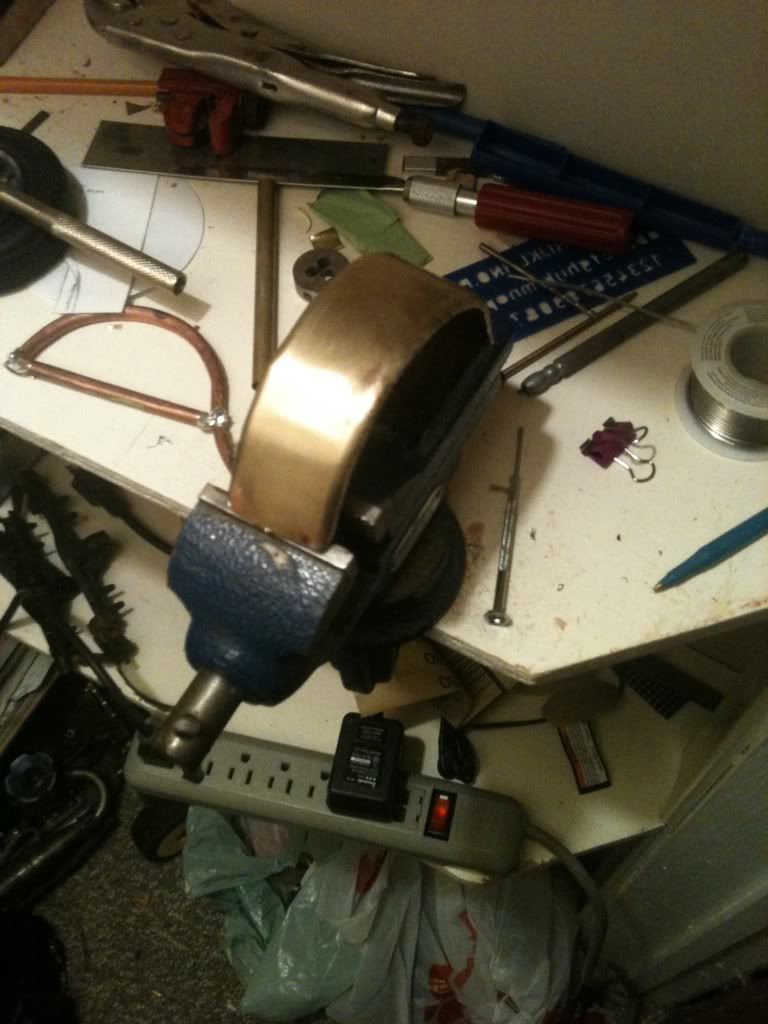 So I got ready for the other side 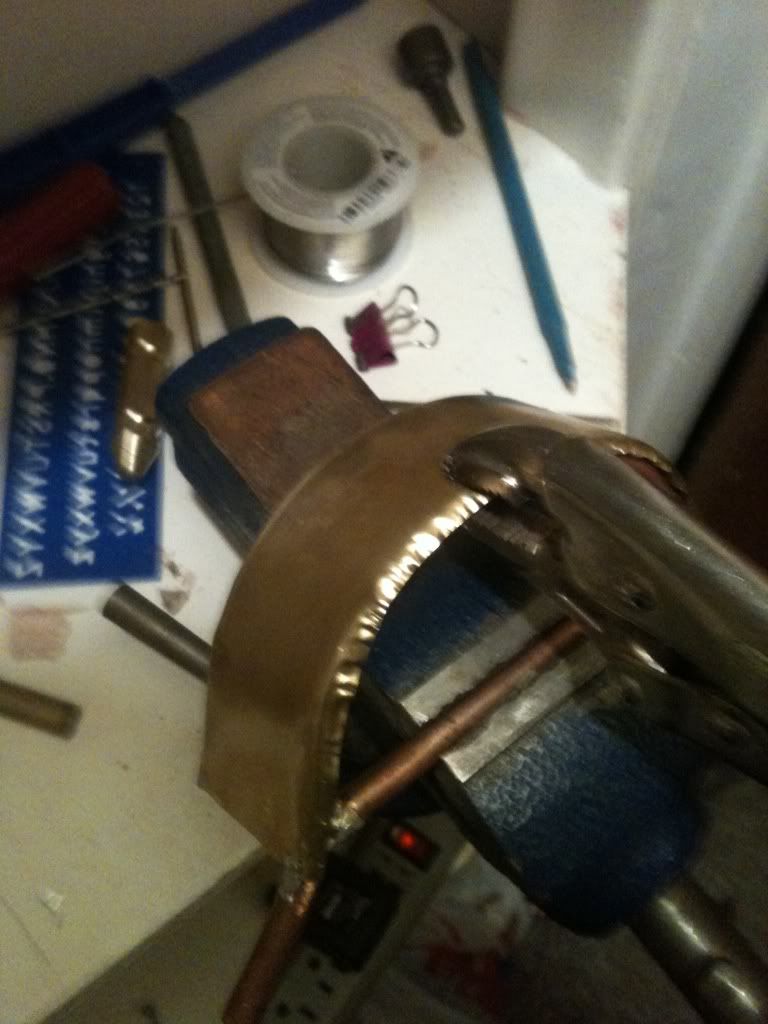 Now because this side meets the spacer on the inside, I cold shrunk the edge by twisting the edge with very fine needle nose pliers, then gently hammer the fold together. It's not the quickest way, and leaves a dirty edge unless you spend hours dollying it till its perfect, but it will work on the inside where I'm soldering anyway 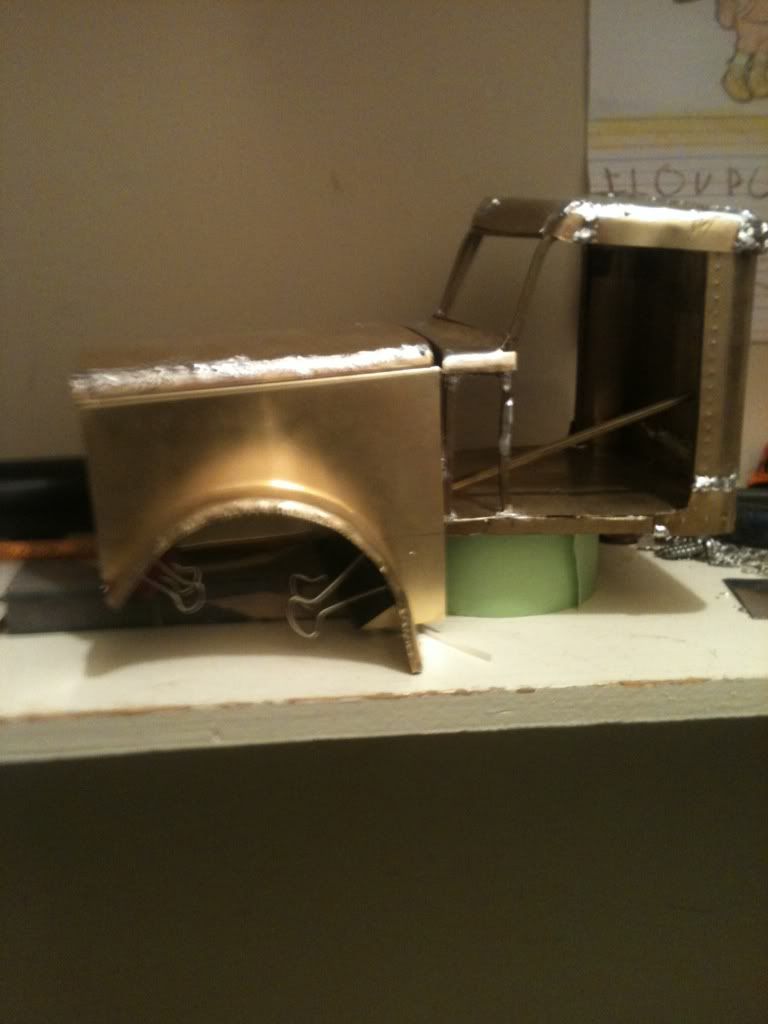 So like I said, I went about 85% finished, but the end result looks decent 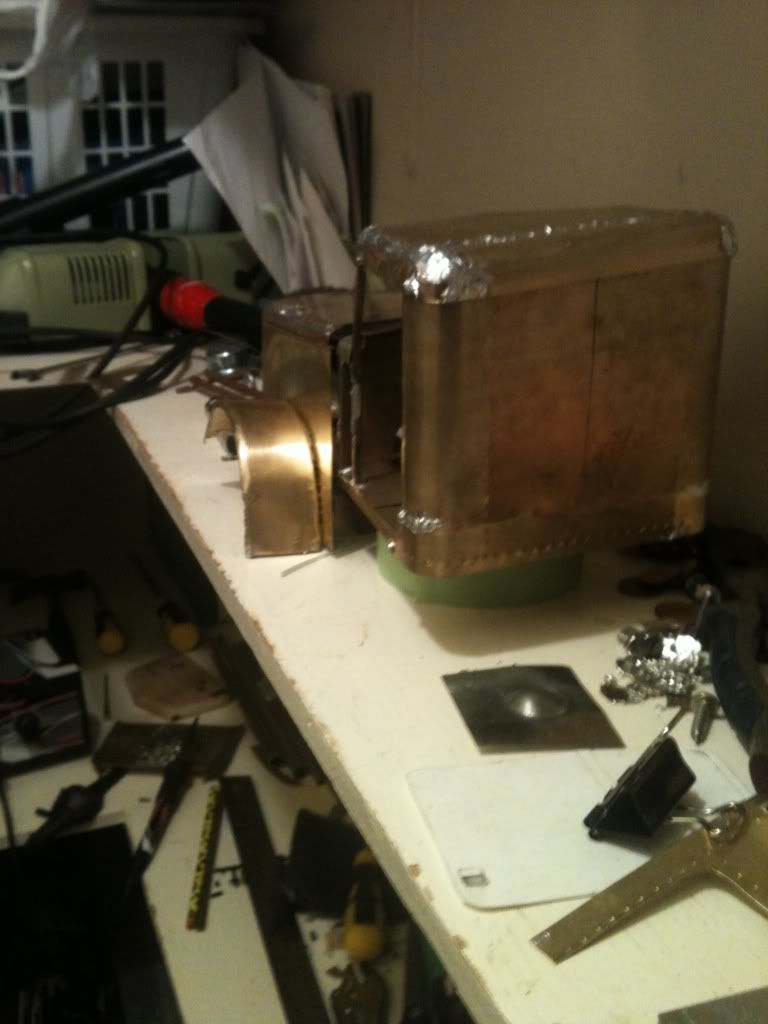 I need to build the spacer yet so the fenders will sit square 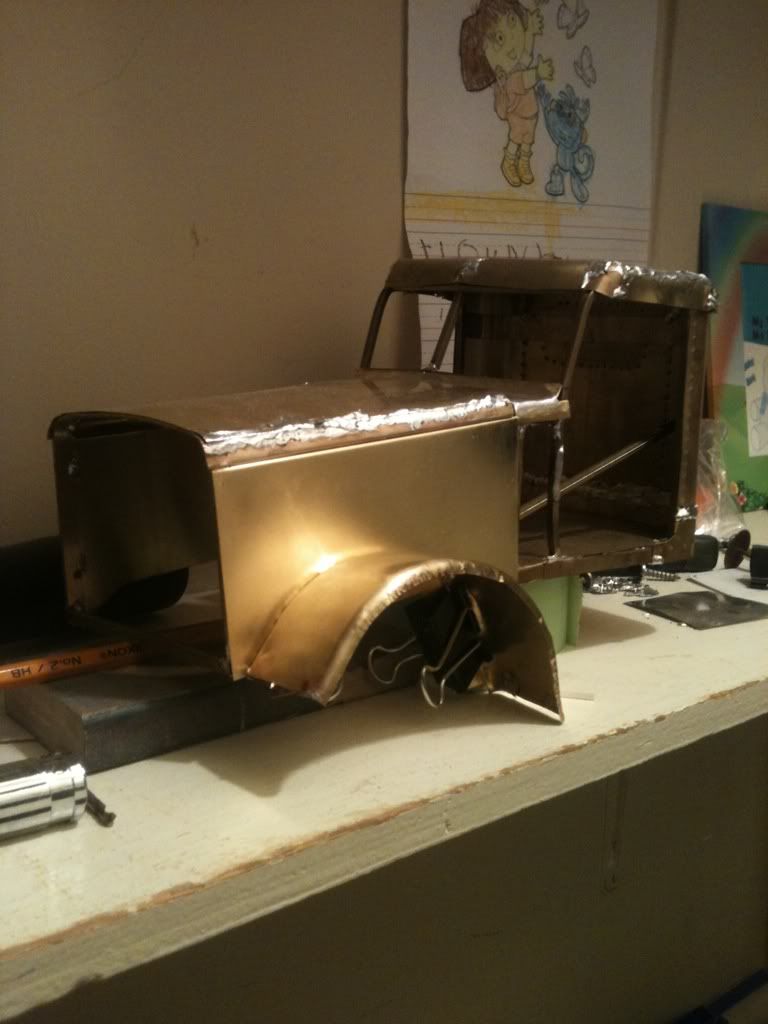 But even without them it makes the truck look more complete Now the fender is supposed to have a low crown (curve) in it, and I have not yet put one on, but I think it looks cool just flat like this. What do you guys think? Tim
|
|
#5
12-23-2011, 12:04 AM
|
||||
|
||||
|
Hey Tim, have you considered a scale sized "English Wheel" for smoothing the formed part's? As for reference material, Ultimate Sheet Metal Fabrication by Timothy Remus,
Advanced Sheet Metal fabrication by Timothy Remus. Link to picture's of various english wheel model's and wheel's, http://www.google.com/search?q=engli...w=1024&bih=603 Look's great so far. Do you have to anneal the brass when working it? Cheer's, Neil.
|
|
#6
12-23-2011, 07:44 AM
|
|||
|
|||
|
Very nice
|
|
#7
12-23-2011, 12:19 PM
|
|||
|
|||
|
Those are both amazing references doodlebug. I own the advanced book and taken two work shops with Ron Covell, but really hadn't considered a scale sized wheel. I had considered using the bench mount one I have at work, but ultimately decided it was just to large to do such a fine job. Do you know of anyone making a ready made scale wheel, I'd be very interested to see one
Tim
|
|
#8
12-23-2011, 05:17 PM
|
||||
|
||||
|
Hey Timmy, I don't know of a scale wheel for sale. But it is something else for machine shop friend's to consider building for sale. Glad you have the book's!
Cheer's Neil.
|
|
#9
12-23-2011, 09:39 PM
|
||||
|
||||
|
Quote:
 I just got to get them on the lathe and mill I just got to get them on the lathe and mill 
__________________
RIP FreddyGearDrive 2-12-59/12-19-11 To view links or images in signatures your post count must be 10 or greater. You currently have 0 posts.
|
|
#13
12-29-2011, 10:35 PM
|
|||
|
|||
|
I hope the holidays found everyone well.
I have been working on the truck, but I see no sense posting pictures of building the other fender lol. It's pretty much the same side to side. I'll be building my spacers next and I'll post how that goes. I did find some pictures though of the trucks I originally took my measurements from. 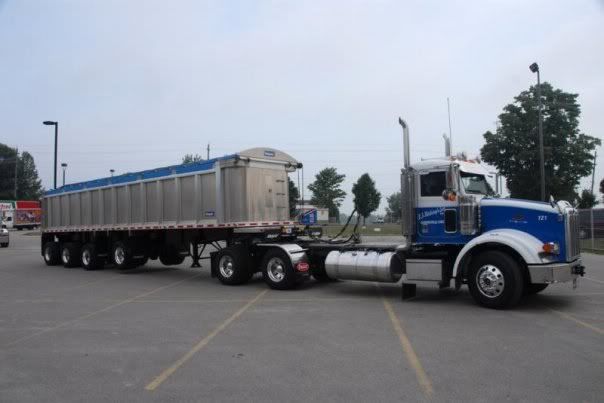 This truck was originally why this thread was called Pete 367 in brass. This was the truck I was modeling from as it was in our shop for this paint job 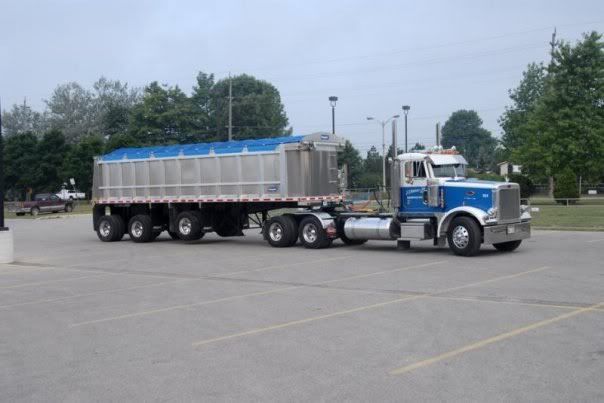 And this truck is closer to what I'm modeling right now. Tim
|
|
#14
12-29-2011, 10:47 PM
|
|||
|
|||
|
I would be interested in a scale english wheel too, I never considered one before, I have a lathe, wonder if I could make one... Hmm, prolly better to just get IHbuilder to make me one lol. Anyways, back to the thread, the trucks looking great! I wish I had metal skills!
|
|
#15
12-31-2011, 10:22 PM
|
|||
|
|||
|
Thank you civic83, working metal really isn't that hard!
Here's a small update  I had to add the bend to bottom of the hood 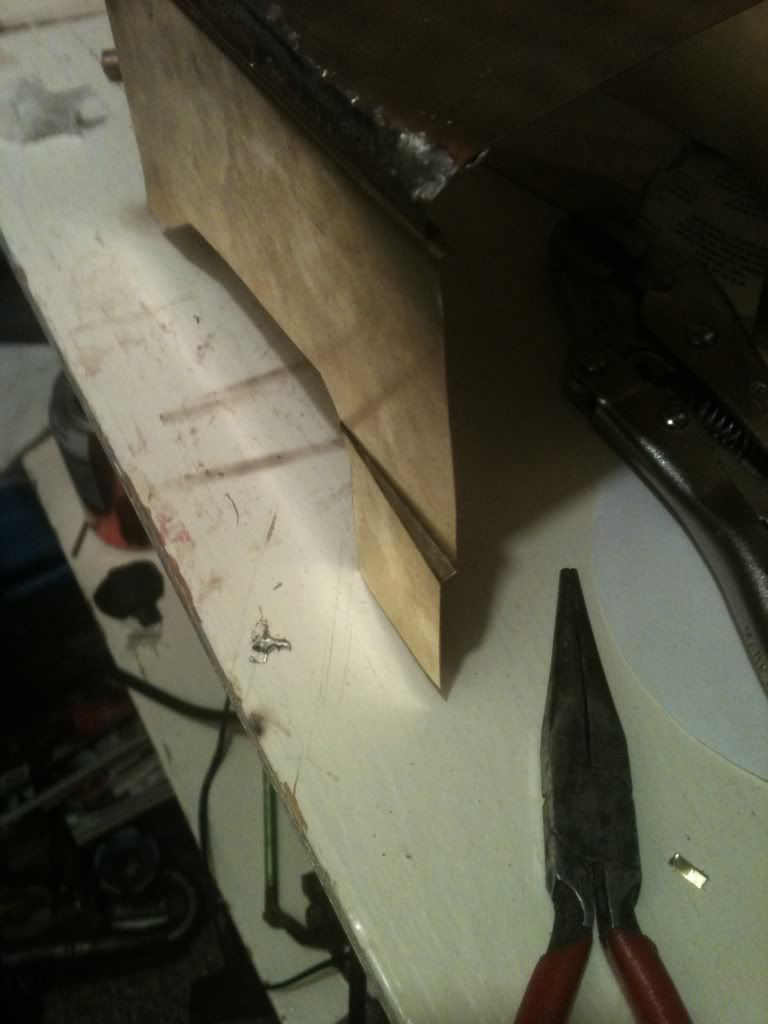 And I think it adds another dimension to the hood 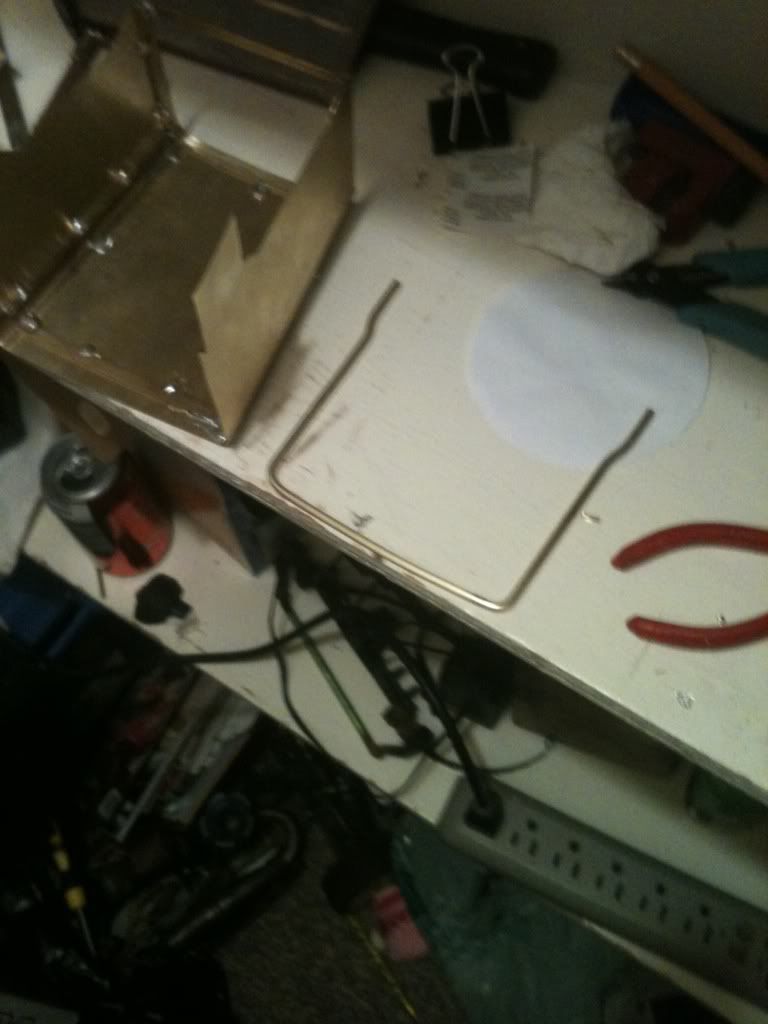 I had to add a support the back of the hood panels, and hold them out to meet the cowl, so I bent up a solid rod support 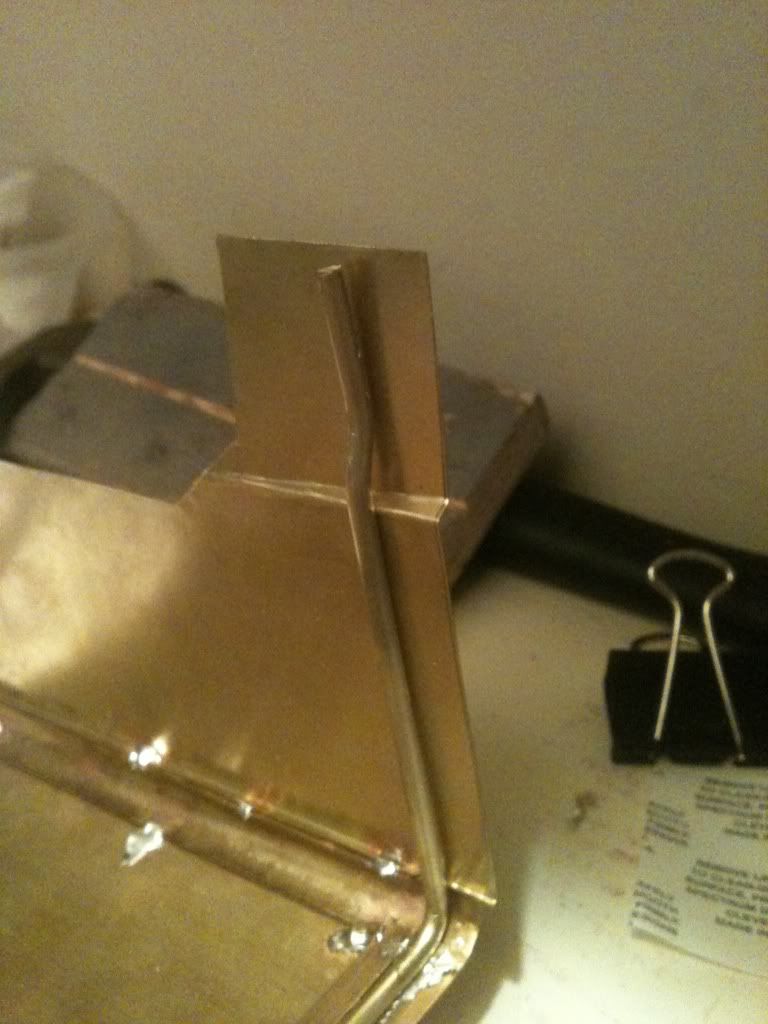 It fit quite well  And it holds the shape perfect 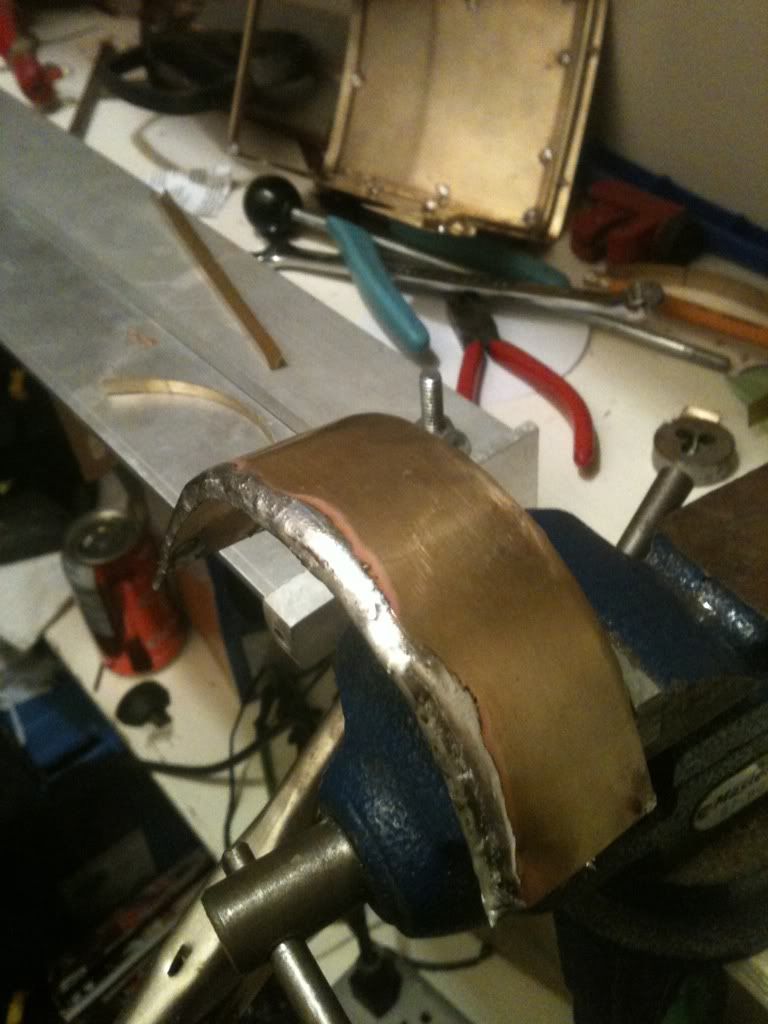 I then added some fill solder to my fender to make it smooth for the fender spacer 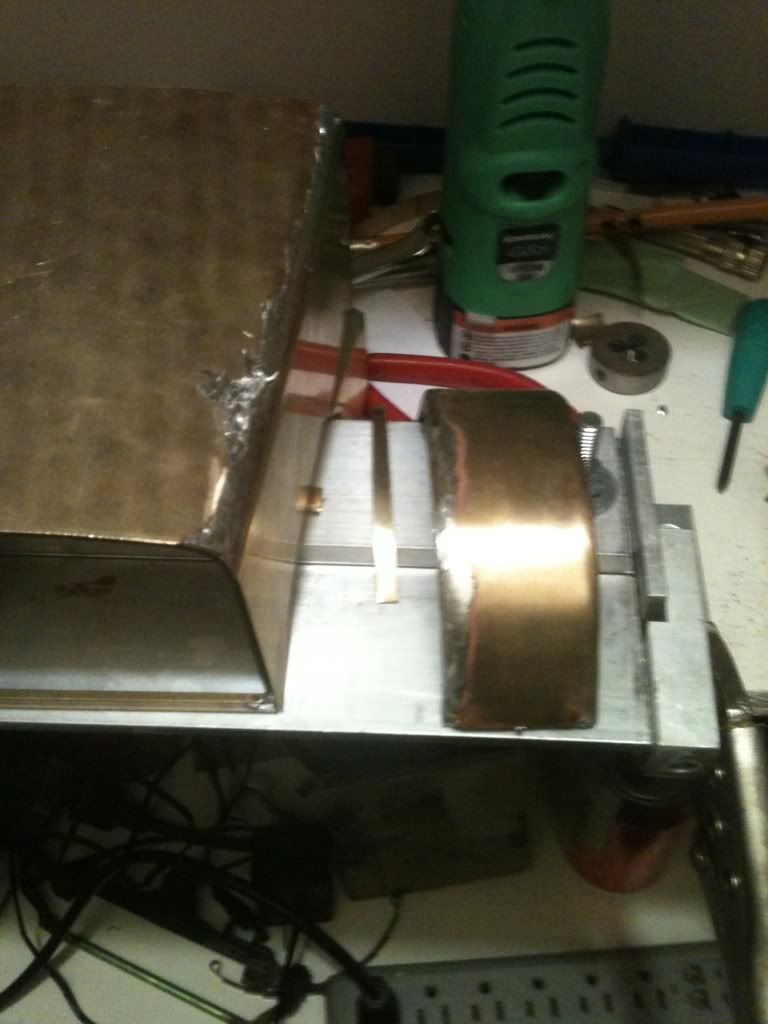 This is the hood spacer and fender, almost ready for assembly Happy new year everyone!! Tim
|
|
#16
01-01-2012, 12:14 AM
|
||||
|
||||
|
looking good Tim , I actually would prefer working metal as to styrene . My 1st (IH 9370 ) was to be in brass
 when I looked at the price difference , at the time , styrene won : I'm lookin fwd to hammering out the new hood for the wedico pet I got when I looked at the price difference , at the time , styrene won : I'm lookin fwd to hammering out the new hood for the wedico pet I got  . .
__________________
RIP FreddyGearDrive 2-12-59/12-19-11 To view links or images in signatures your post count must be 10 or greater. You currently have 0 posts.
|
|
#17
01-01-2012, 11:23 PM
|
|||
|
|||
|
Ahhhh, the styrene vs. metal question. Quite honestly I like both. They both have there pros and cons. I like styrene for it's ability to build it up with out disturbing the surrounding materials. It can be hard to do that with brass in particular, just because of the tendancy for things to float when heated. However, I hate waiting for glue to dry, solder cools rather quickly.
So here's the next installment 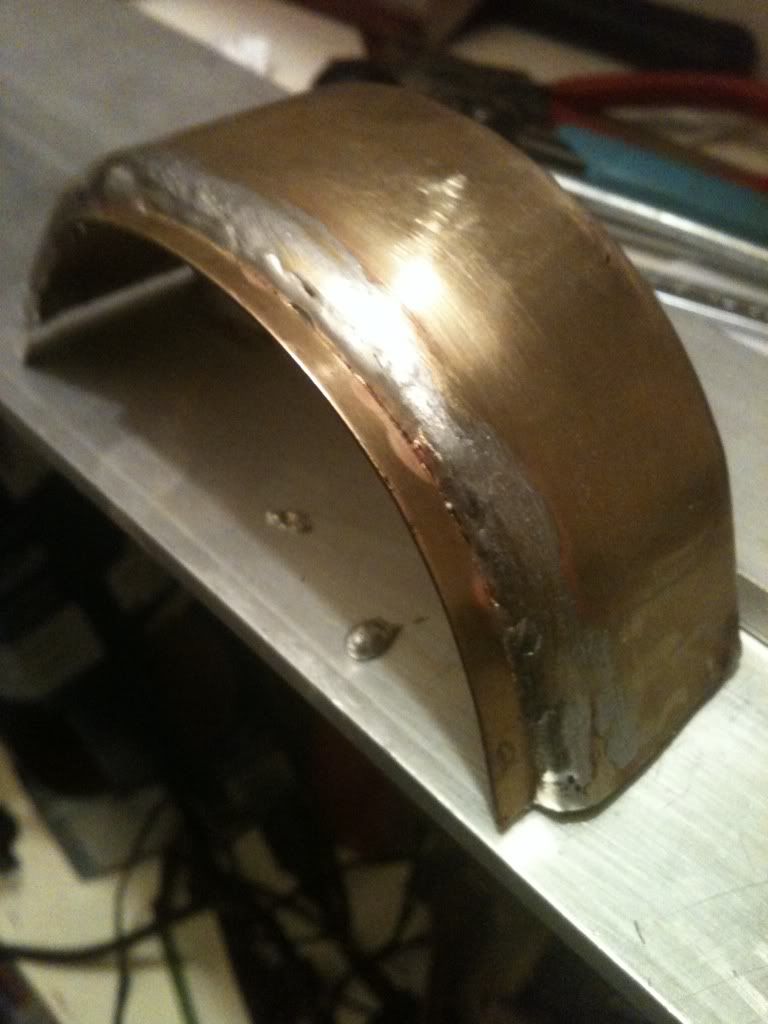 Here the spacers been added to the fender 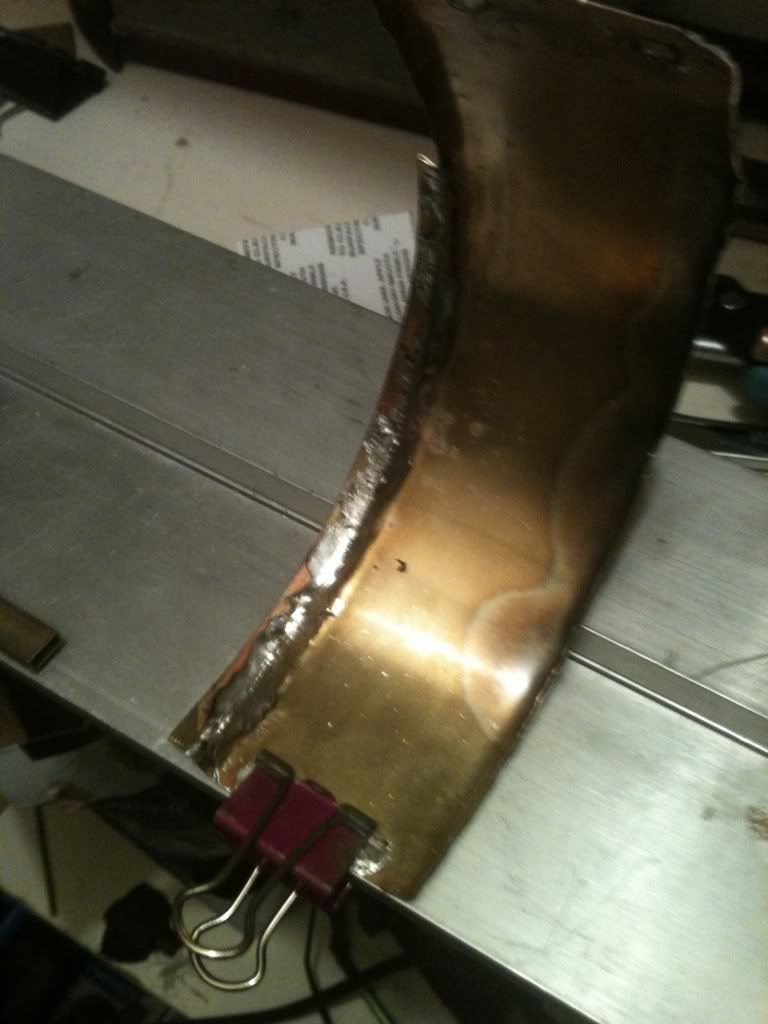 This is what it looks like on the inside  Both fenders ready to be installed on the center 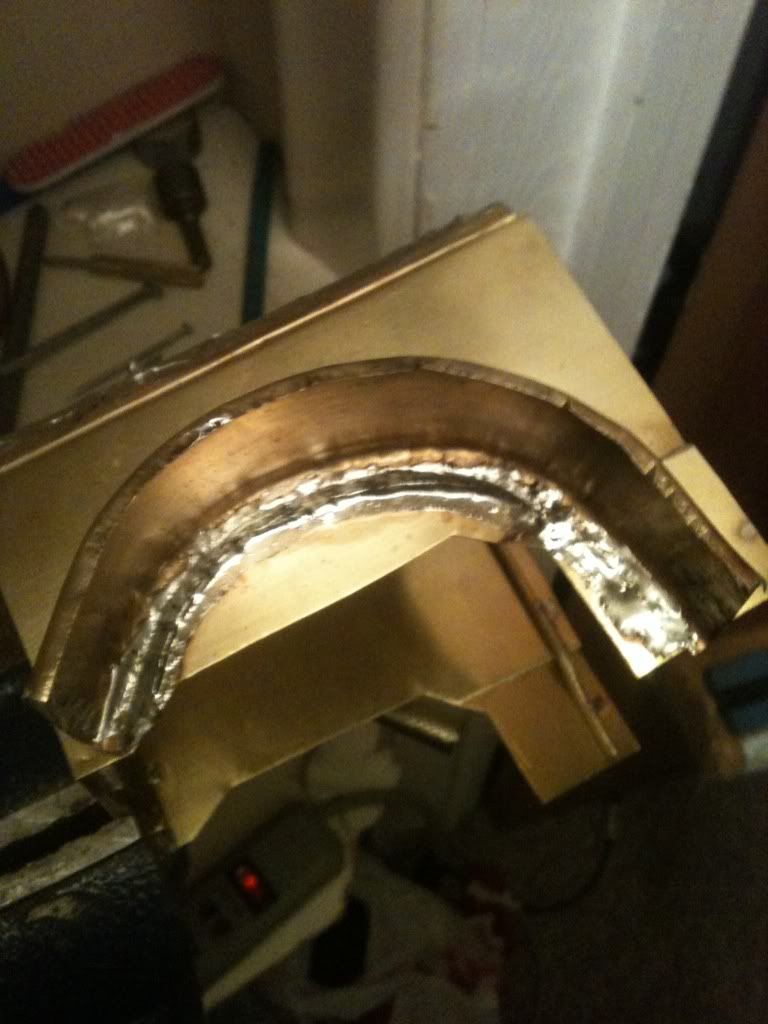 And here's one of the fenders completely soldered to the center section 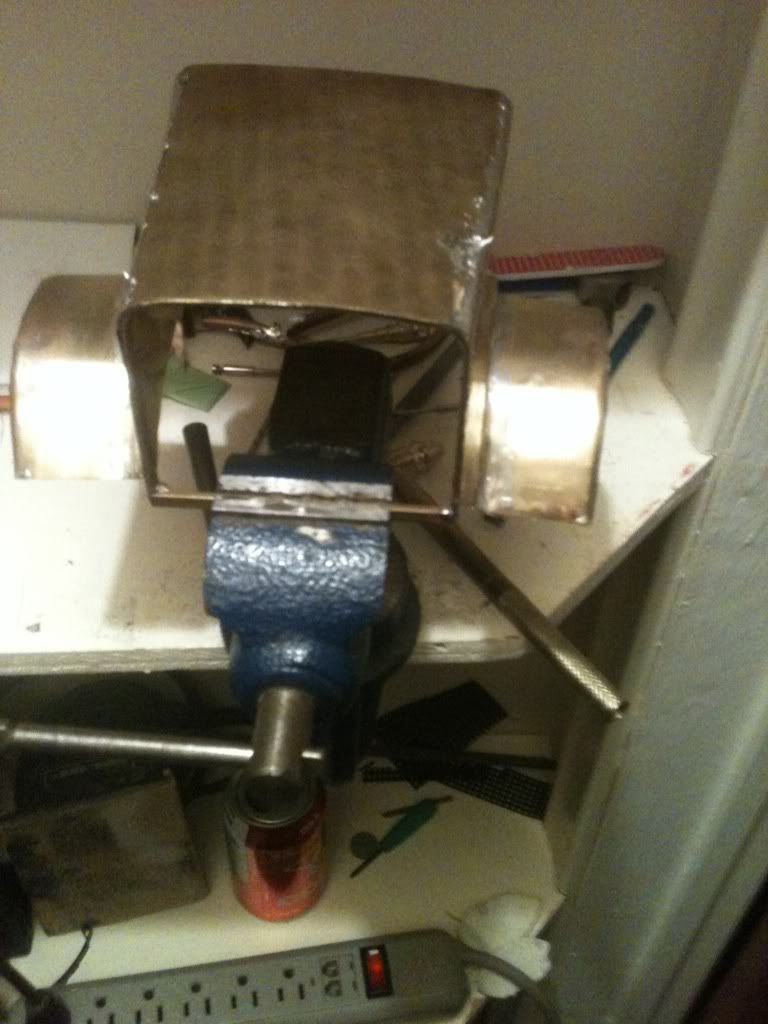 Both fenders installed  It fits really nice 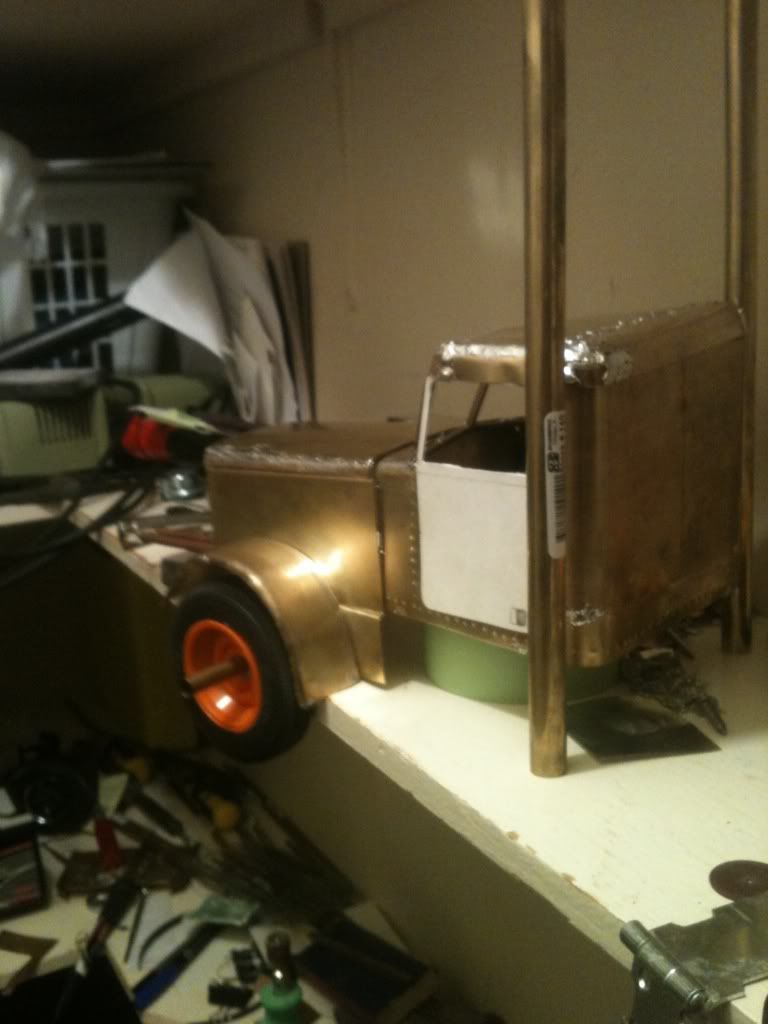 And here's some more mock up pics to see the progress  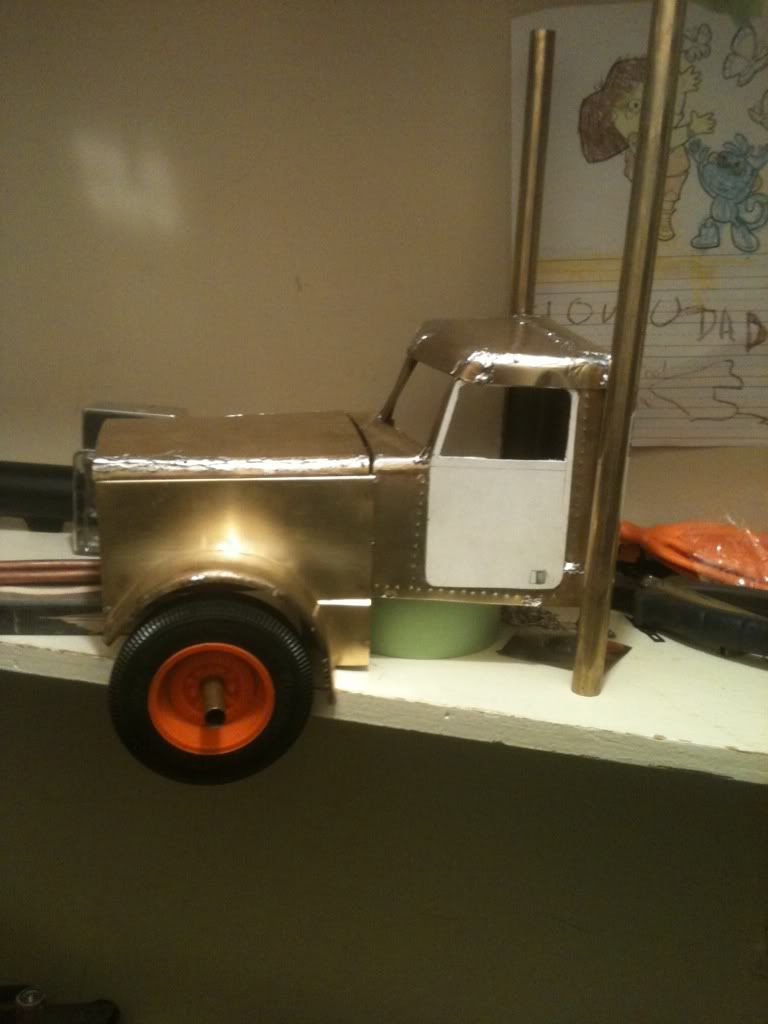 So what do you guys think? Tim
|
|
#18
01-03-2012, 09:46 PM
|
|||
|
|||
|
Unfortunately I haven't had much chance to work the last couple days, but I do have a small update
 I finished triming the door openings  I then cut a piece of aluminized tin to replicate the aluminum door sill  And bent it to match my opening Next up will be the doors and hinges I hope you guys are enjoying watching this build as much as I am enjoying the build of it Tim
|
|
#19
01-03-2012, 10:28 PM
|
||||
|
||||
|
Tim the body is really coming along nicely great job!!
__________________
Paul W. "Tamiya Cowboy" HI.. My name is Paul.. And.. I.. Have a Cabover Addiction. RIP FreddyGearDrive 2-12-59/12-19-11 "LET IT EAT" Like Us on Facebook "Corn Field Mafia" To view links or images in signatures your post count must be 10 or greater. You currently have 0 posts.
|
|
#20
01-06-2012, 11:05 AM
|
||||
|
||||
|
spectacular!! hope you figure out the hinge!!!!!!!!!!
__________________
Grabbin gears and Rollin wheels ! LETS BLOW SMOKE!! Member of the Central Plains Mini Truckers,and a Minnesota road hammer. To view links or images in signatures your post count must be 10 or greater. You currently have 0 posts. Flat bedders do it with chains and straps,but now im yanking 53's To view links or images in signatures your post count must be 10 or greater. You currently have 0 posts.
|
|
| Currently Active Users Viewing This Thread: 1 (0 members and 1 guests) | |
|
|


 Hybrid Mode
