|
|||||||
| Construction Equipment If it digs, pushes, hauls dirt "off road" post it here. |
 |
|
|
Thread Tools | Display Modes |
|
#41
 01-05-2012, 12:35 AM
|
||||
|
||||
|
That's how the wdc rims fit together. And I'm not entirely sure, but I think the inner bore tapered to the center a hair so an aluminum ring fit between the two halves to press against the inner bead of the tire to lock the tire to rim. Zero slippage!
__________________
Sharing knowledge is one thing that defies basic arithmetic logic --- the more you share, the more you get! Joe 
|
|
#42
01-06-2012, 12:34 AM
|
||||
|
||||
|
Wow pugs that sounds one heck of a challenge! Yea I have learned to keep spinning the handle until i get resistance and measure from there, and it kinda works. Hahaha
Lil Giants - thats good news, I geuss I am doing something right, ahaha ") Well today I felt like I was finally getting somewhere, I milled out some sheet steel and welded up the front or the rear chassis. So now it is beggining to finally look like a chassis. And then i stitch welded the rear chassis together (I think thats what it is called). But I must say im getting sick of cutting out 16GA steel on the mill. With the warping form the clamps there are spots where it doesn't cut and other spots where the pass is a little deep for our small machine. I may see if i can get the front end cut out by the water jet place but the road if its not to exspensive. Heres some pics of todays work: 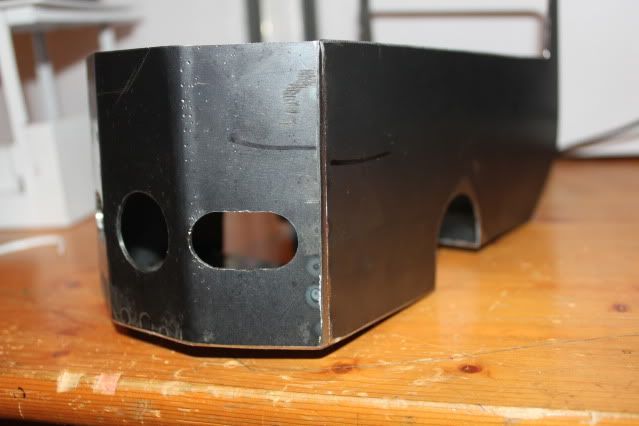 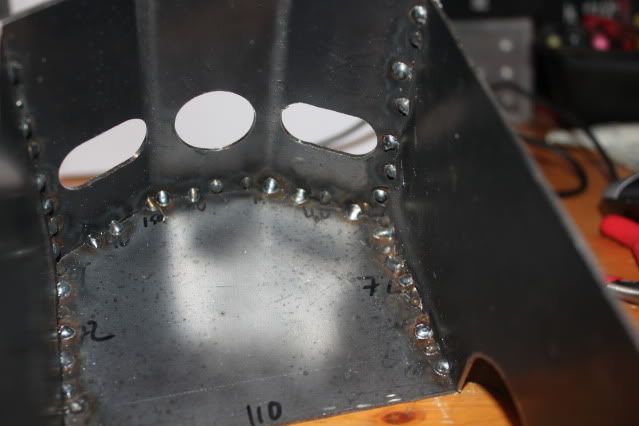 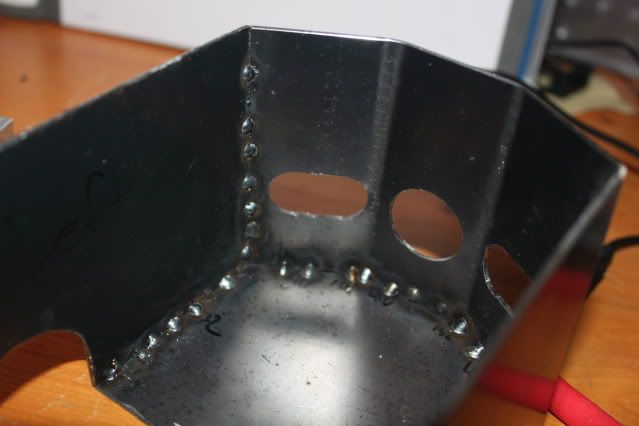 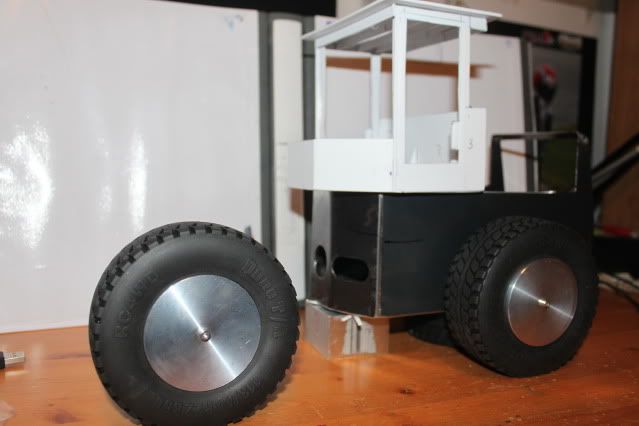 Thanks for lookin! Chris
|
|
#44
01-06-2012, 03:59 PM
|
|||
|
|||
|
yeah, I hate milling thin sheet too. Usually use an aluminum subplate and drill any holes I can through the sheet and use bolts through those holes into aluminum plate, then mill profile into alum plate a bit to be sure deep enough.
__________________
Jeff
|
|
#45
01-06-2012, 09:05 PM
|
||||
|
||||
|
Quote:
|
|
#46
01-20-2012, 12:08 AM
|
||||
|
||||
|
Ah I see, Well I think im going for the easier route there is a waterjet cutting place down the road so im getting a quote for some parts and hopefully going to get them soon
 Also we finally got an edge finder so i cut one of the wheels out to see how they look and i think i will finish the rest of them when the co-axial indicator shows up. Heres a look at the wheels, Im liking them so far Also we finally got an edge finder so i cut one of the wheels out to see how they look and i think i will finish the rest of them when the co-axial indicator shows up. Heres a look at the wheels, Im liking them so far  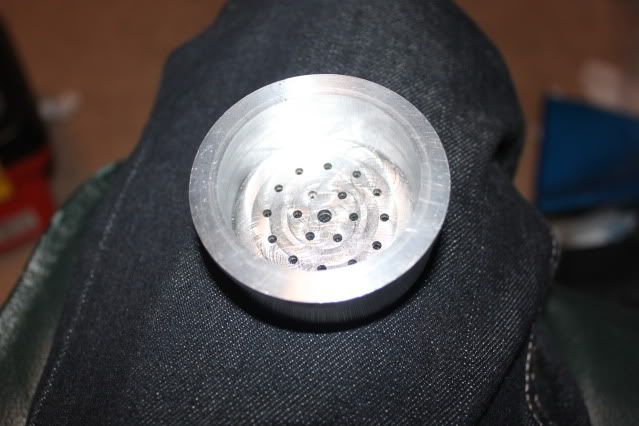 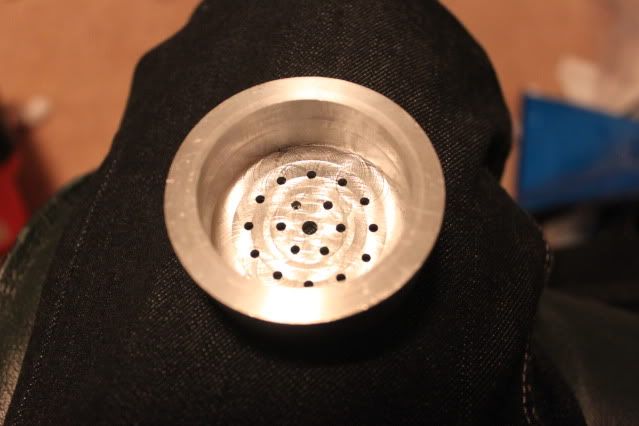 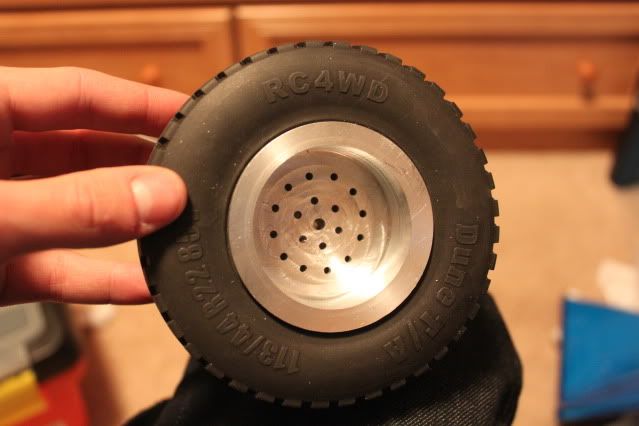 Then I got some work done on the boom, I ran it throught the machine to first face it all then started the chamfers and then some cutouts but still needs lots of work.:    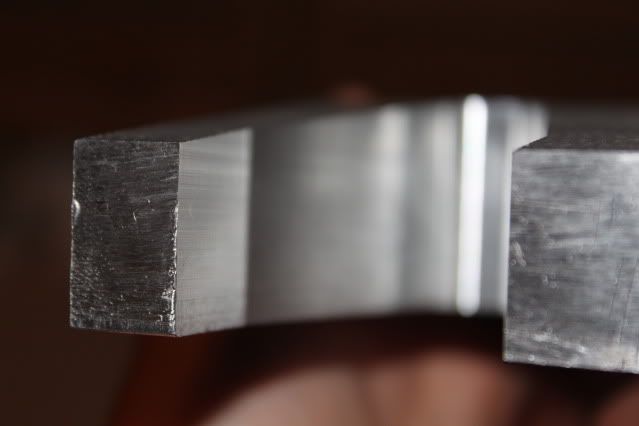 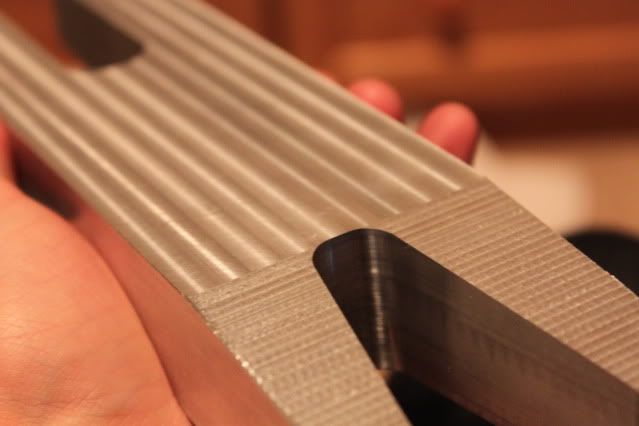 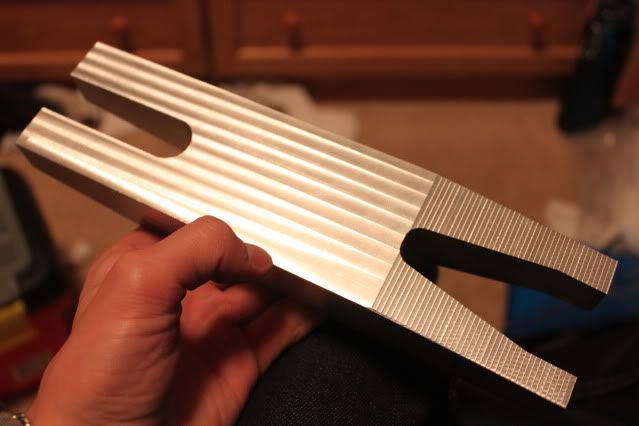 Well thats about it for now, Also I started a new job and had to work 48 hours last week on top of school so not to much has been getting done but hopefully that will change soon. Thanks for lookin, Chris
|
|
#48
01-20-2012, 12:26 PM
|
||||
|
||||
|
looking great keep it comming it will be a great looking loader, I am so jealous of all you guys and your scratch builds I neither have the skills or the tools to pull that off. my hats off to all you talented builders on this forum.
|
|
#49
01-23-2012, 11:27 PM
|
||||
|
||||
|
Haha yea the boom is a beast! I got it almost finished all it needs now is to have the final drill sizes drilled at all the center drill spots but ill do that when i get all my hardware figured out. Surprisingly the boom weighs only 1.12 lbs (515g)
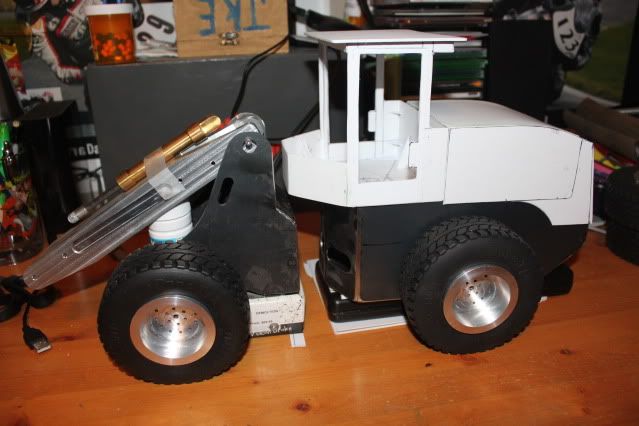
Thanks chaseracer! I really appreciate it, But just remeber skills are only part of it if you've got patience it really helps i've screwed up more than a few parts cause i want it done now hahah. Heres another update the boom is pretty well finished and the front end will be welded together tomorrow as i got the pieces water jet cut from a local shop ( http://www.a2zwaterjet.com/) great guys to deal with! And we got a new cooling system which should be coming this week and i hope we get the co-axial indicator to finish off the wheels! I also ordered some gearhead motors so i will be starting the axles once the wheels are done. Heres some pics for you guys, its finally looking like a loader!! 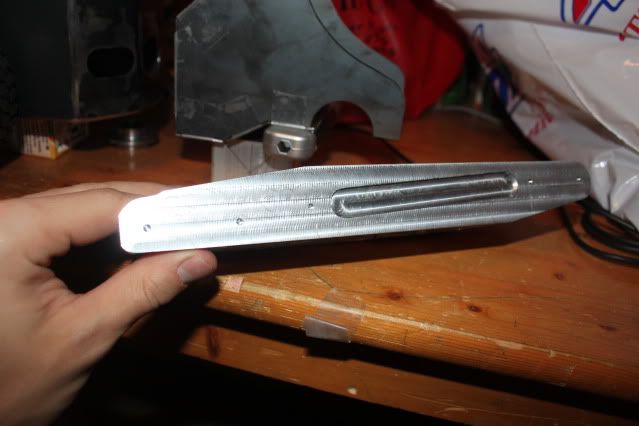 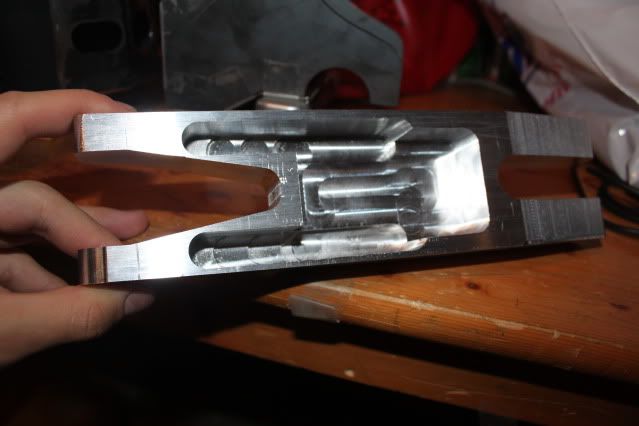 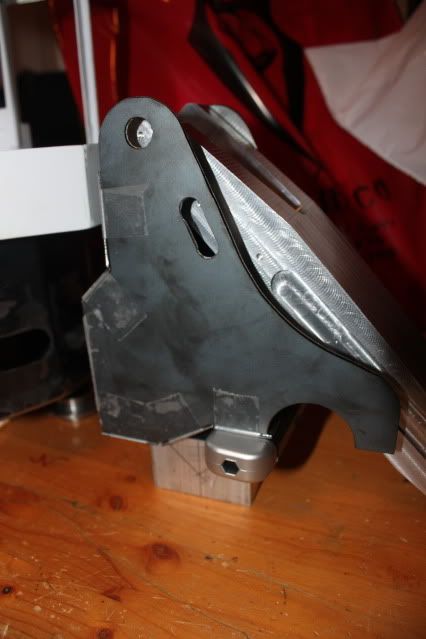 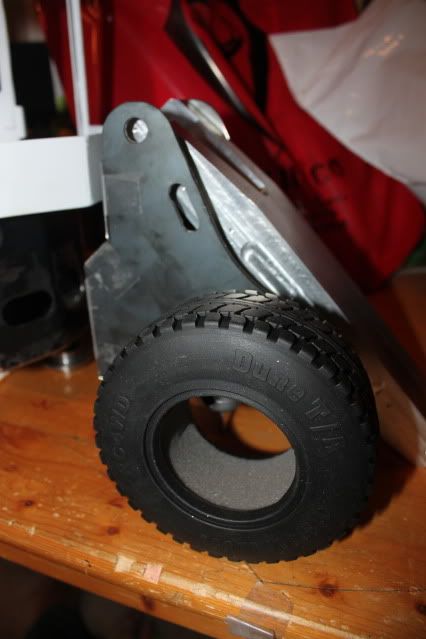 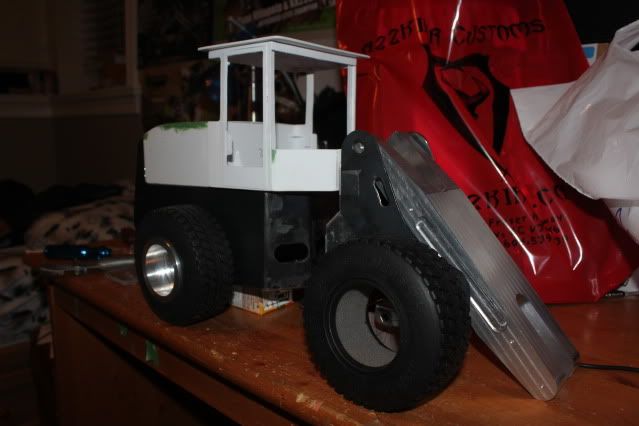  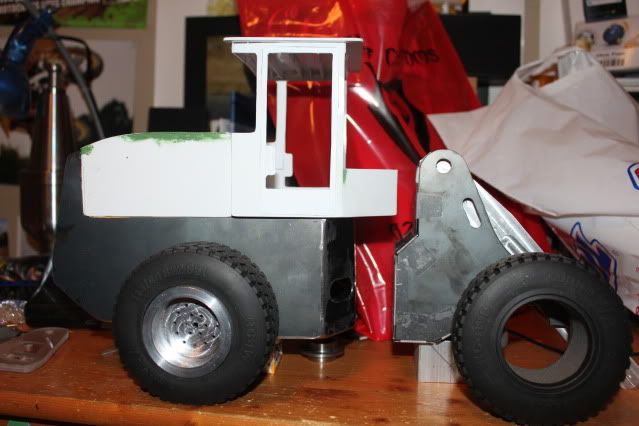 Thanks for lookin! Chris
|
|
#51
01-26-2012, 03:59 AM
|
||||
|
||||
|
Hey Chris, have you seen this machining video? At 5:50 he's using a lump of clay and a stick pin for a center finder, learned something new! http://www.youtube.com/watch?v=J4Etm...f=mfu_in_order
Keep up the great work. Cheer's, Neil.
|
|
#53
01-28-2012, 04:12 PM
|
||||
|
||||
|
doodlebug - Hmm never seen that method before, im always amazed how much there is to learn about metalworking, just when you think you've figured something out you have tons more to learn
RCP57 - Thanks! Chris
|
|
#54
01-28-2012, 05:13 PM
|
||||
|
||||
|
Quote:
my whole life is school in it self   loader is lookin great
__________________
RIP FreddyGearDrive 2-12-59/12-19-11 To view links or images in signatures your post count must be 10 or greater. You currently have 0 posts.
|
|
#55
01-28-2012, 07:06 PM
|
||||
|
||||
|
Quote:
   Cheer's, Neil.
|
|
#56
02-01-2012, 01:07 AM
|
||||
|
||||
|
doodlebug - Yea the internet is a great thing even though it can cause many bad things. I love how it is basically a big open sourced encyclopaedia, if I want to learn something it is there, you just need to find it.
I'm getting really excited now! I have started making a bucket, almost finished the wheels (buggered one up real bad  ) they are a 3 piece inner beadlock design as you have probably seen before. But they are 100% custom and my own design . i hope to cut out the hub caps tomorrow as i have 3hrs of available tim on the mill. Then while that is running ill get the axles ready for drilling and milling. ) they are a 3 piece inner beadlock design as you have probably seen before. But they are 100% custom and my own design . i hope to cut out the hub caps tomorrow as i have 3hrs of available tim on the mill. Then while that is running ill get the axles ready for drilling and milling. I also got my motors today and boy are they strong for there size (OD= 21.8mm). When i first opened the box i was a little nervous as they were the tiny little guys but with a full 12VDC applied to them if you try to even slow down the motor shaft with you fingers it is impossible, the motor doesn't even show any sign of slowing down. They are Beetle B231 12VDC gearhead motors from robotcombat.com (http://www.robotcombat.com/products/0-B231.html) once i've got them installed and running i'll let you know how it goes but they seem to be perfect for the job. And they have a whopping 1.97 lb/ft each so with one per wheel i will have 7.708 lb/ft which should be plenty. But they do draw 6.8A at stall current Gonna need some big wire for those.Now for what you have all been waiting for. With the wheels done I started to machine the valve system while I waited for the motors. Rather than make three individual valves like in my original design i decided to make it one big block for ease of machining and time. So far i have the final outter dimensions milled and just need to do the final pocketing on the main piece. Then turn the spools and put the rest of the peices together! I really hope my design works or else I might have to buy some valves Heres some pics for you guys! 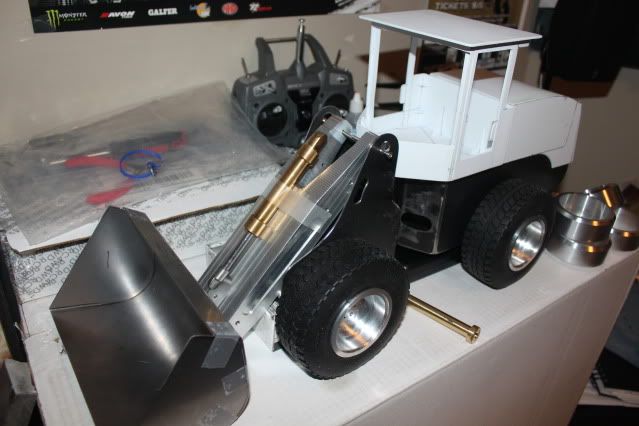  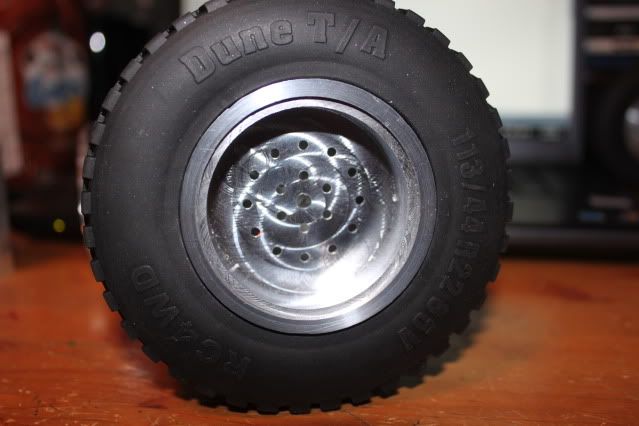 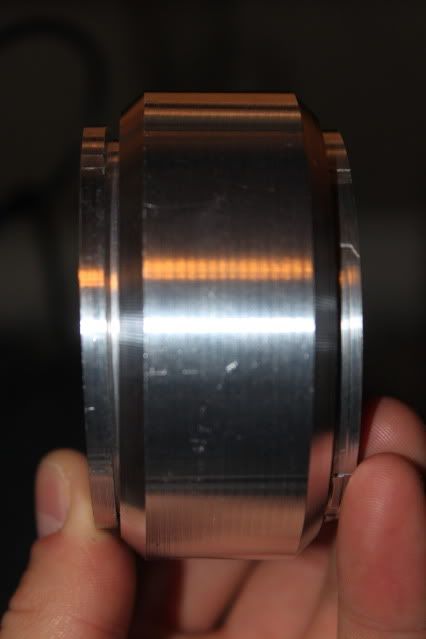 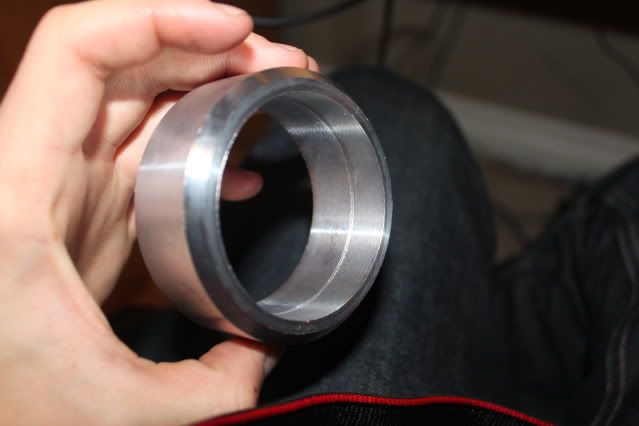 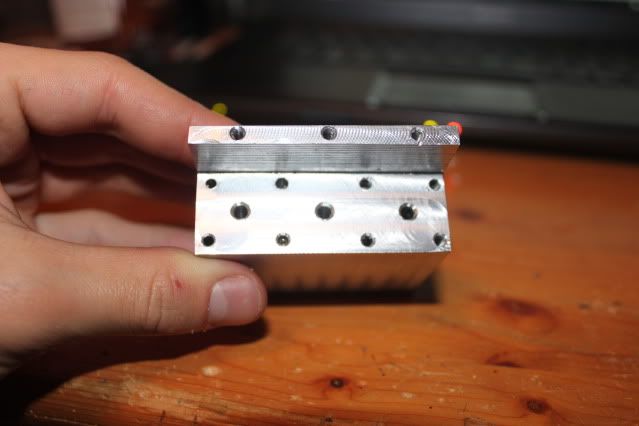 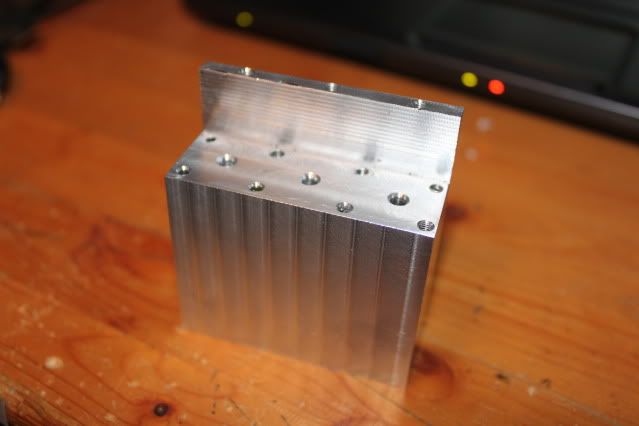 (The hole where the spool goes still needs to be drilled out and reamed, its not actually going to be only 3mm like in the pic  ) )Also if there is enough interest and the valves work I may make some and sell them aswell as sell some plans. Just put a post down if you might be interested. No guarantee`s though as Im going to school, working, on a community soccer team and tryin to build this thing. Cheers, Chris
|
|
#57
02-01-2012, 07:26 AM
|
||||
|
||||
|
Hey Chris, alturnative's to the expensive oversea's stuff, should be welcomed by this crowd!
Sound's like rimpull(wheel torque) would be close to operating weight. Should be very aggresive when finished! Cheer's, Neil.
|
|
#59
02-01-2012, 05:39 PM
|
|||
|
|||
|
nice work i haven't been watching this close but you you caught my eyes lol the machining is nice wish i could do half as good keep up the great work
__________________
I built this thing and have it working now what do I do with it?
|
|
#60
02-03-2012, 01:39 AM
|
||||
|
||||
|
Thanks everybody I really apprecaite your comments! Its always a good motivater to see that other people enjoy watching my work
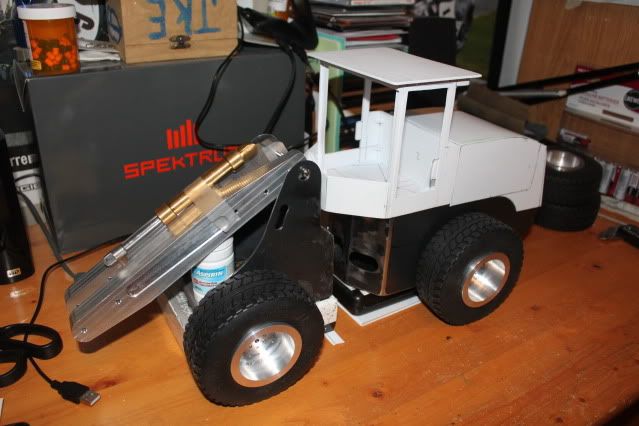
I was able to get some time on the lathe today and finished off one of my axle cases and tested to see if they would fit the motors and if they looked good. The motors fit perfect and I think they look really good. I may narrow the center bump but it is scaled off the 1:1 loader so i may leave it. Also if anybody has noticed my build is all over the place because when I have shop time I gotta make due with whatever material and machines I have available. And I am on very tight time restaints so I have to work quick without any mistakes. Also because I have all my plans done for everything it is nice because I can machine the part and know it is going to fit. This has got rid of lots of headaches during test fitting and reduces the amount of "bad" parts or Learning experience's . Heres some pics of the front end and axle case: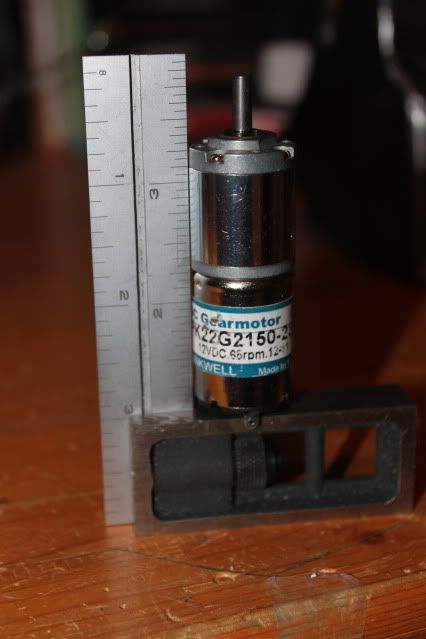 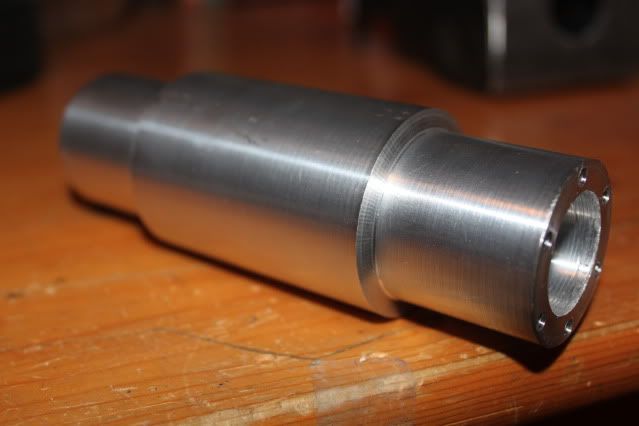 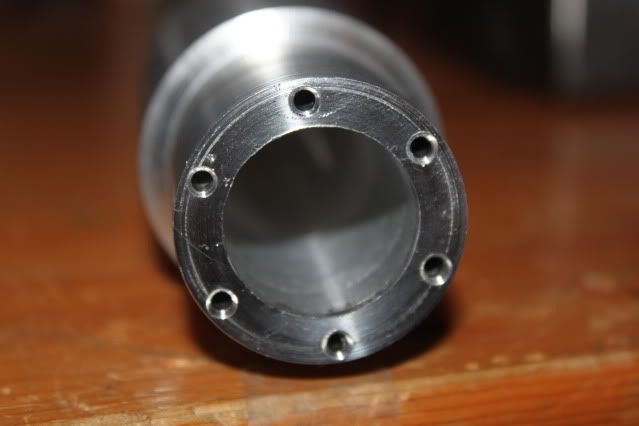 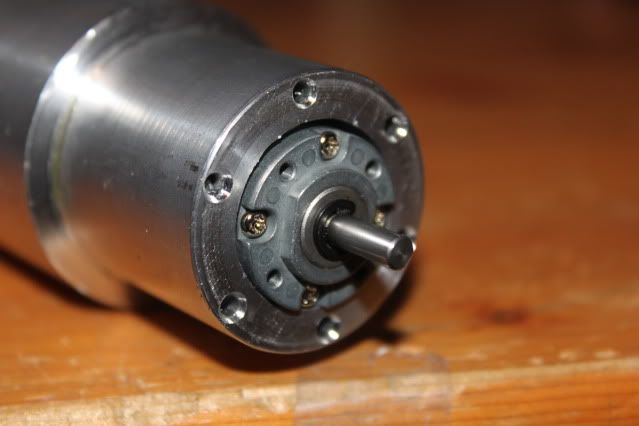 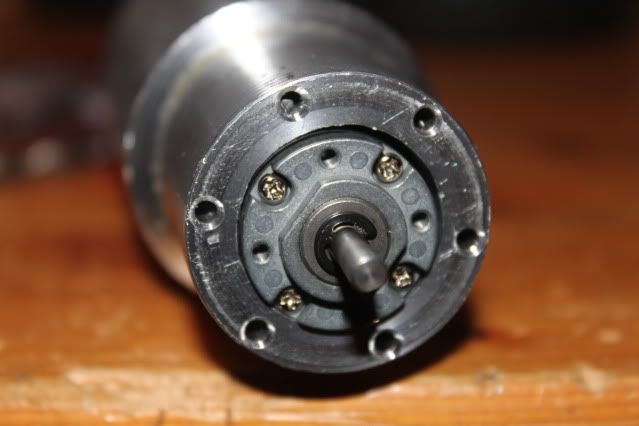 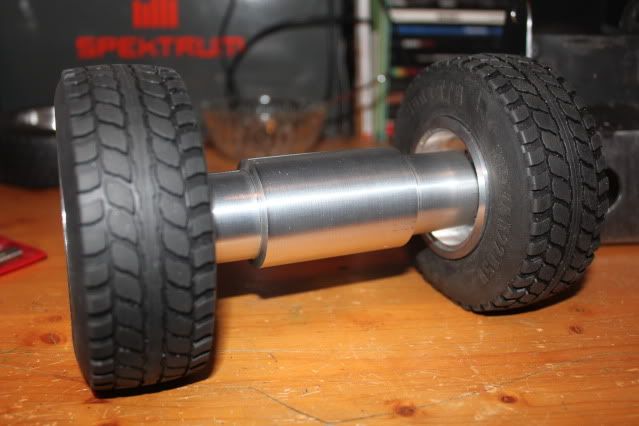 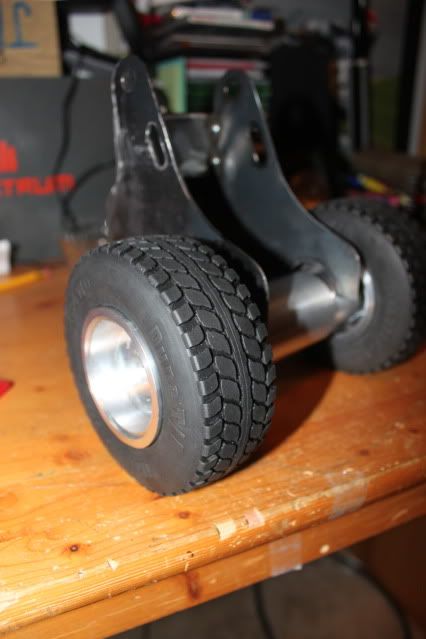 Final slotting to fit chassis still needs to be done:  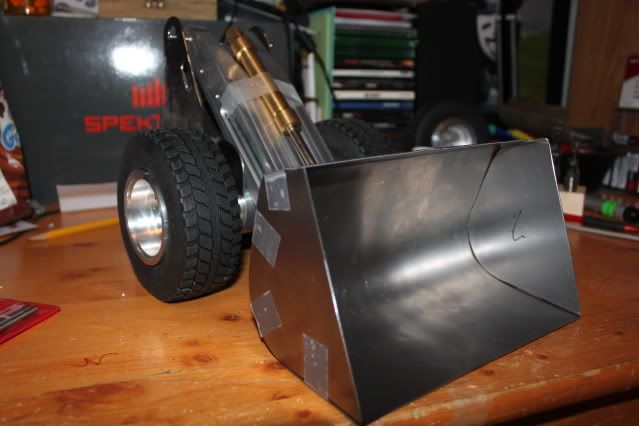 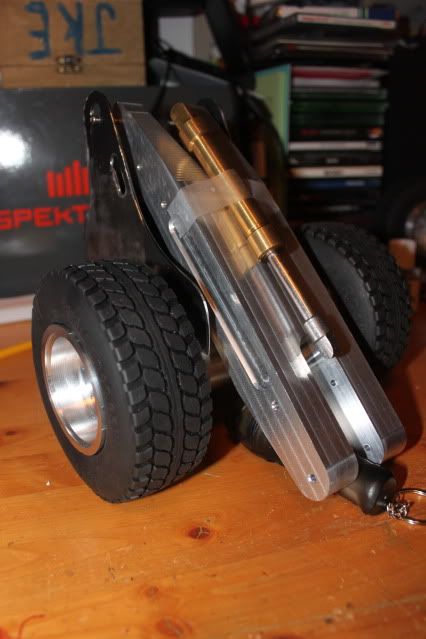 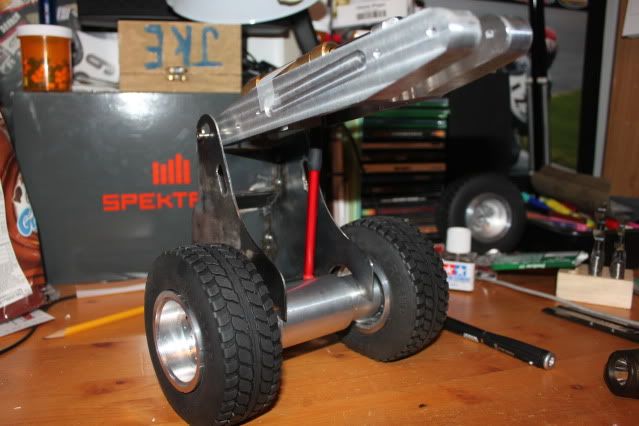 And pugs see how you say it is doable to work around backlash now all my parts that come off the lathe that need critical dimensions are within +/- 0.5mm Thanks! Chris
|
|
| Currently Active Users Viewing This Thread: 1 (0 members and 1 guests) | |
|
|


 Linear Mode

