|
|||||||
| Construction Equipment If it digs, pushes, hauls dirt "off road" post it here. |
 |
|
|
Thread Tools | Display Modes |
|
#21
 12-14-2011, 06:27 PM
|
||||
|
||||
|
Update!
I got the CNC running yesterday after filing the dam coolant up ") the tank is in the bottum of the enclosed stand our school build and i had to pour it through a 3/4'' hole through a 2sqft door. Not exactly the best design but it works. Anyways i got some plates cut out of the 16ga steel and started to tack weld the rear end together. the tank is in the bottum of the enclosed stand our school build and i had to pour it through a 3/4'' hole through a 2sqft door. Not exactly the best design but it works. Anyways i got some plates cut out of the 16ga steel and started to tack weld the rear end together.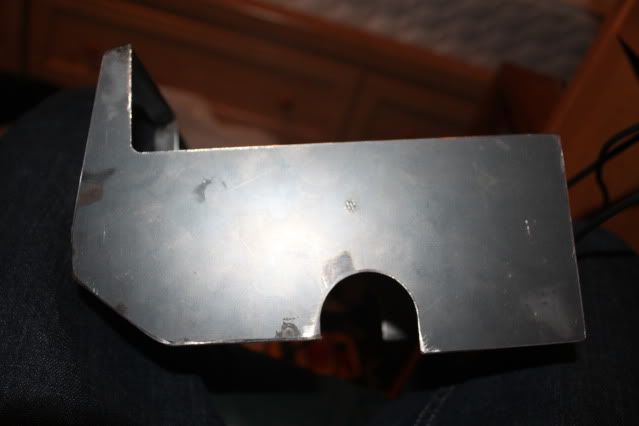 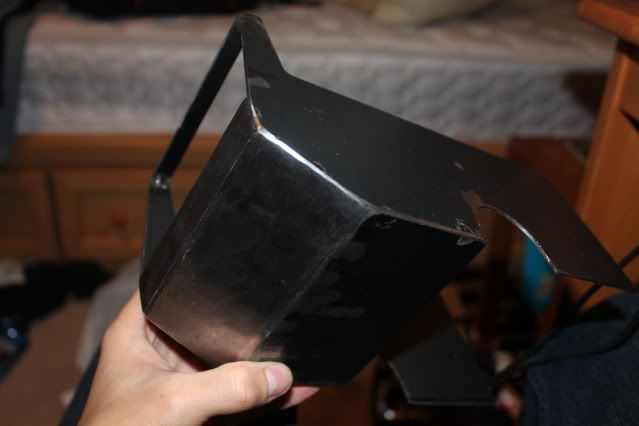 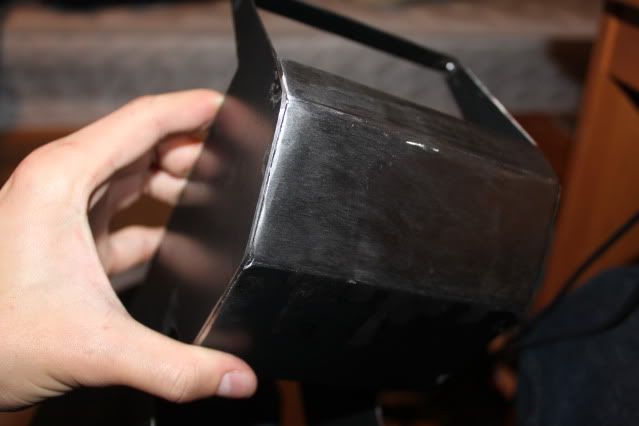 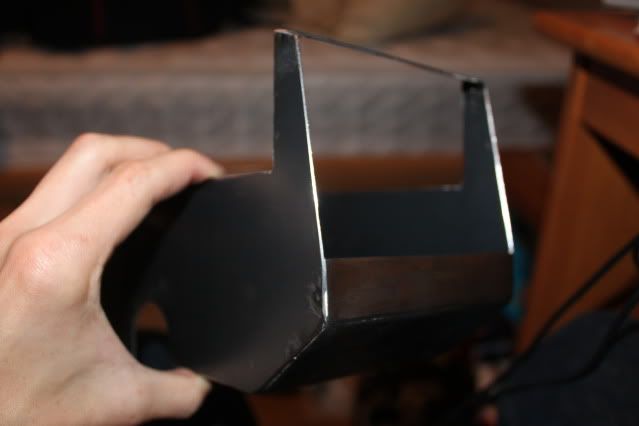 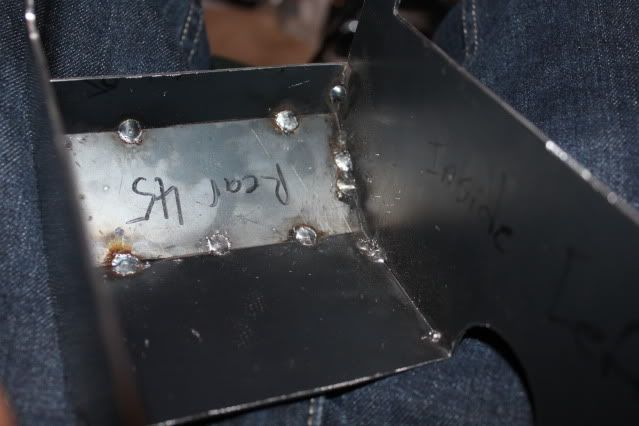 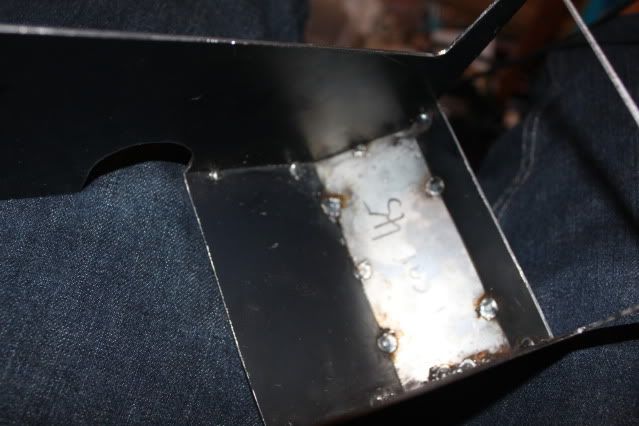 And a shot to show the size of the model: 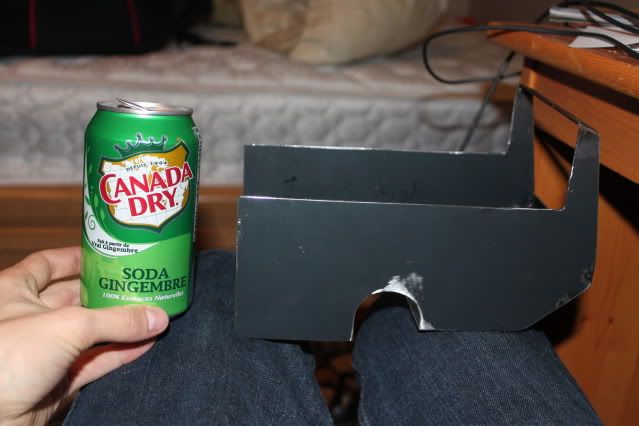 Should be a nice size, and will look good behind a semi as its only a few cm wider  mabye a lowboy will be next. mabye a lowboy will be next. Tonight i should be getting my tires and pump!! so hopfully in January when i get back to school you will see some nice machined wheels! This may be the last update for the year as my school closes on friday for Christmas and I am not to sure if the shops will be open or if we will be cleaning. Thanks, Chris 
|
|
#23
12-17-2011, 08:35 PM
|
||||
|
||||
|
nice work on the cylinder
__________________
To view links or images in signatures your post count must be 10 or greater. You currently have 0 posts.
|
|
#24
12-18-2011, 10:31 AM
|
|||
|
|||
|
very nice work. one thing to think about when you are using AL for your spoos is that the oil and AL can have a negtive chemical reaction and make the oil really dark and a bit acid. but i don't think it a big problum just to let you know.
__________________
To view links or images in signatures your post count must be 10 or greater. You currently have 0 posts.
|
|
#25
12-18-2011, 09:55 PM
|
||||
|
||||
|
Thanks for the nice comments everybody!
mog - thanks for letting me know! I think I will be doing the majority of the system out of brass because of how easy it is to work with. And i can solder to it. Also i got some parts in!! 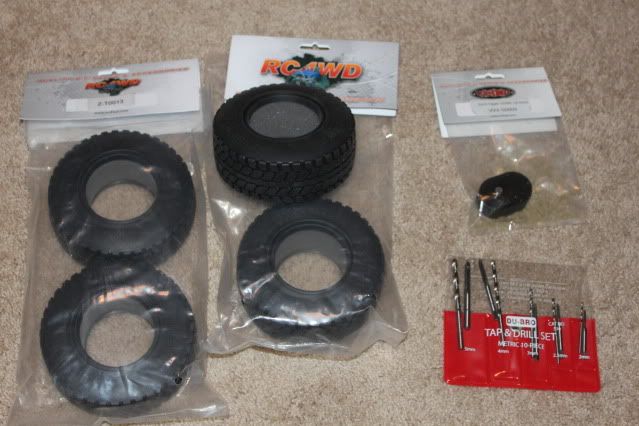 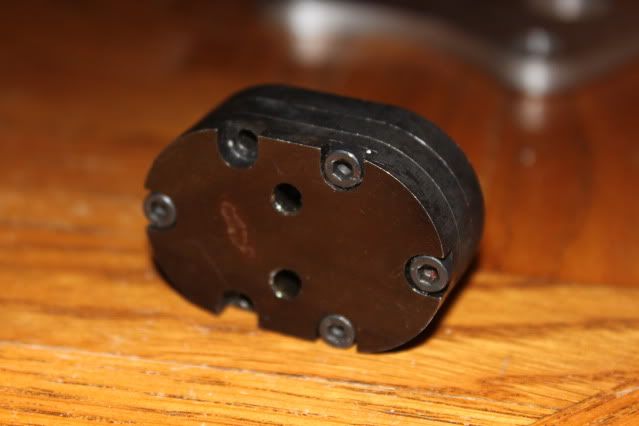 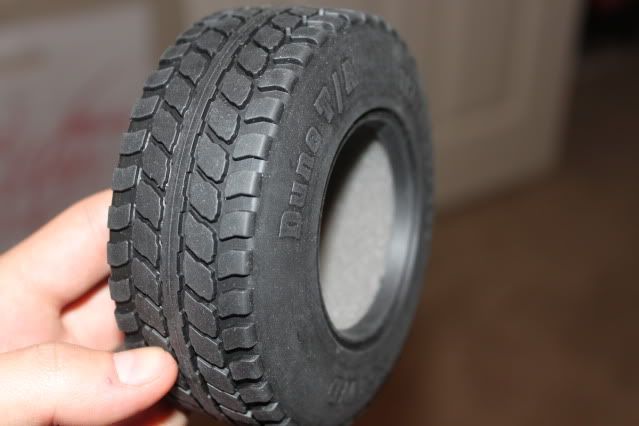 Chris
|
|
#26
12-21-2011, 02:34 AM
|
||||
|
||||
|
CAD Update!
Finally got everything perfectly (I hope) designed on the axles. It was a real pain trying to have a motor connecting to a hub that passes through a brass pushing and finding a way to turn the set screw on the hub. And having it all fit in the diamater of the axle for looks (sounds really confusing so i can post a pic if you guys want) Heres a CAD render of the axle: (For those who haven't noticed, I love CAD! I can make tons of bad parts until I find the perfect design and it doesn't cost me money in wasted material!!)Anyways heres the pic: 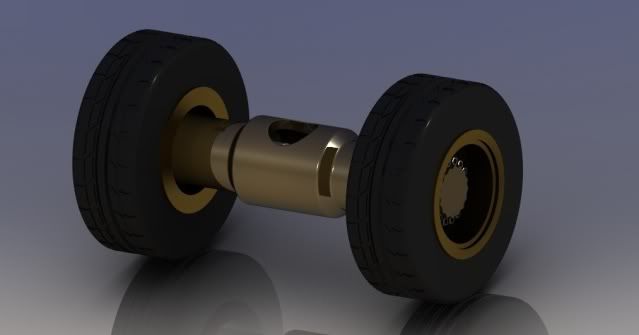 Believe it or not one axle has 85 Parts in including the 54 bolts :blink: And that doesn't include the mounting hardware. -Chris
|
|
#27
12-21-2011, 11:35 PM
|
||||
|
||||
|
I don't seem to have the correct detail shot on file of how Stahl locks their wheels to the output shaft of the gearhead motors, hopefully this one will be sufficeint?
There's an approximate 2.5 or 3mm hole drilled through the gh motor shaft, inward about 5mm of the end for a 10mm length steel pin to pass through. You can see the slot in the wheel of the pic. The entire wheel slides past the hole on the gh output shaft so you can install the steel pin. Pull the wheel outward to set the pin into the wheel & it's all held in place by bolting on the simulated planetary hub cover. This is the best method I've ever seen of locking a wheel to a driveshaft, no chance of any set screw(s) coming loose.  The TLT axles in my 6wd semies work on much the same as this principal, but have a big ugly nut showing. 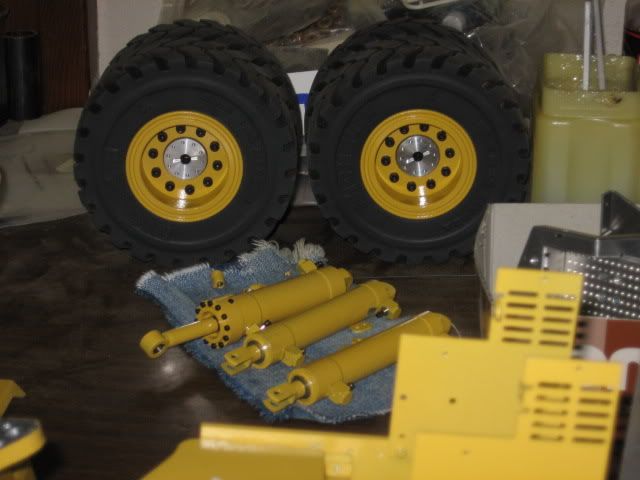 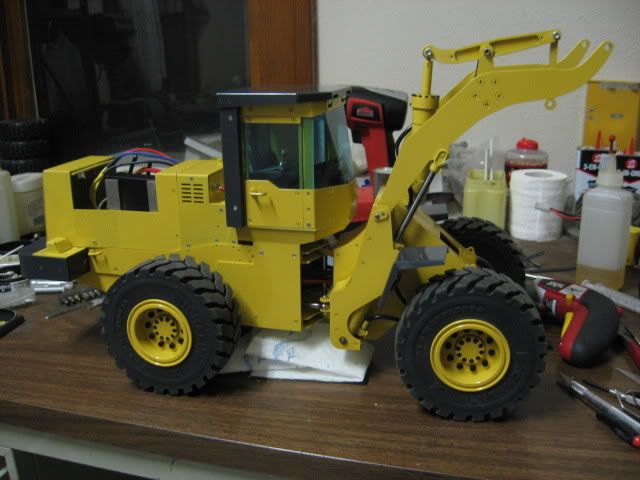
__________________
Sharing knowledge is one thing that defies basic arithmetic logic --- the more you share, the more you get! Joe
|
|
#28
12-22-2011, 01:39 AM
|
||||
|
||||
|
Ah I see, looks like I may have to go back to the drawing board. My original design in the picture below uses a single set screw pushing onto a 4mm D shaft on the gear head. It is designed to support a heavy vertical load but I never really thought about how easy they would come off. Heres what Originally done:
 Basically a hub rides inside a brass bushing which is inside an aluminium axle end cap bolted to the axle case (not shown) to support vertical load and a single M3 set screw on the hub presses against the D-shaft. Thanks for the pics! I'll start working on new design, mabye something build right into the rims  -Chris
|
|
#29
12-22-2011, 02:35 AM
|
||||
|
||||
|
Well that was nice and quick, rather than redo the whole mounting system I just put a 2mm hole running through the motor shaft and run a set screw with a step i believe its called. This will replace the original pressure fit set screw I originally had. Now it can take a heavy load without falling off! Thanks for the idea Lil Giants! I probably would of never changed it and had problems in the future. Now I just need this Christmas Break thing to hurry up so I can get back in the shop
 , , Chris
|
|
#30
12-22-2011, 03:12 PM
|
||||
|
||||
|
Will that be a set screw with a long rod that will reach through into the other side of the hub for support on both sides of the motor shaft?
Something else while looking at your CAD from the vertical view... is your hub/wheel flush to the face of the gear head, as in a flat solid wall of material? The reason why I ask is that there should be some recess area so dirt/sand is free to fall out of the inner wheel, and not cause any unnecessary wear or binding. I hope that makes sense.
__________________
Sharing knowledge is one thing that defies basic arithmetic logic --- the more you share, the more you get! Joe
|
|
#31
12-22-2011, 03:33 PM
|
||||
|
||||
|
seeing that your using a bushing you want to avoid any dirt/dust getting in between the hub and bushing that could cause premature ware or binding . You prob. be OK with what Joe is saying depending how and where you will use it . for me , I would at least have some kind of seal or use a sealed stainless steel bearing with a space between for dirt/dust to fall through . OTOH , your doing a great job
 yes , cad is a great tool yes , cad is a great tool
__________________
RIP FreddyGearDrive 2-12-59/12-19-11 To view links or images in signatures your post count must be 10 or greater. You currently have 0 posts.
|
|
#32
12-31-2011, 10:57 PM
|
||||
|
||||
|
New Years Update!
Since I don't have any access to a lathe or our mill during the christmas break I decided to get some parts together and start doing some styrene work. Wow i dont give enough credit to the guys who work with styrene to make beautiful bodies. My design was simple and straight forward yet i still had a heck of a time putting all the pieces together.. I also got the chuck of aluminium for the boom, it measures a whopping 30mm x 60mm x 250mm. I just hope it wont be to heavy. And i also got the wheel blanks cut out. Now i just need to face and center drill them, then they are off the the CNC and drill press. Any way, on to the pics: 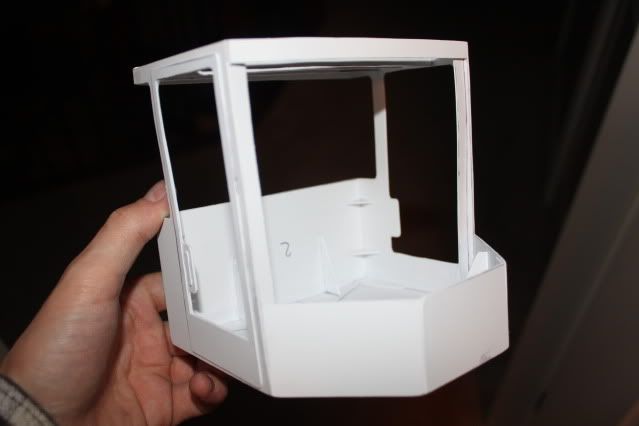 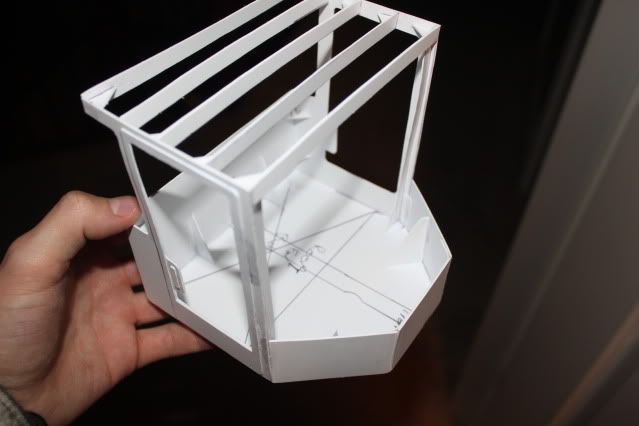 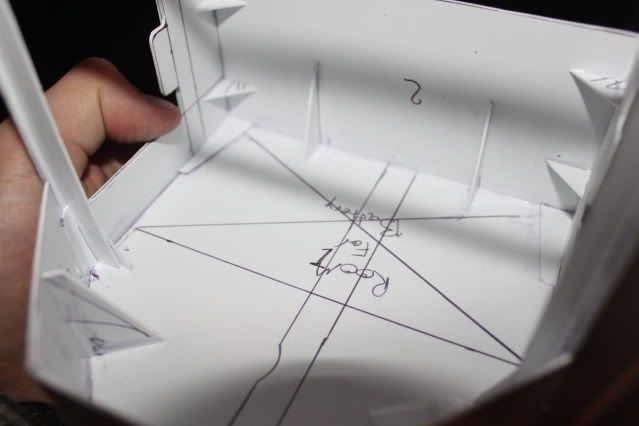 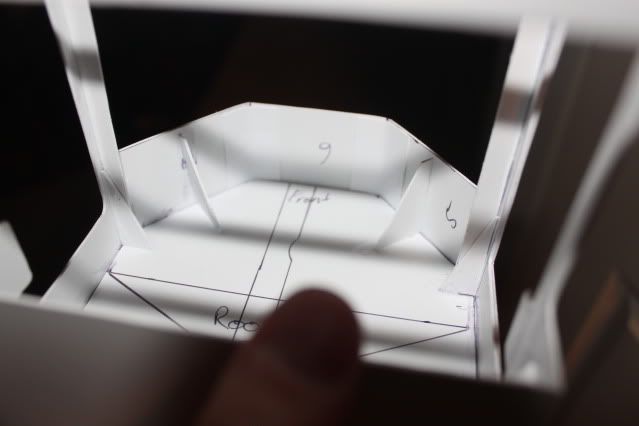 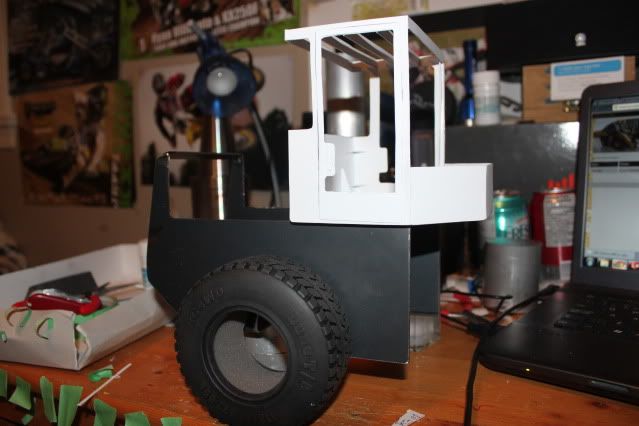 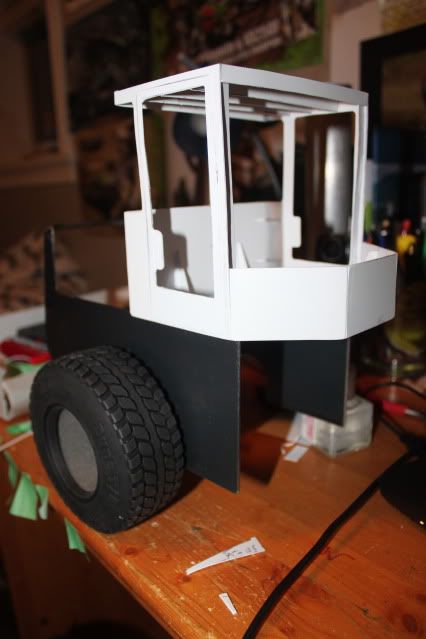 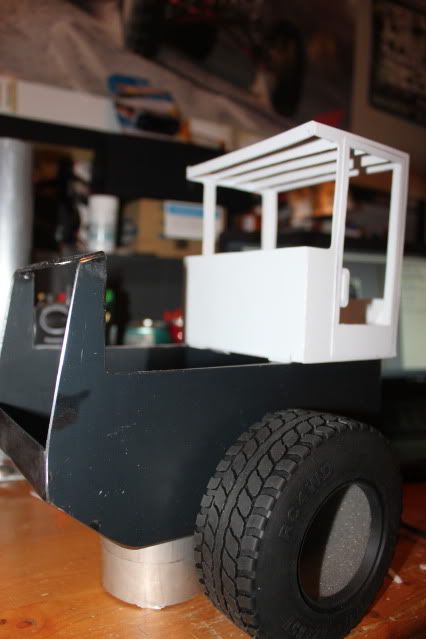 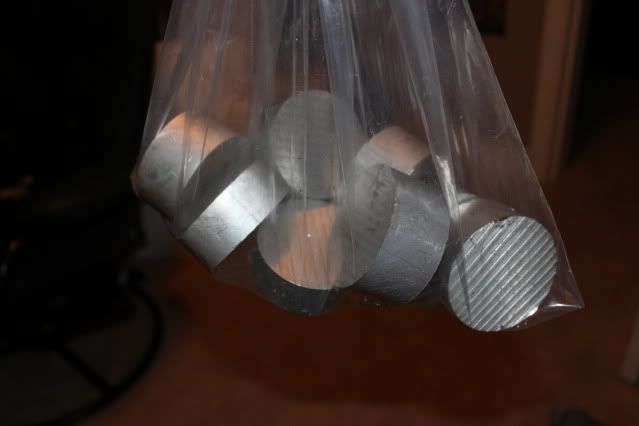 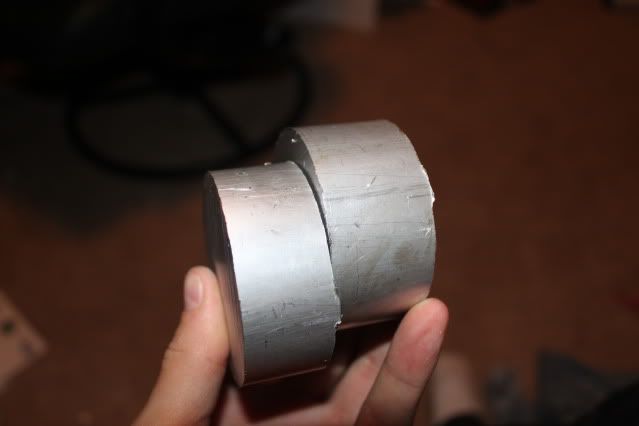 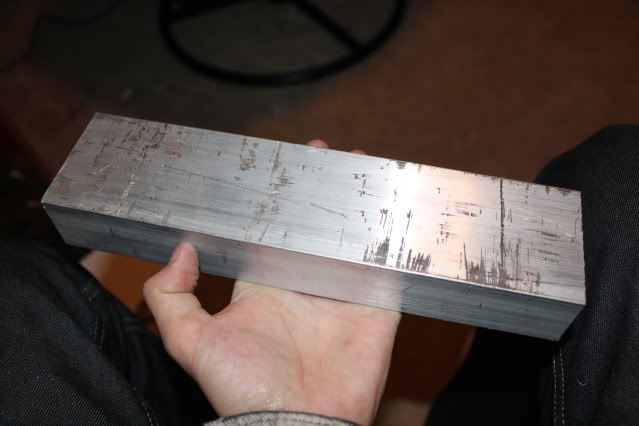 And since my old Digital caliper died i picked up a new one at KMS  Thanks for looking, Chris
|
|
#33
01-01-2012, 10:18 AM
|
||||
|
||||
|
Hey Chris, I didn't realize you were close by until you made the KMS comment. I'm guessing that you will have this done by the end of the school year so will you be able to join us at the truck show in Duncan this summer?
Keep up the good work! Reg
|
|
#34
01-01-2012, 12:36 PM
|
|||
|
|||
|
Outstanding work! Cant wait to see this one done
Scott
__________________
I run a single stack Mack with a dump body on the back!
|
|
#35
01-01-2012, 05:57 PM
|
||||
|
||||
|
That's coming along nicely Chris, looks as though your a natural at this hobby.
__________________
Joe
|
|
#37
01-03-2012, 12:28 AM
|
||||
|
||||
|
Thanks for the comments!
RCP57 - Yea I plan to be finished by June but I have got tons of work ahead of me. I'll have to see if I can make it out there as I need to work the summer for university in the fall. I'll be back in the shop tomorrow and start on the wheels, I'll try to get an update up depending on how much i get done. Chris
|
|
#39
01-04-2012, 09:30 PM
|
||||
|
||||
|
Thanks!
Well turns out the co-axial indicator i need to set my offsets for the mill hasn`t been ordered yet so I decided to get as much done on them as i could on the manual lathe. I was able to turn the final OD, drill the 4mm center hole, turn down the wheel lip and do a final finishing pass to clean it up and get all the final dimensions. Luckily I was able to turn them to within 0.4mm of my plans, which is pretty good considering how worn out our lathes are. For example the cross slide knob can be turned a full revolution before moving the actual table. Each part took 30-40 mins to machine and I had to make 8 of em. So i was pretty busy in the shop!! Now they are really ready for the mill as they only need to be bored out and have the mounting holes drilled. We are going to try and get the co-axial indicator by next week so I hope to finish the rims next week. Anyways heres the pics: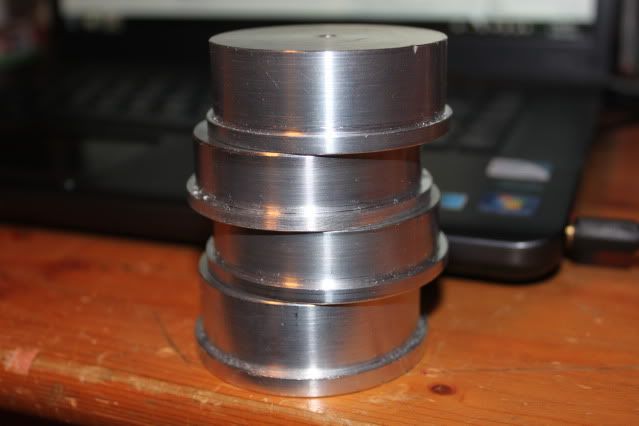 How they look until final machining: 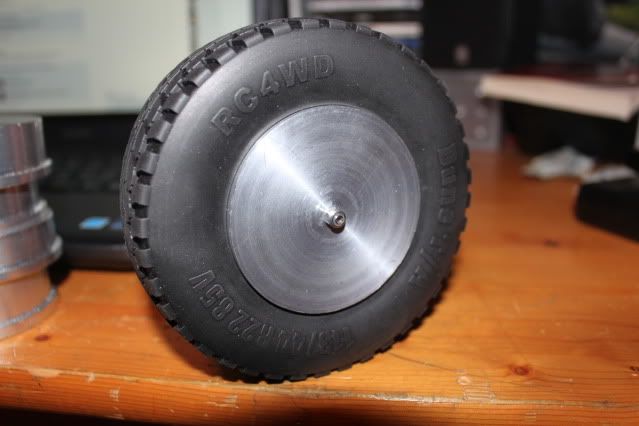  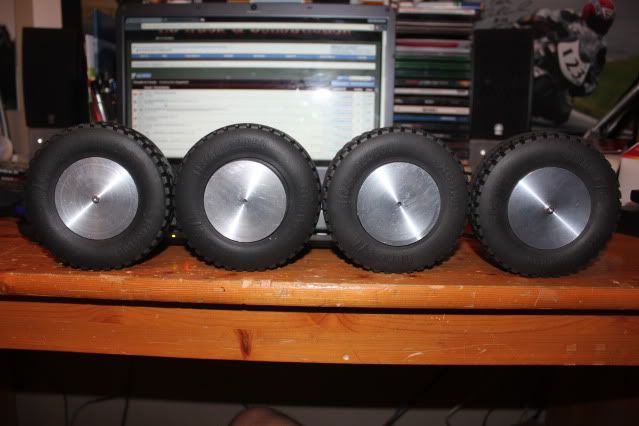 Thanks for lookin! Chris
|
|
#40
01-04-2012, 10:44 PM
|
|||
|
|||
|
Looking good.
The tech college I went to, we had a bridgeport mill with 1/2 turn backlash in x and y handles. One of the required projects was an internal square pocket milled to +-0.0002" and it had to be done on that mill. Lots of guys struggled with that one, but it is doable. You learn how to work around the backlash.
__________________
Jeff Last edited by pugs; 01-04-2012 at 10:47 PM.
|
|
| Currently Active Users Viewing This Thread: 1 (0 members and 1 guests) | |
|
|


 Linear Mode

