Now the Peterbilt 359 steps do match the steps that Wedico provides in the kit. Kind of. Wedico's steps are lacking some detail, and what I really wanted were some nicer looking steps. Something more along the lines of the Peterbilt 379 steps. I planned to get some machined out of aluminum, but to test the look and fit, for sizing, I mocked some up with styrene.
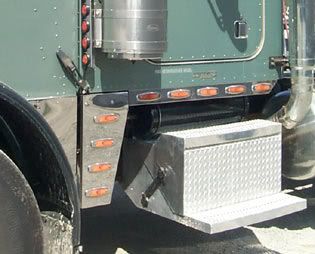
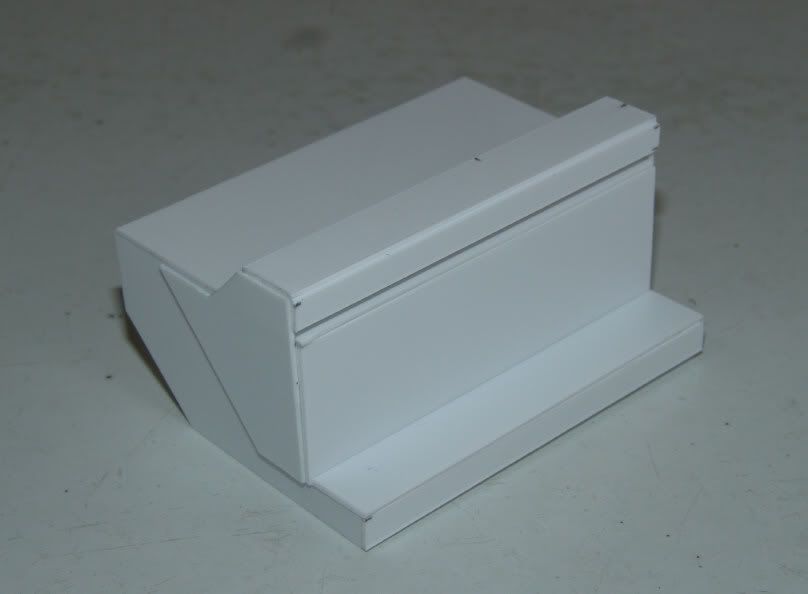
Driver's side.
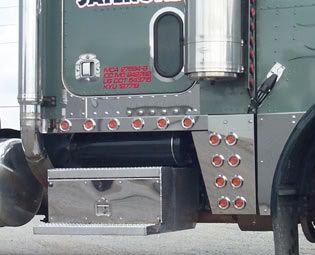
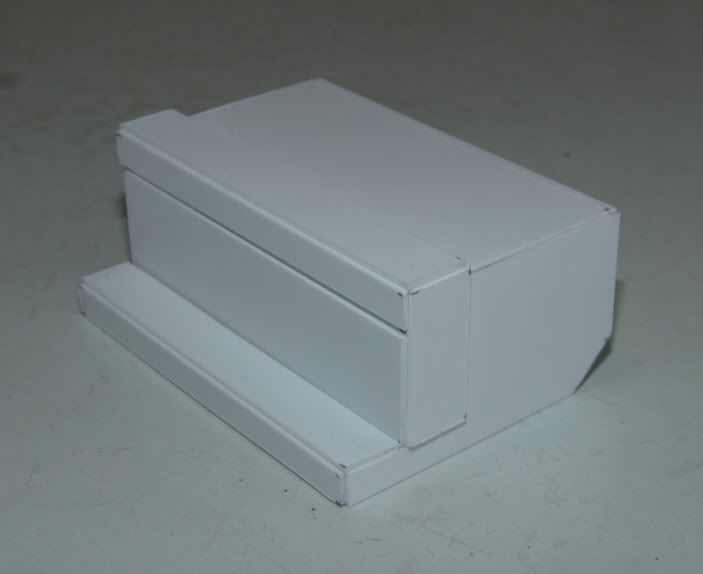
Passenger side.
At the present, I still have not finalized any arrangements to have the steps machined from aluminum, but I do have some drawings made up. Now I have second guessed myself though, as I have started to consider the posibility of mounting the fuel tanks under the cab instead. Going for that vocational Peterbilt heavy haul look. We'll see!
About this time, I was getting frustrated with with truck. A little. Two major things, though they may not seem major, were really bugging me. The fender gap, and my Wedico lift axle. It took me a while to come up with a solution for both.
For closing up the fender gap, I had tried a few different ideas. Running fewer springs, getting rid of the driven front axle (something I really, really didn't want to do), and I even considered lowering the cab and hood. The biggest problem was that the stock hood hinge point interfered with the front suspension hanger. The two simply could not share the same space together.
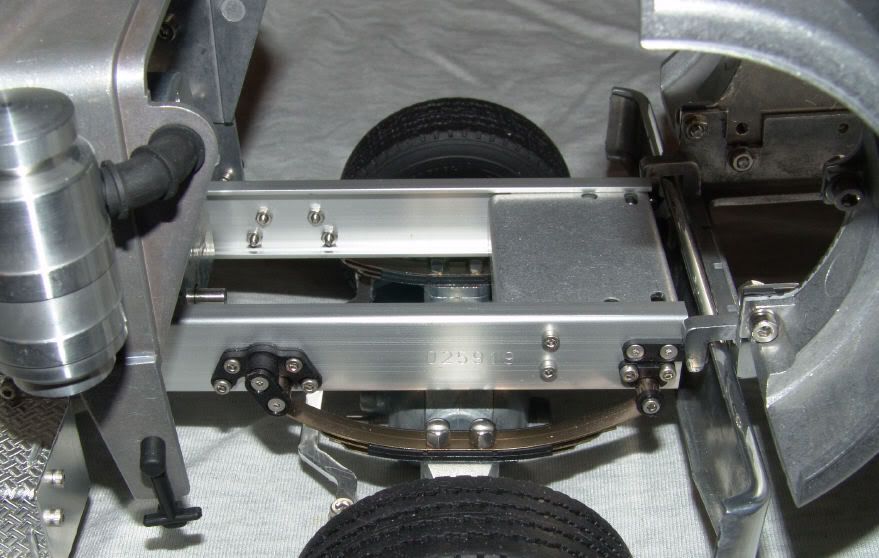
This is a photo with the old leaf pack, but the mounts are still in the same locations.
Very briefly I thought I would try running the standard steer axle, but with some modifications. I milled the blocks off of the top of the axle, which helped a lot, but I just couldn't give up the driven front axle.
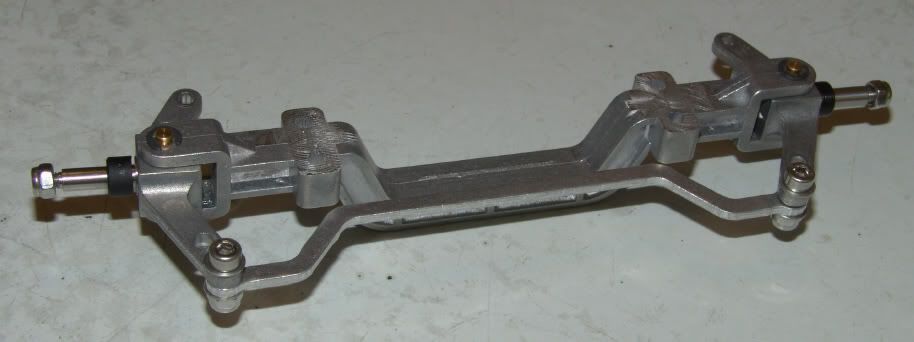
You can see the mill marks. The blocks used to be there!
Finally, I decided if I wanted to correct this problem, the best thing to do would be to make some custom parts!

I made a new hood mount for the chassis, which would drop the hood about 5/16" lower. At first I planned to combine the hood mount with the suspension hanger, but space was a problem.
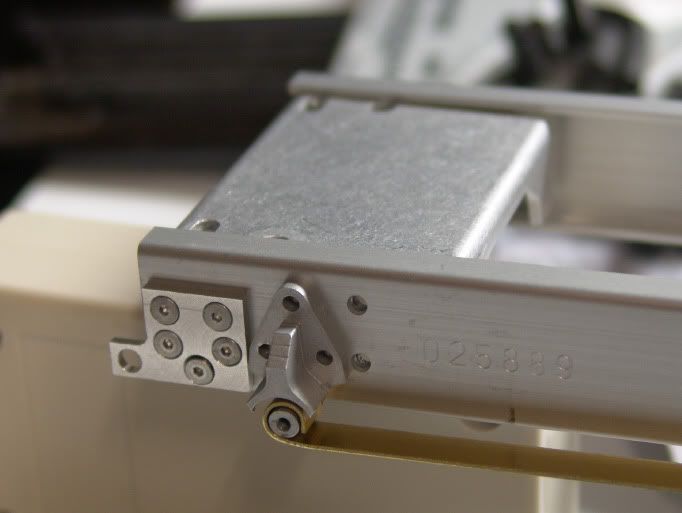
Instead, I moved the spring hanger back and away from it's original location, and the hood mount sits in the spring hanger's old home.