Quote:
Originally Posted by Snowman

Just read through this thread again for a recap. You got the stance perfect Nathan, looks so much better without all that air between the wheel and the fender on the front. Have you begun to make the steps? Far be it from me to say anything but I can't help but think your styrene prototypes are perhaps a little too wide. From all the pictures I've seen, the steps are not as wide as the doors they sit under. It might just be my eyes though!
Can't wait to see this fully functional, it reminds me of the 1/50 sword heavy haul 379 I have.
|
Nick, thanks so much for the kind words. I have not started on the cab steps yet, and yes, I think you are right. My styrene mock-ups are long. I will correct this when I make some from metal, although these days I am leaning more toward the idea of mounting my fuel tanks beneath the cab, and so loosing the battery box steps altogether. I like the look the fuel tanks with steps give. Has a more heavy haul look to it. Oddly enough, when I first found the Sword 379 Peterbilts, I was thinking to myself, 'that's the look I'm after' so you are not far off with your comment.
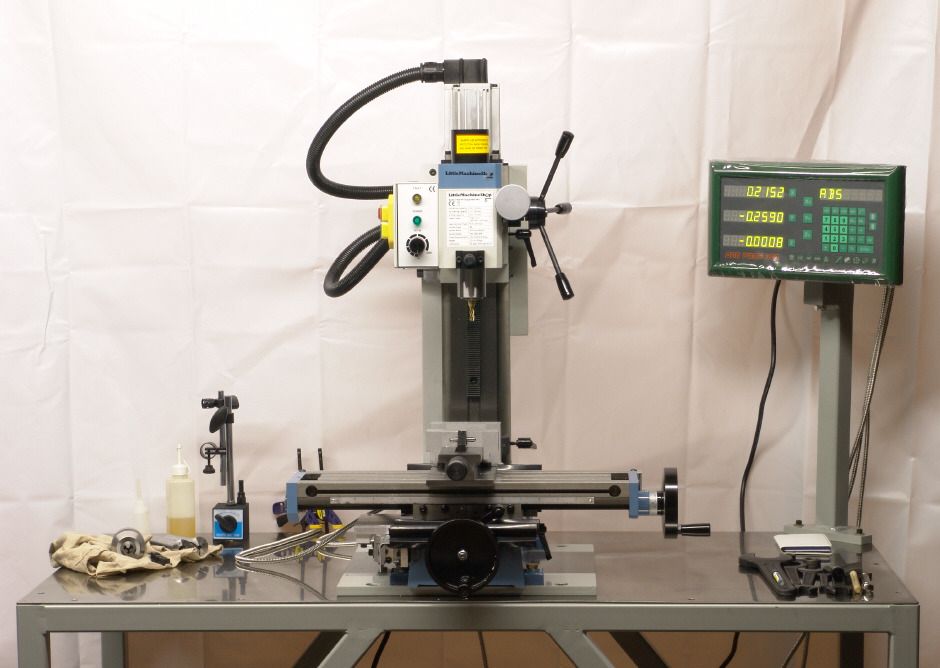
Anyway, guys, I have a small update. I am finally able to blow some dust off this old thread and breath some new life back into it. My progress was pretty much stalled, as I needed parts, but had to no way to make them. So I broke down and picked up new benchtop milling machine. This should get me back on track!
 http://i4.photobucket.com/albums/y12...millandDRO.jpg
The very first part I finished up, for the Wedico, was this new front cross member. I hated the original very much. It's almost impossible to assemble, as you need to bolt the 2mm screws together, with nuts on the back. Problem is the front member is so small and tight, you just can't more then one finger behind it. As much as I've taken this chassis apart, and reassembled it, I figured it was time to improve what I see as a weak and flawed part.
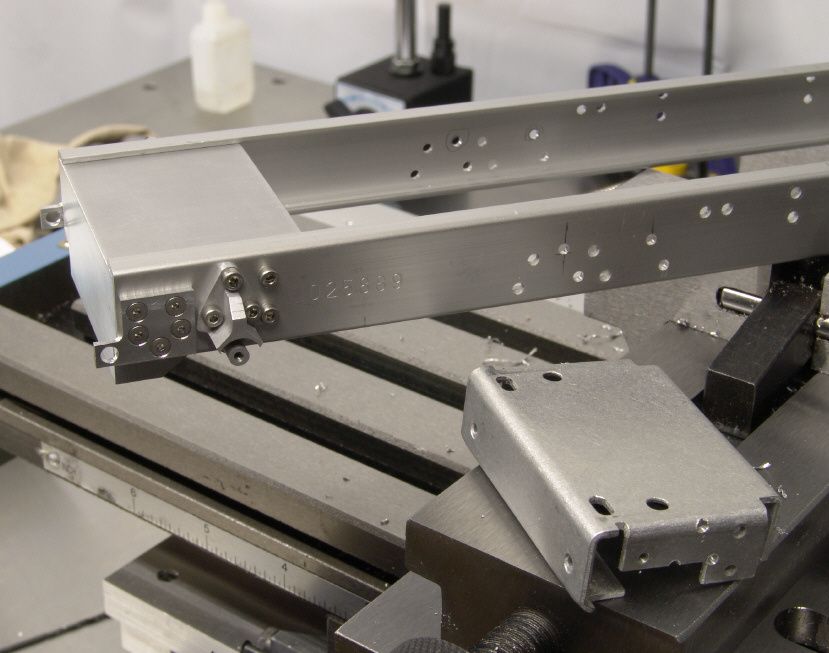
The original is on the table. The replacement, on the chassis. From a stamped piece, to a solid billet aluminum replacement.
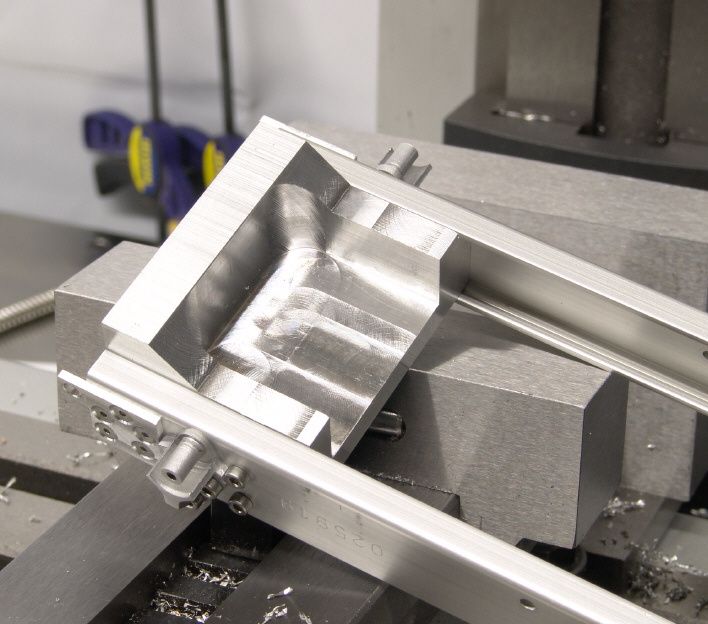
I drilled and tapped twenty 2mm blind holes, for all the fixxings, which keeps the inside nice and clean looking.
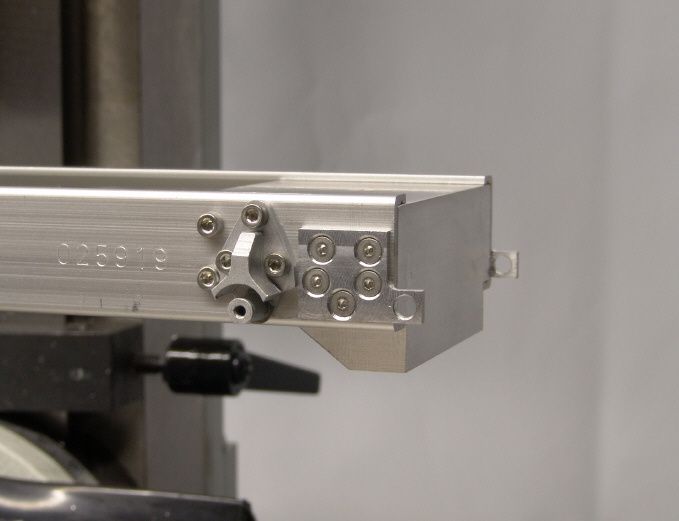
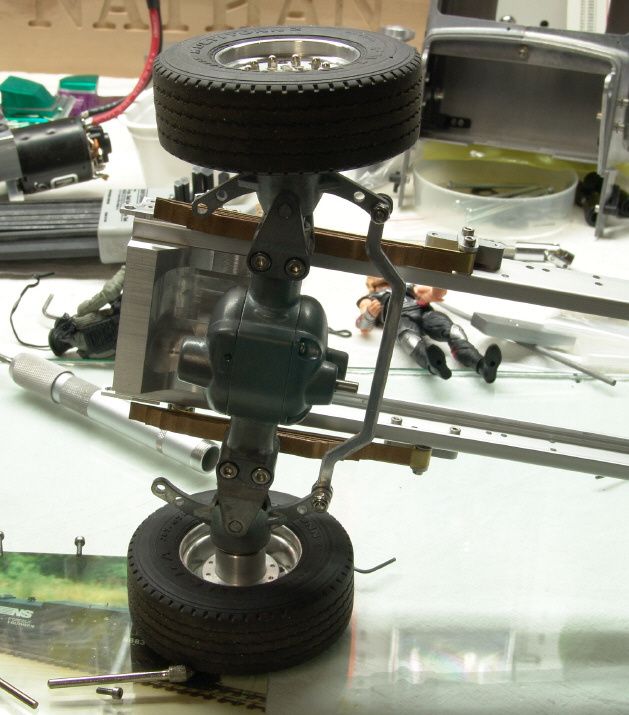
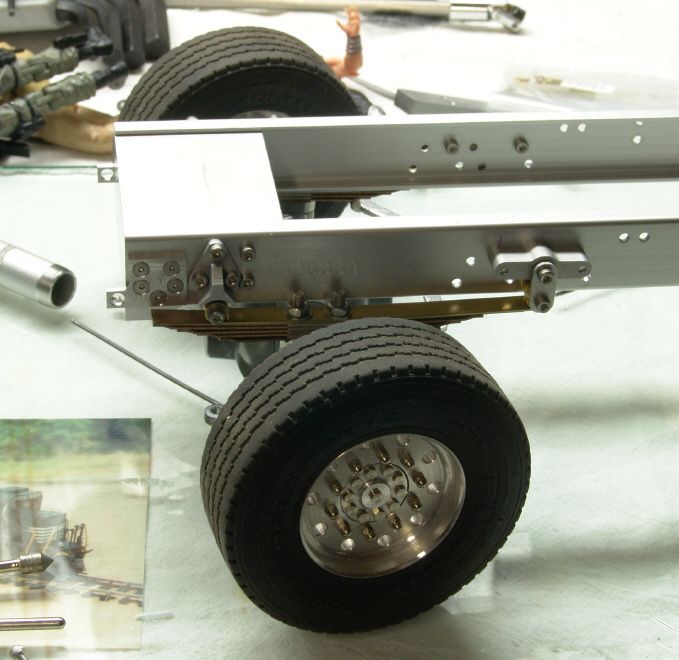
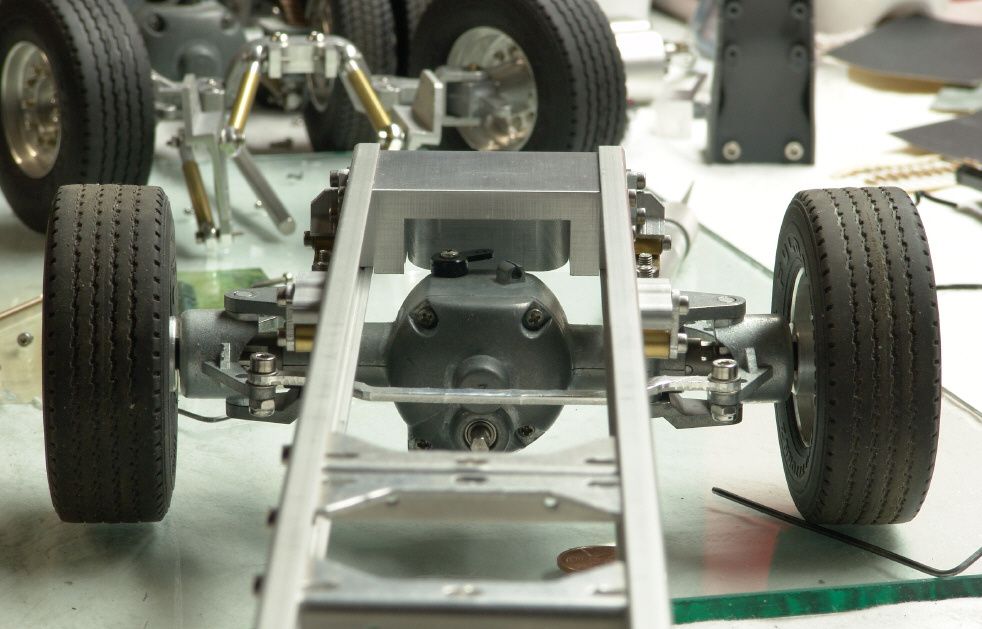
Bolted the axle back on, this time with no nuts, and it went about 1,000 times easier then before. Because my suspension was dropped, and my hood and cab dropped, my new front cross member will also let me drop my bumper. Just need to shoot some holes through it, and that is the purpose of the lower hanging front face. So things are getting back to business, finally. Now, if I can just keep it up!