Bruder Piggyback Forklift Build part 7
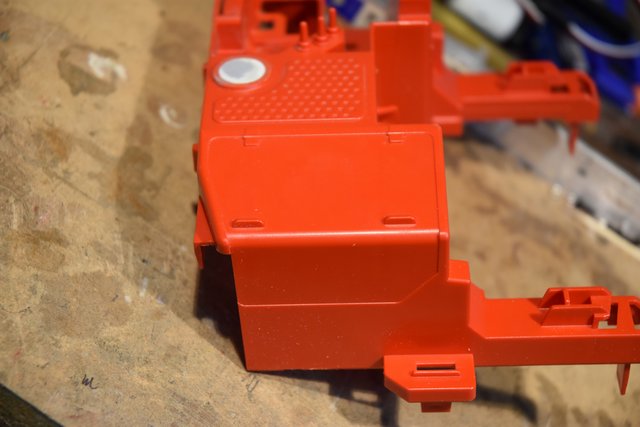
Taking a break in this post from mechanical modifications. Instead I'm going to do some body work. One of the big problems with converting this Bruder forklift to RC is of course the size. There just isn't much room in this thing for all the electronics that need to go in and not have parts sticking out all over the place. With the exception of the tilt servo I think I've been pretty successful at this up to now. One of the biggest components that needs a home is the battery. They are big and bulky. The only place in this model that a battery can realistically fit is inside the right side of the body where, on a real forklift like this, the engine would sit. Another consideration is how to charge and/or change the battery. You could, I suppose, just take the thing apart or run a charging plug to the outside somewhere. I didn't like any of those options. What is needed is a removable hatch. So happens the model has a hatch over this engine area molded in to it already.
[img]
[/img]
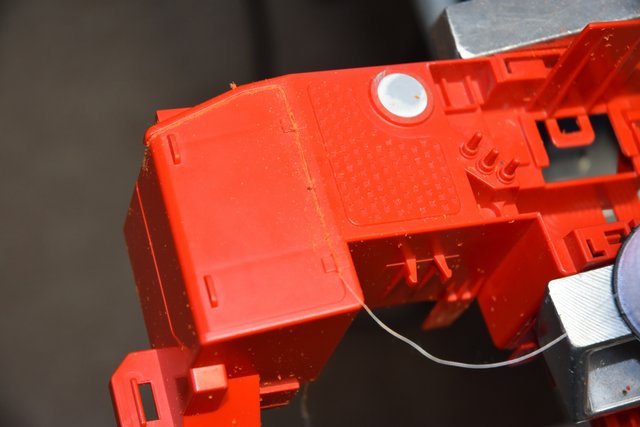
If we cut this molded hatch out it would make a pretty good sized opening that a small battery pack could be inserted. So that is what I decided to do. I wanted to minimize damage to areas around the hatch and because of all the curves in this piece I decided to use the good ole fashion method of sawing the part out with thread. For those not familiar with this technique you get a spool of just about any kind of thread, the thinner the better. Pull off a length, keep it pulled tight between your hands and just start moving the thread back and forth in a sawing motion. The friction of the thread against the plastic will cut right through. It helps to slightly pull the thread against the plastic in the direction you want to cut. Go slow, especially around the corners and you'll be surprised at how quickly plastic can be cut. With a little practice it can be quite accurate.
[img]
[/img]
If you look back at the first photo you might think that the place to start sawing would be on the left side of the hatch where there is no body. I don't recommend this. The thread method works well but can wander just a bit when first starting a cut and I wanted to leave the corner of the body as sharp as possible. If you look back at the last photo and look carefully you'll see a very small hole I drilled near the center of the top line of the hatch. This is where I inserted the thread. I then cut back to the left and down to free that side of the hatch leaving a nice point on the end of the body. Then came back and cut out going to the right, down and finally back to the left on the bottom.. I cut right through both of the simulated hinges as I figured I was just going to sand them off anyway.
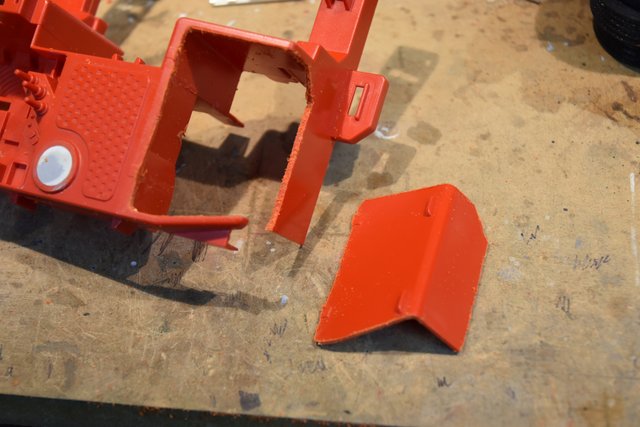
Here is the hatch cut completely out.
[img]
[/img]
Needed some kind of support to hold a removable hatch in place. So I took some pieces of small square styrene and glued then in around the perimeter of the hole I just cut leaving about half of the plastic exposed.
[img]
[/img]
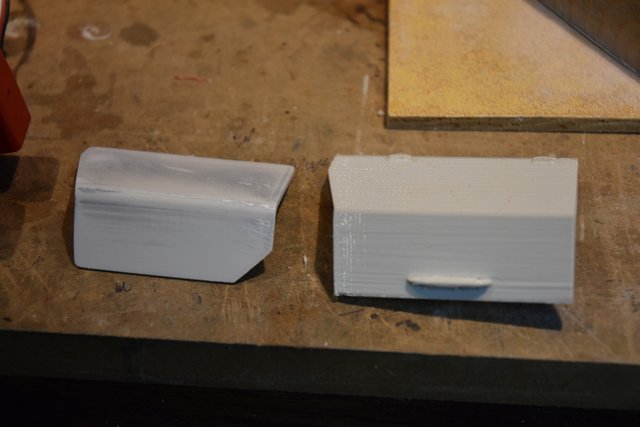
Now I need a new hatch to fill the hole. One of the Thingiverse parts is a new cover for this area. However I thought it looked to squarish and it didn't match the curves of the model so decided not to use it. I could have reused the part I cut out but would have had to spend some time gluing plastic to the edges of make up for the gap left by the thread. Even as thin as the thread is, it leaves a noticeable kerf. I decided to design and print my own. With some very careful measuring using calipers, a digital angle finder and radius gauges I came up with a design. Below is a photo with the Thingiverse cover on the right and my cover on the left.
[img]
[/img]
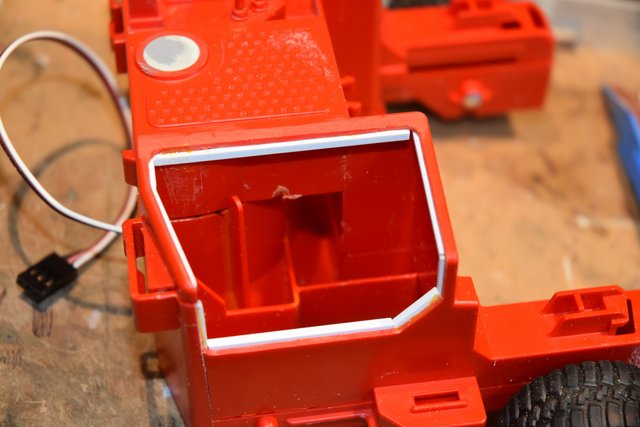
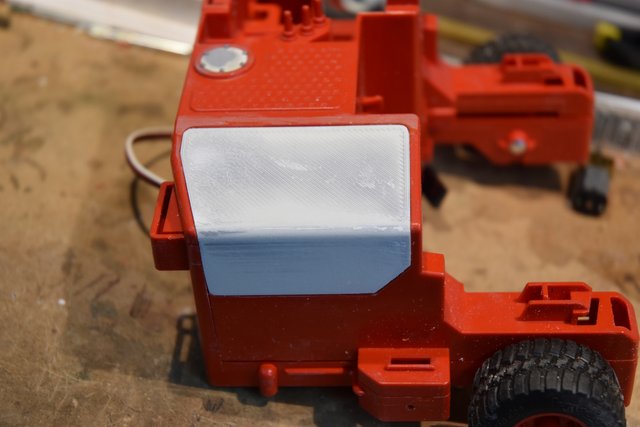
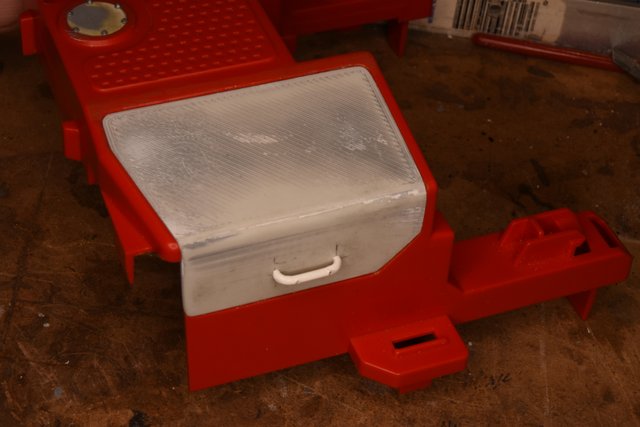
After a little sanding to tweak the fit here is the new cover sitting in place.
[img]
[/img]
To keep the cover in place I thought about making hinges to replace the molded ones that got cut and sanded off. But because of the size needed to look right I decided that was too much work. Instead I opted to just install a couple of lugs that would fit in gaps under the top portion of the opening and use a small super magnet on the bottom to 'latch' the cover. The magnet needs something to grab so I cut a small piece of tin and glued it into a small recess cut in the bottom back side of the cover.
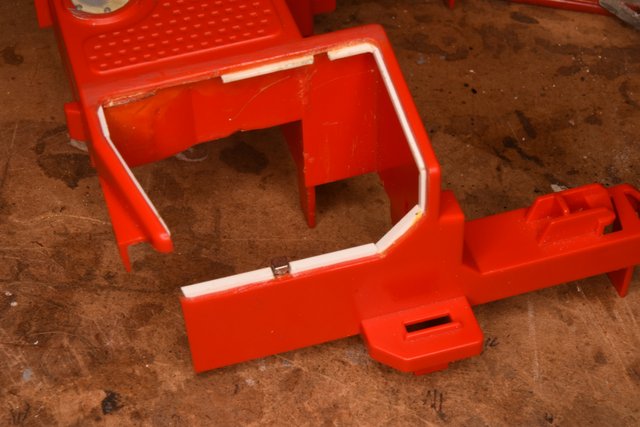
Here is the opening for the cover with the notches cut out of the previously installed plastic supports. There is a big piece missing on the upper left because there is just not a large enough under-hang here to glue the styrene to and I couldn't get it to stay in place there. The rest is more than adequate for support. To hold the magnet in place I glued another short piece of sytrene onto the inside of the wall placed to hold the magnet at the right height and then CAd the magnet in place.
[img]
[/img]
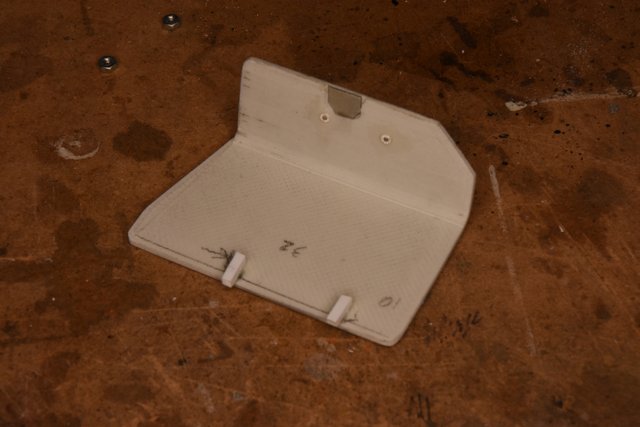
And here is the underside of the cover so you can see the lugs and tin 'magnet catch'.
[img]
[/img]
The last step was to add a handle to the cover to make it easier to open. I just bent a piece of 1/16" Plastruct plastic coated wire to a shape I liked, drilled matching holes in the cover, inserted the wire ends and glued in place with PlasicWeld.
[img]
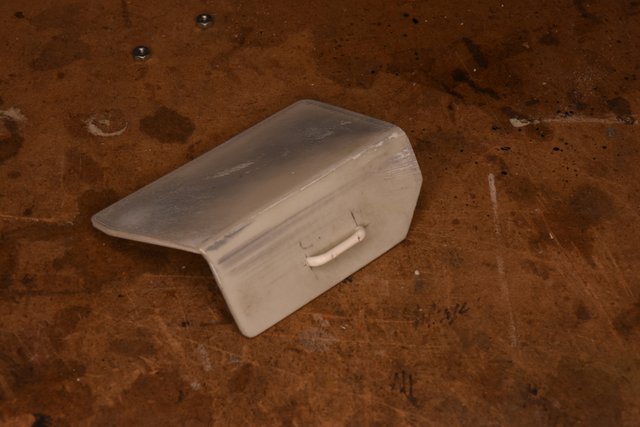
[/img]
Here is a photo of the completed battery hatch cover. Of course like any 3D printed part it still needs some final filling and sanding before it will be ready for paint.
[img]
[/img]
Now that the battery hatch is complete I could take some internal measurements and get an idea of exactly how big of a battery pack I could fit in. Keep in mind though that you can't use the entire space. Some room will be needed for the mechanism to move the lift mast assembly forward and backward. Which is what I will cover in the next post.