|
|||||||
| Highway Trucks and Trailers On road trucks and trailers single and twin axle trucks. |
 |
|
|
Thread Tools | Display Modes |
|
|
|
#1
 10-21-2013, 07:50 AM
|
||||
|
||||
|
Always wanting one and watching Joe (xj man) building his, I had to do it.
I had a set RC4WD Wheels and just ordered there new grill. Can't wait to get this thing rolling... 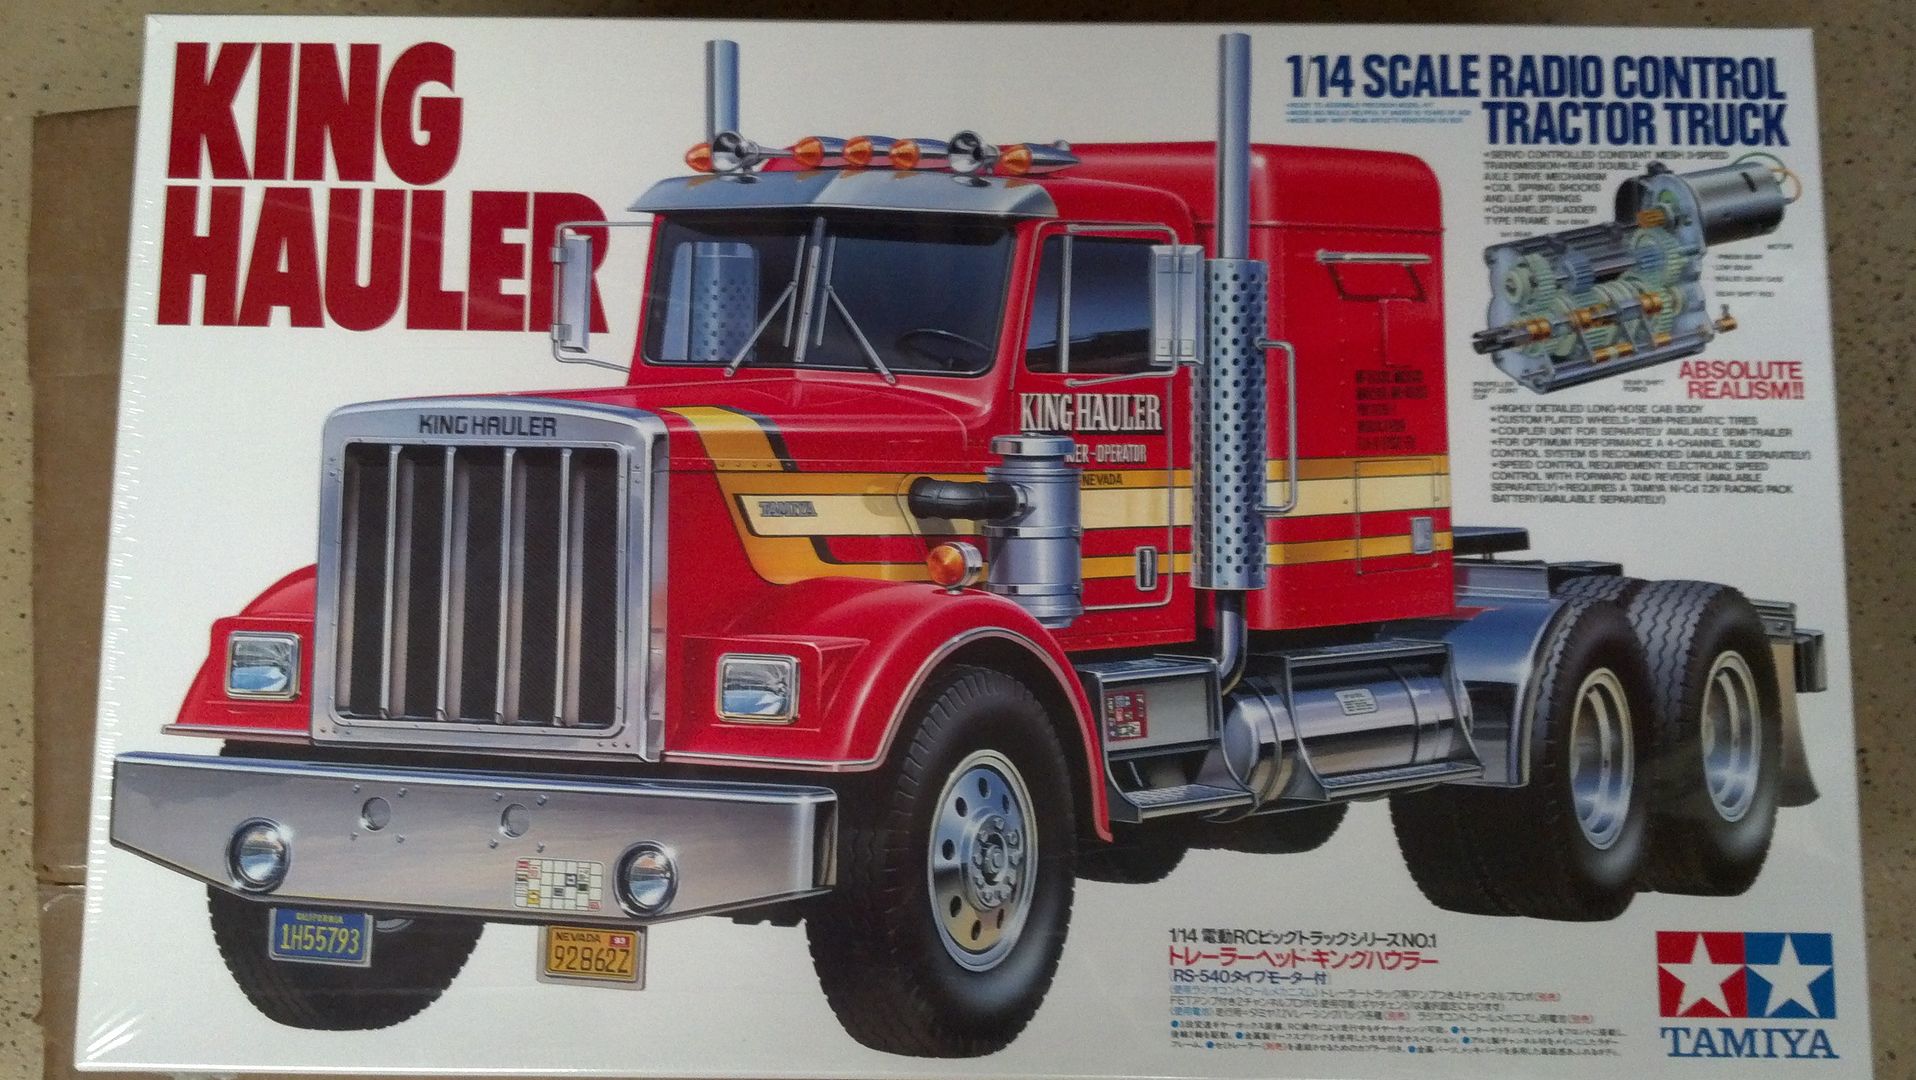
__________________
To view links or images in signatures your post count must be 10 or greater. You currently have 0 posts. To view links or images in signatures your post count must be 10 or greater. You currently have 0 posts. Last edited by sneff; 10-21-2013 at 06:47 PM. 
|
|
#2
10-21-2013, 07:51 AM
|
||||
|
||||
|
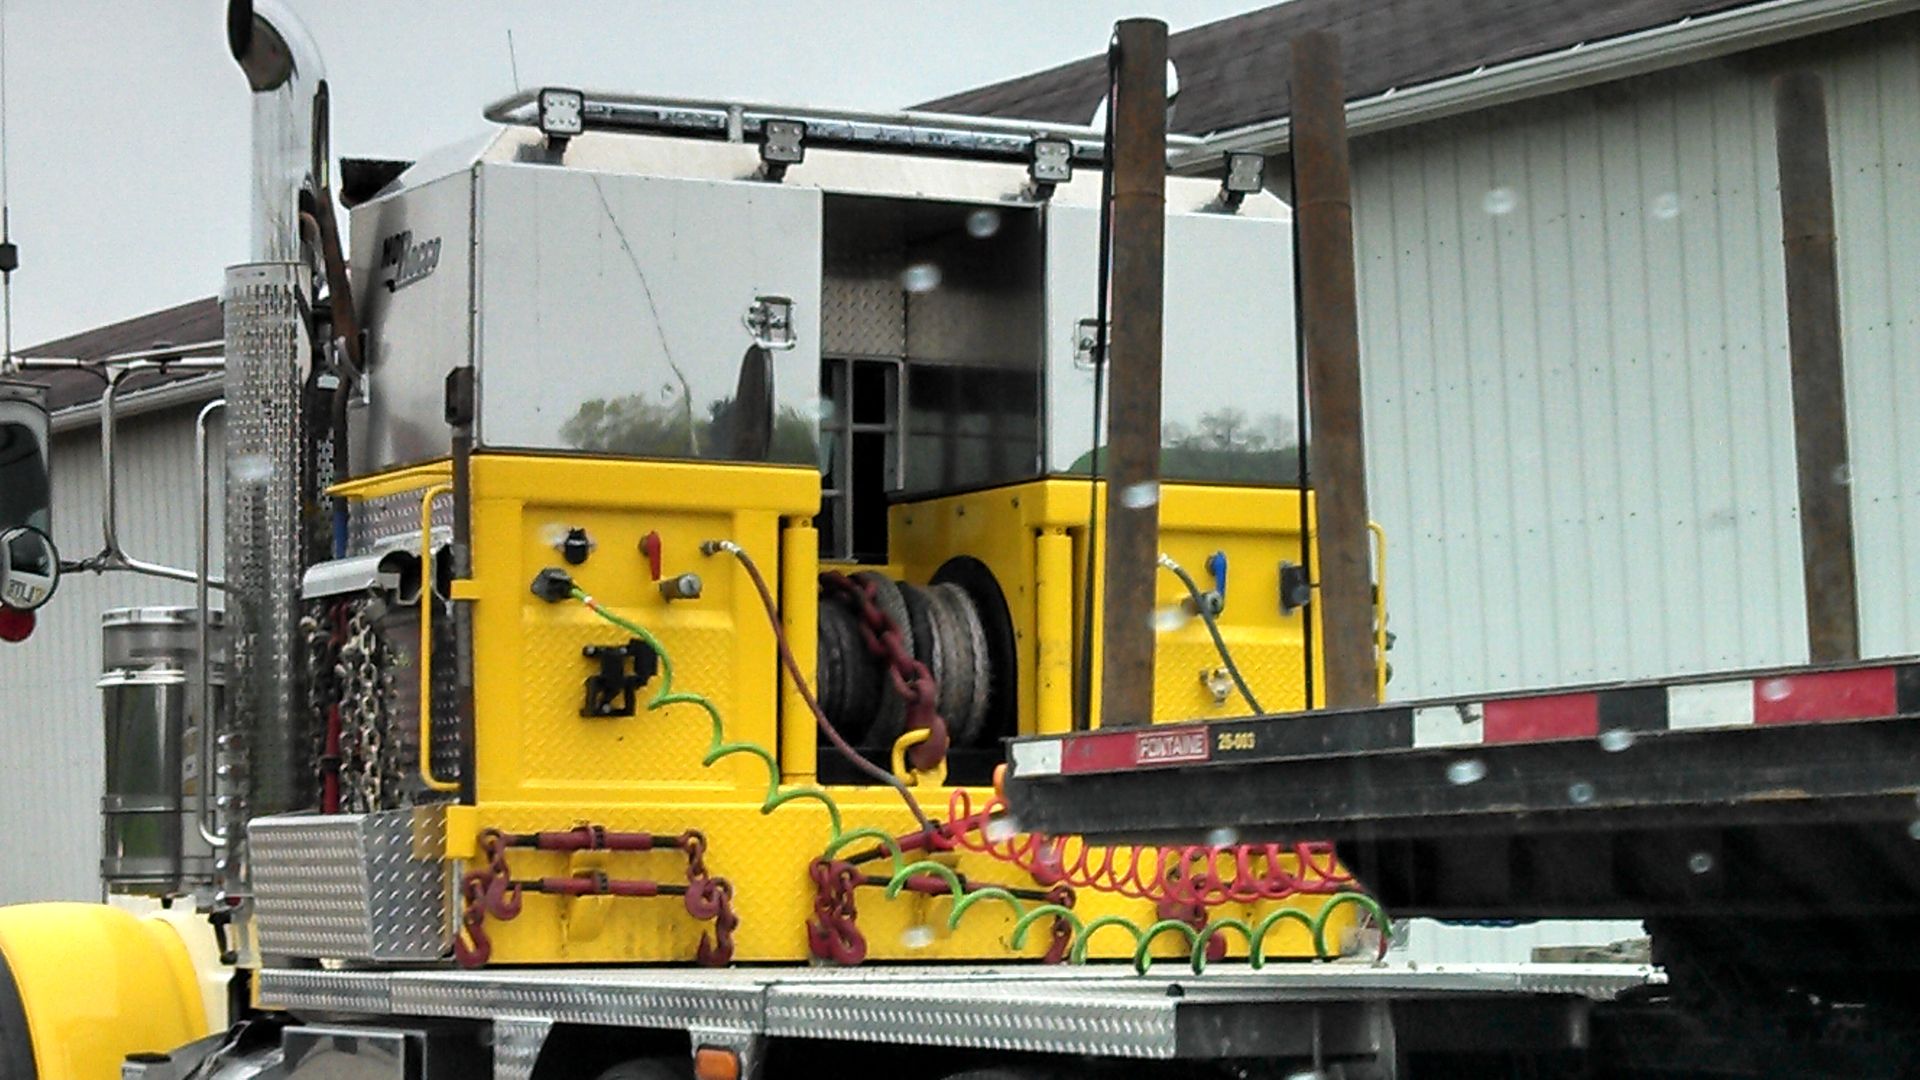
I decided that this is going to be a Day Cab Kenworth...
So first thing I needed to do is "cut" the sleeper cab off... 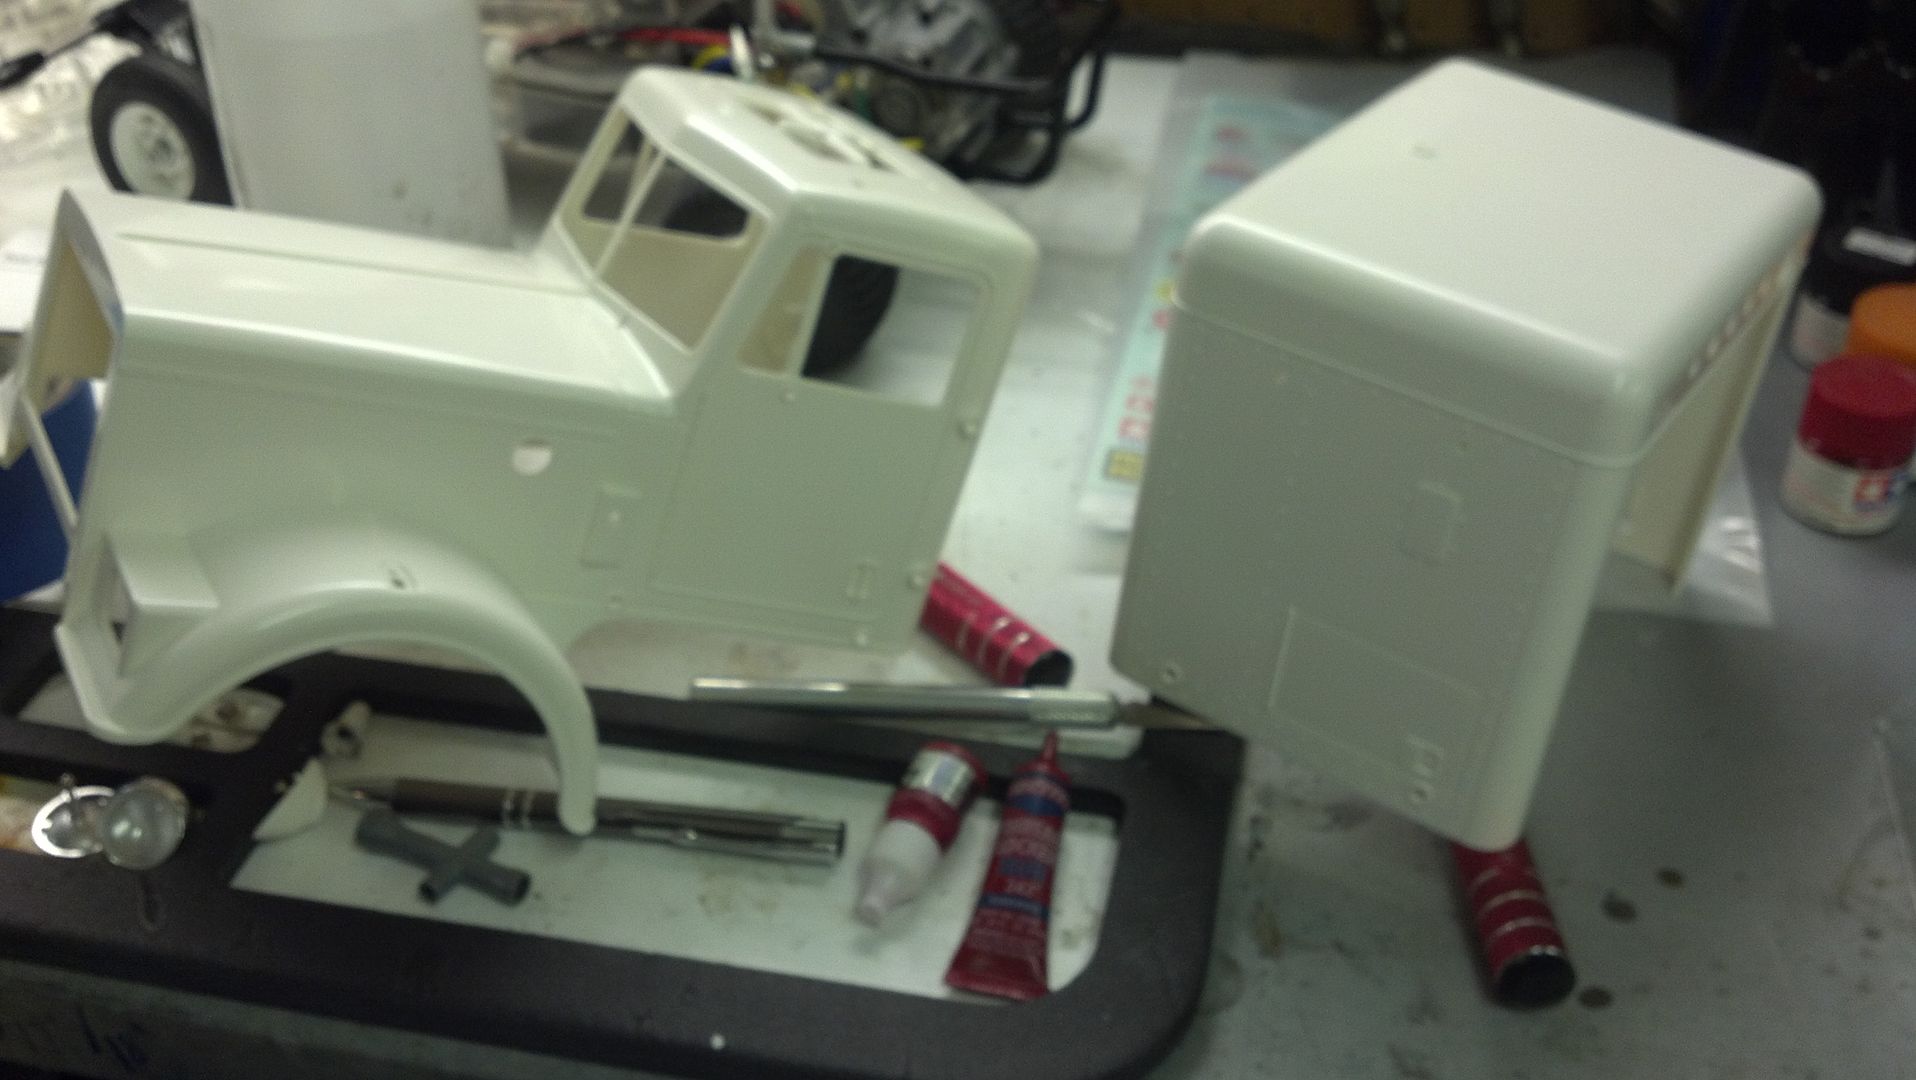 I wanted the older style look like this one 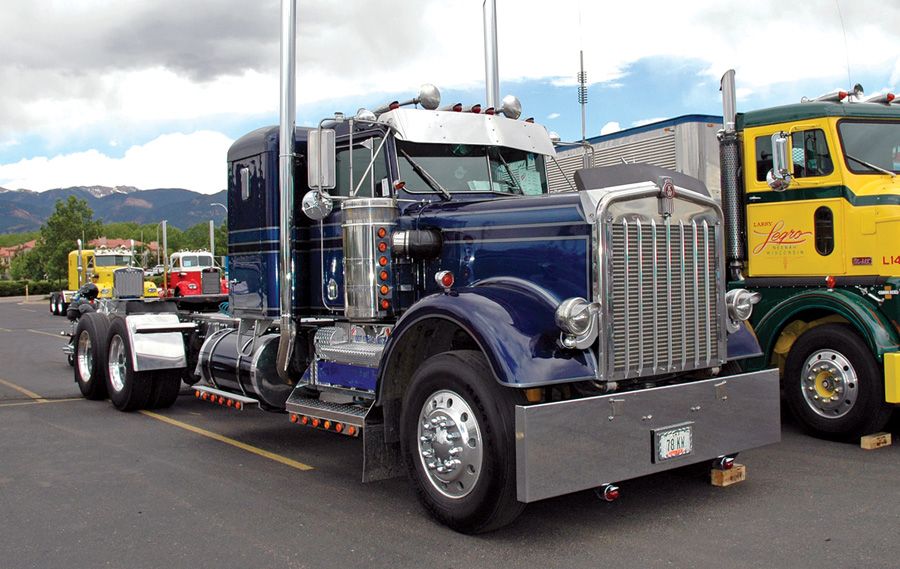 So I needed to get rid of the molded in headlights.  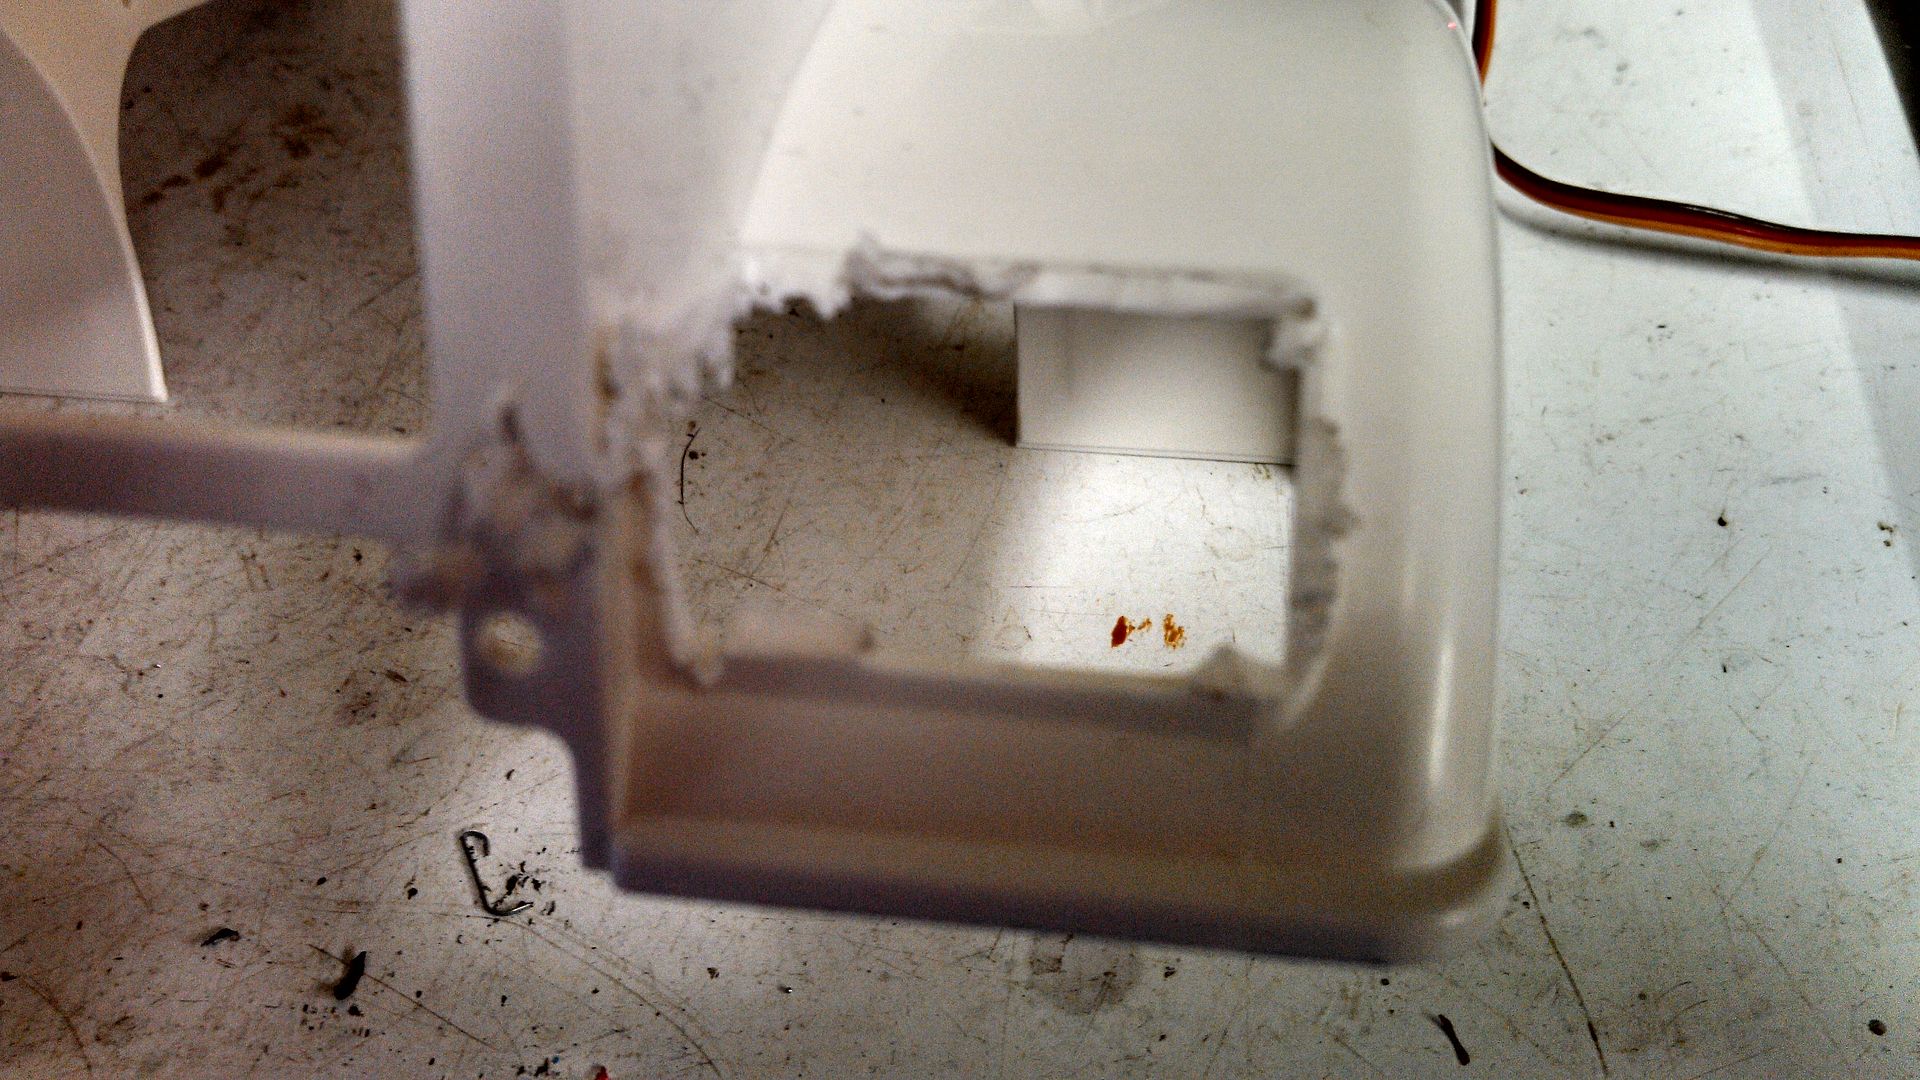 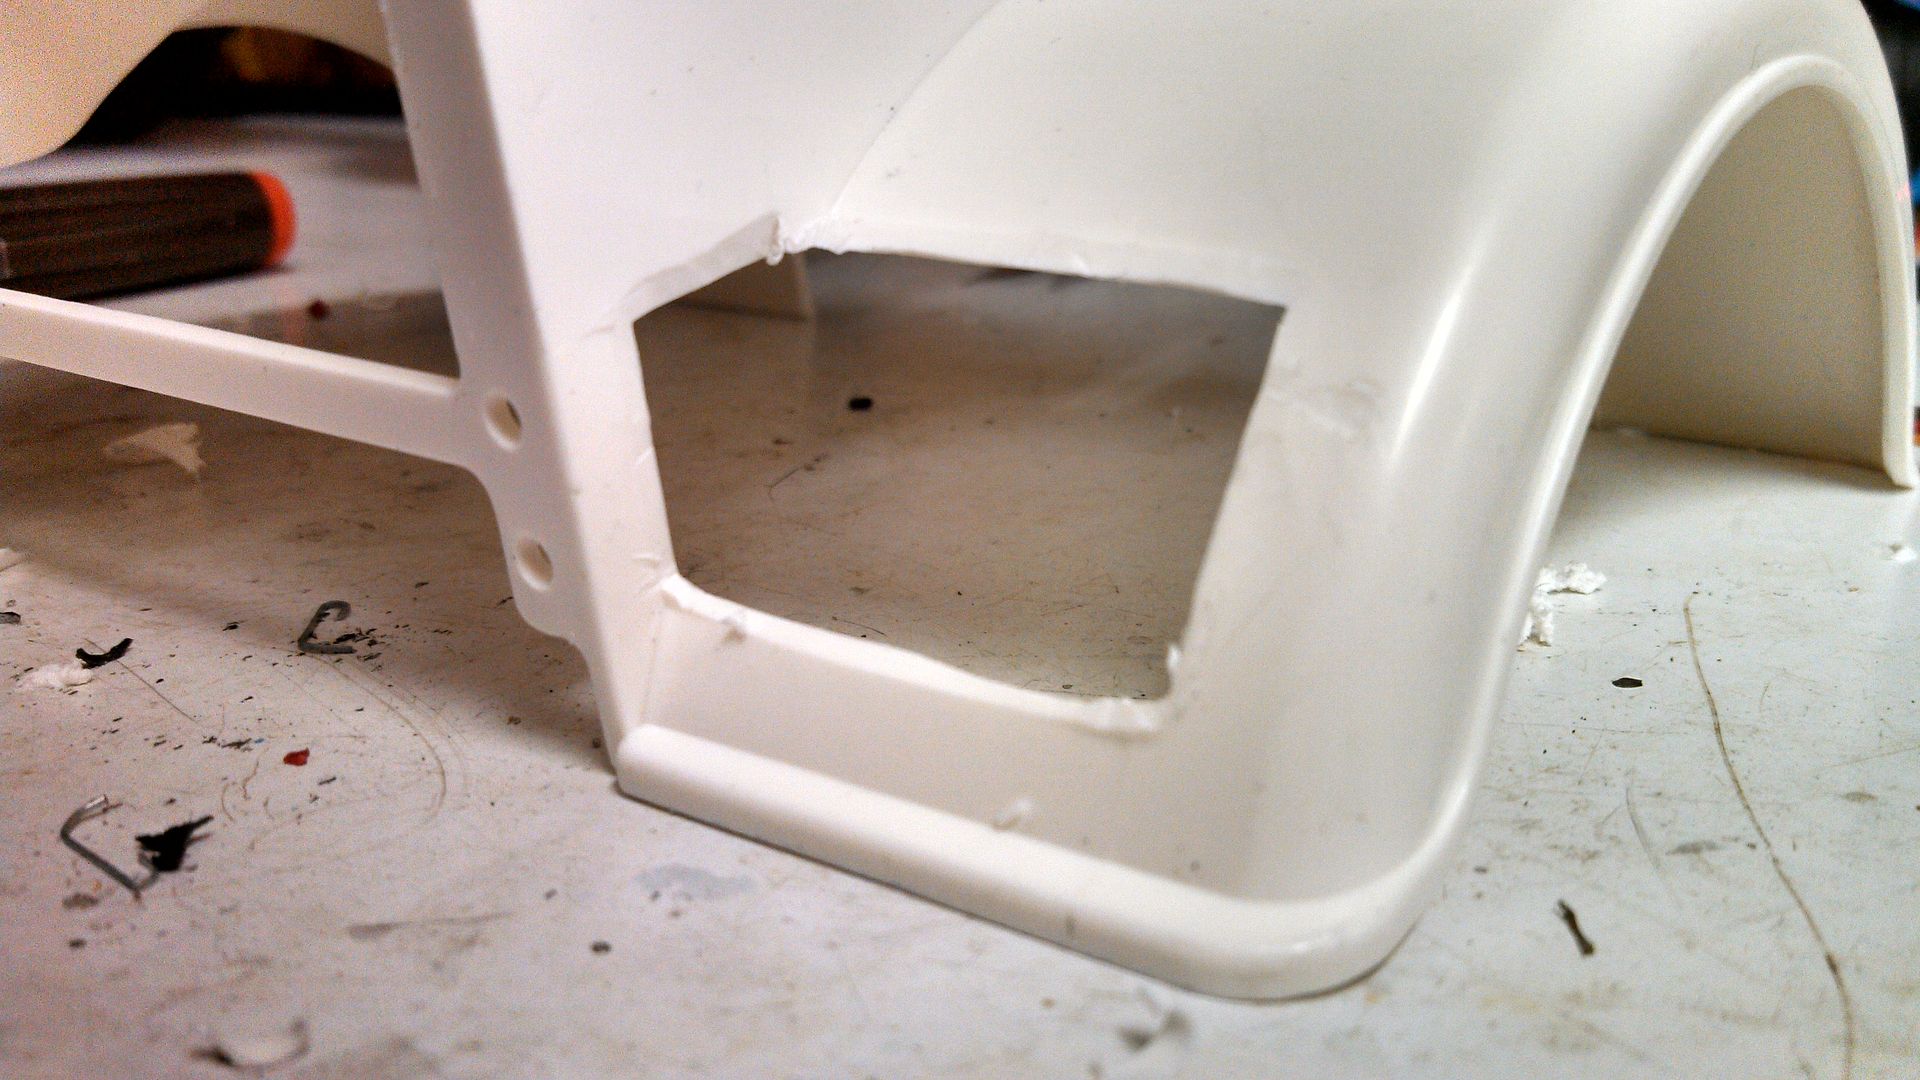 Next will be patching and sanding the fenders down...
__________________
To view links or images in signatures your post count must be 10 or greater. You currently have 0 posts. To view links or images in signatures your post count must be 10 or greater. You currently have 0 posts.
|
|
#3
10-21-2013, 07:52 AM
|
||||
|
||||
|
Gathered up all the stuff I needed...
Plastic Weld Lexan Scissors Xacto Knife Body Filler 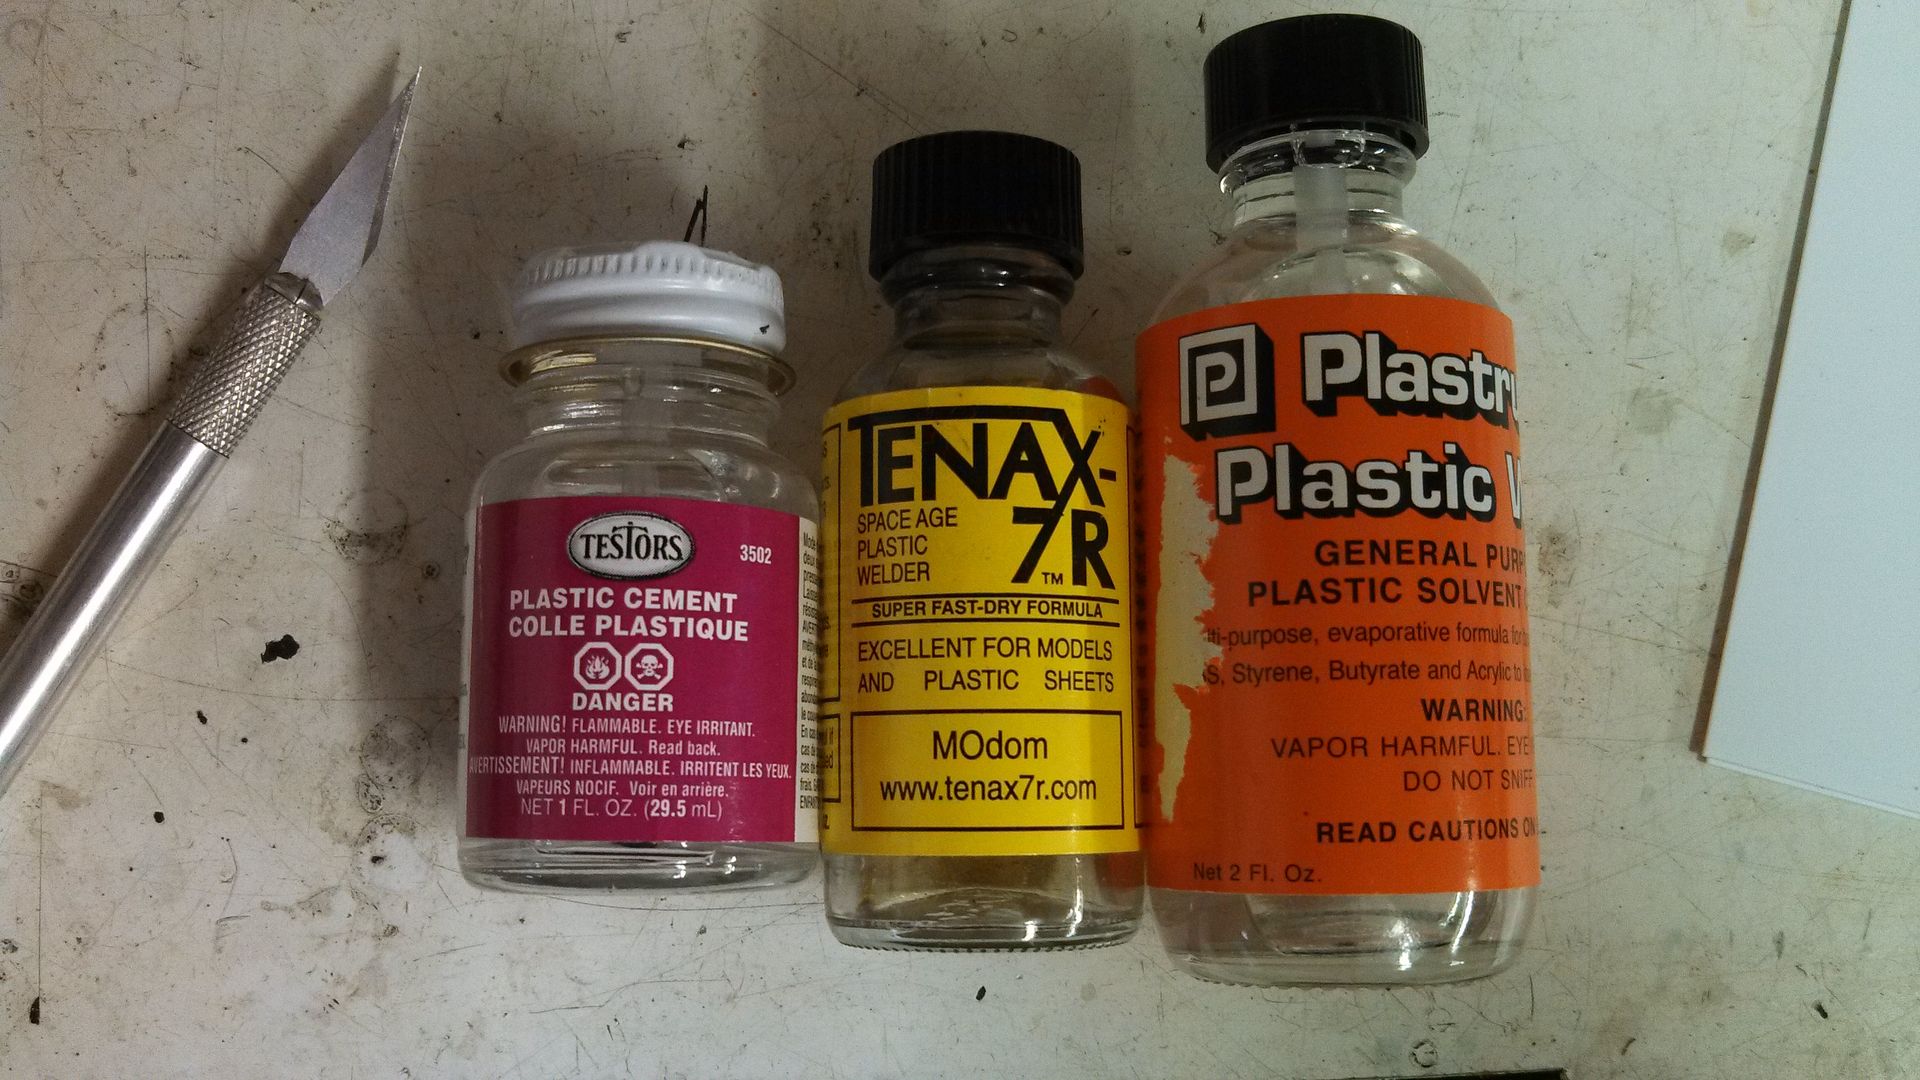 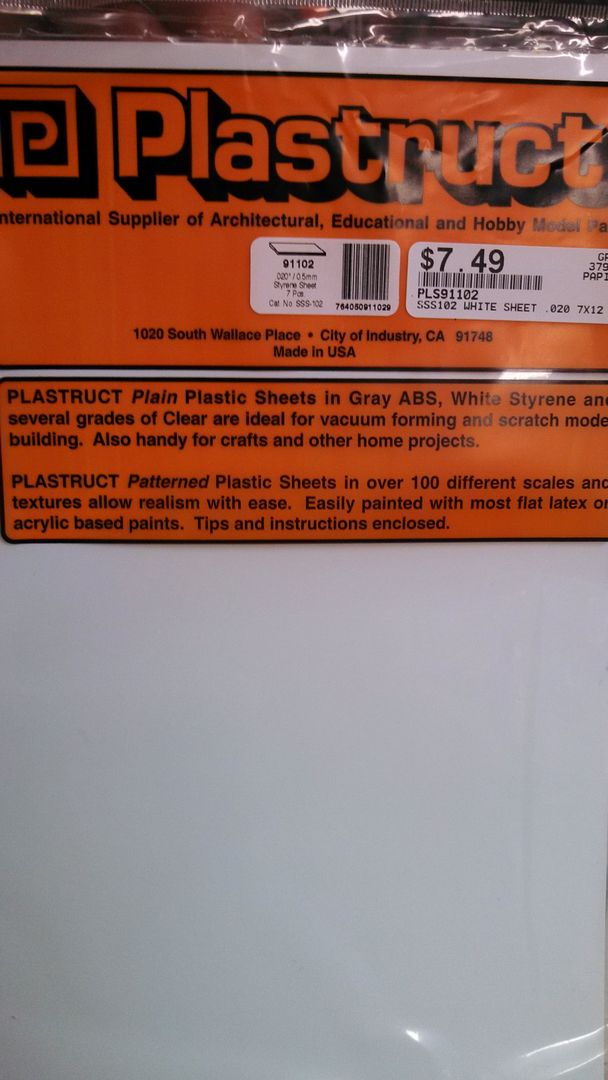 Now it was time time fix these fenders. 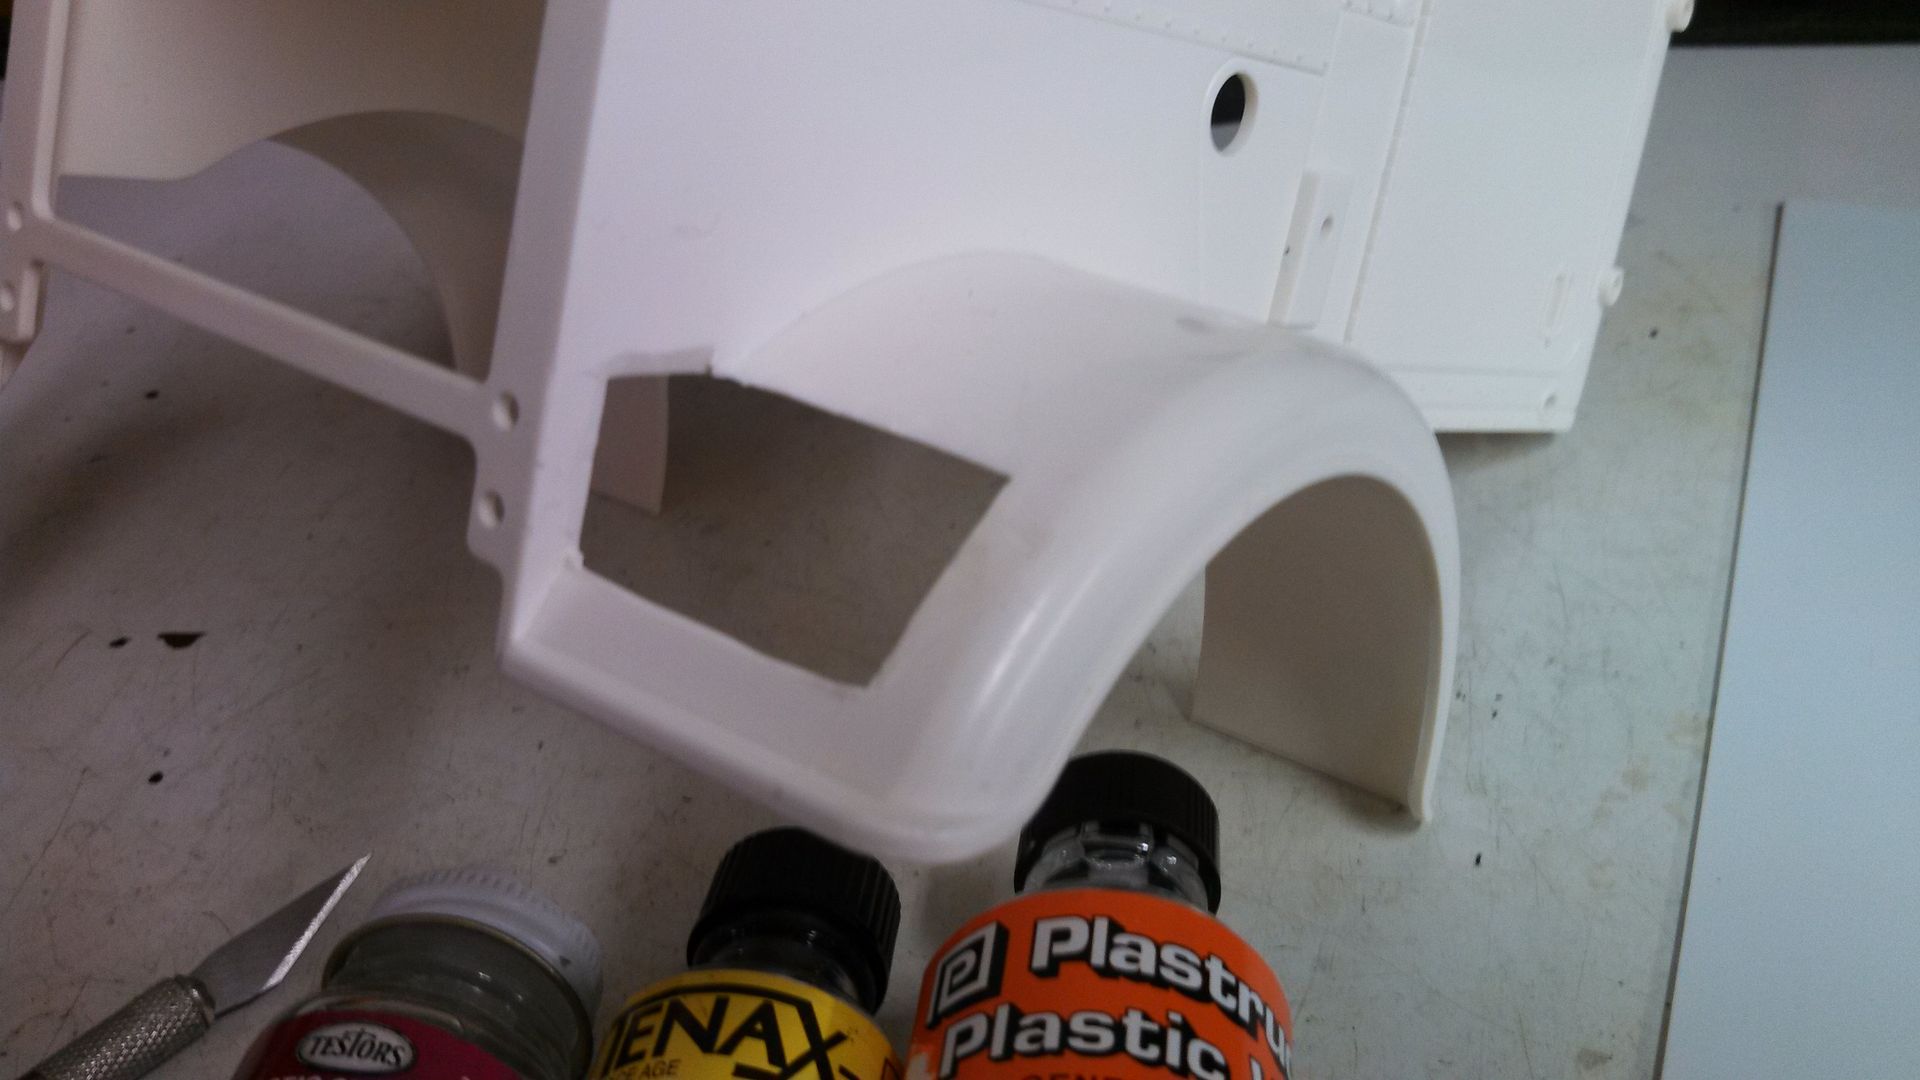 First thing I did was get some thin, flexible styrene sheet to attach to the back to keep the contour of the fender and to close in the hood 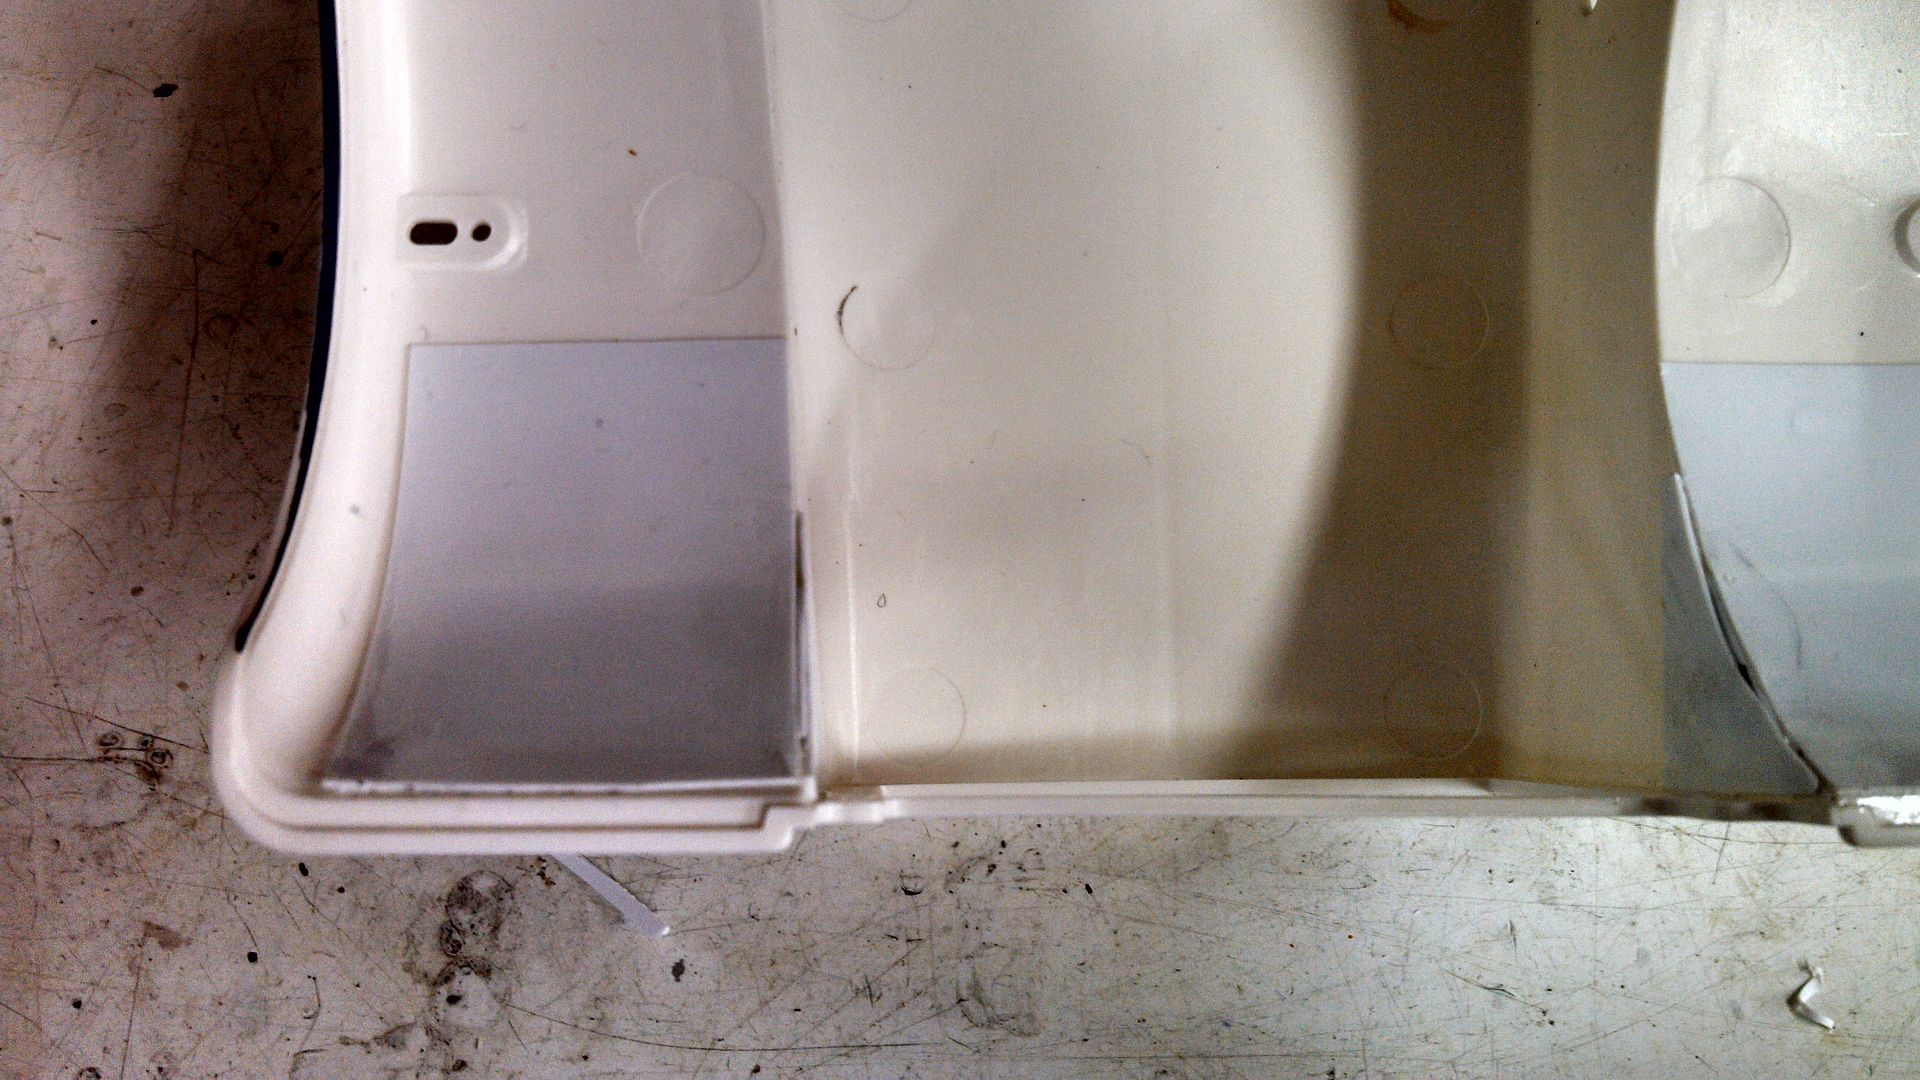 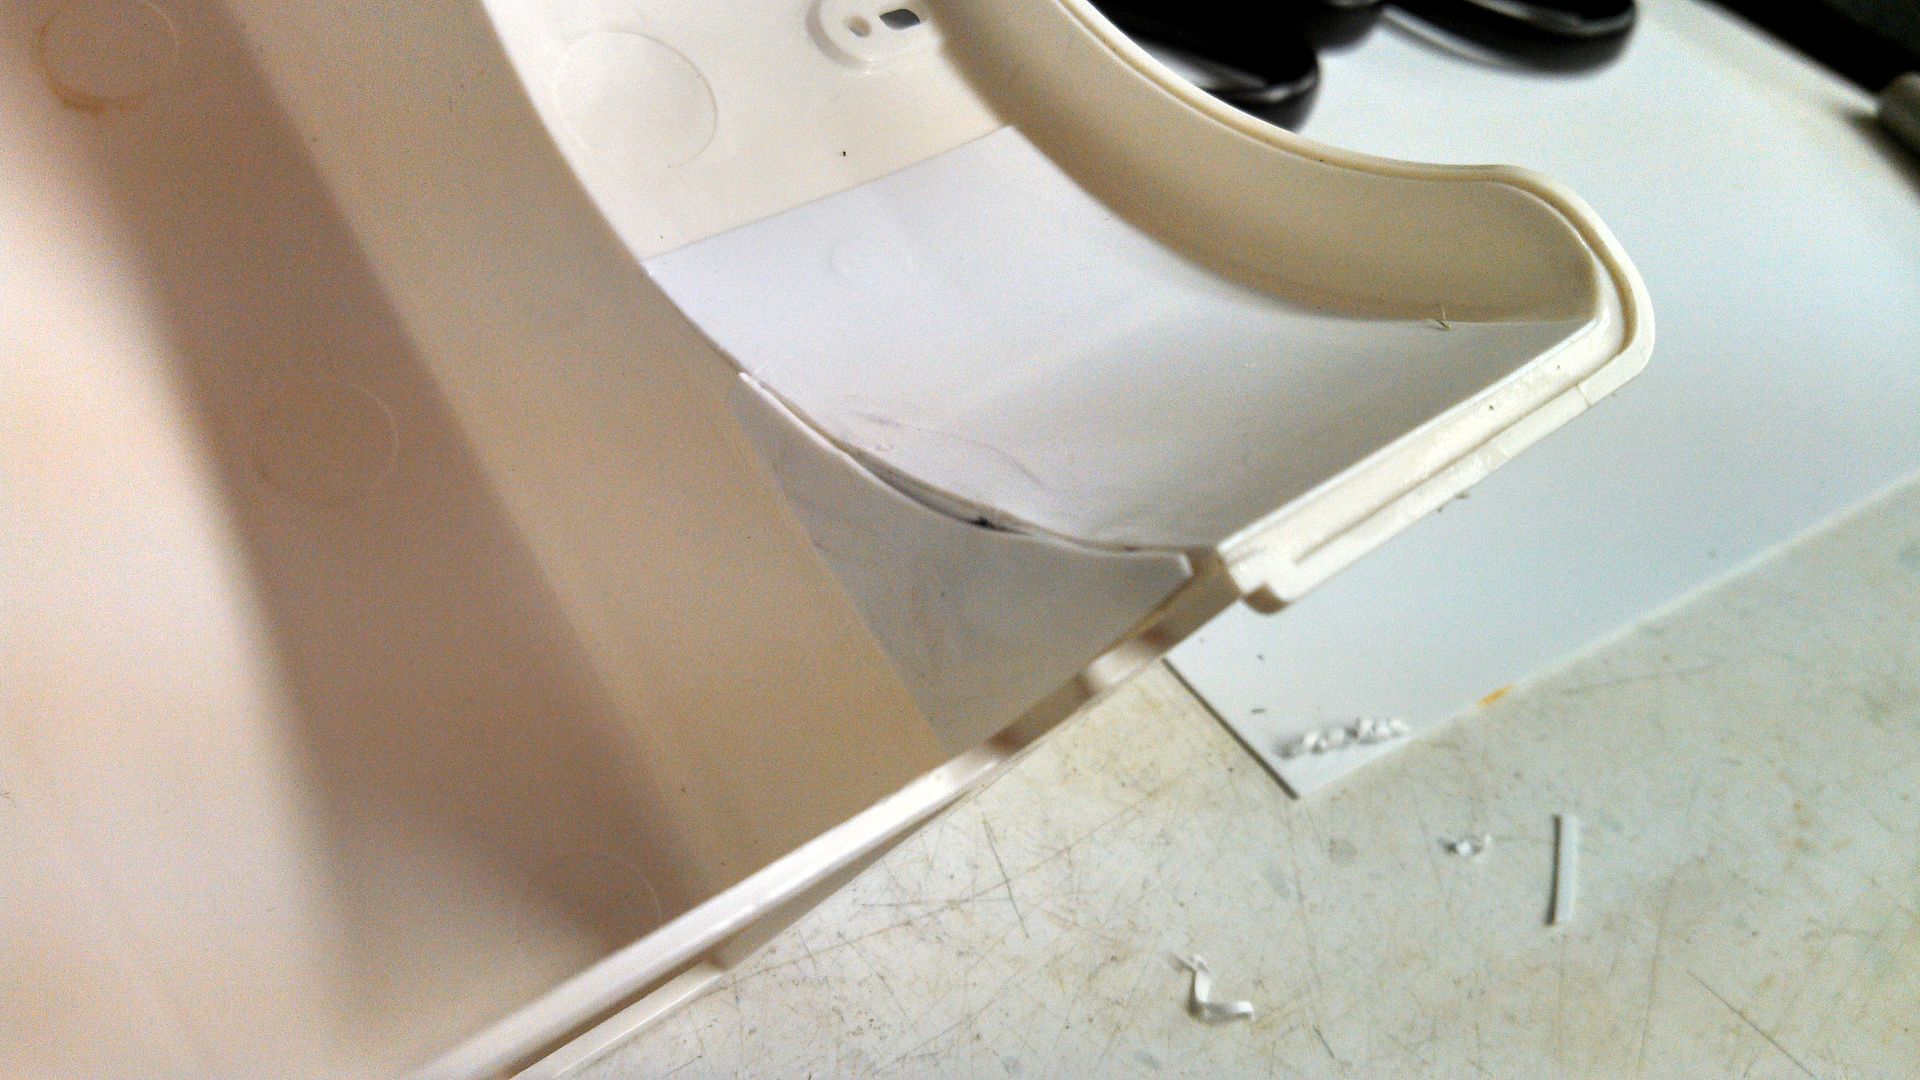 I then cut two pieces to fill in the top part and used the PlasticWeld to adhere it. 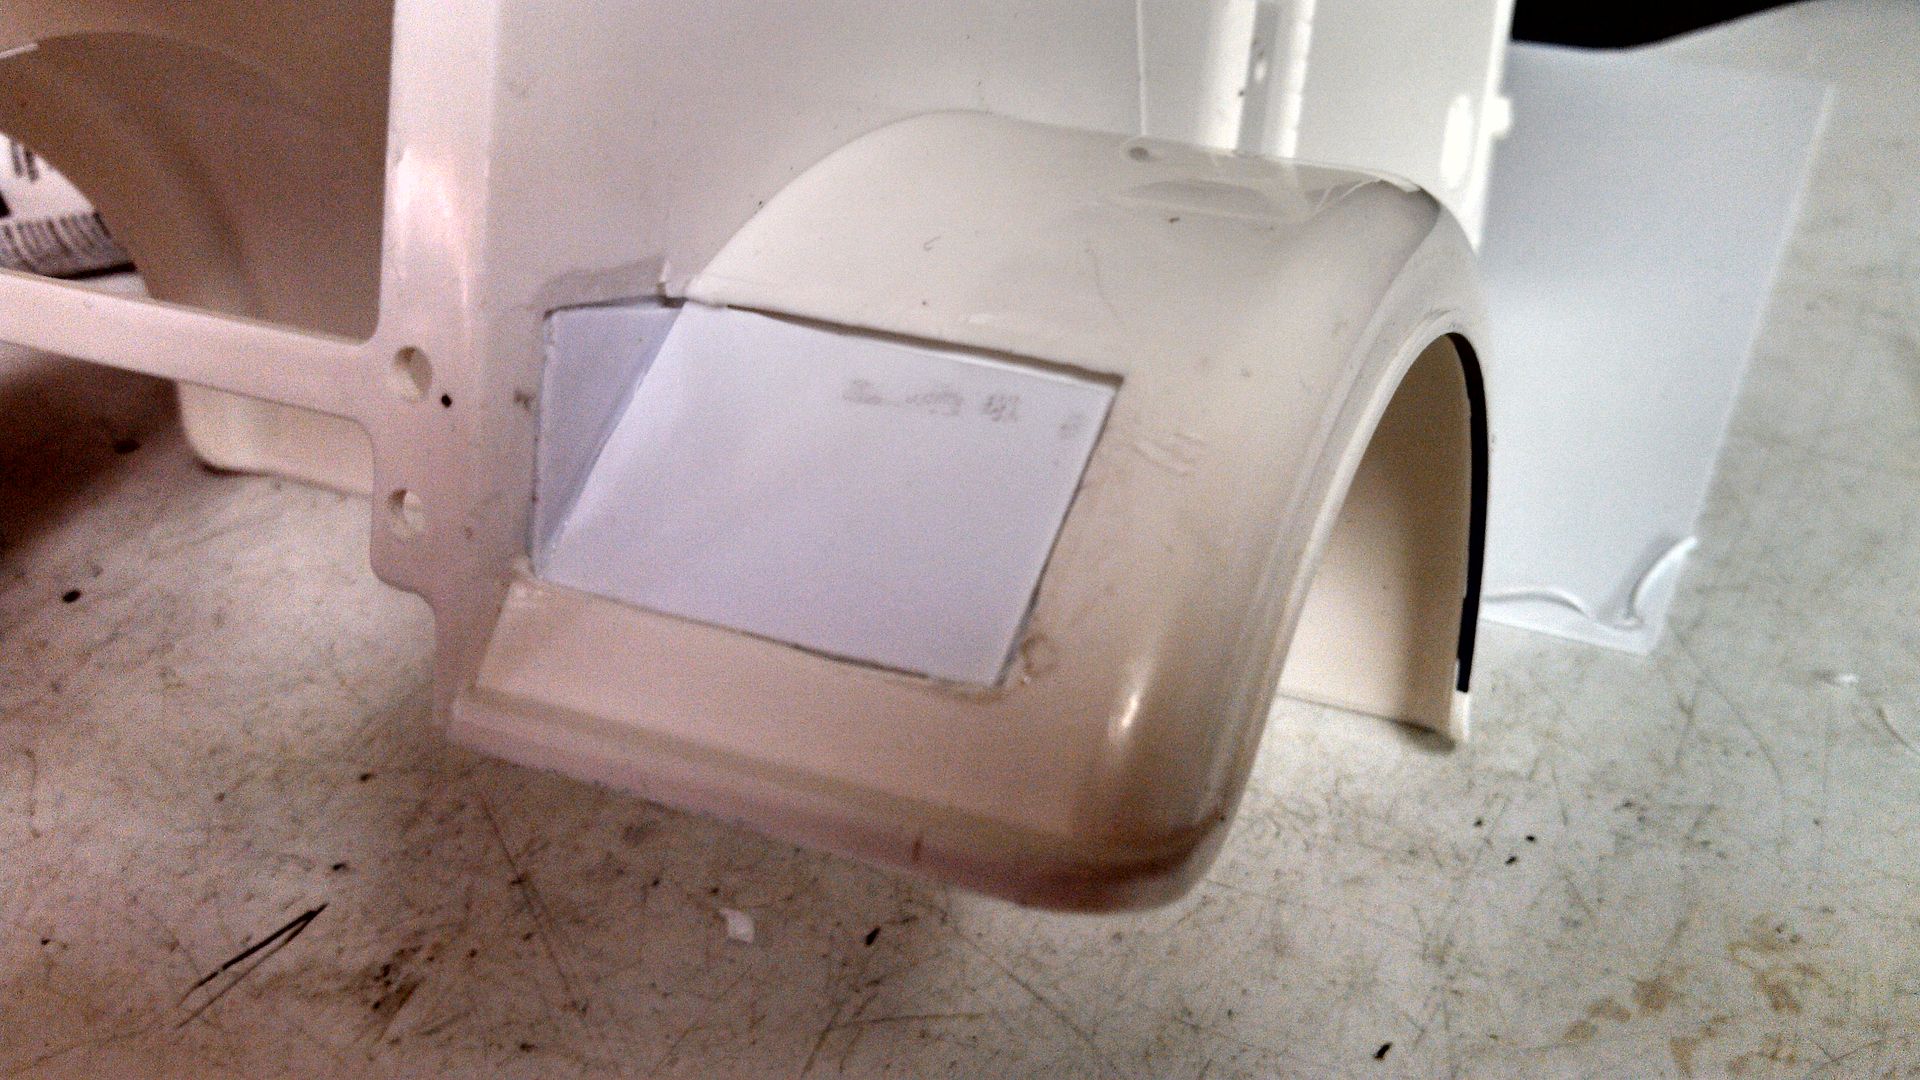 Time to dry.
__________________
To view links or images in signatures your post count must be 10 or greater. You currently have 0 posts. To view links or images in signatures your post count must be 10 or greater. You currently have 0 posts.
|
|
#4
10-21-2013, 07:53 AM
|
||||
|
||||
|
I then started on the back where the sleeper cab was attached.
First thing I needed to do was clean up the edges and cut a piece to fit it there as good as possible. Using tabs to hold the panel, I glued it in place... Then needed to add the rear window. 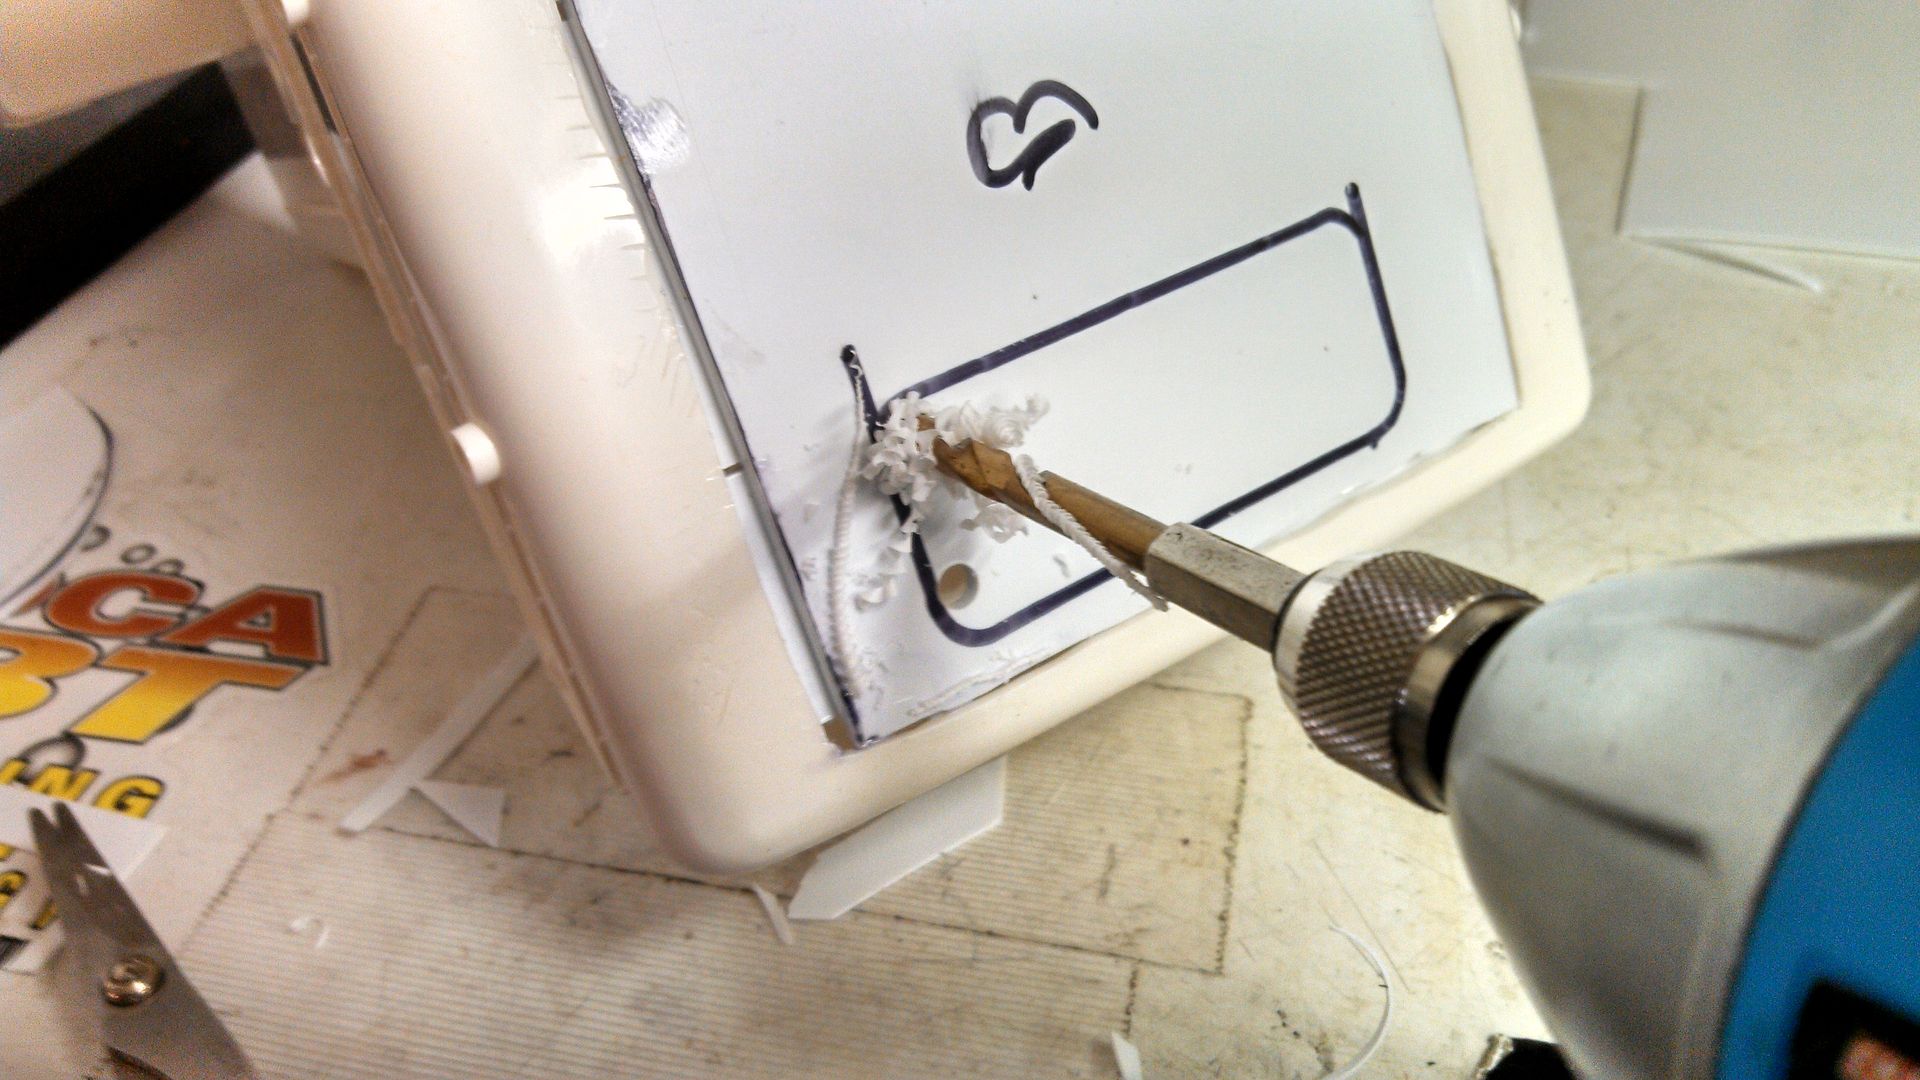 The King Hauler has a Panel on the roof that I do not like. Looks like a sun roof that never was. So I glued it in place and covered all the mounting holes so I don't fill them with putty. 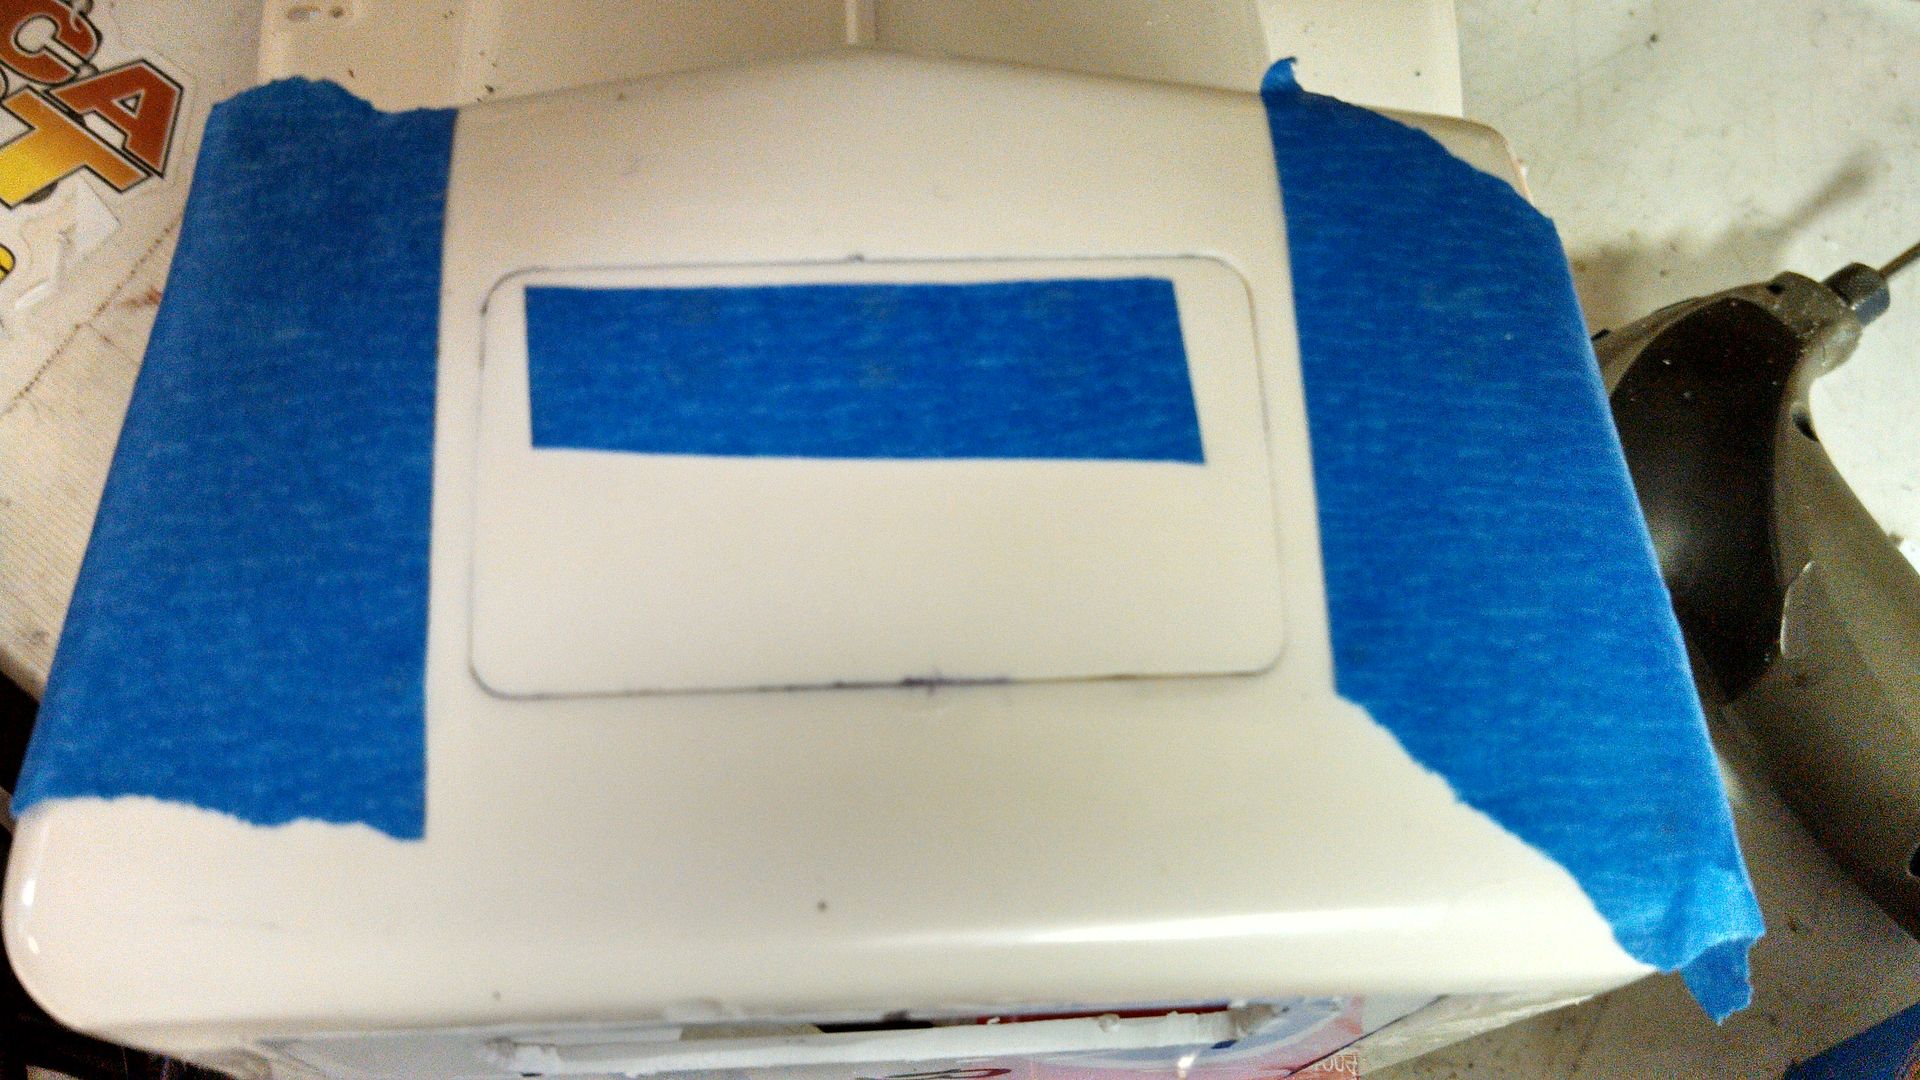
__________________
To view links or images in signatures your post count must be 10 or greater. You currently have 0 posts. To view links or images in signatures your post count must be 10 or greater. You currently have 0 posts.
|
|
#5
10-21-2013, 07:55 AM
|
||||
|
||||
|
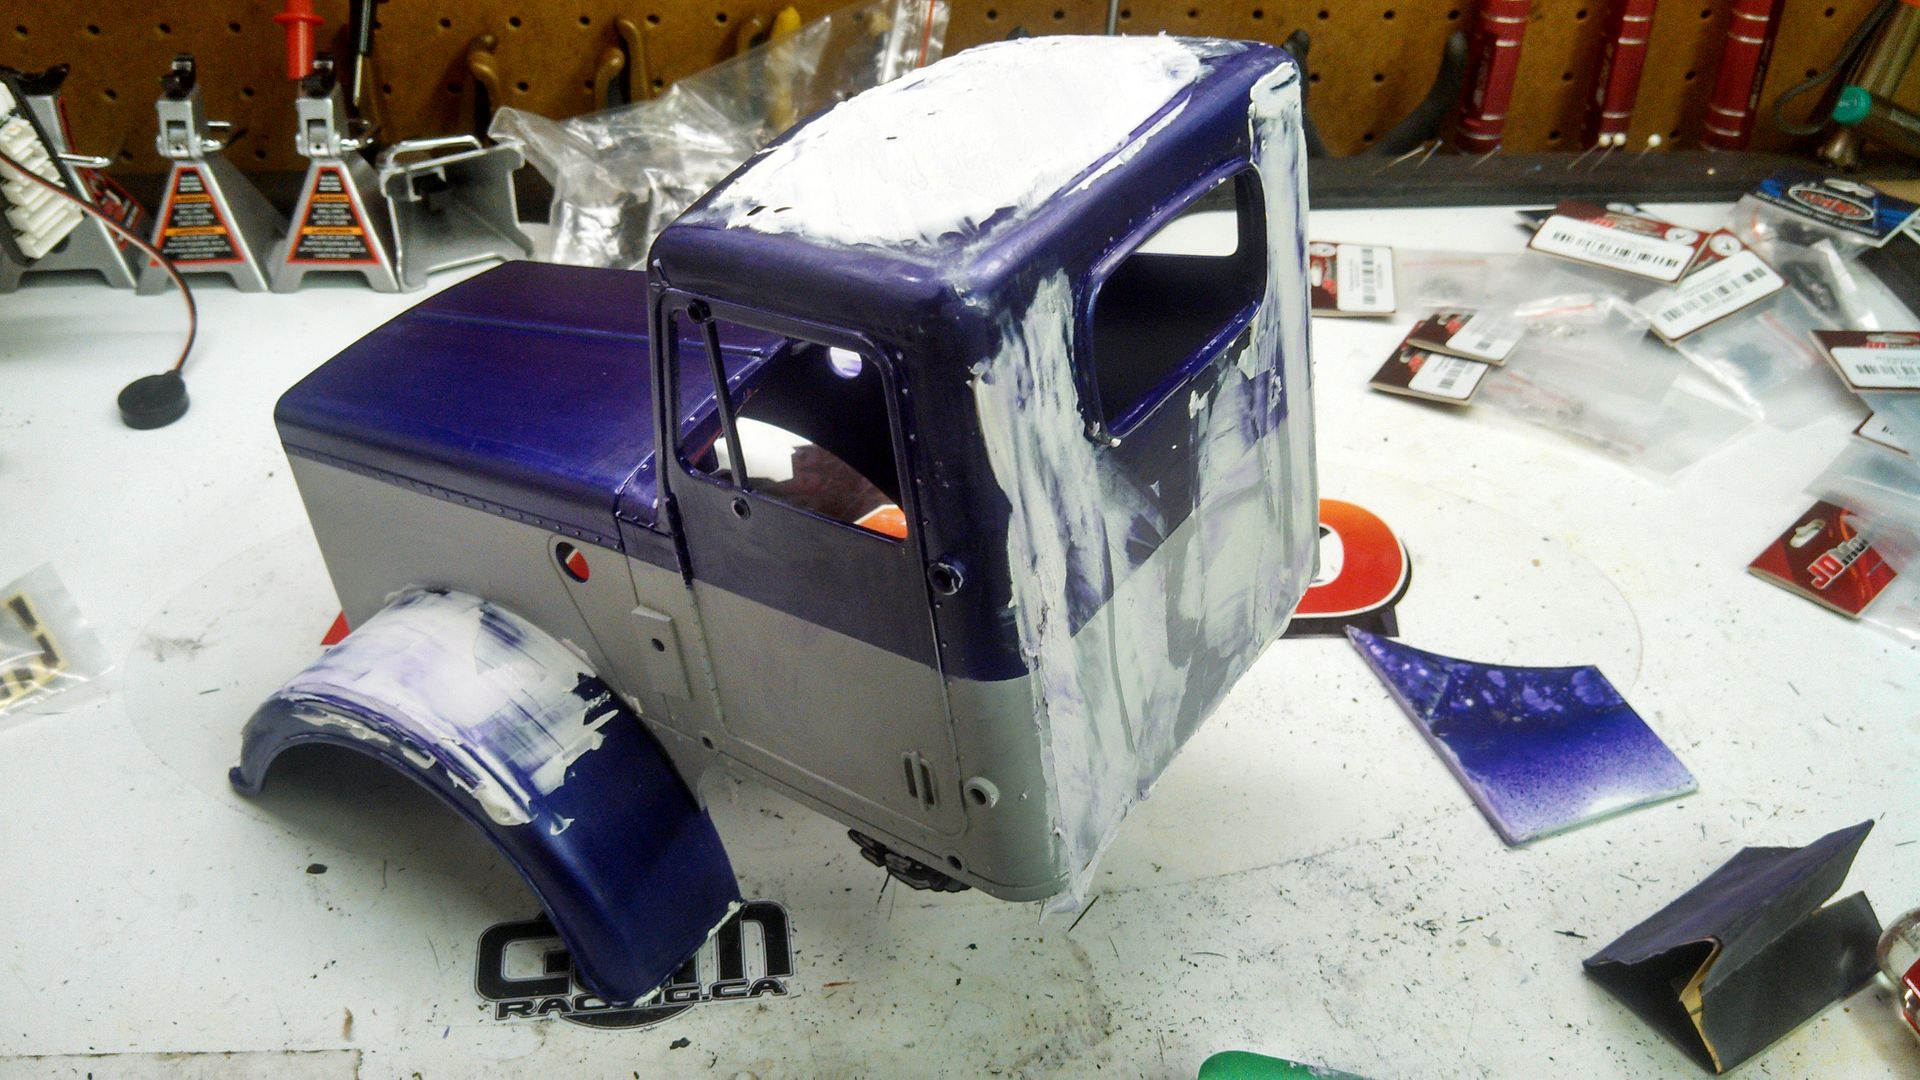
It was now time for filling in the gaps and lines.
For the fenders, I needed to make sure that I added a little more than needed so I can sand the curve of the fender. 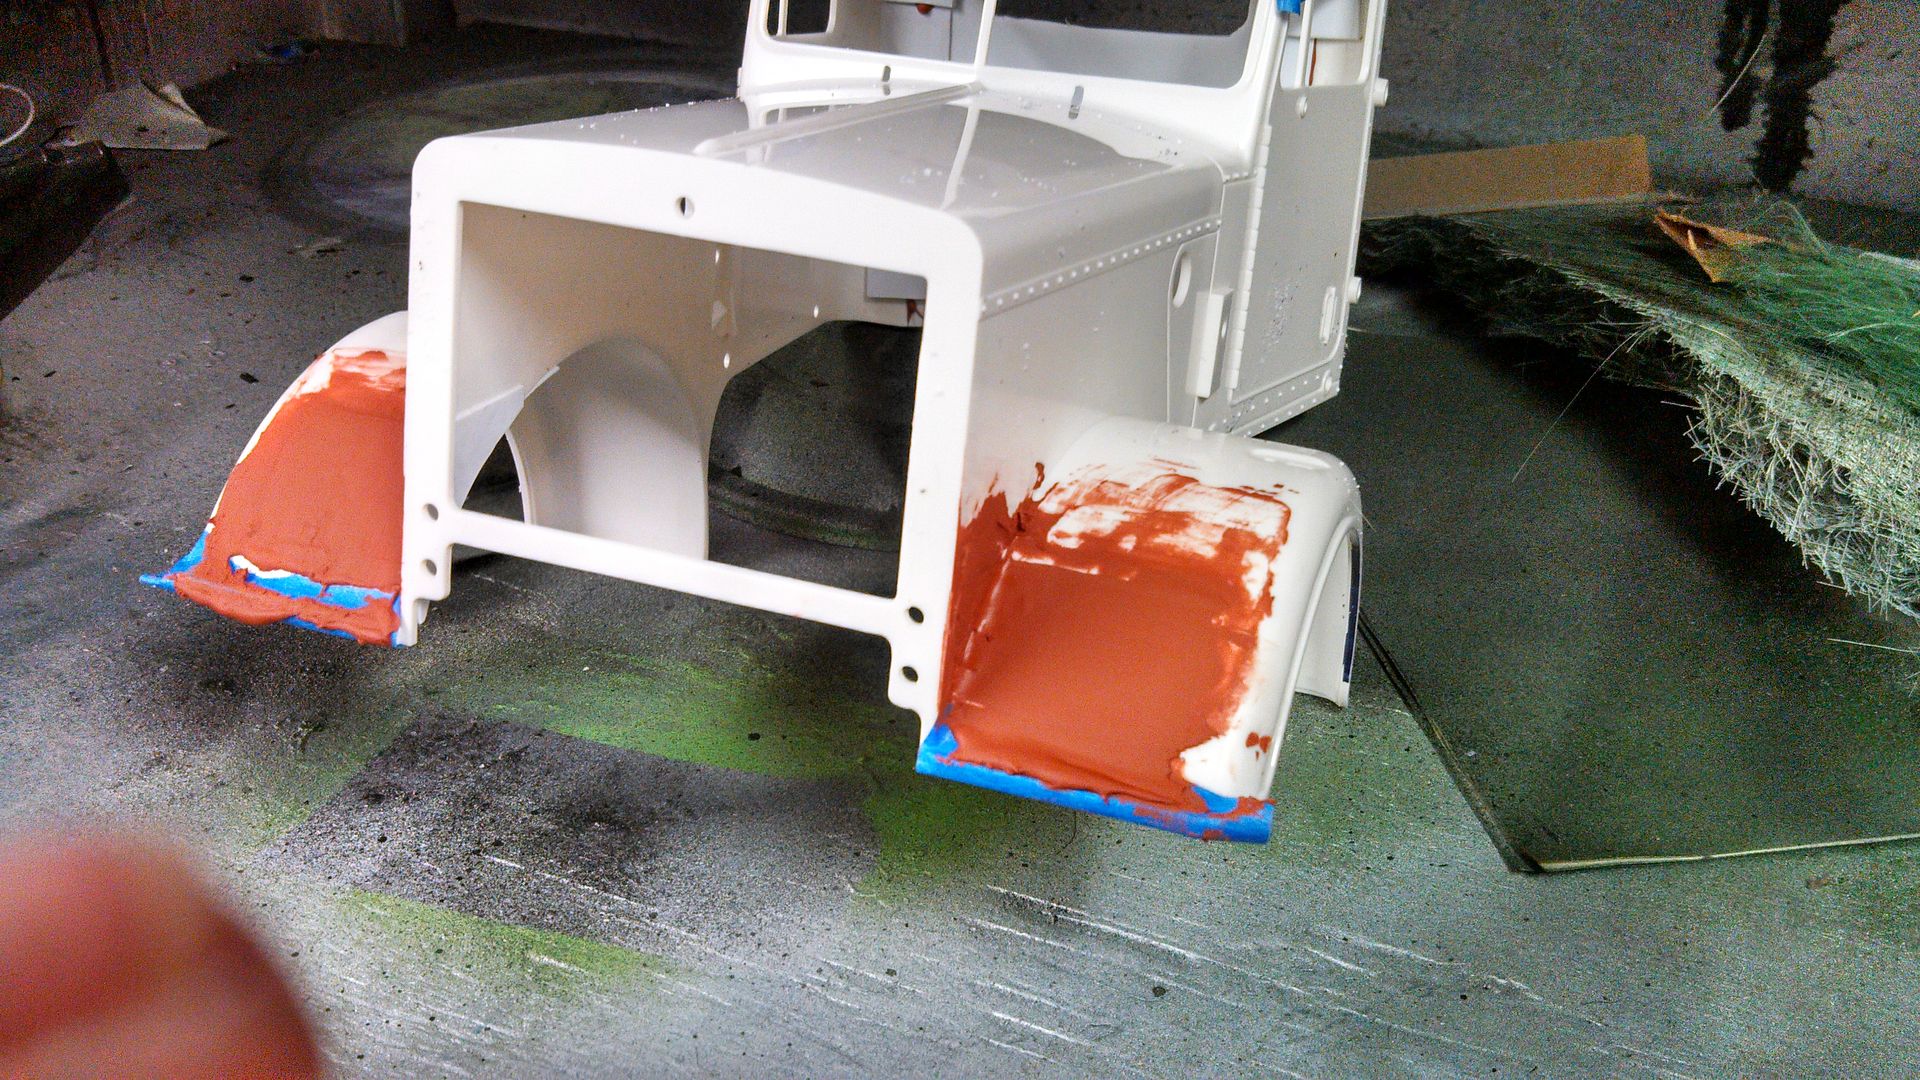 Next was the roof. You can see why I used tape to cover the accessory mounting holes...I would have had to clean everyone out. 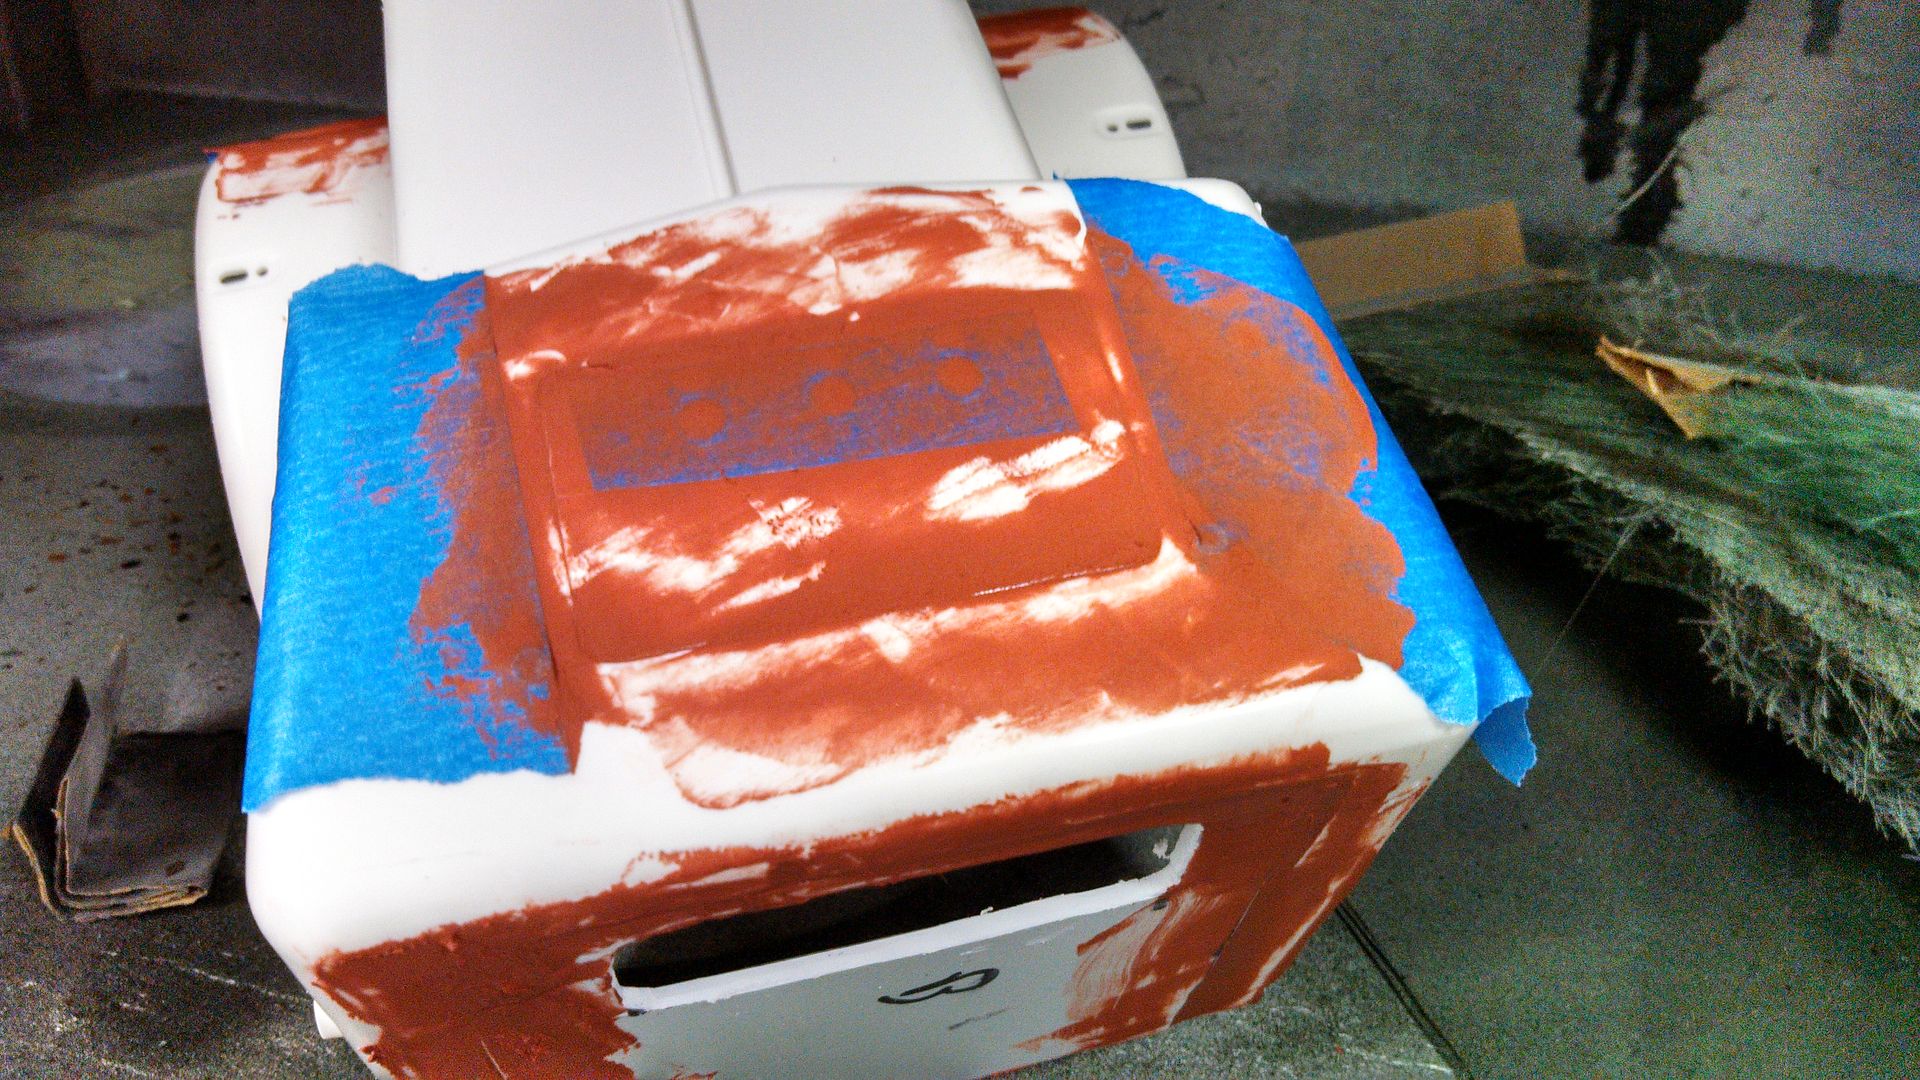 The back is going to be the hardest. I am thinking I will be doing two coats on it. 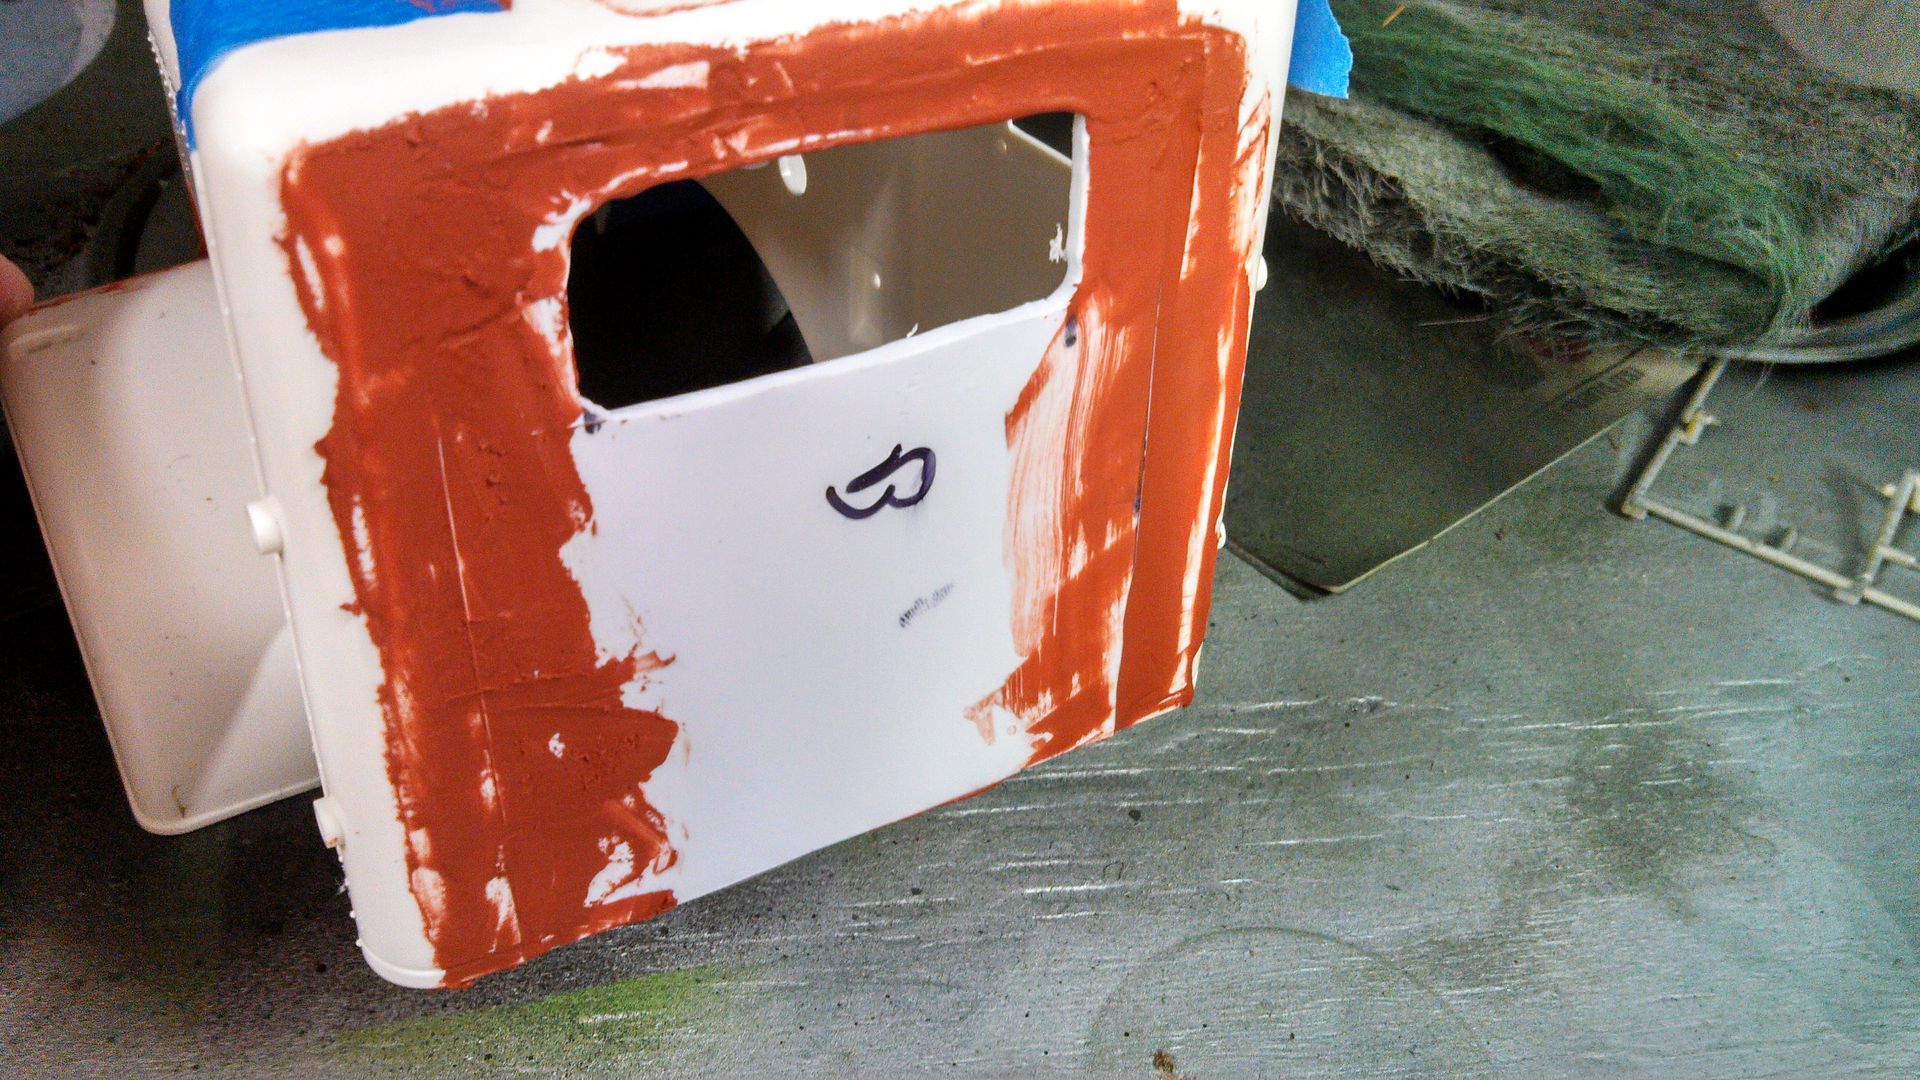 It is now in the paint booth drying...this putty stinks... :confused0068:
__________________
To view links or images in signatures your post count must be 10 or greater. You currently have 0 posts. To view links or images in signatures your post count must be 10 or greater. You currently have 0 posts.
|
|
#6
10-21-2013, 07:56 AM
|
||||
|
||||
|
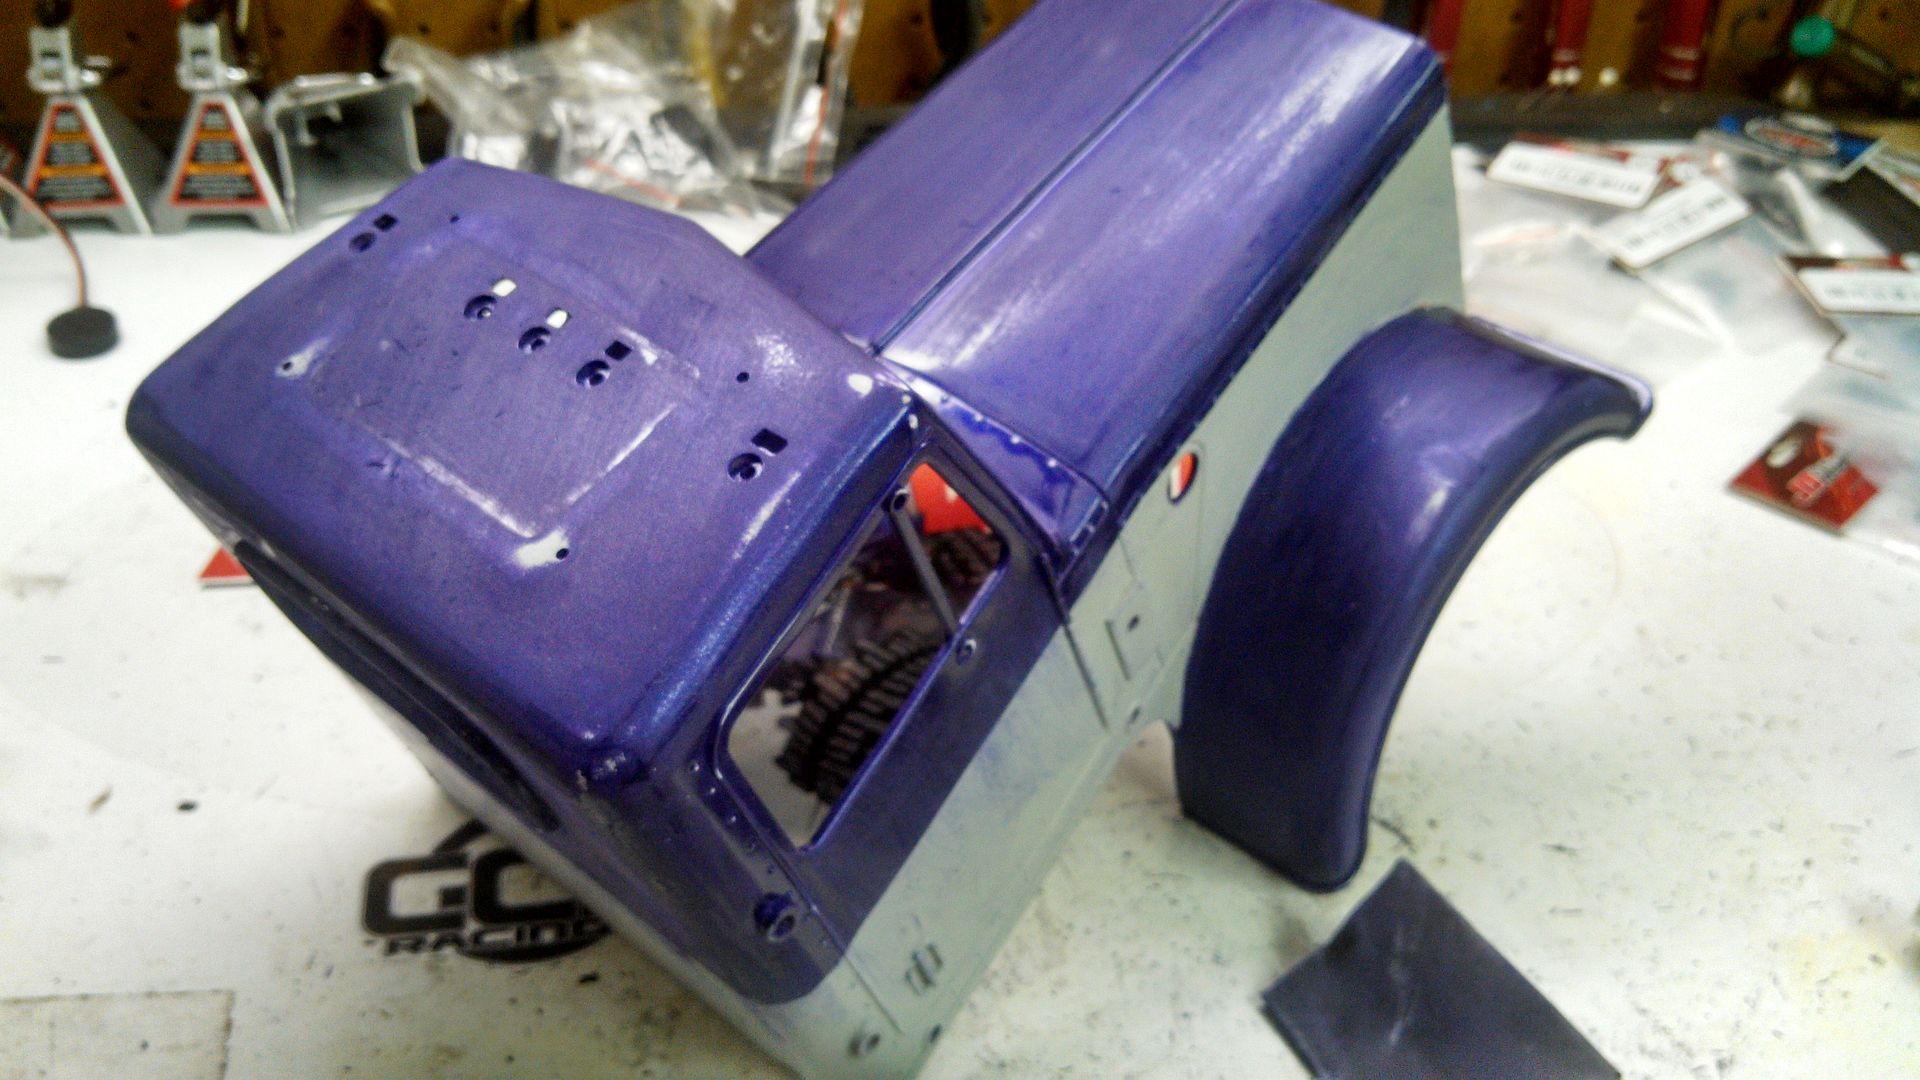
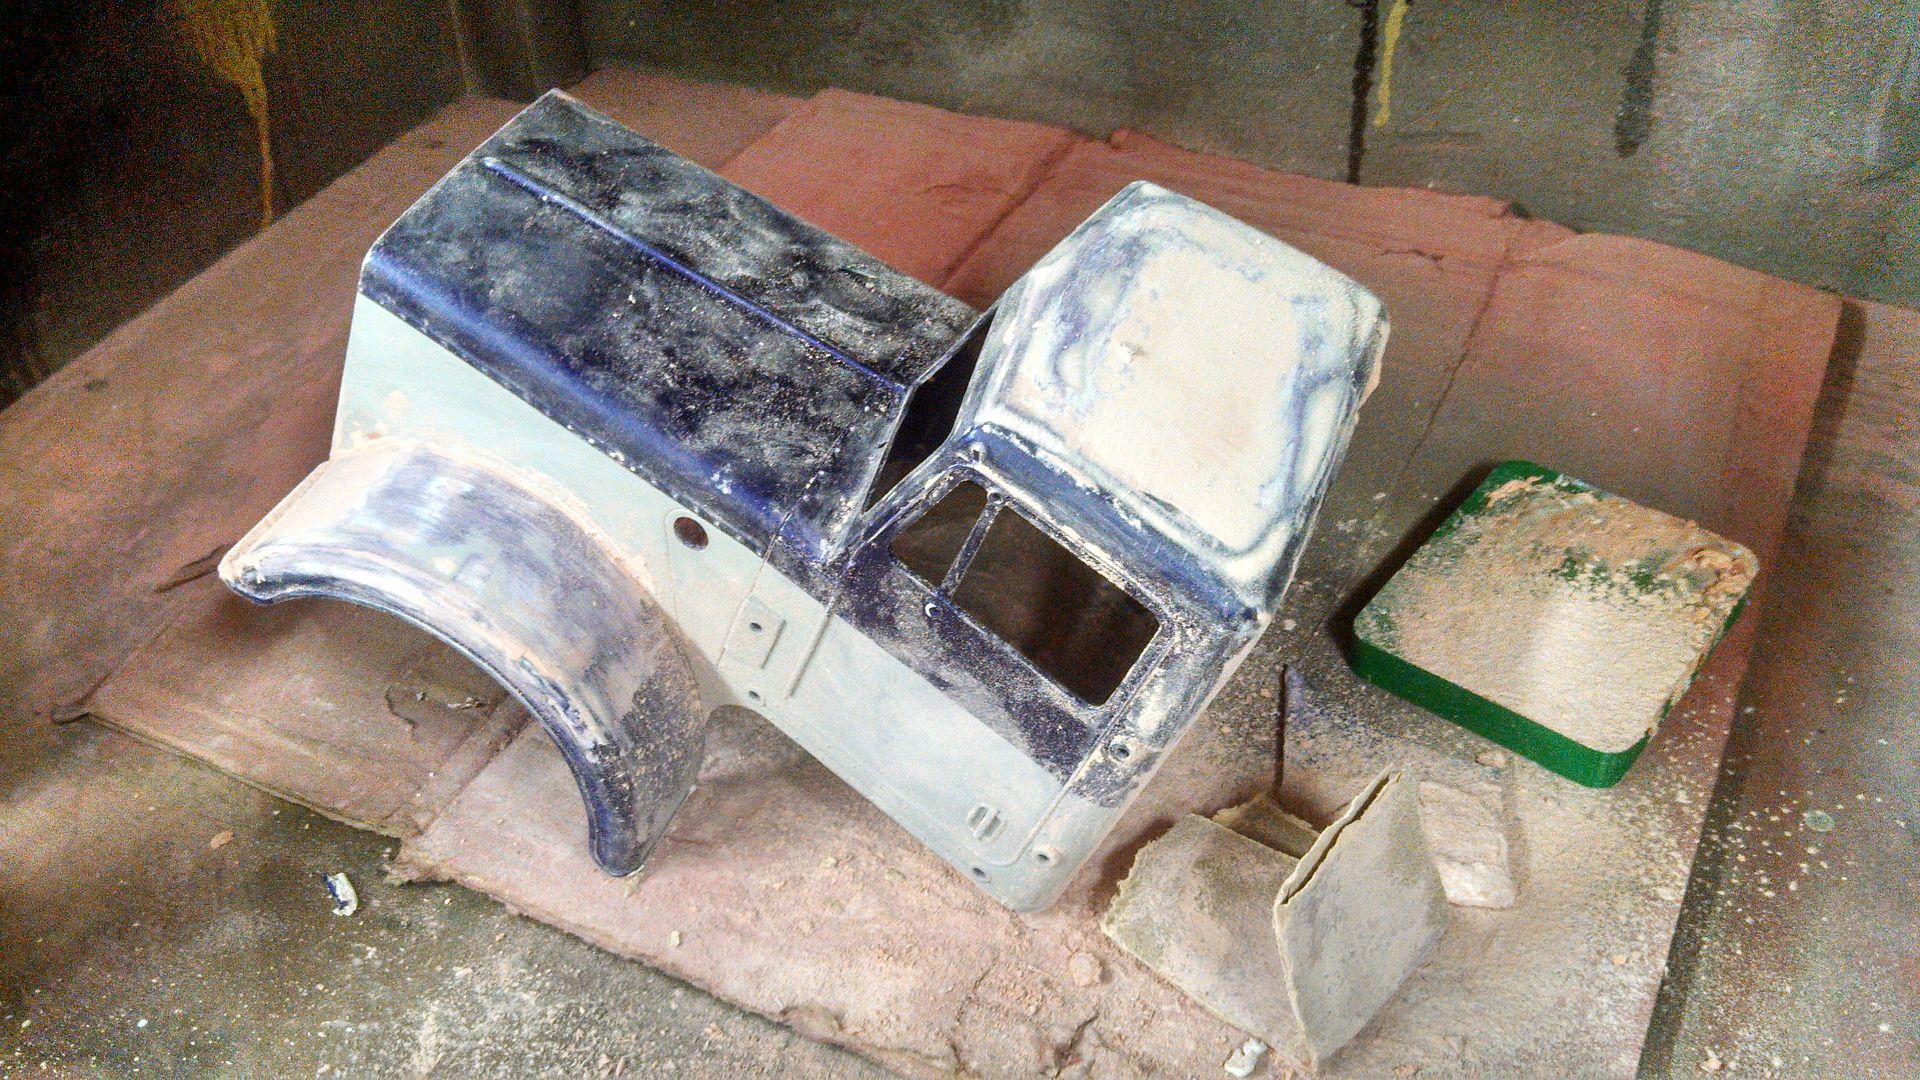
Shot the body with some primer to I can see the parts that need another coat...
 Here's the roof after a sanding 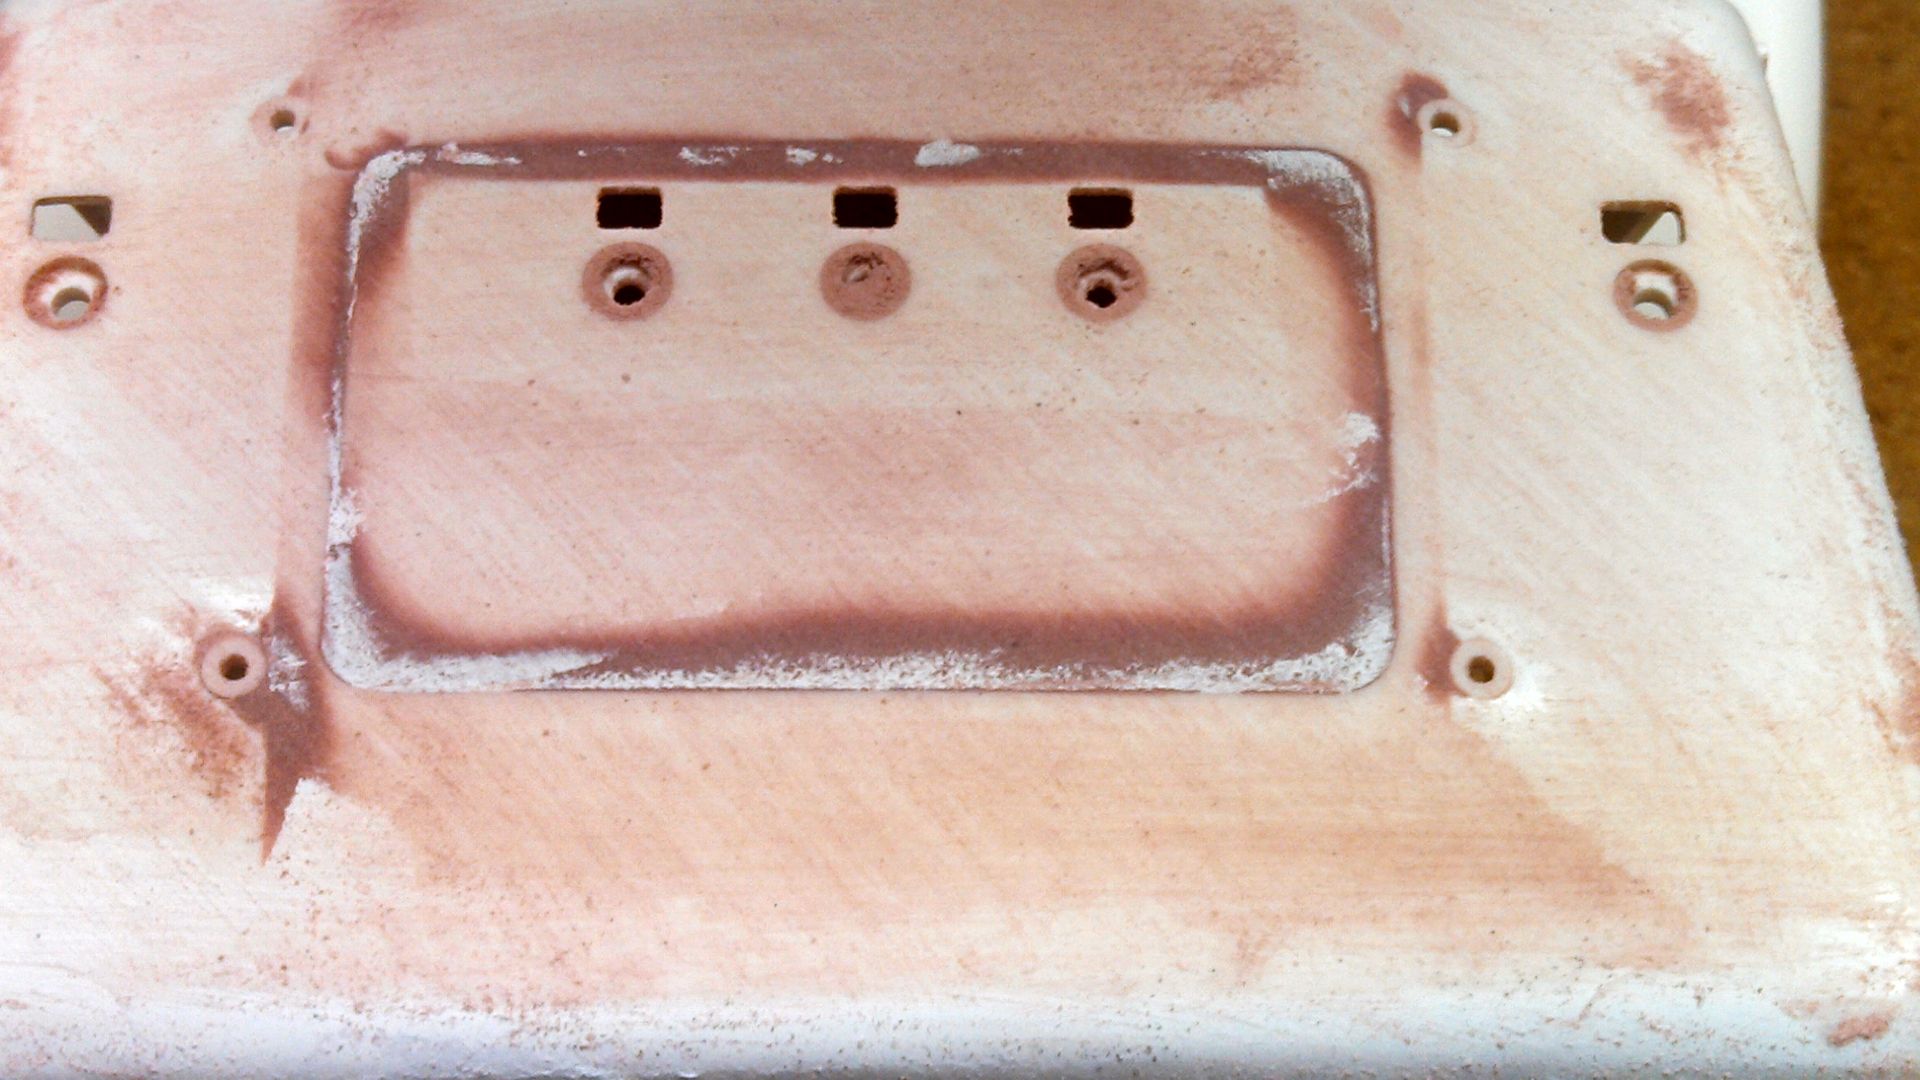 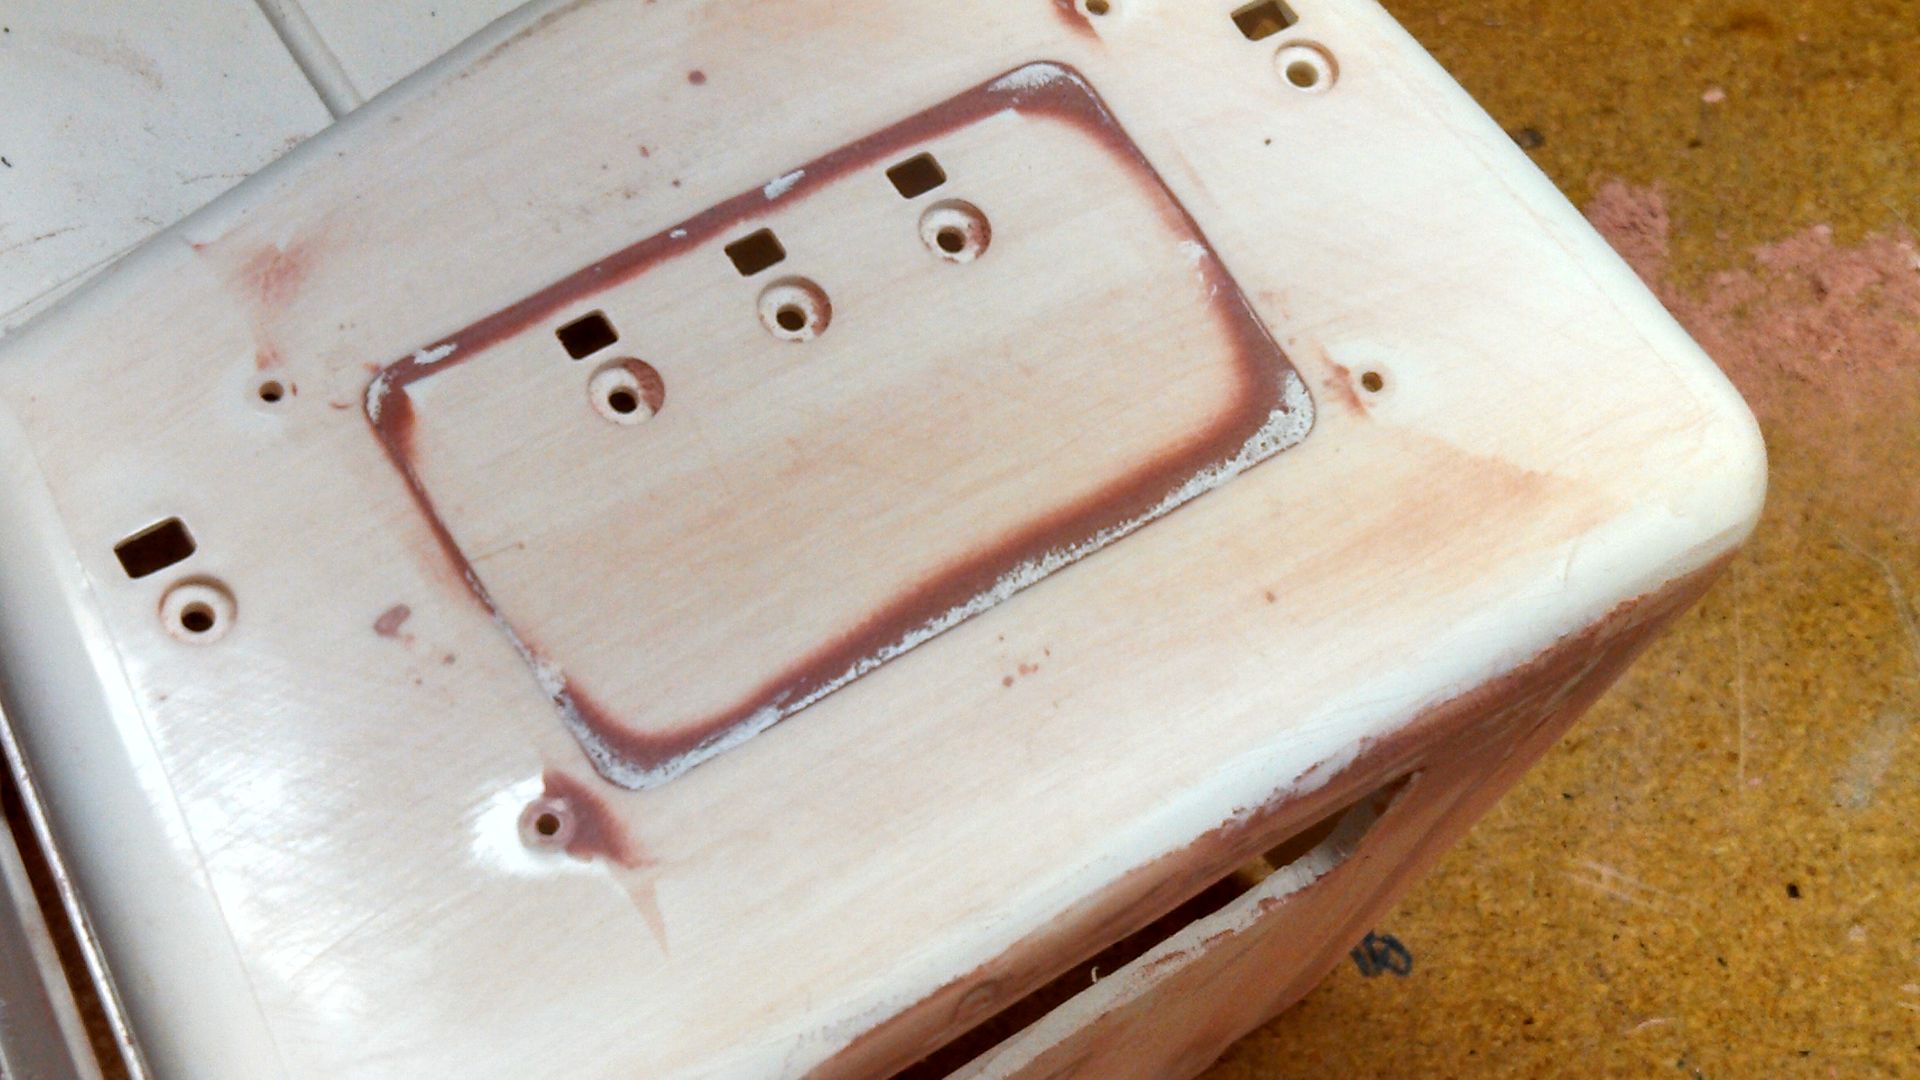 Fenders are not bad...well the right wasn't...left needs some help 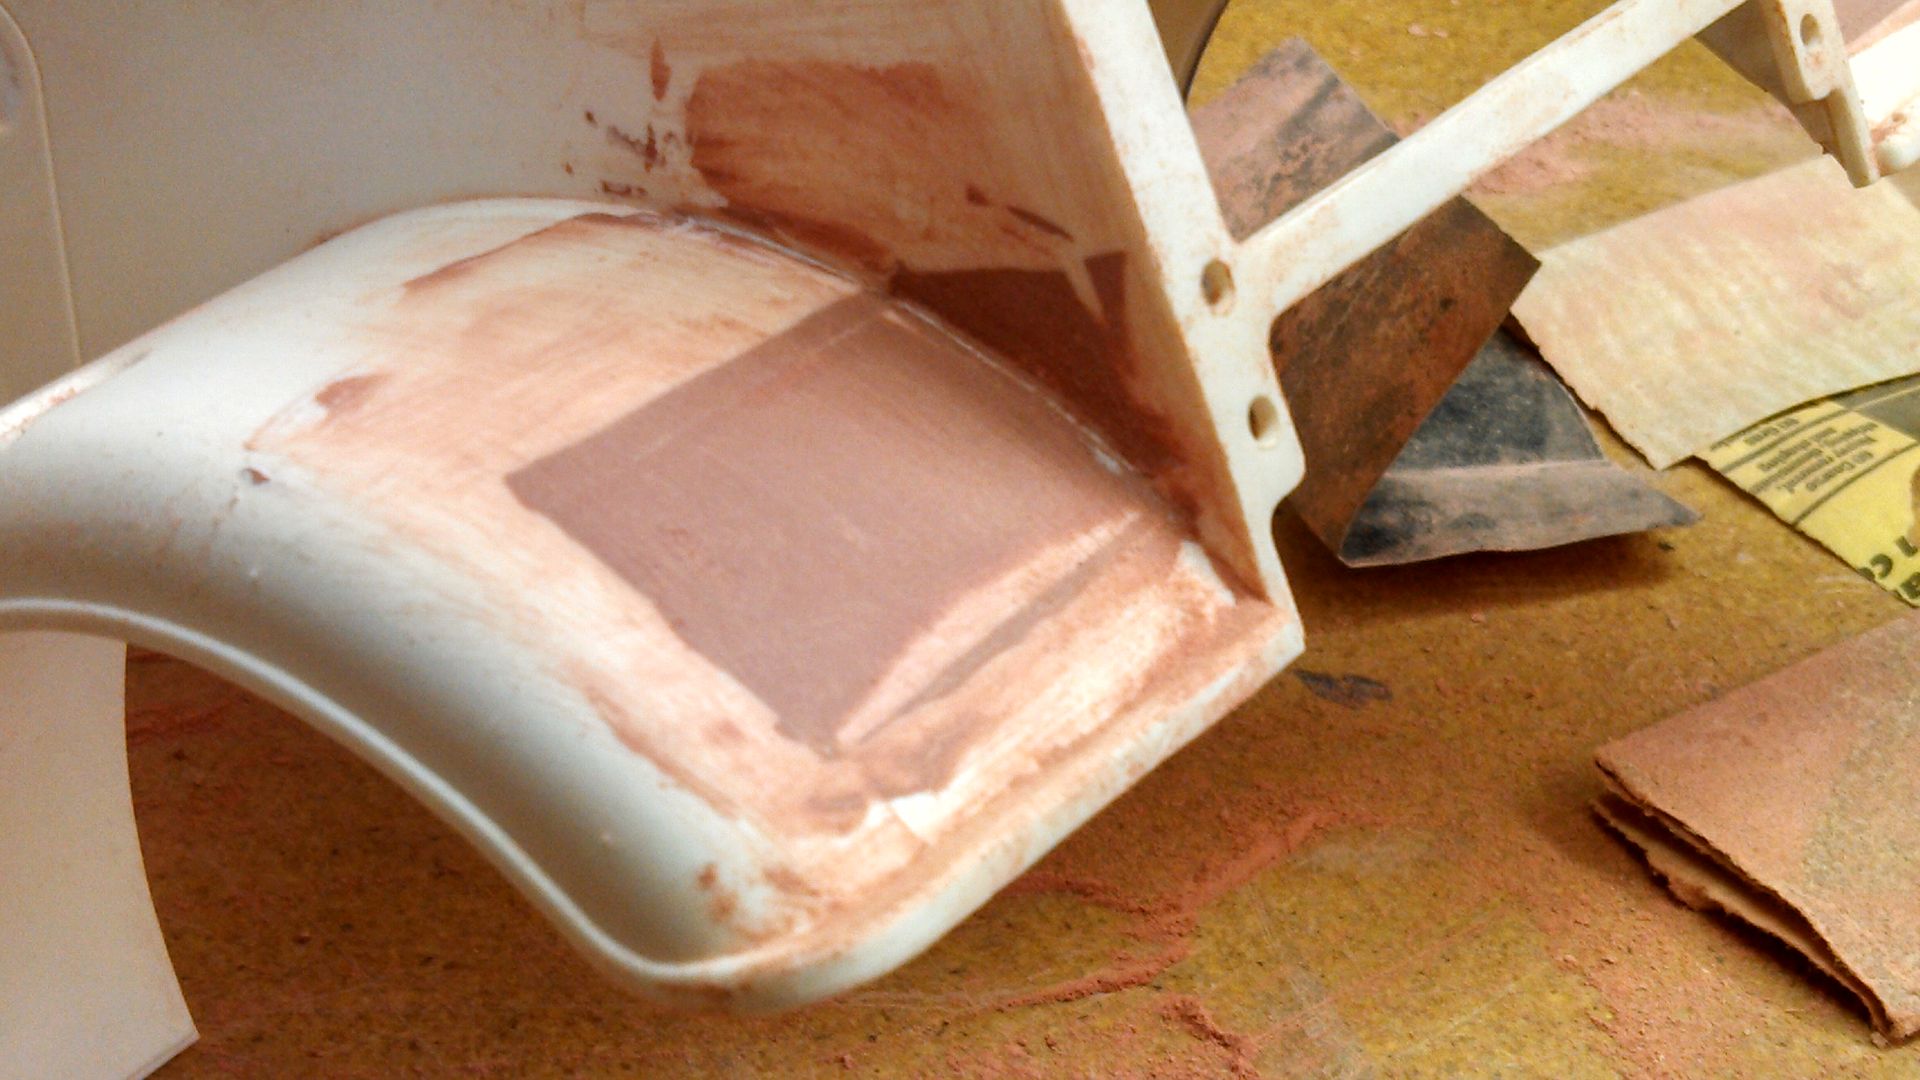 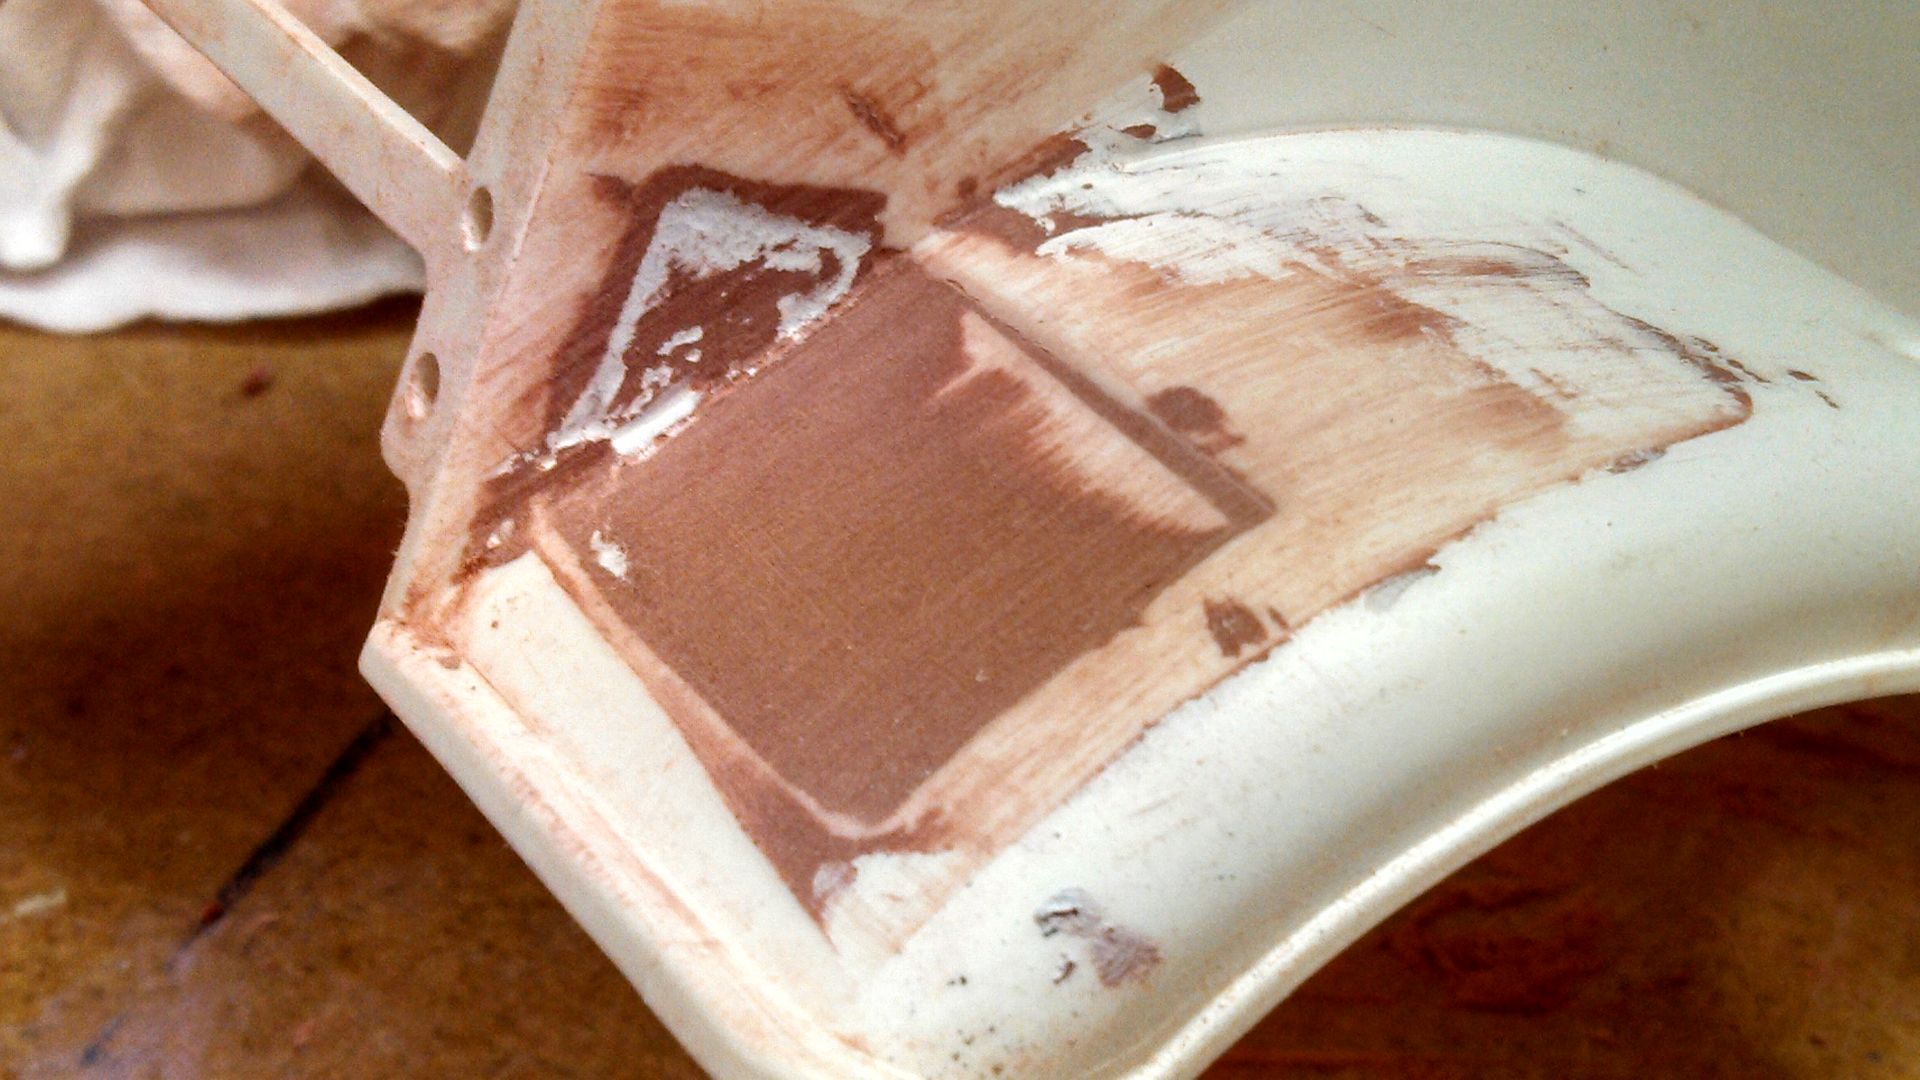 Put a thin skim on and should be all I will need...I hope 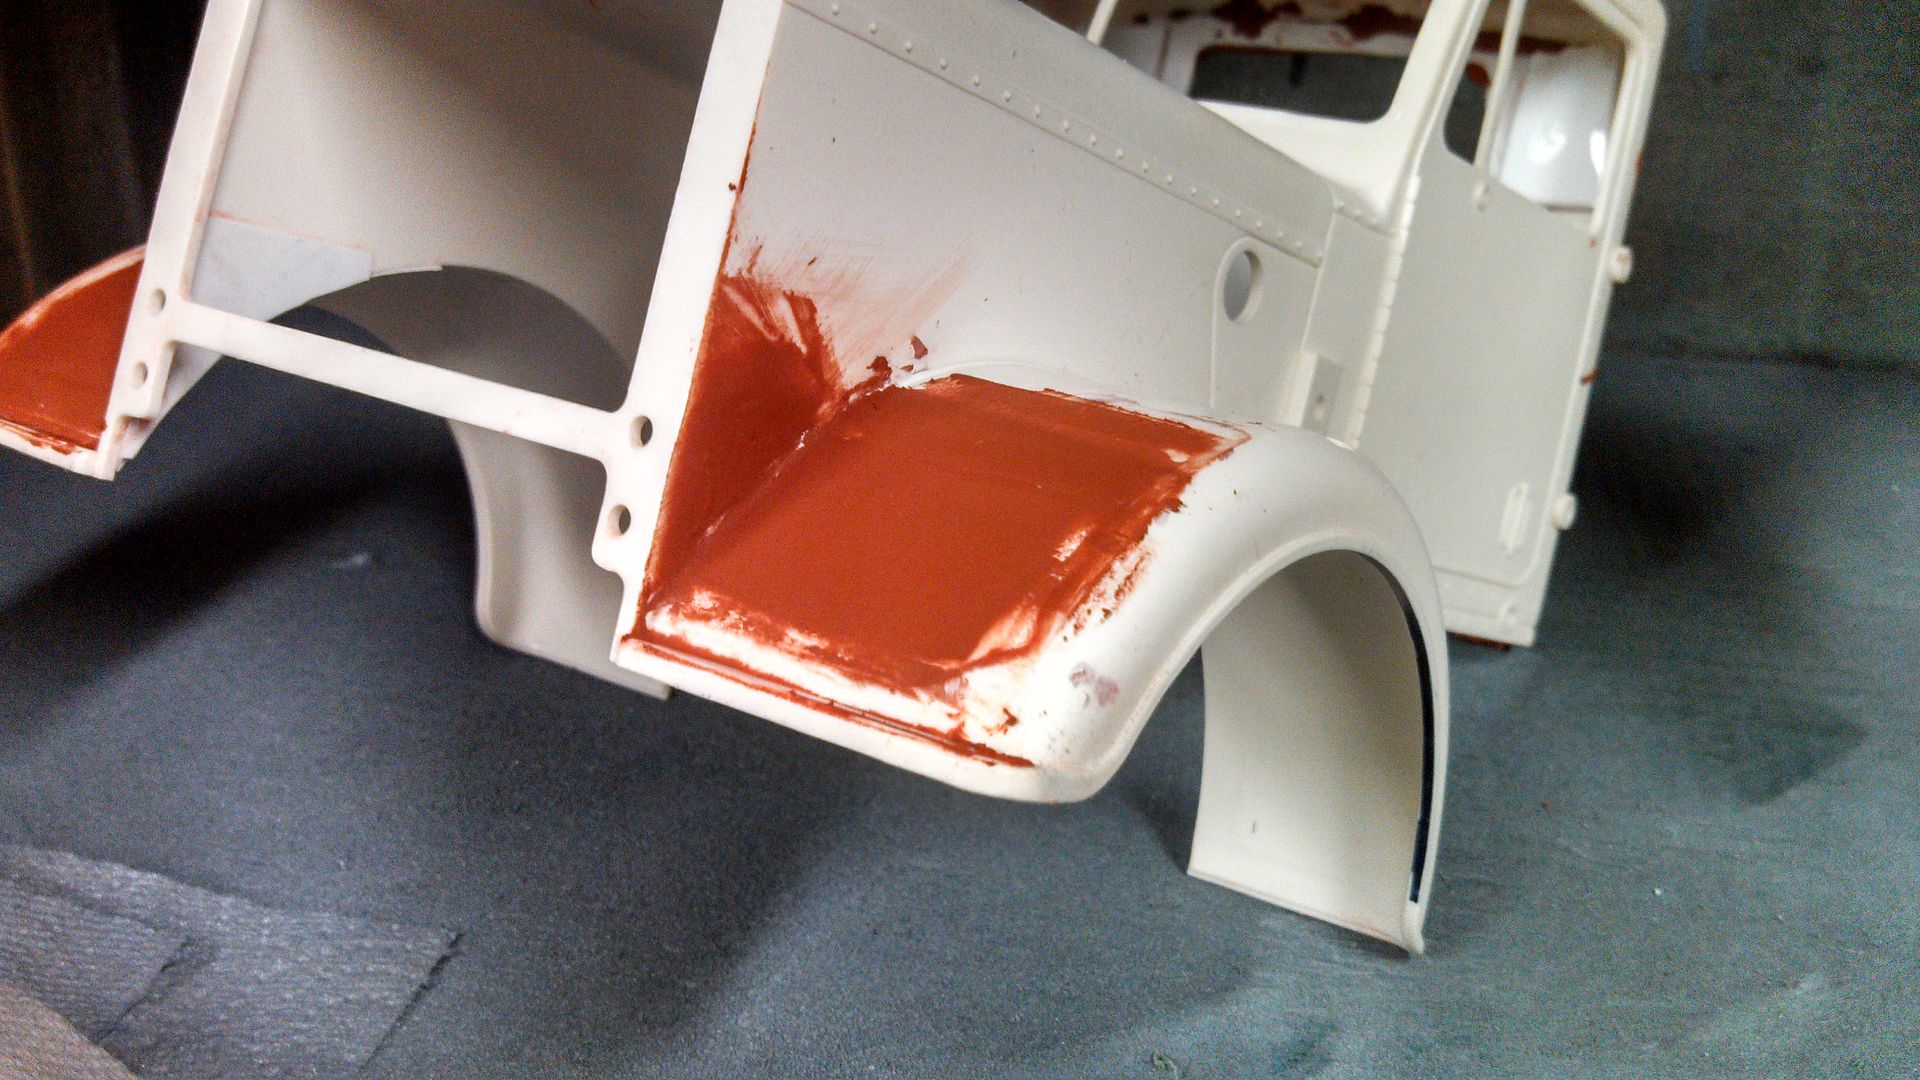
__________________
To view links or images in signatures your post count must be 10 or greater. You currently have 0 posts. To view links or images in signatures your post count must be 10 or greater. You currently have 0 posts.
|
|
#8
10-21-2013, 09:37 AM
|
||||
|
||||
|
Quote:
 I'll have to see what it is. I have used it in the past with no issues... Quote:
__________________
To view links or images in signatures your post count must be 10 or greater. You currently have 0 posts. To view links or images in signatures your post count must be 10 or greater. You currently have 0 posts.
|
|
#9
10-21-2013, 11:40 AM
|
||||
|
||||
|
Nice job friend
|
|
#10
10-21-2013, 01:18 PM
|
|||
|
|||
|
off to a nice start!
|
|
#11
10-21-2013, 04:06 PM
|
|||
|
|||
|
looking great!!
|
|
#14
10-22-2013, 09:20 AM
|
|||||
|
|||||
|
Quote:
Quote:
Quote:
Quote:
Quote:
Going to start on the utility boxes. Need to make sure I can get a decent size battery in there.
__________________
To view links or images in signatures your post count must be 10 or greater. You currently have 0 posts. To view links or images in signatures your post count must be 10 or greater. You currently have 0 posts.
|
|
#15
10-26-2013, 09:54 PM
|
||||
|
||||
|
I like the rear window trim
 Any updates? Any updates?
|
|
#16
10-26-2013, 10:33 PM
|
||||
|
||||
|
Quote:
__________________
To view links or images in signatures your post count must be 10 or greater. You currently have 0 posts. To view links or images in signatures your post count must be 10 or greater. You currently have 0 posts.
|
|
#17
01-09-2014, 06:29 PM
|
||||
|
||||
|
After being disappointed with the body work...it went back in the shop...
    King Worth is now changing directions...so with that starts a new thread... http://www.rctruckandconstruction.co...ead.php?t=8187
__________________
To view links or images in signatures your post count must be 10 or greater. You currently have 0 posts. To view links or images in signatures your post count must be 10 or greater. You currently have 0 posts.
|
|
| Currently Active Users Viewing This Thread: 1 (0 members and 1 guests) | |
|
|


 Hybrid Mode
