|
|||||||
| Construction Equipment If it digs, pushes, hauls dirt "off road" post it here. |
 |
|
|
Thread Tools | Display Modes |
|
#23
 02-10-2011, 12:25 PM
|
||||
|
||||
|
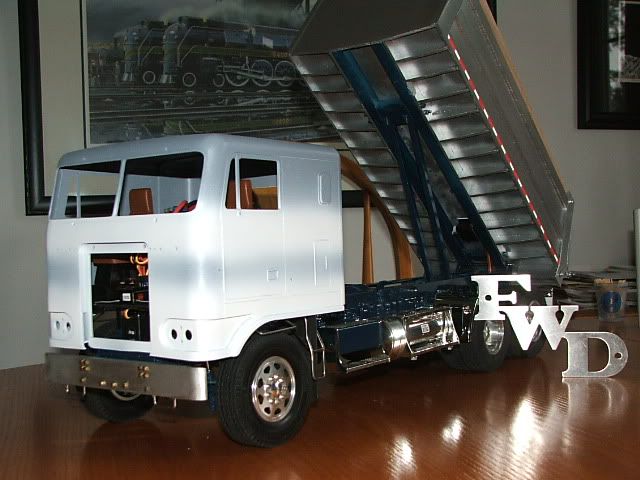
Next up was making a mock up for the box. I thought about aluminum but after checking out styrene I took the easy way.
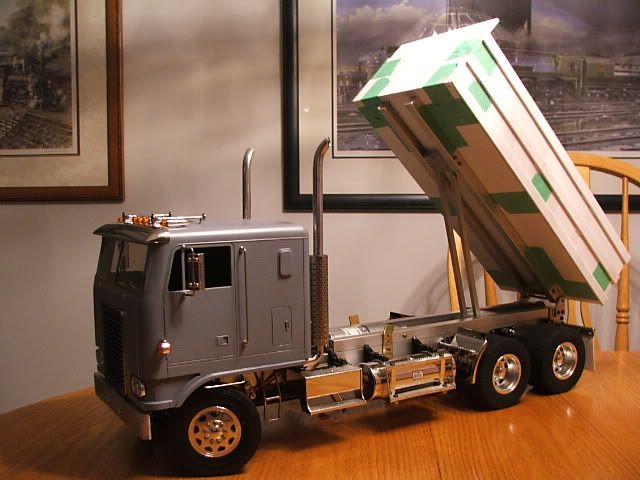 Didn't come out to bad, so I went ahead and built one with all the detail. 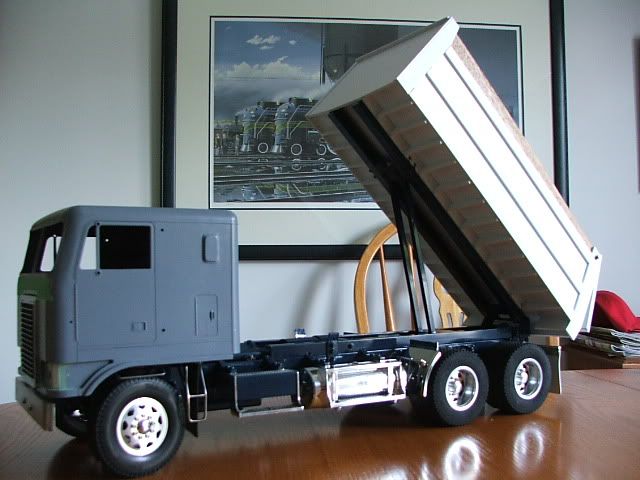 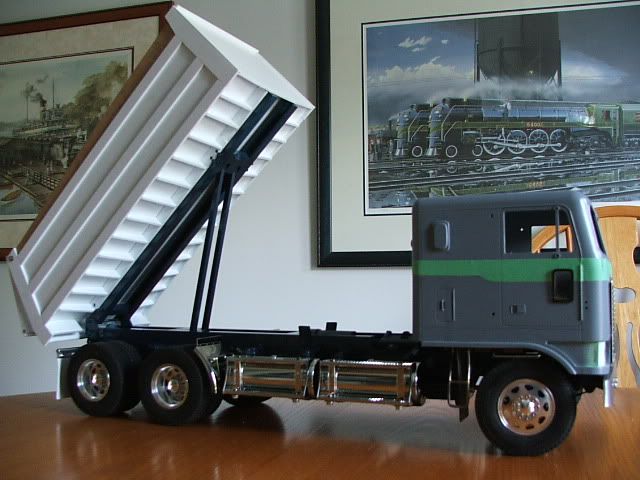 Thanks for looking. Rob 
|
|
#24
02-10-2011, 12:42 PM
|
||||
|
||||
|
that looks real sharp Rob . I like the pic in the background , what road name are they ? looks like reading lines' colors unless my eyes deceive me
IHSteve
__________________
RIP FreddyGearDrive 2-12-59/12-19-11 To view links or images in signatures your post count must be 10 or greater. You currently have 0 posts.
|
|
#25
02-10-2011, 01:12 PM
|
||||
|
||||
|
Xllnt work Rob.
 How you gonna fashion a tailgate lock? Ya need one of them.  A little tip to improve your traction (especially when empty and tugging your pup) and to lock the tire to the rim without gluing is to add air rifle BB's.
|
|
#26
02-10-2011, 01:13 PM
|
||||
|
||||
|
Thanks Steve. The loci in the picture is Canadian National 6400 Northern. Built back in 1936. Started to build one, but sold it when I moved here from Ontario. Would be nice to have now. Always my favorite.
Rob
|
|
#27
02-10-2011, 02:27 PM
|
||||
|
||||
|
I did build a lock for the gate as follows. First made lock arms from some .060 brass. cut two pieces of 1/8" dia. drill rod and silver soldered on the arms. Cut a piece of 1/4" drill rod and drilled and taped 8-32 right the way through. Made up and silver soldered on a brass arm to link up to the servo.
 Threaded the 1/8" drill rod 10-32 thread and installed it with lock nuts to keep the arm parallel and from turning 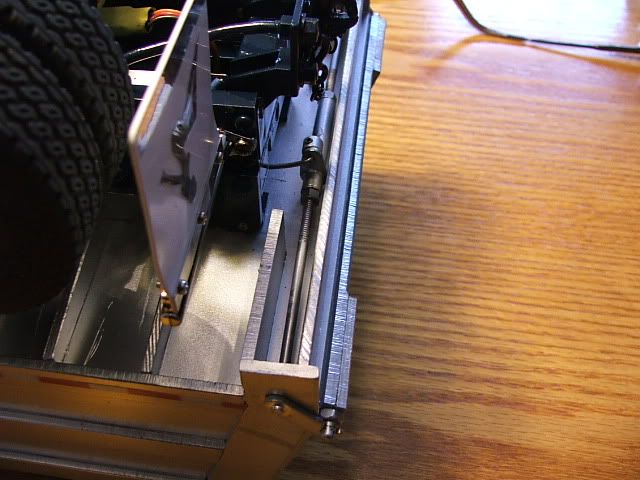 Mounted small servo from Helli to the box hooked up the linkage and it worked. Last photo is the down stop switch for the screw drive. It has a diode bridge on it so it will reverse to go back up. 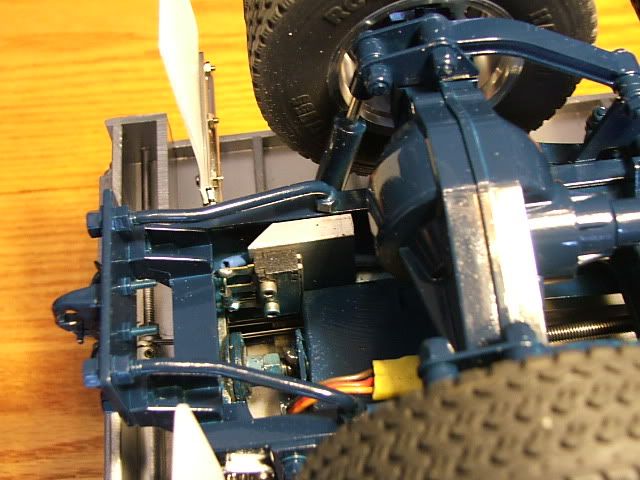 Thanks for looking Rob
|
|
#28
02-10-2011, 10:00 PM
|
||||
|
||||
|
That looks pretty nifty Rob and I like how you made your pintle plate too. Lots of trick ideas already on this trk.
Is that pintle from PMD?
|
|
#30
02-11-2011, 12:16 PM
|
||||
|
||||
|
Can you draw a diagram of the wiring? sounds interesting
|
|
#31
02-11-2011, 12:31 PM
|
|||
|
|||
|
i like the look of the saw marks on the ends of the plastic
they look like steel after being cut with a plasma cutter and a gas axe nice detail lol Threaded the 1/8" drill rod 10-32 thread and installed it with lock nuts to keep the arm parallel and from turning Thanks for looking Rob[/QUOTE]
|
|
#32
02-12-2011, 02:14 PM
|
||||
|
||||
|
Thanks for all the comments on the build. The pintle is from PMD and I think it's a good product. May have to install a spring to keep the lock closed.. Never thought about the edge looking like a plasma cut but it does. Tried a lot of different methods for cutting styrene and ended up using the band saw with 18 tooth blade. It cut the fastest and left that edge. I'll do up a drawing for the switch and post it later.
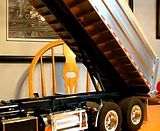
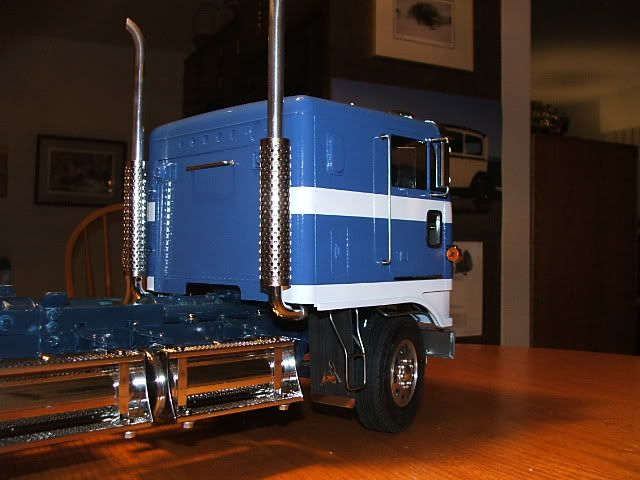
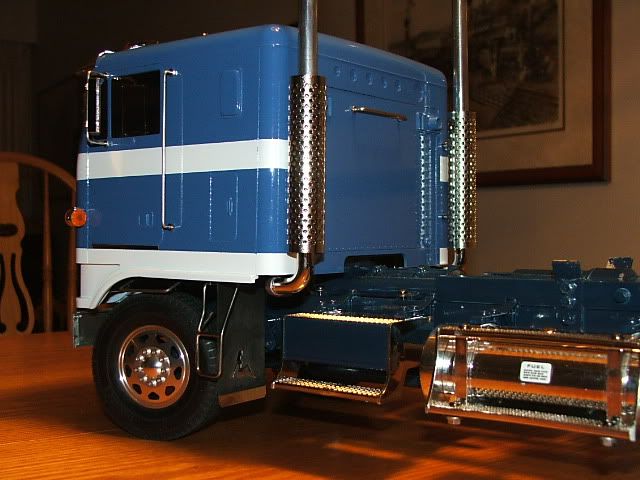
Back on the dump box. After it was finished I gave it a coat of Modelmaster Chrome silver and made the overflow boards for some mahogany. 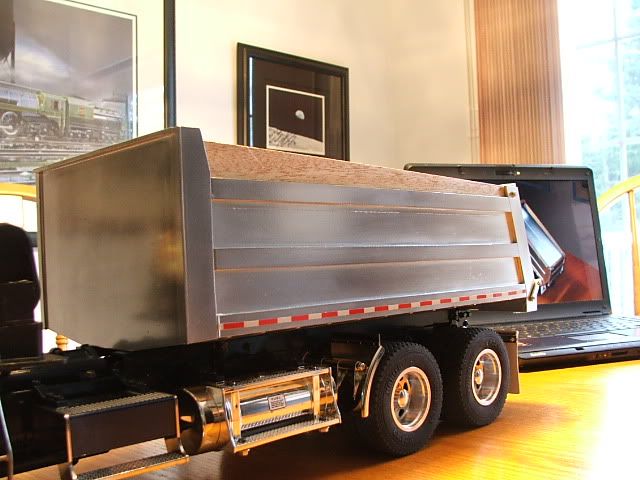 In this photo you can see the servo for the tail gate latch. 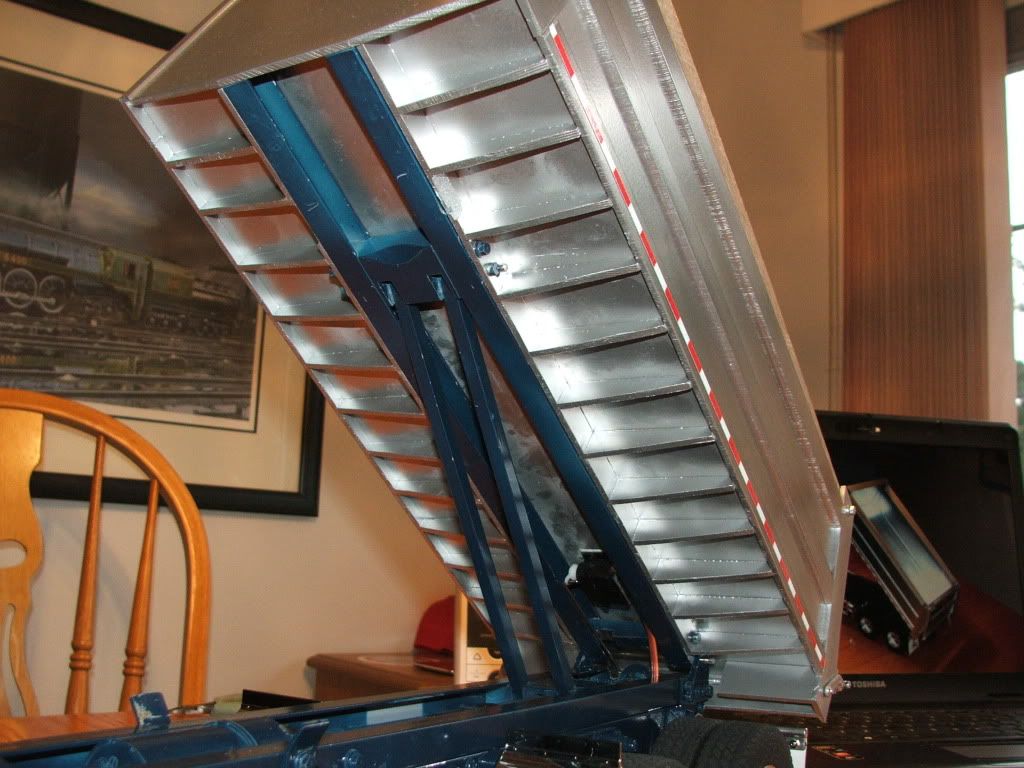 I also had to shorten up the cab floor. I worked it out and was able to fit in the 12 volt battery for the dump. Two esc's are for truck drive and dump 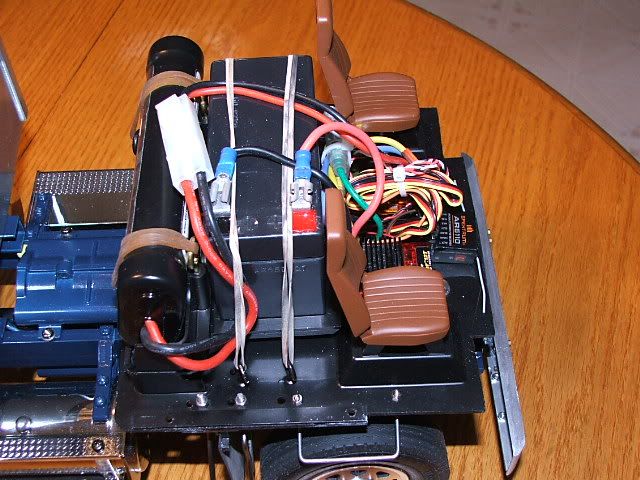 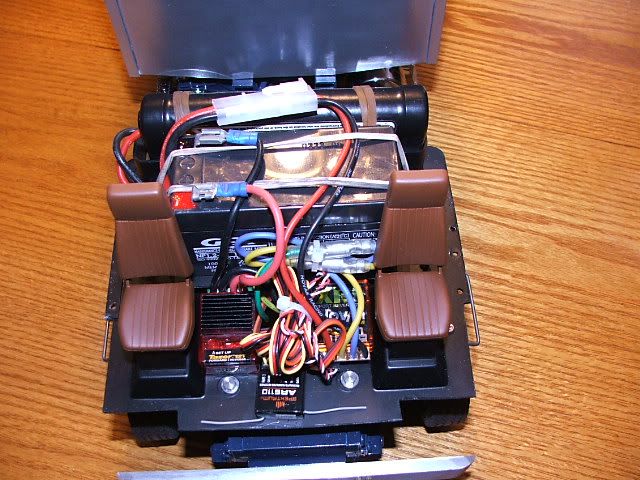 Next up will be painting the cab. Thanks for looking Rob
|
|
#36
02-13-2011, 11:58 PM
|
||||
|
||||
|
i can't wait to see how the paint job comes out on the cab. looking good!
__________________
To view links or images in signatures your post count must be 10 or greater. You currently have 0 posts.
|
|
#38
02-19-2011, 03:46 PM
|
||||
|
||||
|
Hey Rob paint turned out great..good colour choice..Cant wait to start bashing the side of the box with my excavator bucket ...lol
|
|
#39
02-20-2011, 10:46 AM
|
||||
|
||||
|
Wow the truck turned out great! You sure put alot of detail into this project. everytime I look at the pictures I find something else i missed before.
|
|
#40
02-20-2011, 12:10 PM
|
||||
|
||||
|
great looking truck Rob, the box looks perfect nice job. very clean build.
|
|
| Currently Active Users Viewing This Thread: 1 (0 members and 1 guests) | |
|
|


 Linear Mode

