
 |
|
|||||||
| Euro Style Trucks and Trailers A place for the Euro style trucks single and twin axle trucks and trailers... |
 |
|
|
Thread Tools | Display Modes |
|
|
|
#1
|
||||
|
||||
|
Hi Ap,
Yup so right about how time consuming it all is, time flies if one is having fun! Been "making" too much time for it actually ... have to catch up on some house maintenance first. On a side note, just noticed that I put this right fender support on the left side of the frame and the left one on the right side ... of course it has to be the one that was such a pain to install. 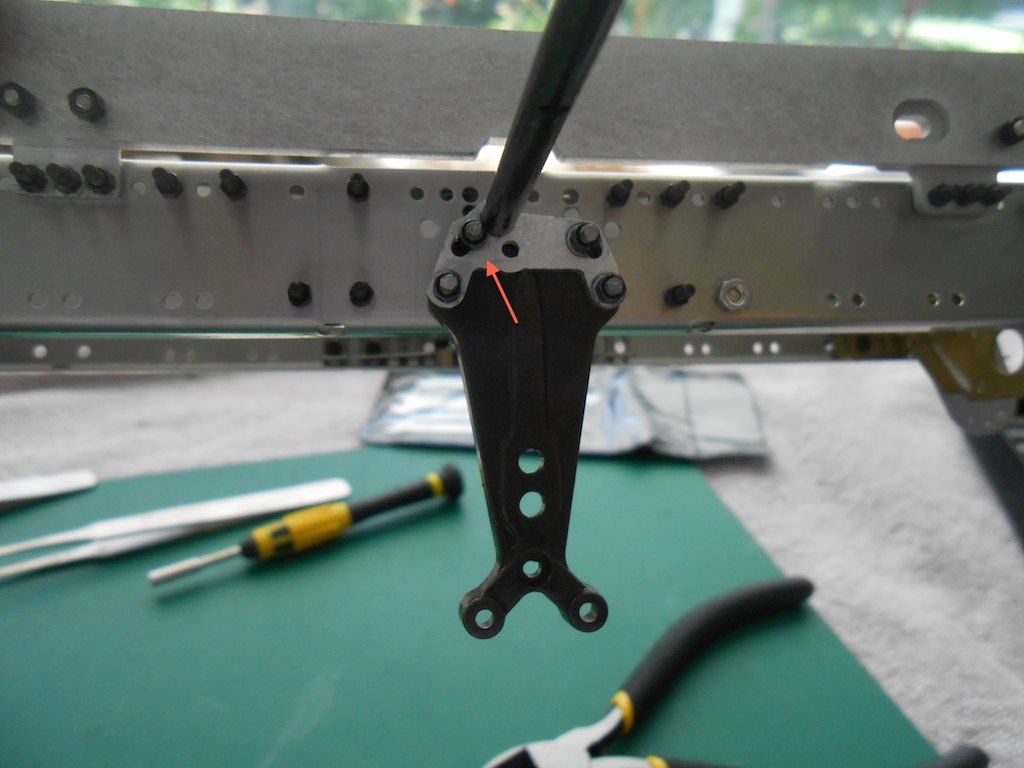 Cheers, Stephan |
|
#2
|
||||
|
||||
|
Swapped those two supports and it was a ***** of a job as expected.
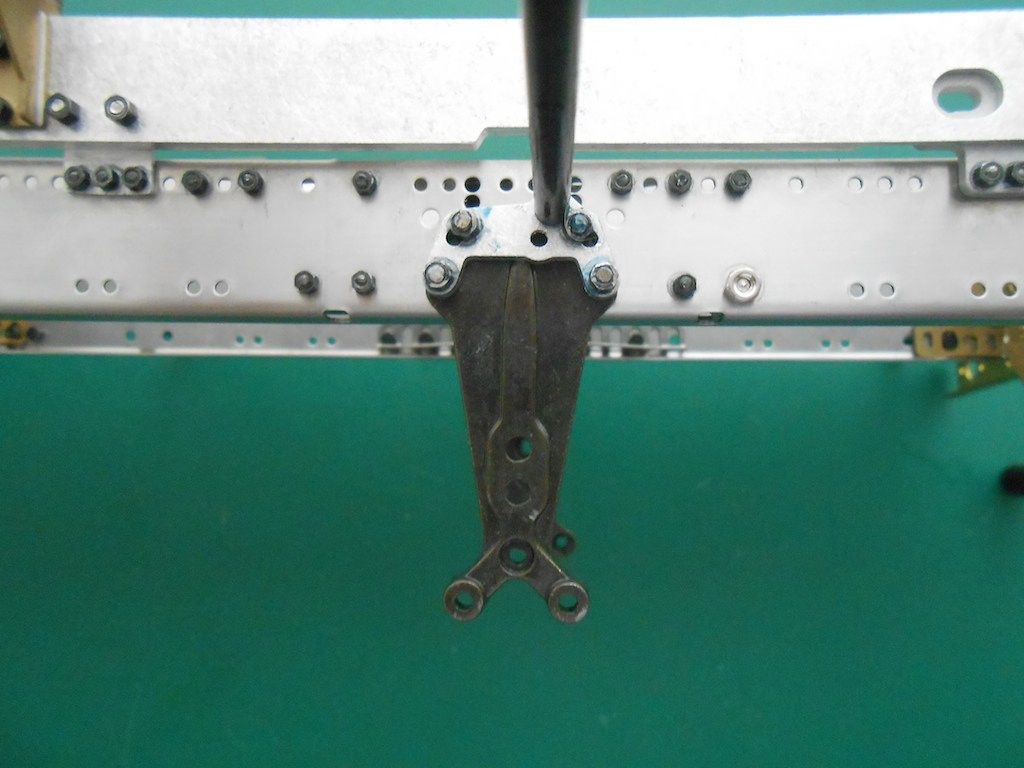 Need to assemble a few more bits and then the frame is ready for painting. Although, might skip the painting, am not too good at that. Last edited by Rakthi; 05-11-2015 at 09:12 PM. |
|
#3
|
||||
|
||||
|
Raining here, so got some time to add some more.
Installed a small part of the steering linkage as mentioned in the instructions. Because it has wide holes and can be slid left - right, I installed the actual parts that will connect to it, to make sure I got it in the right spot. (Largest screw goes in top hole) 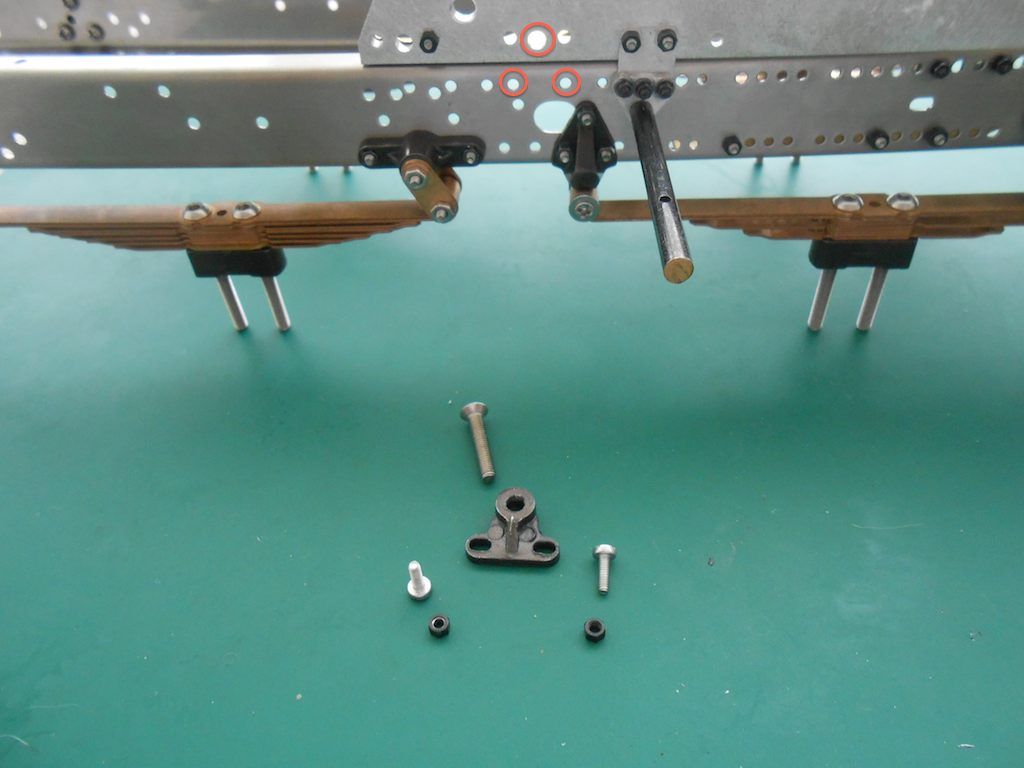 With the parts in place, and the 2 screws inserted. 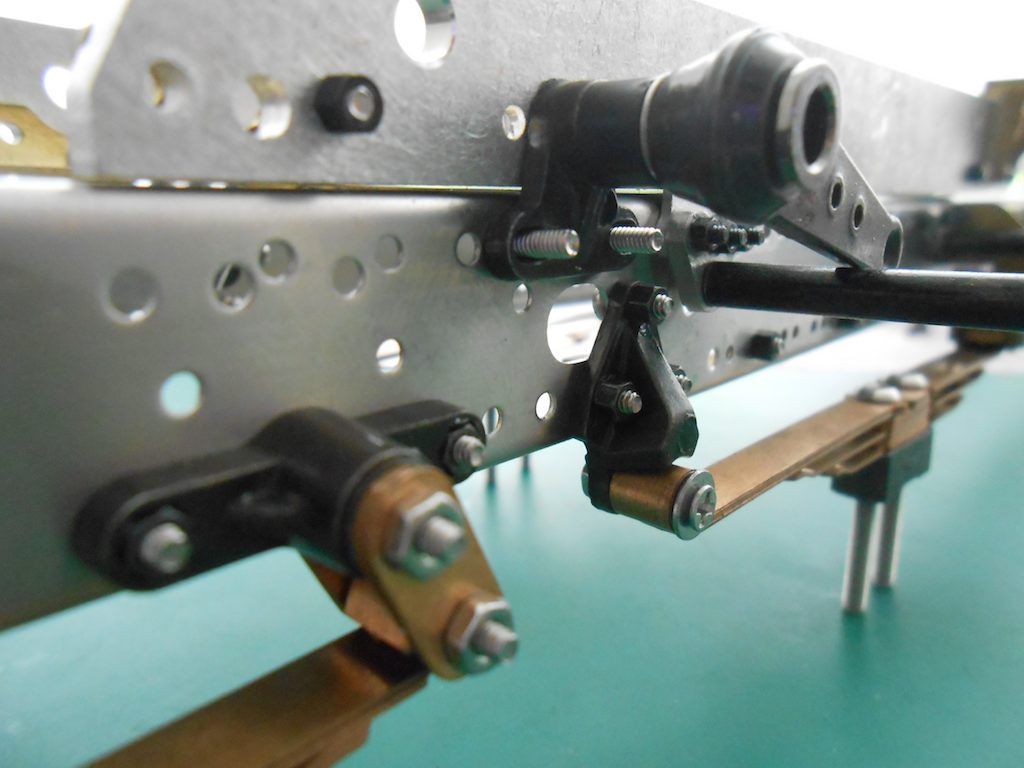 Installed and loctite applied. 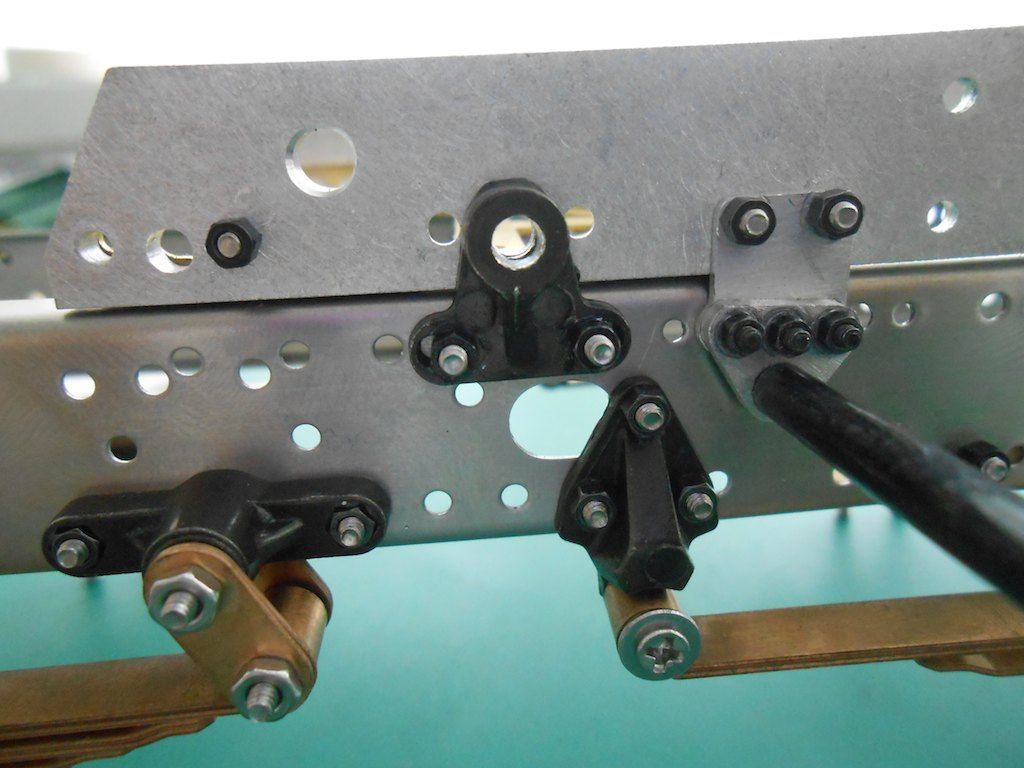 That part done, on to the side underrun protection (a legal requirement in Europe) that needs to be painted as well. However can not be bolted on frame as of yet. This seems a simple small assembly unit, so I give you a full rundown on how it comes. Nicely packaged 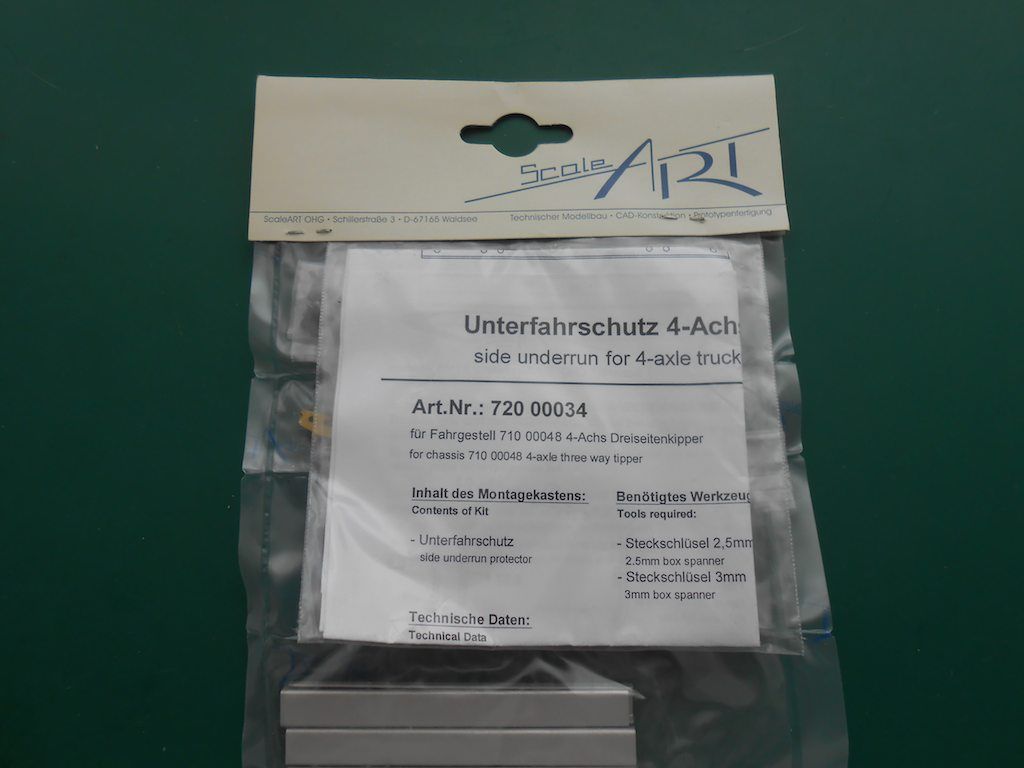 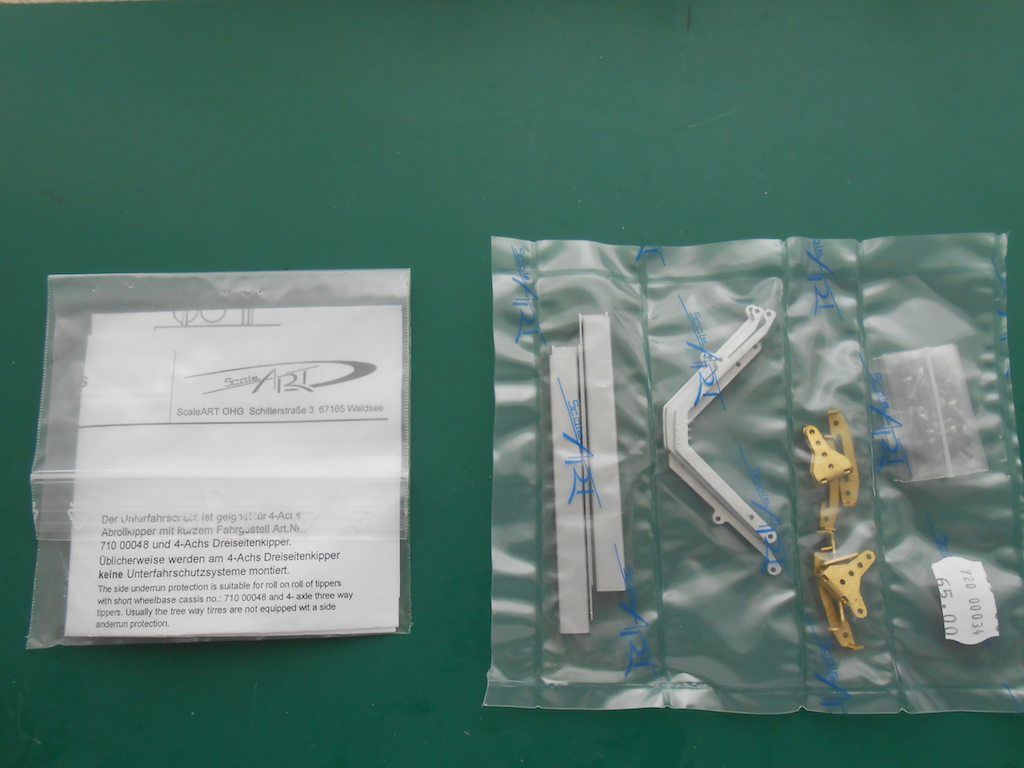 Some extra nuts and bolts included, however the ones in the red box are on the parts list, but do not appear on the assembly list ??? Odd. 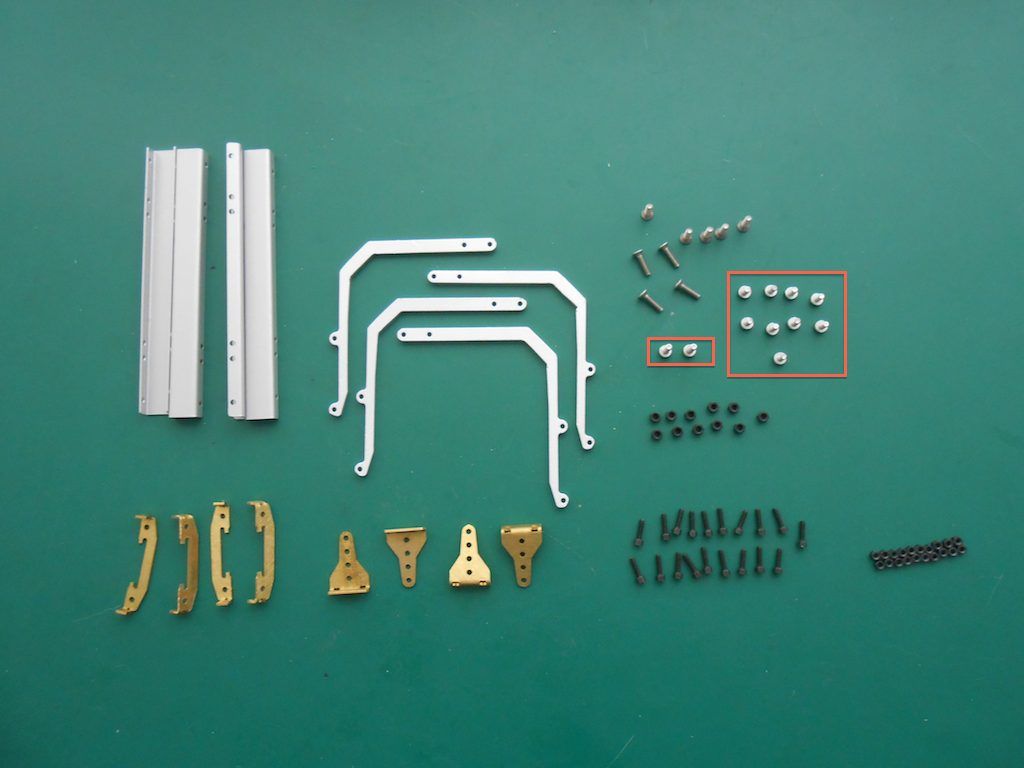 How it goes together. (another one where one needs be careful as it needs 2 left and 2 right ones) 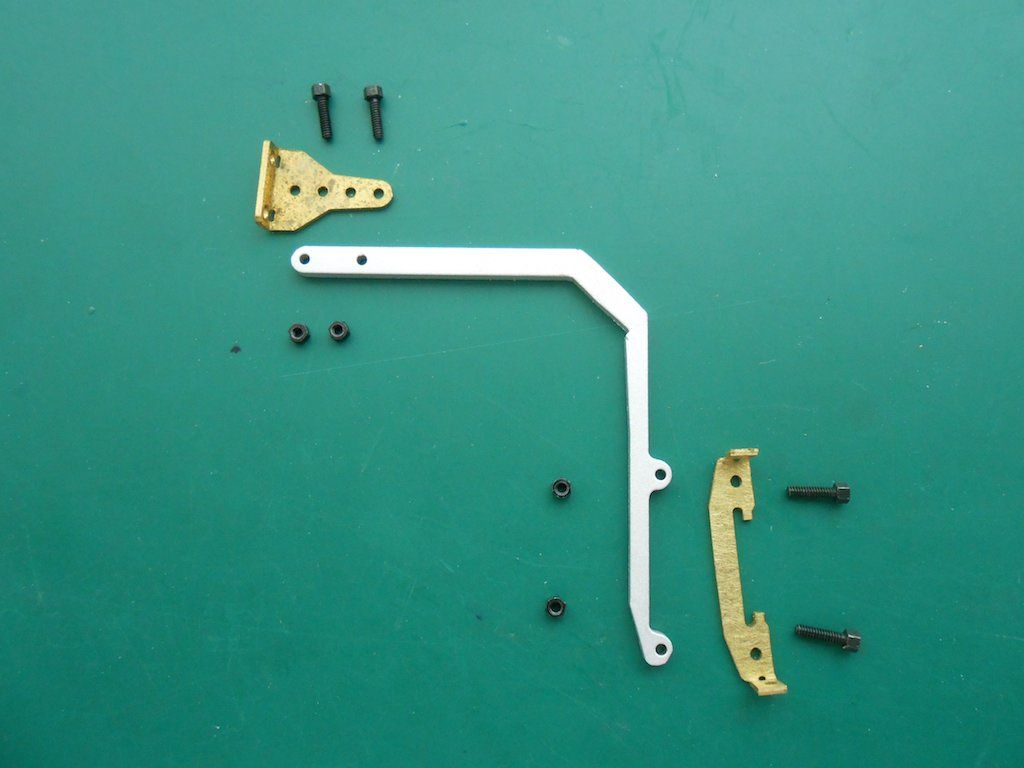 The holes in the aluminium support bracket were a tad tight. So reamed them out a bit. Not really needed, but easier to insert the little bolts. 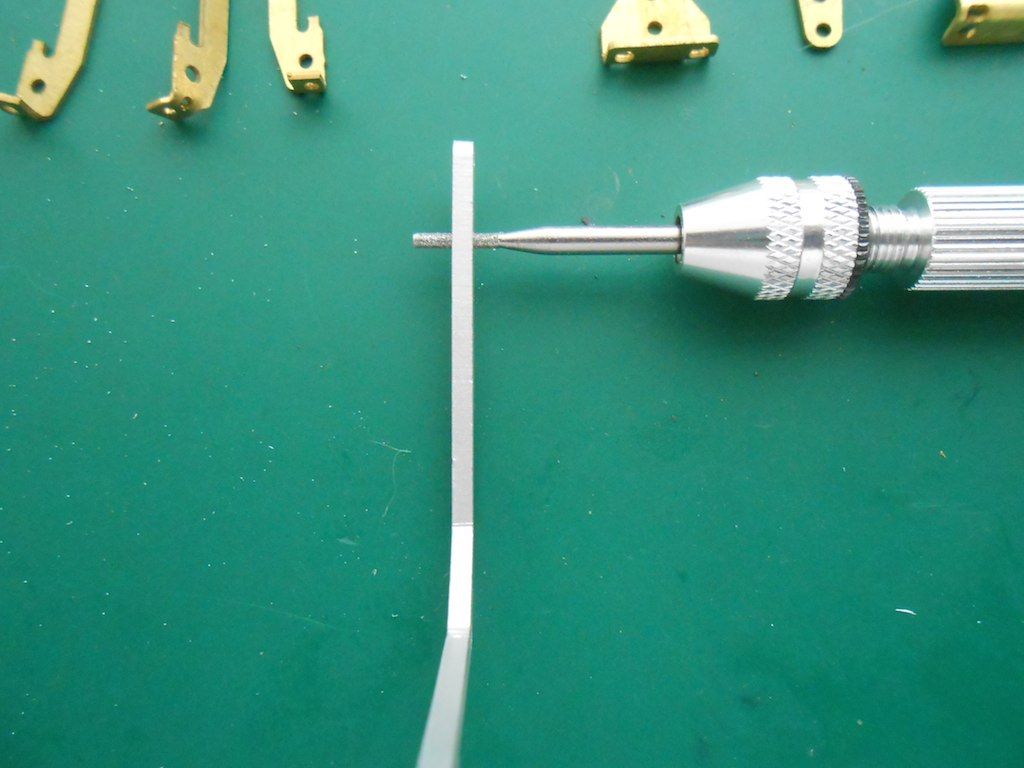 One right one assembled ... 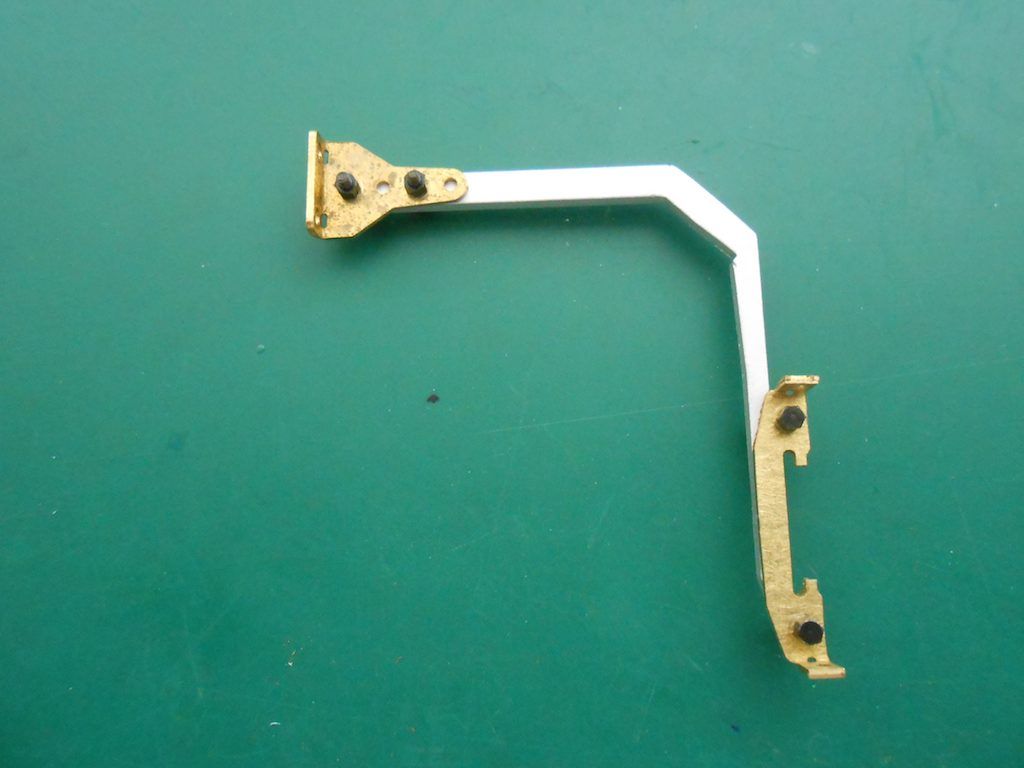 Since I wanted to know how the actually bars go on, I looked at the instructions ... 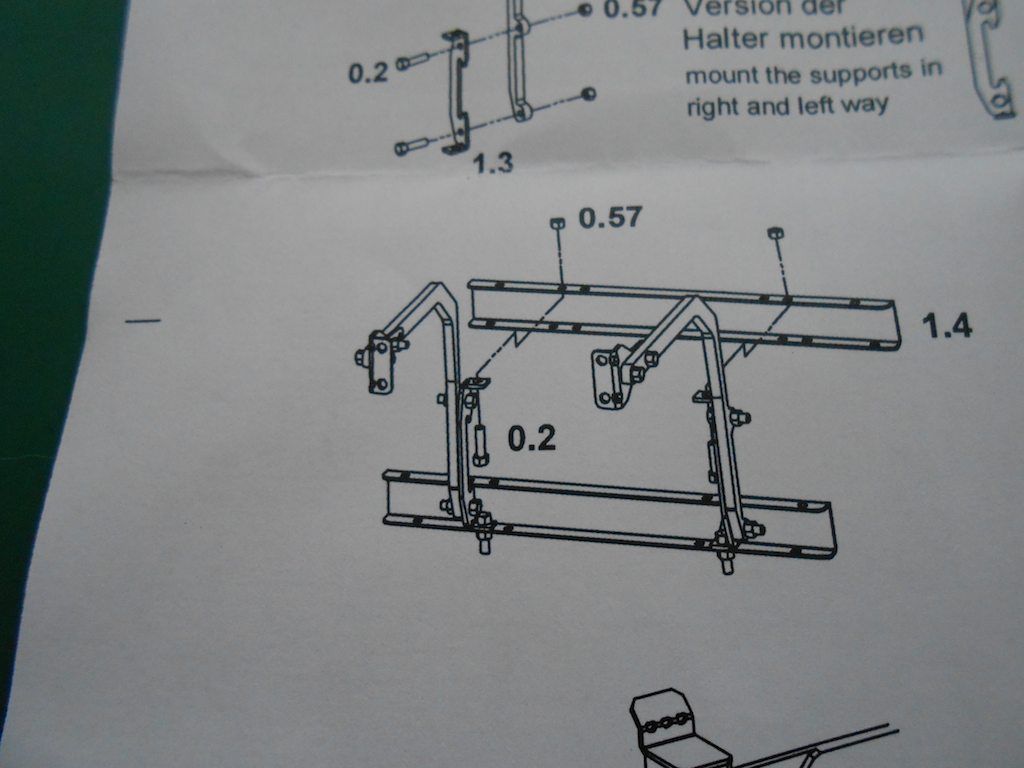 So I am to put a bolt through that hole? The bolt head of the other one is blocking access. 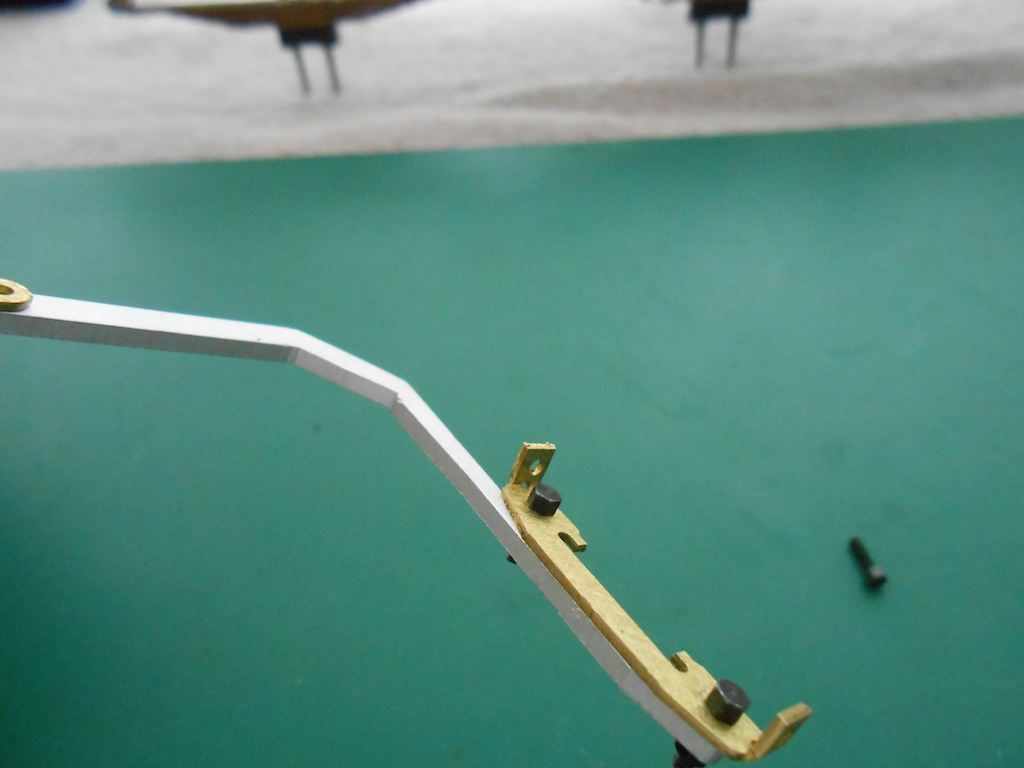 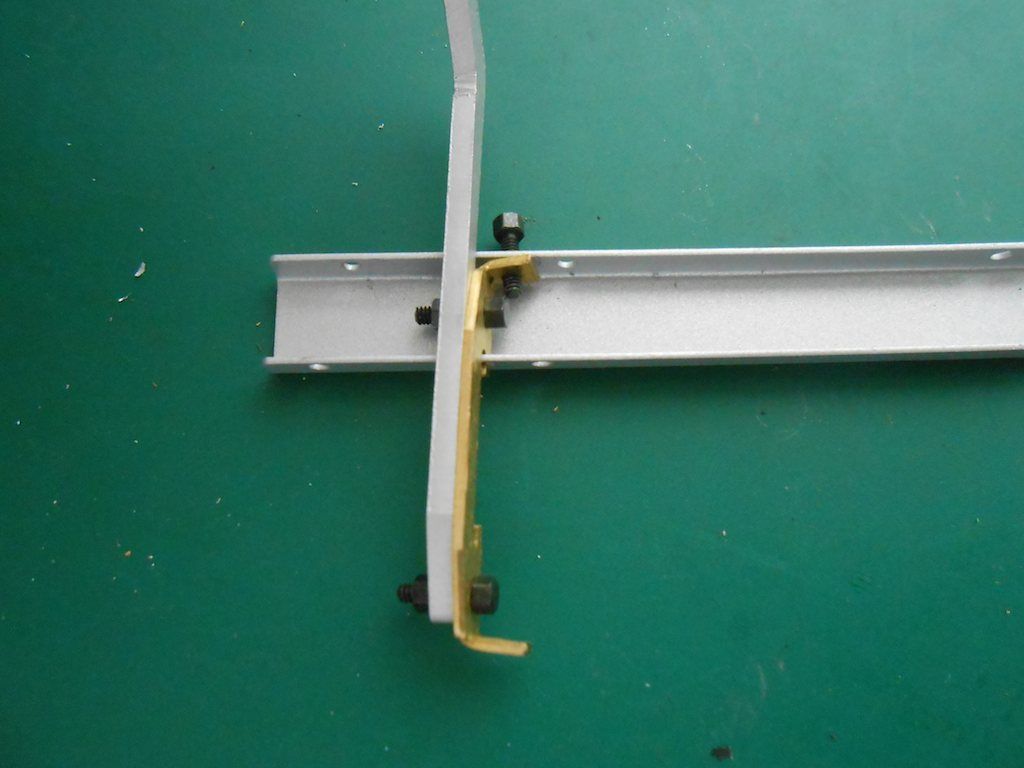 So looks like after paint, the little support will have to come off and the bar bolted on first, then the whole thing can be bolted back to the support bracket ... I tried it, and it does work that way -- if you have 3 hands  Cheers, Stephan |
|
#4
|
||||
|
||||
|
Been thinking about the above "problem" with the bolts blocking one another.
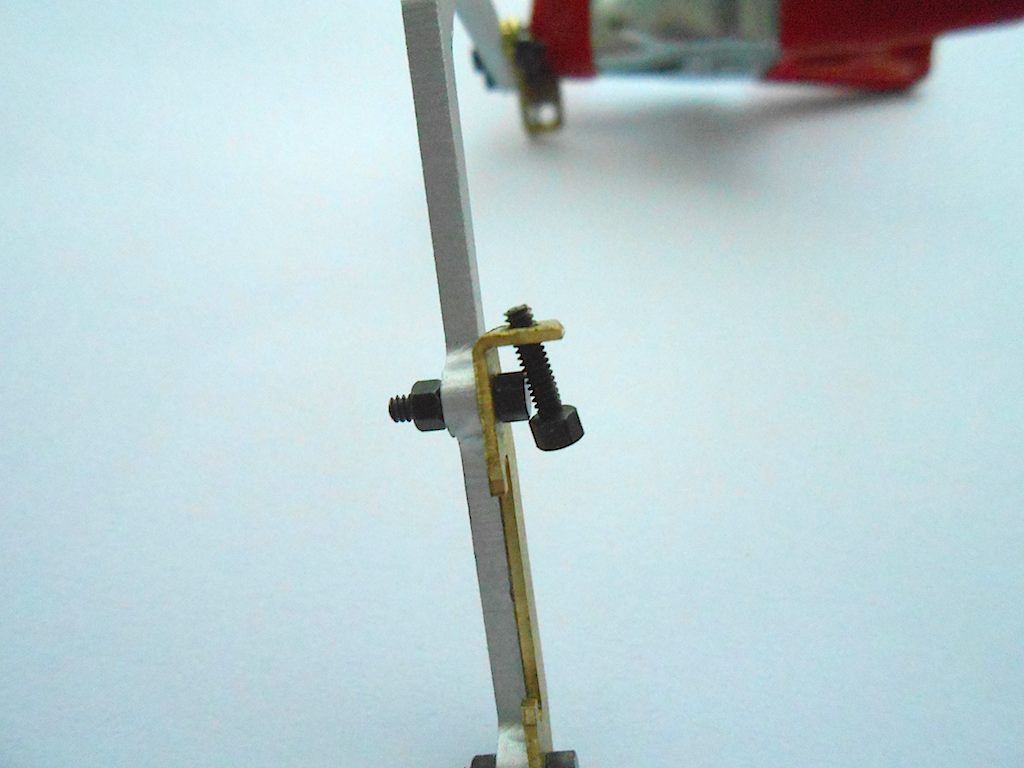 So did a search on the German forums, where there is more than one thread detailing how these trucks go together, and found the solution in one the older threads from Christian (aka Newcomer_2). Just file the head of one of the bolts down. 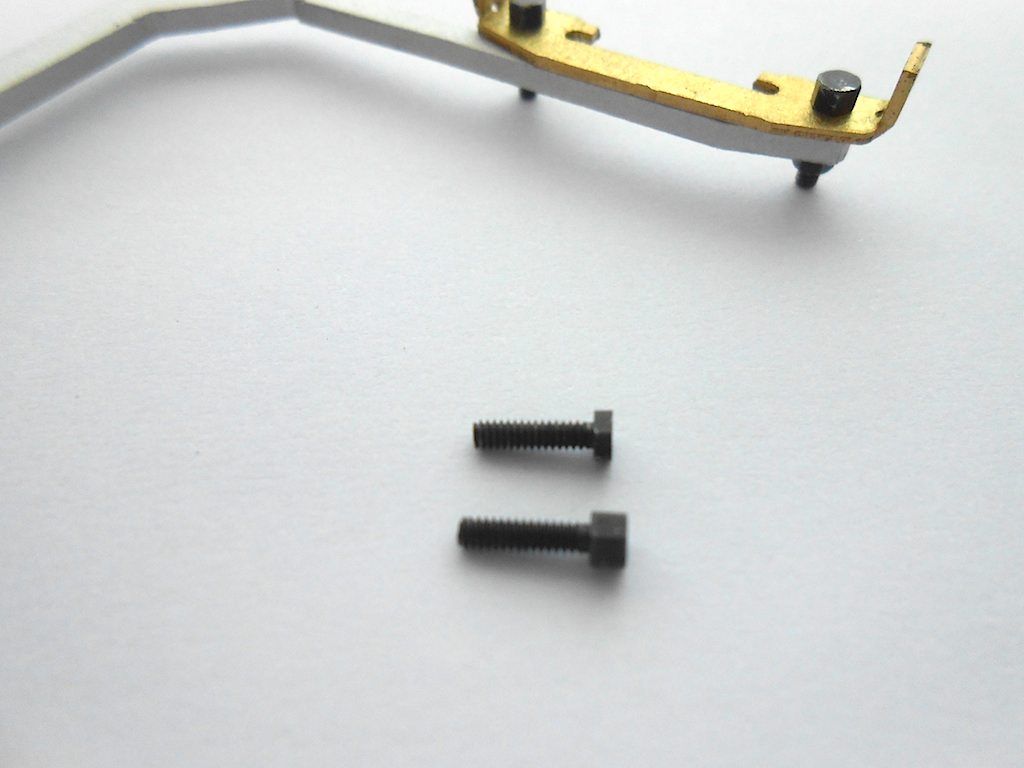 And problem solved ... just have to file down 7 more. (Dremel to the rescue) 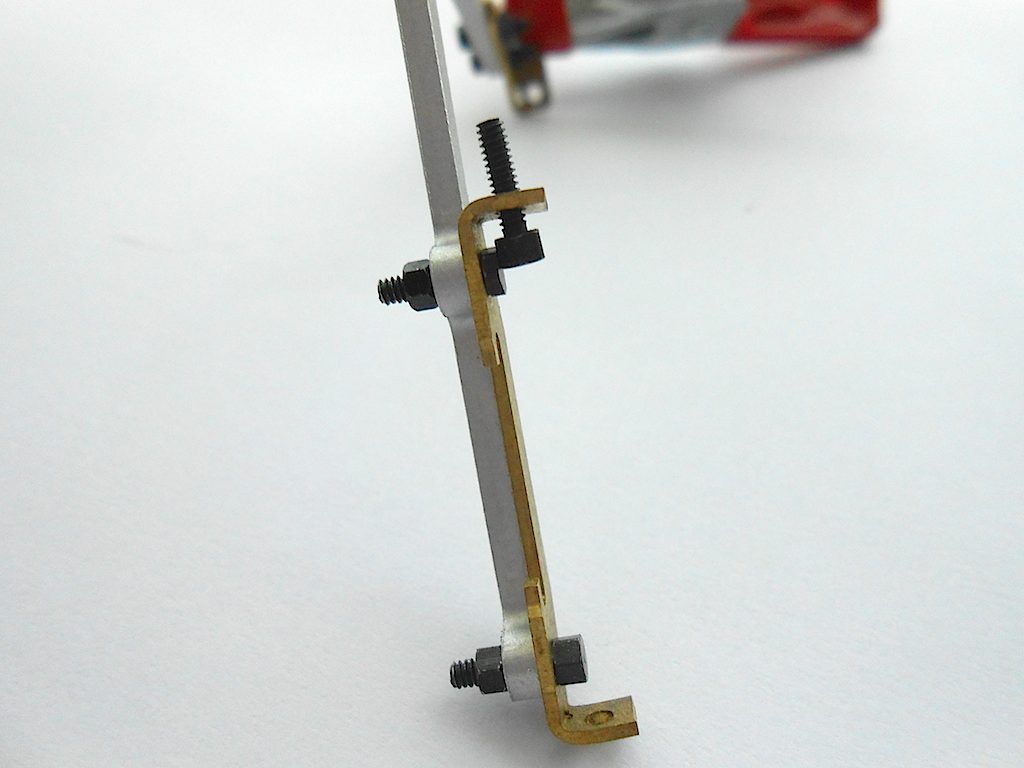
|
|
#5
|
||||
|
||||
|
Quote:
=========================== Now bolting on the last parts to the frame to get into "paint ready" mode. These are the parts from the locking/swivel mechanism that will hold the cabin to the frame. I will picture them in the order they went on. The locations on the frame is self evident due to the placing of the holes. Just very confusing as all parts have different sizes of bolts. Here M2x4 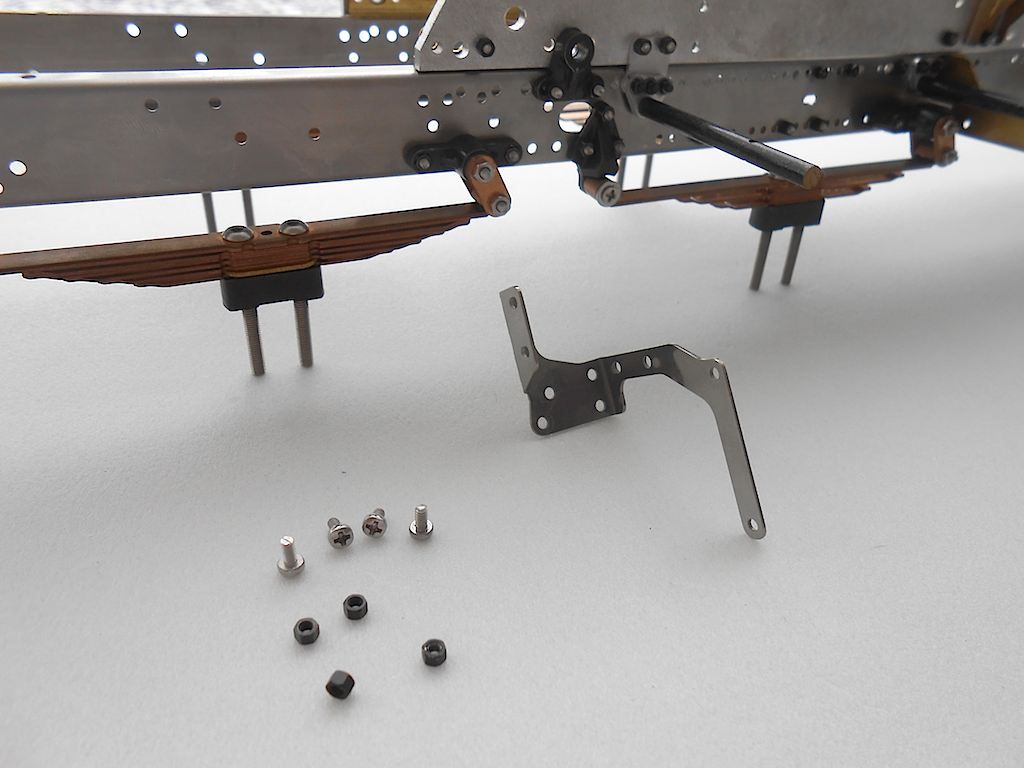 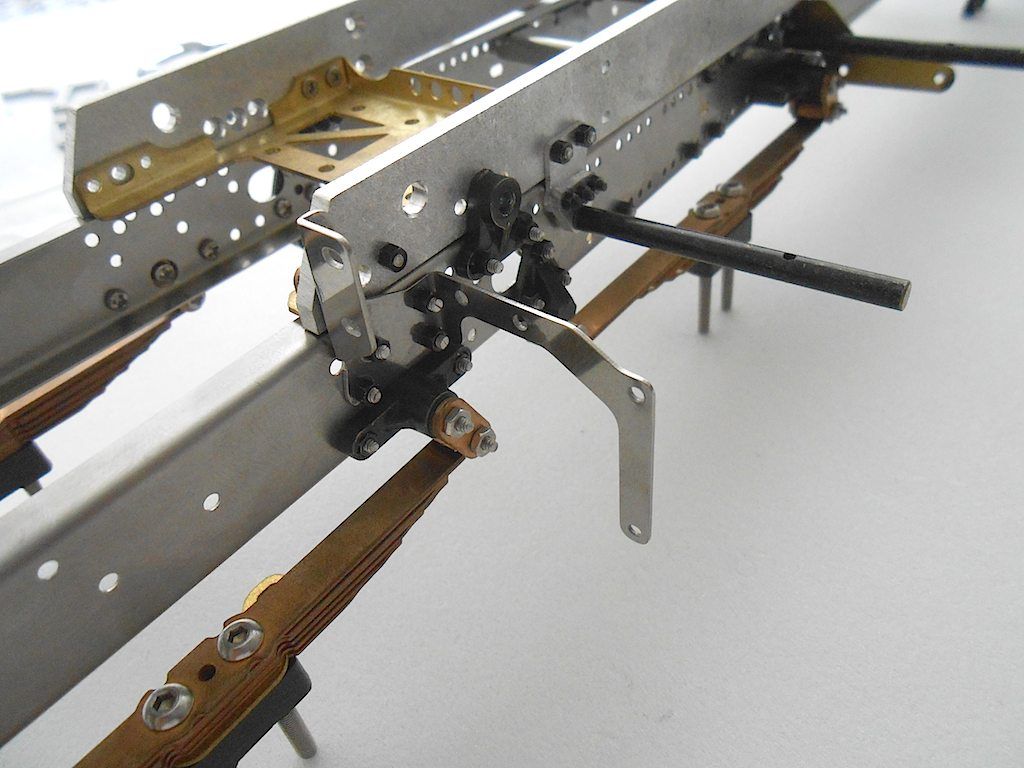 Here M2x5 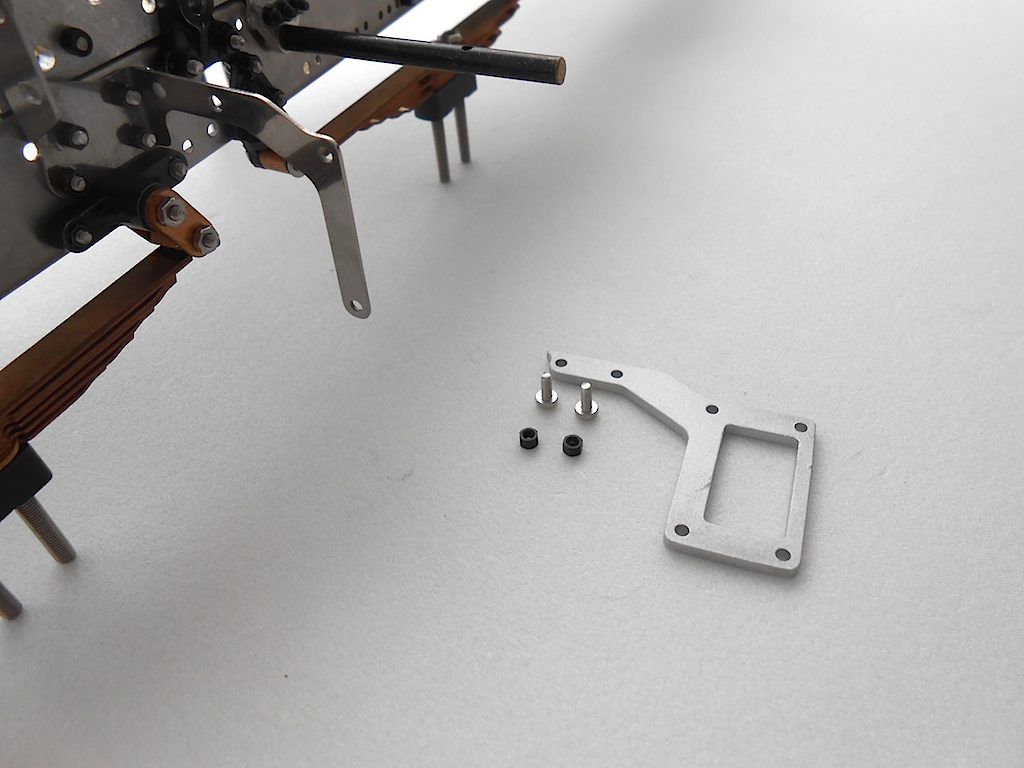 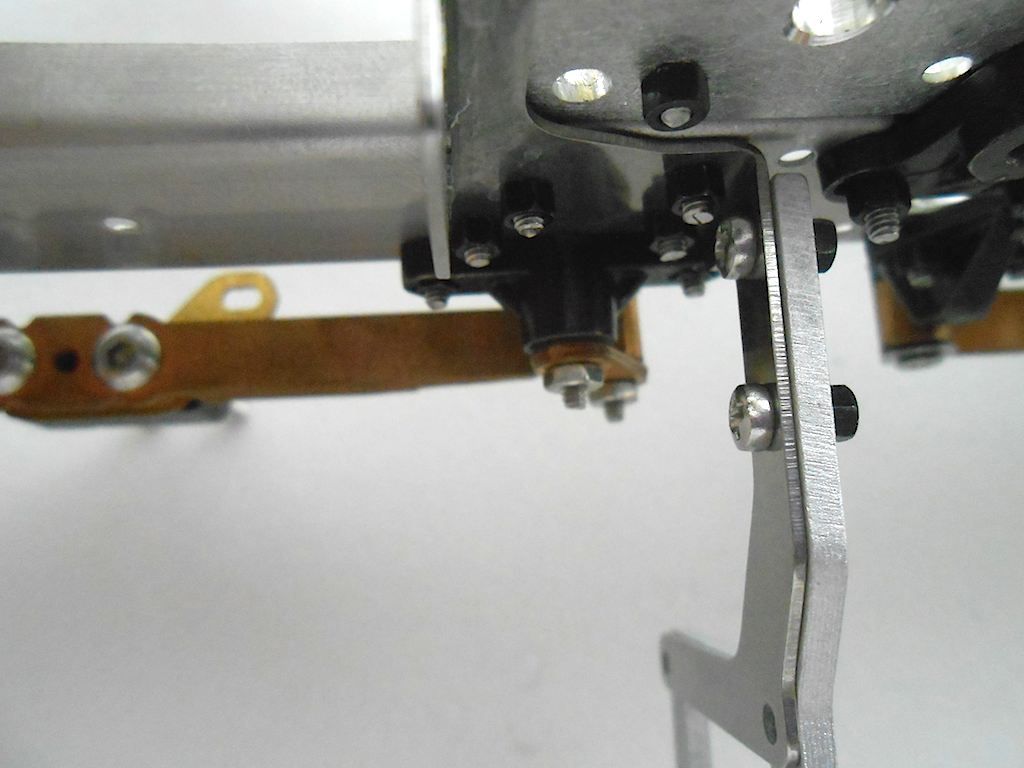 M2x6 and M2x10 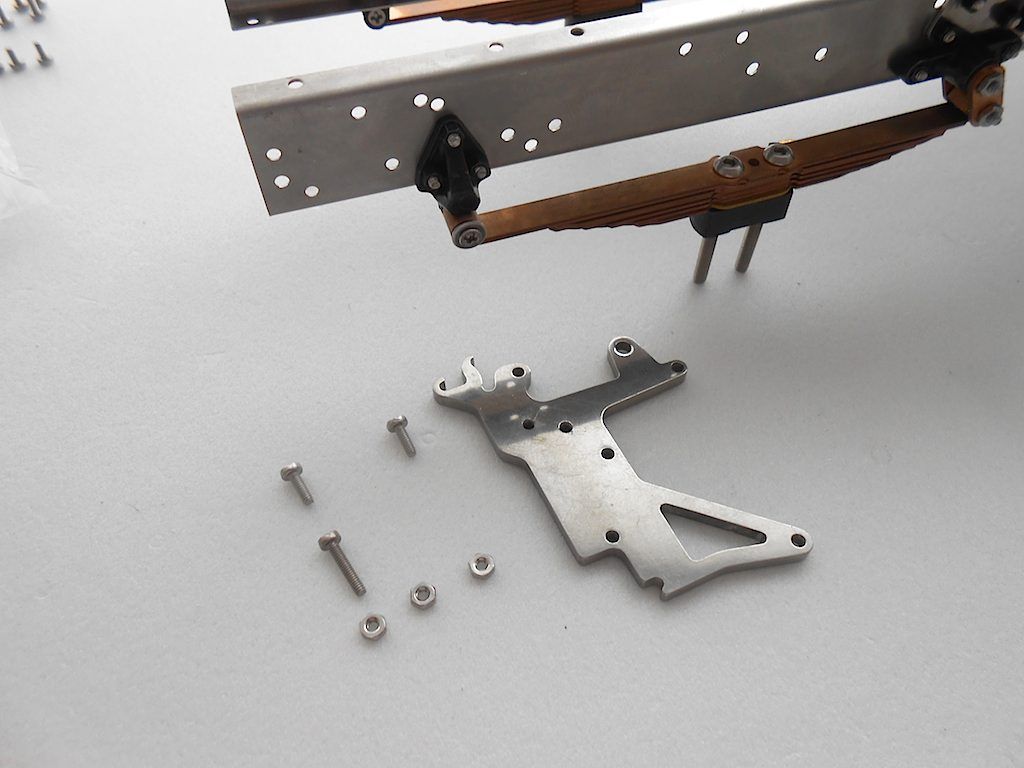 The longer screw will hold a spring of the swivel mechanism of the cabin. 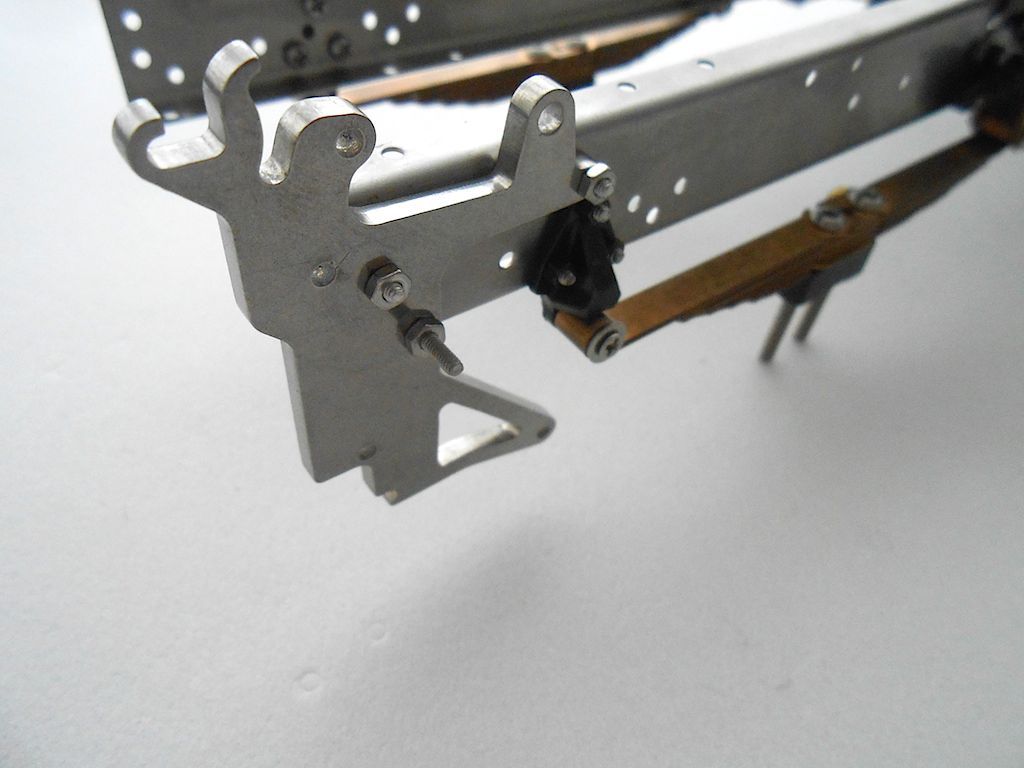 This part will hold the front bumper. M2x8 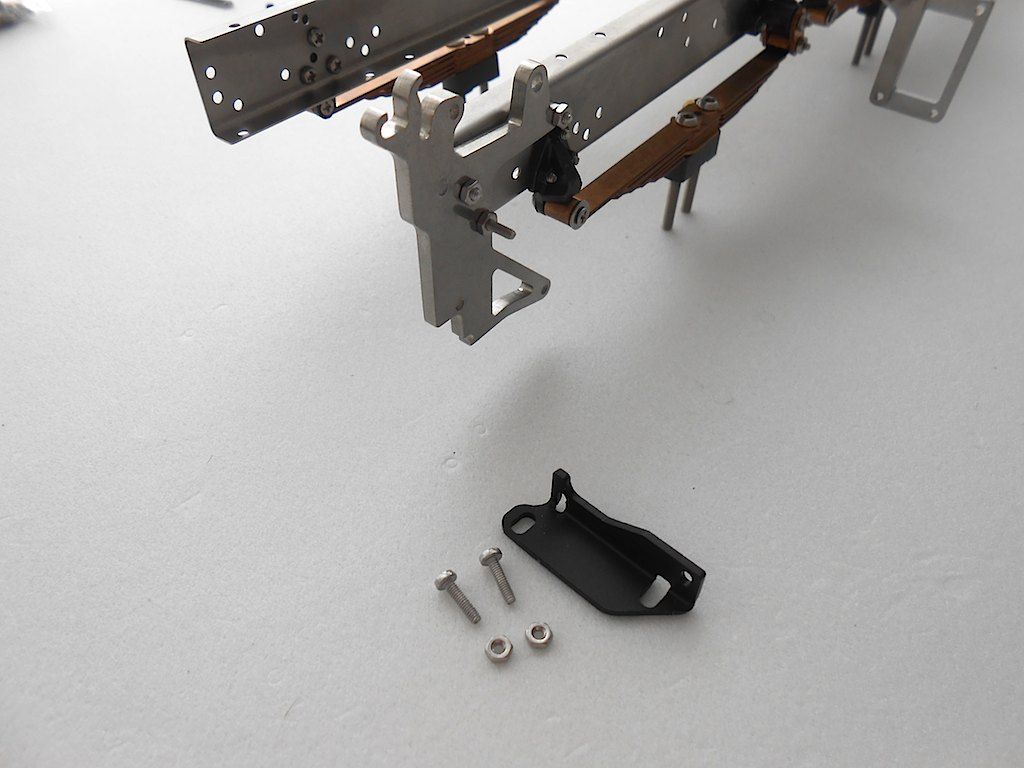 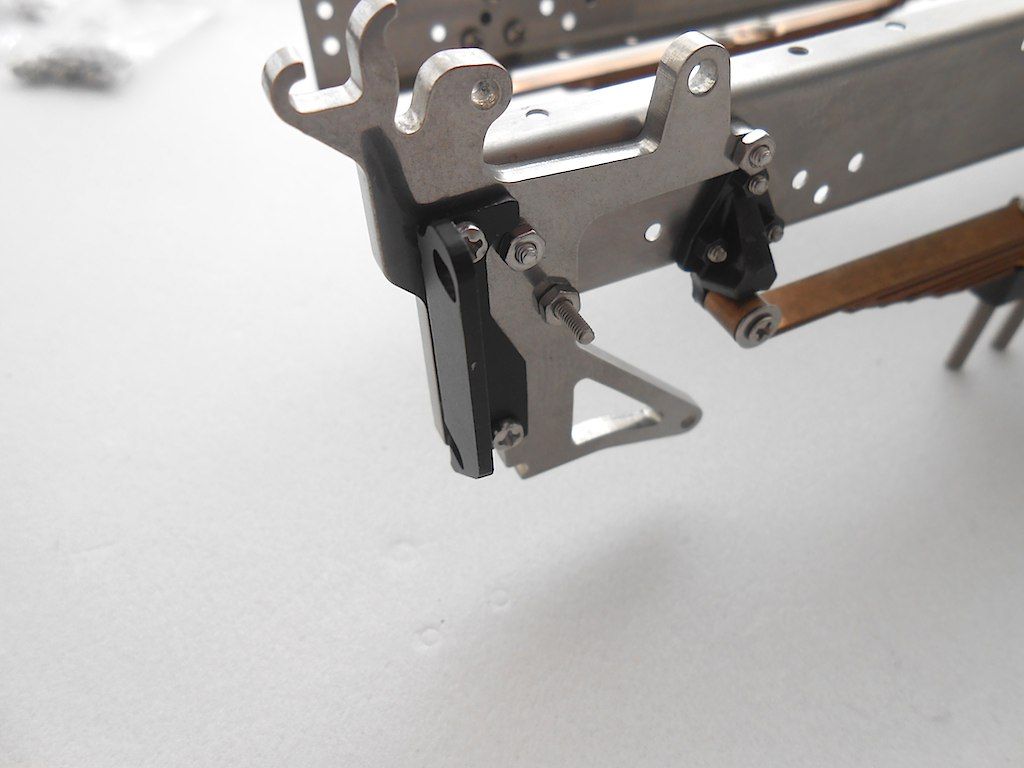 One side done, other is mirror image. 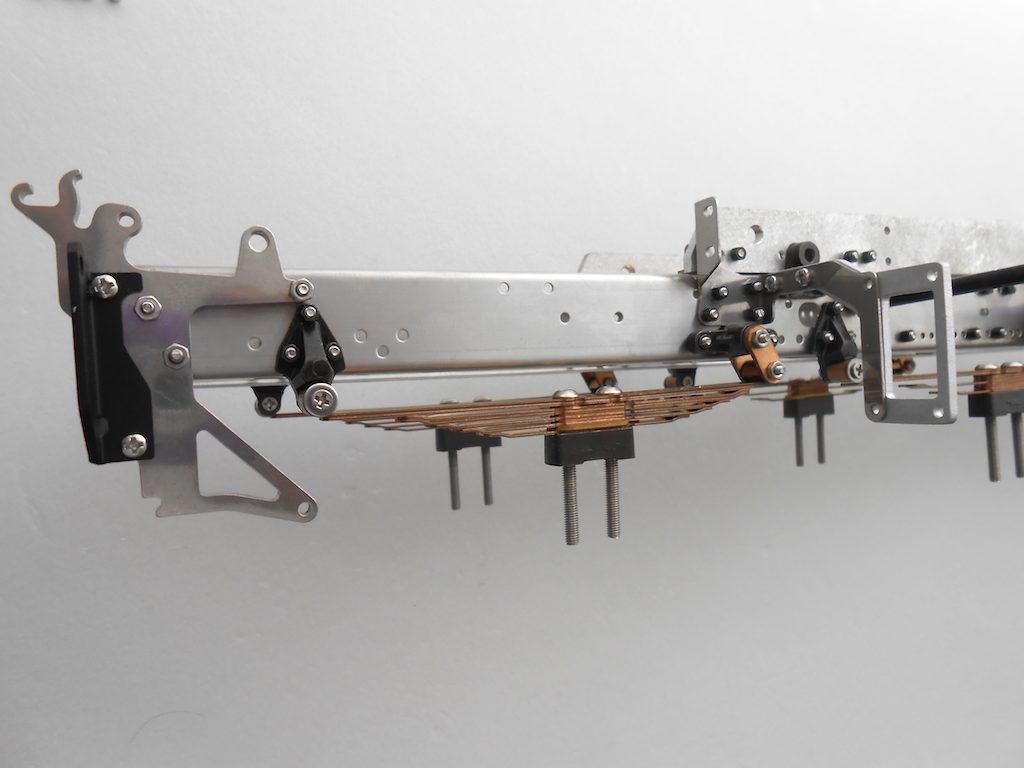 The last part is the cross connector. (M2x6 on the left and M2x5 on the right) 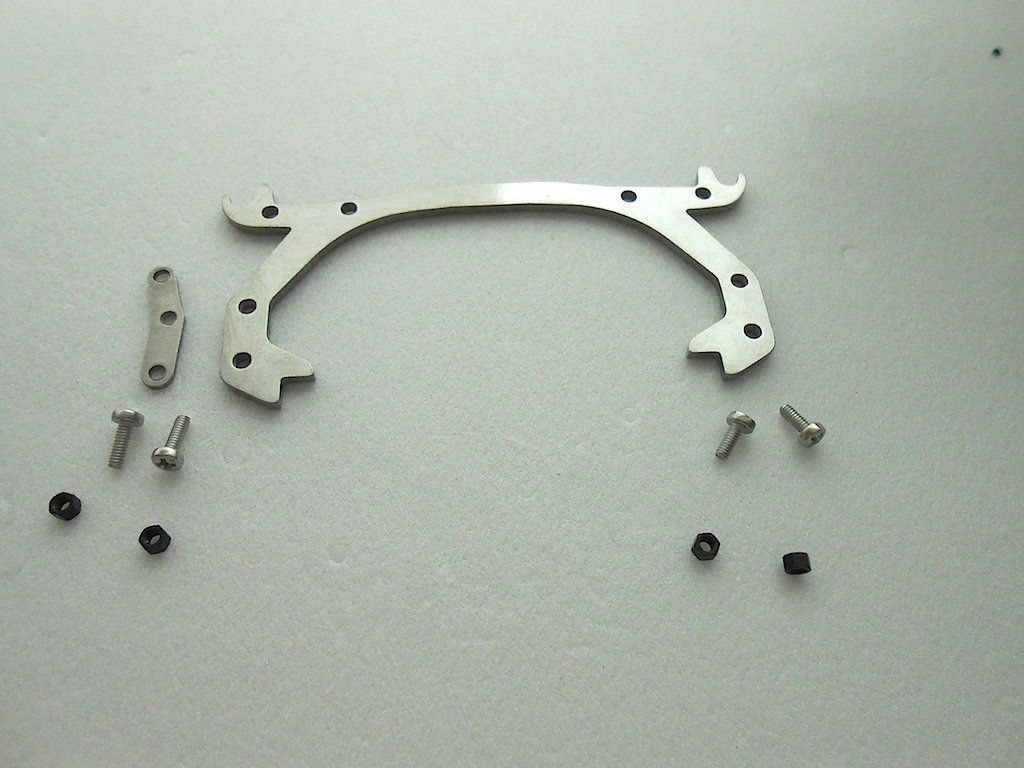 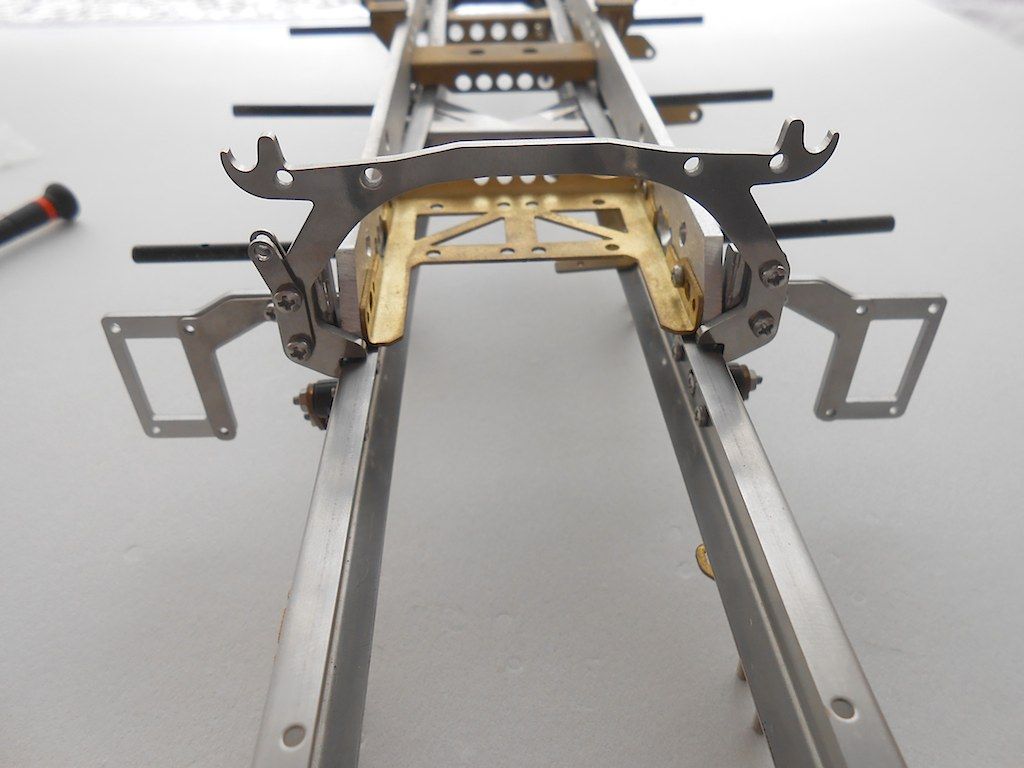 The bolts on this picture are M2x8 to give you an idea of the detail of the parts. The little hook will hold the spring of the locking mechanism 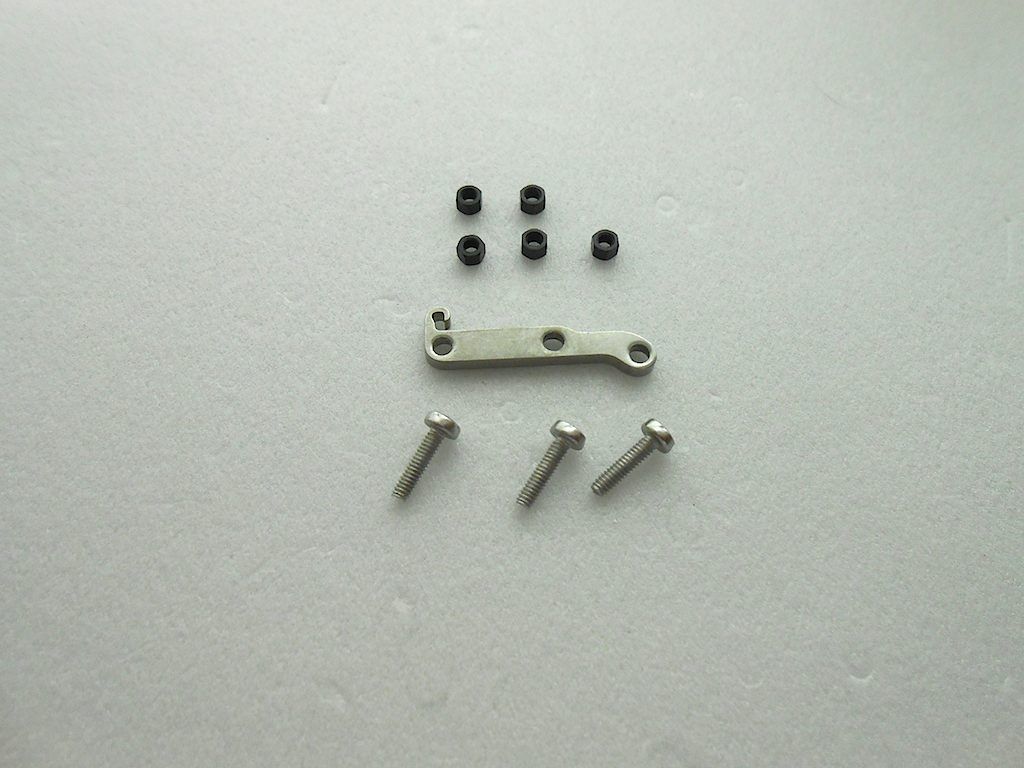 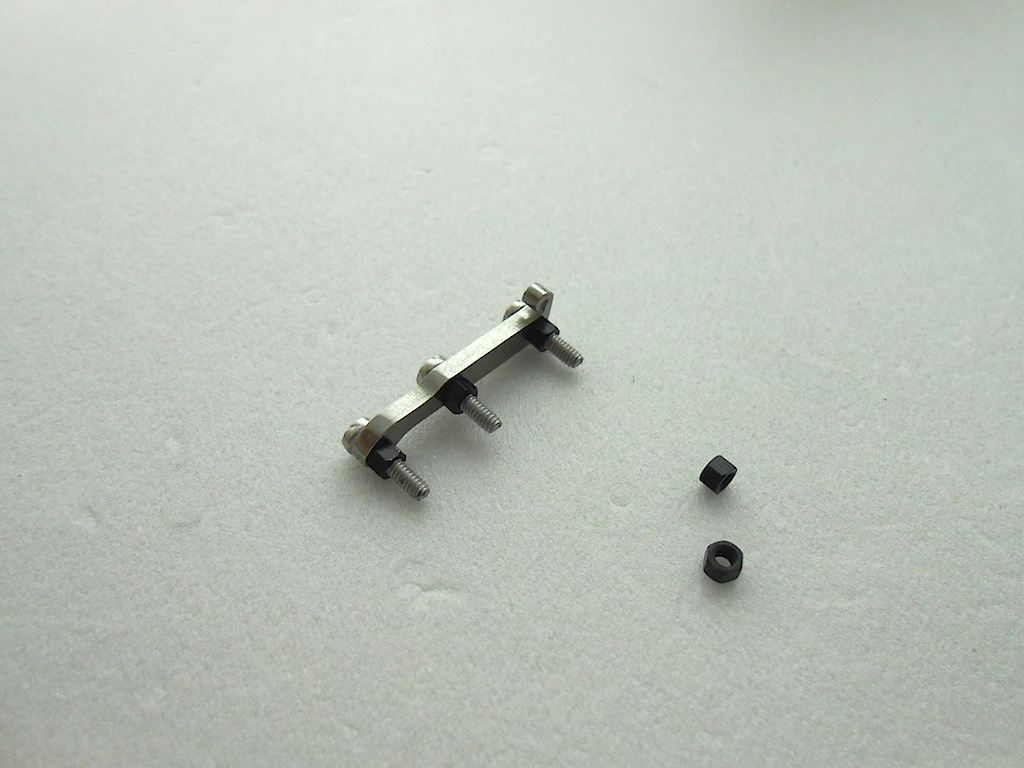 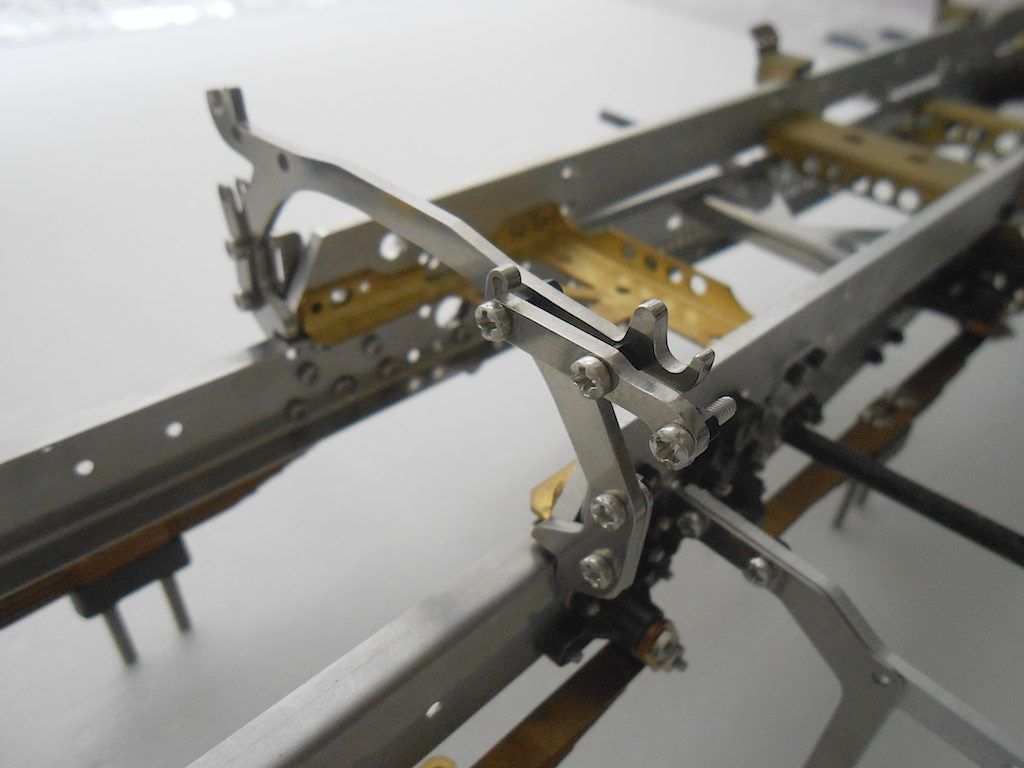 All in all not too difficult to assemble, but gave me some eyestrain figuring out what goes where. Too much information in the technical drawings. Now we wait for decent weather so I can paint, or I just skip the painting all together, too worried I mess it up. Will see. Meanwhile I look and see what other things can be done. Cheers! Stephan |
|
#6
|
||||
|
||||
|
|
|
#7
|
||||
|
||||
|
This is just an amazing model. I really enjoy my Capo kits for their amount of detail and realism, but this... Crazy scale. I wish Scale art would make something in a true 1:10 scale cause I would be sold instantly.
Couple questions, if you don't mind me asking, how much did this kit set you back? And what scale is it? Seems fairly small, 1:16? |
|
#8
|
||||
|
||||
|
Hi Prop,
The scale of this truck is 14.5, as for how much I paid, € 6143.29 for the truck and € 470 shipping via UPS (that includes the €25 for the prep of the custom forms). That does not include the Rockinger stuff, I got that in a separate order. I think that one comes to €225.00 or so. Because I am from Europe I still have an account there, so no need for me to convert. With the Euro dropping in value it is a good time to buy if you hold other currency. If you register with ScaleART, you get all the prices without taxes. I'm lucky to live in a "free port" meaning no import duties etc. No idea what the duty would be on this for you. Talking about Capo, I have their 8x8 truck too. Was a nice kit to put together. But this new 4x4 you are bolting together sure looks like it is a step up for Capo. Also very realistic. Can't wait to see some pictures of the engine that hides the electrical motor. Since I have an excavator in 14.5 scale, it kind of makes sense for me to have this truck in that scale too. And as you pointed out, the detail in this truck is unbelievable. Really a joy to assemble. Stephan |
|
#9
|
||||
|
||||
|
Quote:
|
|
#10
|
|||
|
|||
|
Quote:
I bought their oscillating fifth wheel, and in another order some detail kits for a Tamiya Tank... Cheers, Ap |
|
#11
|
||||
|
||||
|
A lot of work, but you'll get a very nice truck in the end.
__________________
Emil G | MFZ Blocher Fendt 926 | RC4WD Volvo EC480 excavator | Carson LR 634 | Kenworth 6x6 hauler | Kenworth 6x6 dtrk My channel: To view links or images in signatures your post count must be 10 or greater. You currently have 0 posts. Construction site on Facebook: To view links or images in signatures your post count must be 10 or greater. You currently have 0 posts. Pictures on Instagram: To view links or images in signatures your post count must be 10 or greater. You currently have 0 posts. |
|
#12
|
||||
|
||||
|
Quote:
 . As for the price of he ScaleArt ... what to say ... is indeed $$$ but I don't regret having spend it. Does mean though that the new 4x4 Capo will not happen here. Can't have everything. The AFV-Model site is in my bookmarks for some nice bits, but haven't ordered from them yet. From what I get from the German guys they are pretty reliable. I've ordered stuff from these guys: cmc-versand a couple of times. The trouble is that sometimes the shipping cost is more than the product one wants/needs. . As for the price of he ScaleArt ... what to say ... is indeed $$$ but I don't regret having spend it. Does mean though that the new 4x4 Capo will not happen here. Can't have everything. The AFV-Model site is in my bookmarks for some nice bits, but haven't ordered from them yet. From what I get from the German guys they are pretty reliable. I've ordered stuff from these guys: cmc-versand a couple of times. The trouble is that sometimes the shipping cost is more than the product one wants/needs. Thanks! But a the moment the end is still very far in the future  especially since I just realised that I messed up yet again ... especially since I just realised that I messed up yet again ...
|
|
#13
|
|||
|
|||
|
what a work of art, scale-art standard seems so much better than everything else in this hobby.I got a scania 143 streamline, made from brass, from when scale-art was Brand modellbau, even back then the quality was top notch, can't wait to see your build finished, keep up the good work.
__________________
René ____________________________________________ To view links or images in signatures your post count must be 10 or greater. You currently have 0 posts. To view links or images in signatures your post count must be 10 or greater. You currently have 0 posts. To view links or images in signatures your post count must be 10 or greater. You currently have 0 posts. ____________________________________________ |
|
#14
|
||||
|
||||
|
Yes, Prop, Roundabout, the parts of this kit are really something else. Pictures just don't do it for the detail and care with which they were made. They also keep updating and improving the parts, even on this kit. It is expensive stuff, but it sure is top of the line as far as building kits is concerned. Having a brass one must be interesting! There still is a section called "Brand Modelbau" in their shop. Mostly small detail stuff for US trucks.
Well was set to post the rear axles stuff, but we are having a tropical downpour here and internet is slow as a poke. Will see if I can get the pics uploaded. |
|
#15
|
||||
|
||||
|
Rear axles .. here a picture of all the parts. (forgot the leaf spring bits)
The bits in the "ScaleART" plastic were in the boxes with the axles. The other parts were in the "rear suspension" package. 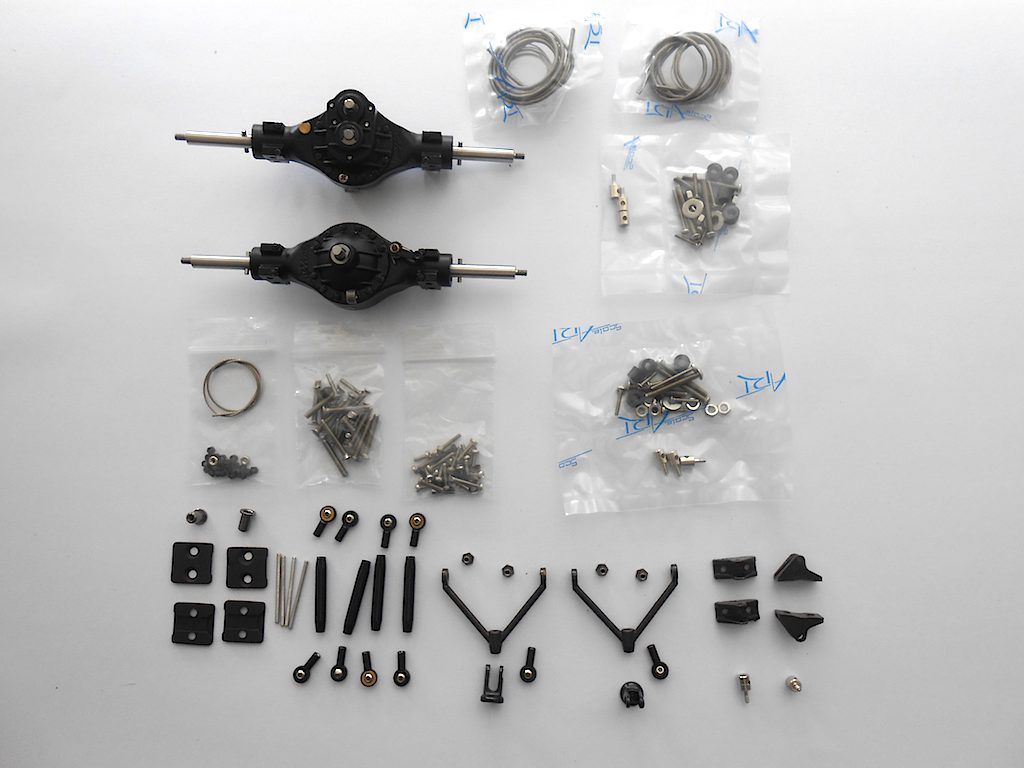 Note: this whole assembly was done with the frame upside down - just to make it more interesting. First we assemble both triangular parts. Turns out the everything (marked with arrow) is threaded. So a bit of thought has to go in the assembling. 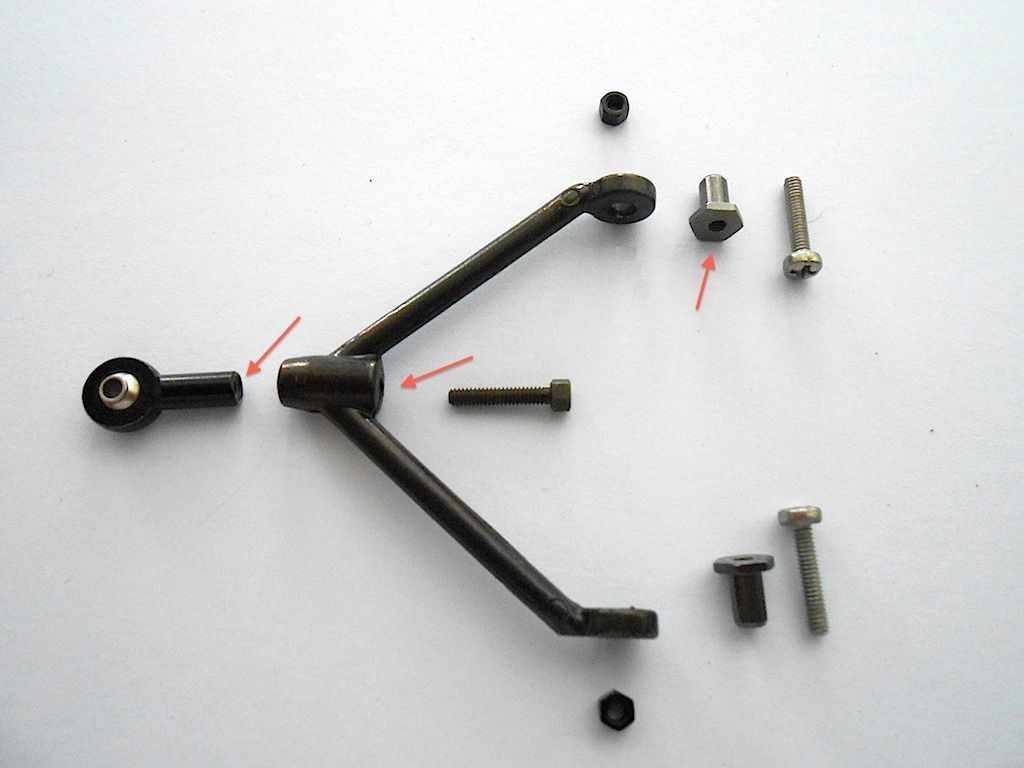 After giving it a couple of trail fittings in the chassis, found out it was not going to be that easy. The triangles have to be installed so they can still easily move up and down. It takes some fiddling to get it just so. A bit of grease where the bushing is going is a great help. Before the bushing, screw and nut would move together. After applying the grease, at least the bushing, screw and nut didn't budge when moving the triangle. 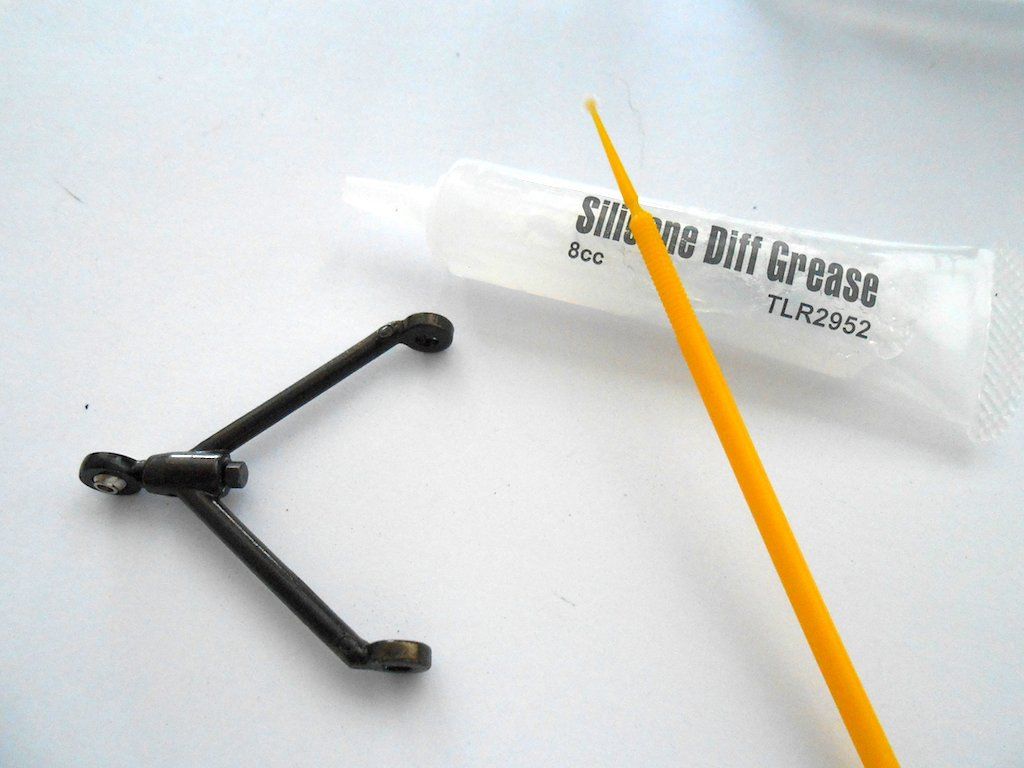 Here they are installed. (Loctite applied to about everything) 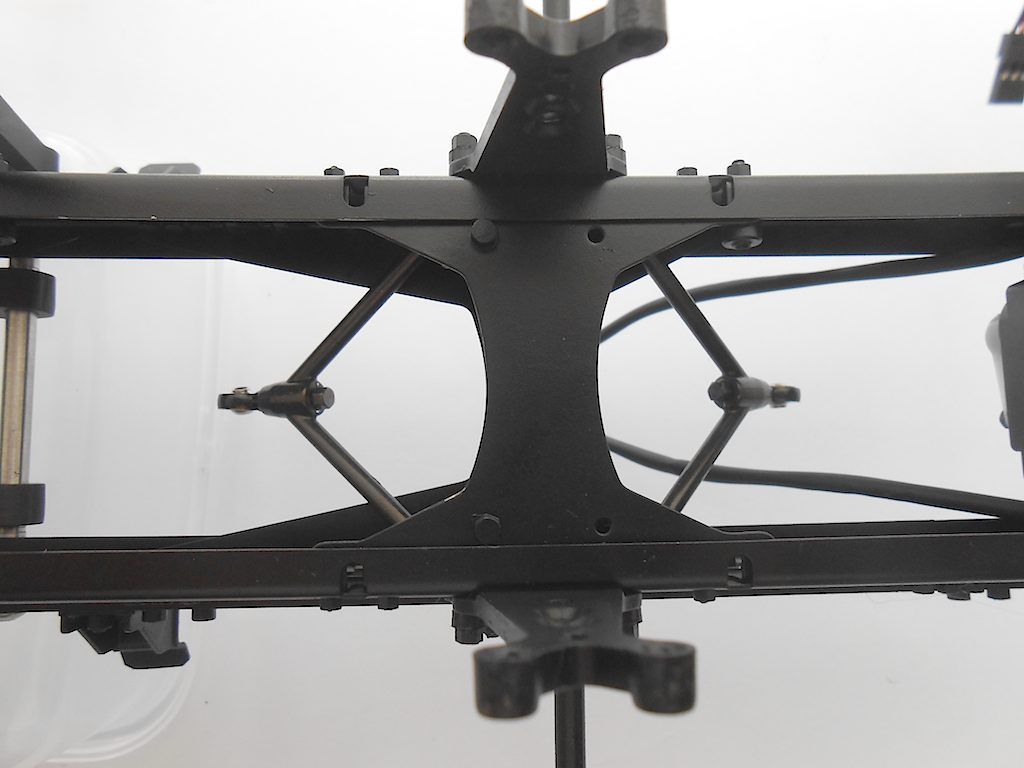 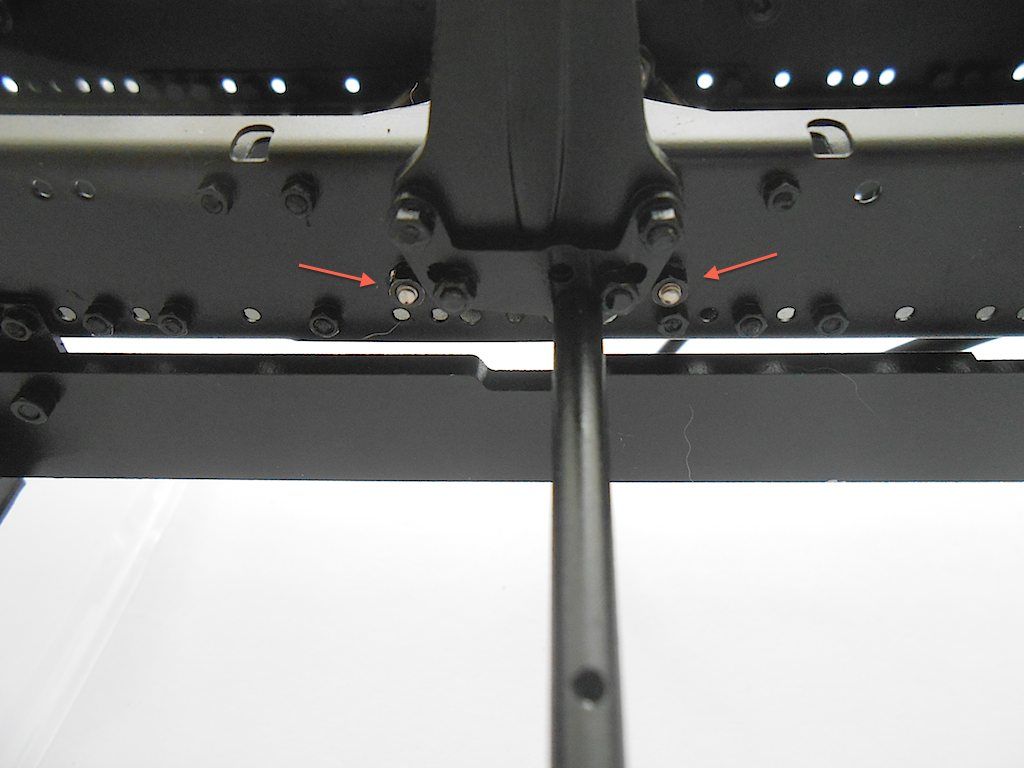 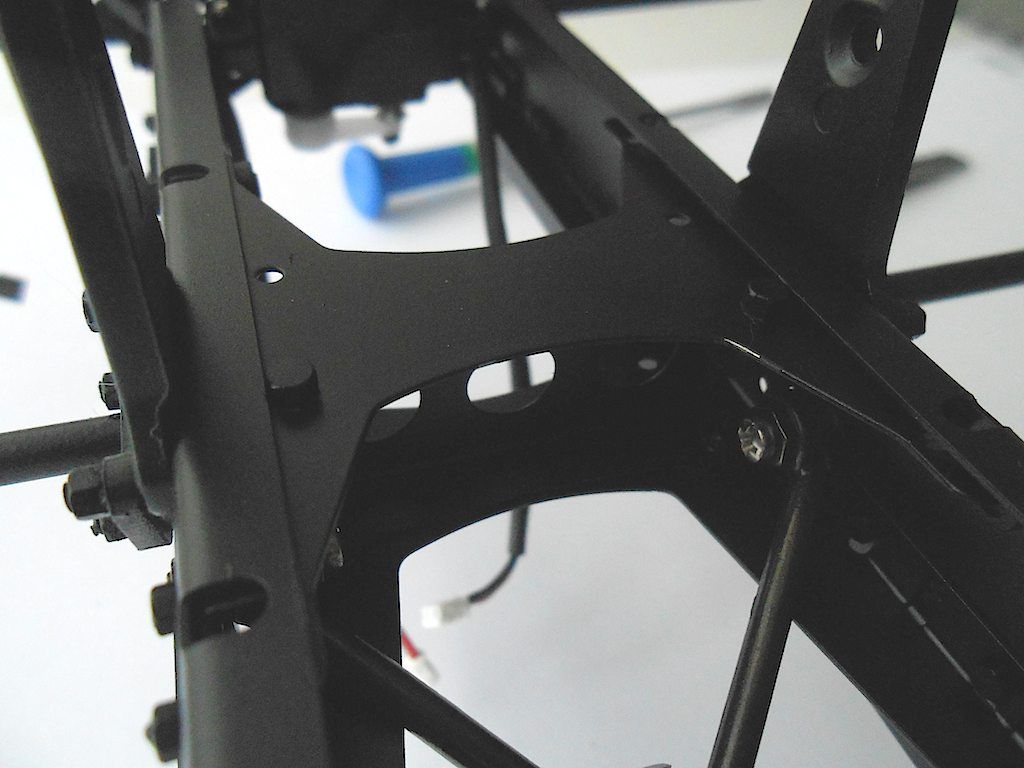 Next the leaf spring packages. I replaced the silver phillips screws with hex head ones I had lying around from the Capo. (easier to install with a ball head driver than a philips screwdriver) Apply grease to the inside of the hole where the bushing goes and attach to the lower of the 2 holes (or higher when working upside down). Loctite applied to the inside of the threaded bushing. 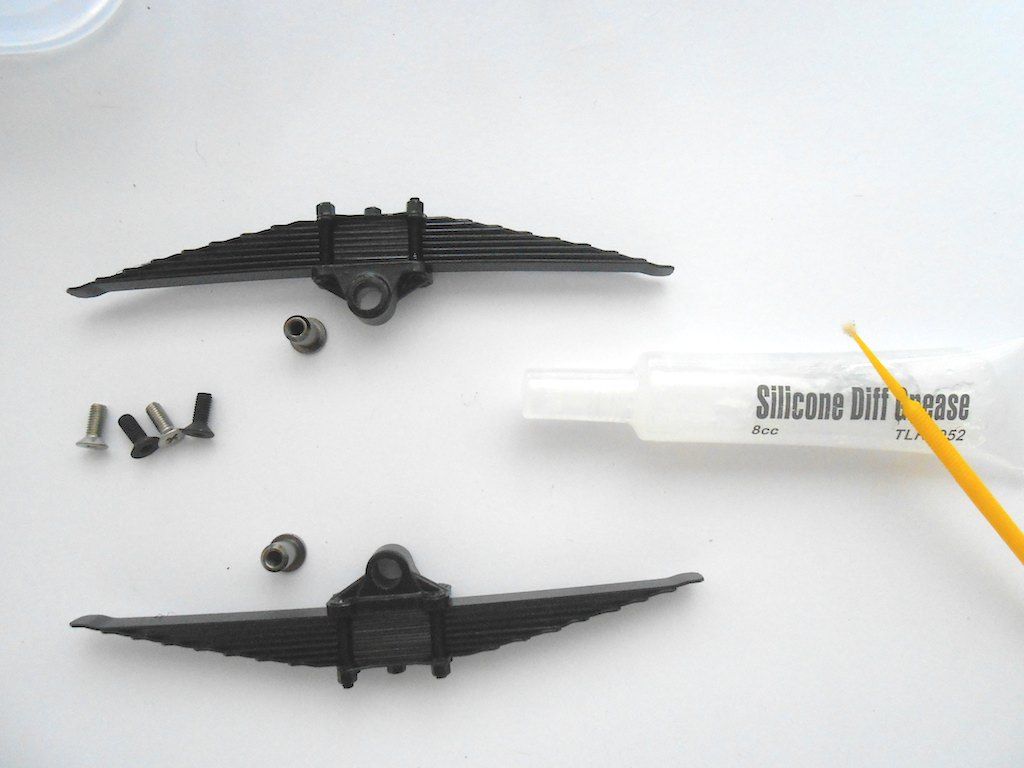 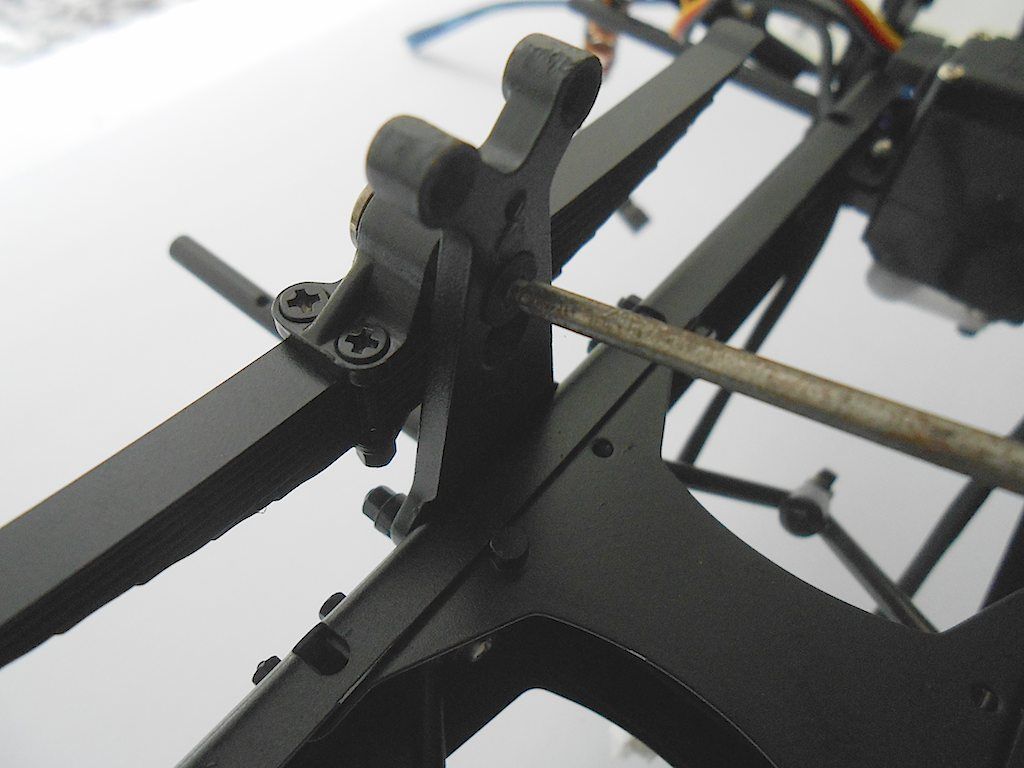 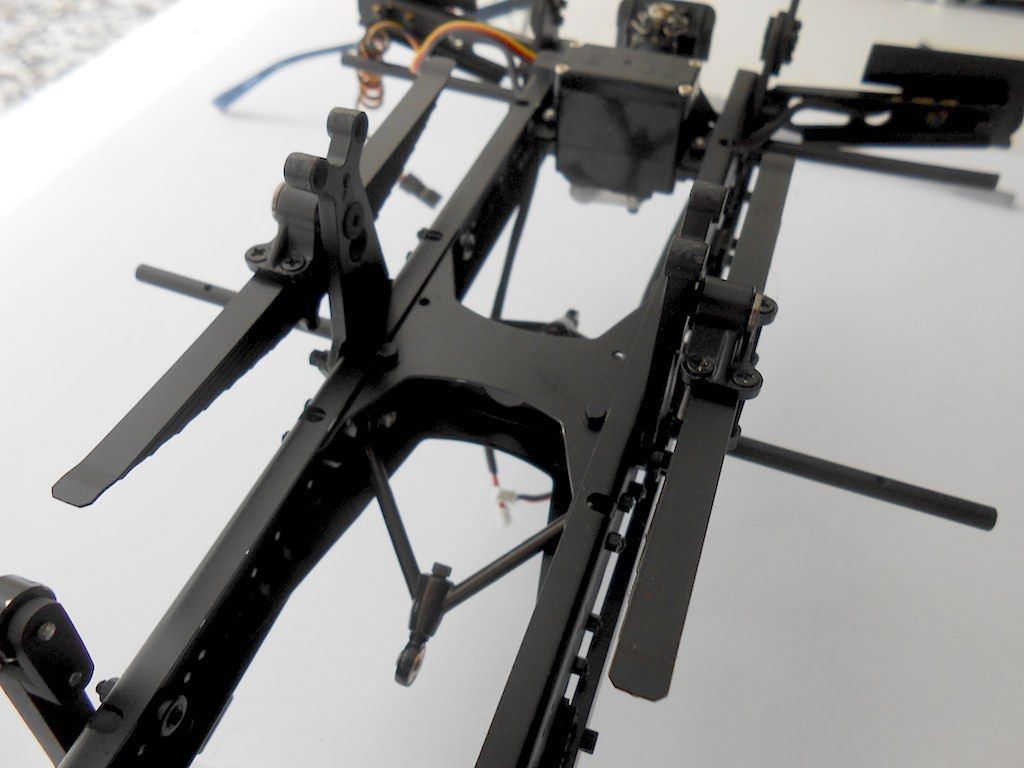 Next prepping the actual rear axles for installation. 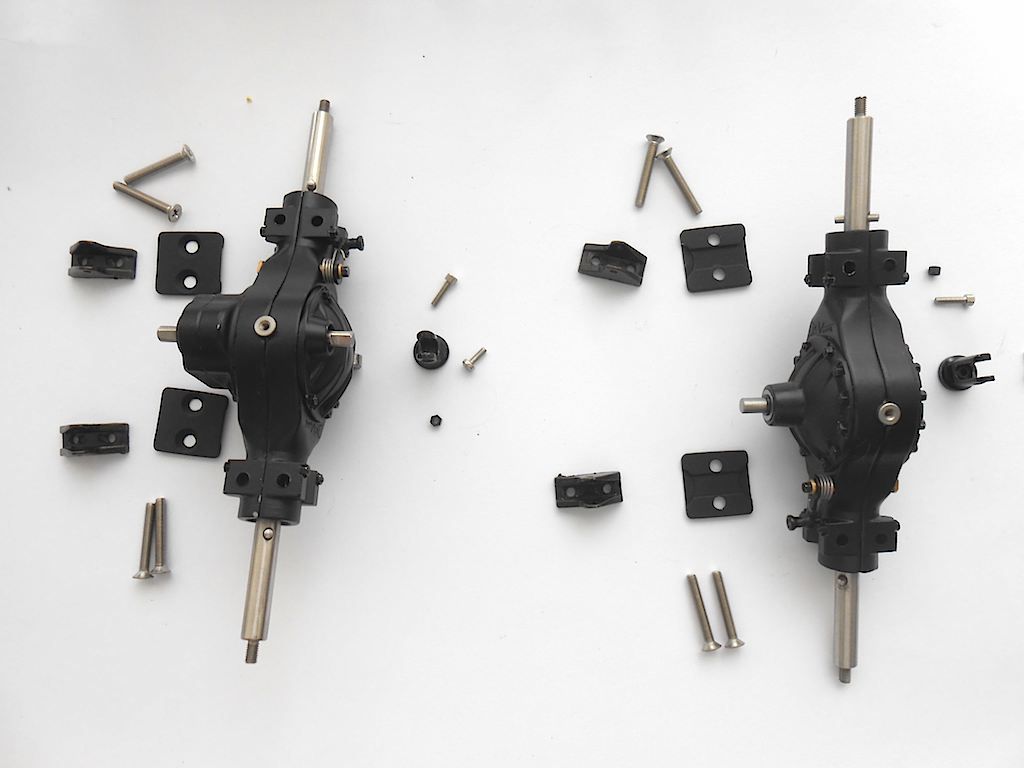 First connect the bit that will attach the axle to the triangle. This part has a cut out in the centre that fits over the stainless steel part and the bottom is also slightly rounded so it sits perfectly on the axle casing. On top, one of the holes is threaded, the other is not. So 2 little nuts I thought I would need are extras. It is also a good idea to first test the fit of this little piece on the triangle (how do I know?) ... One of them needed a bit of widening before it fit. 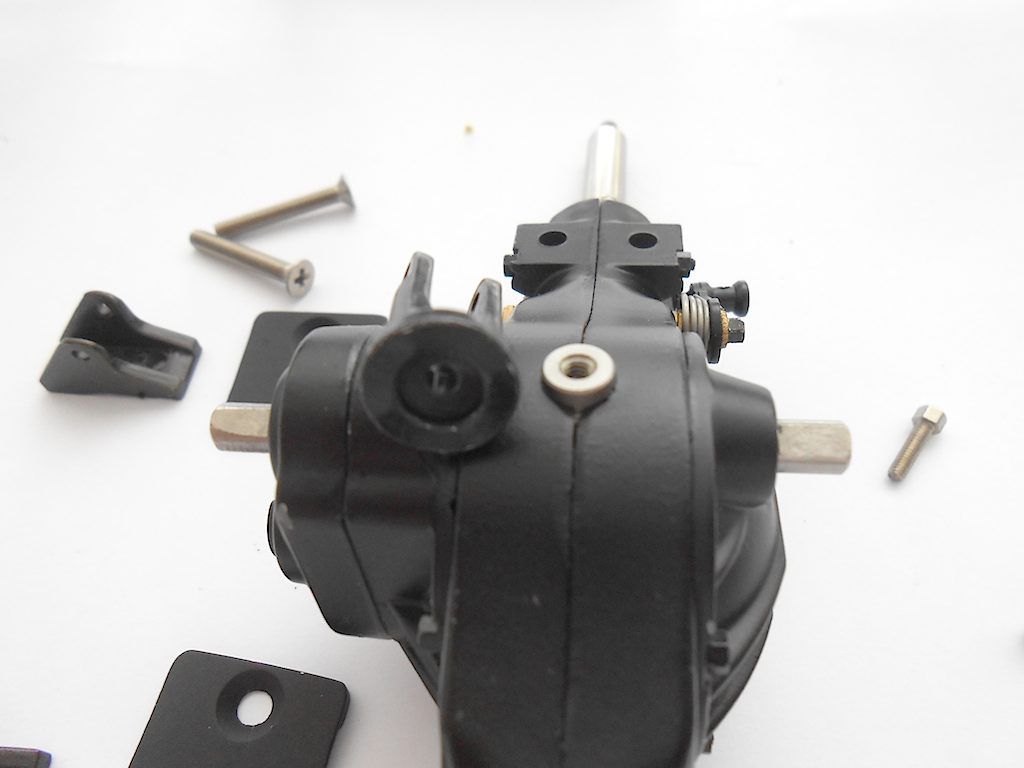 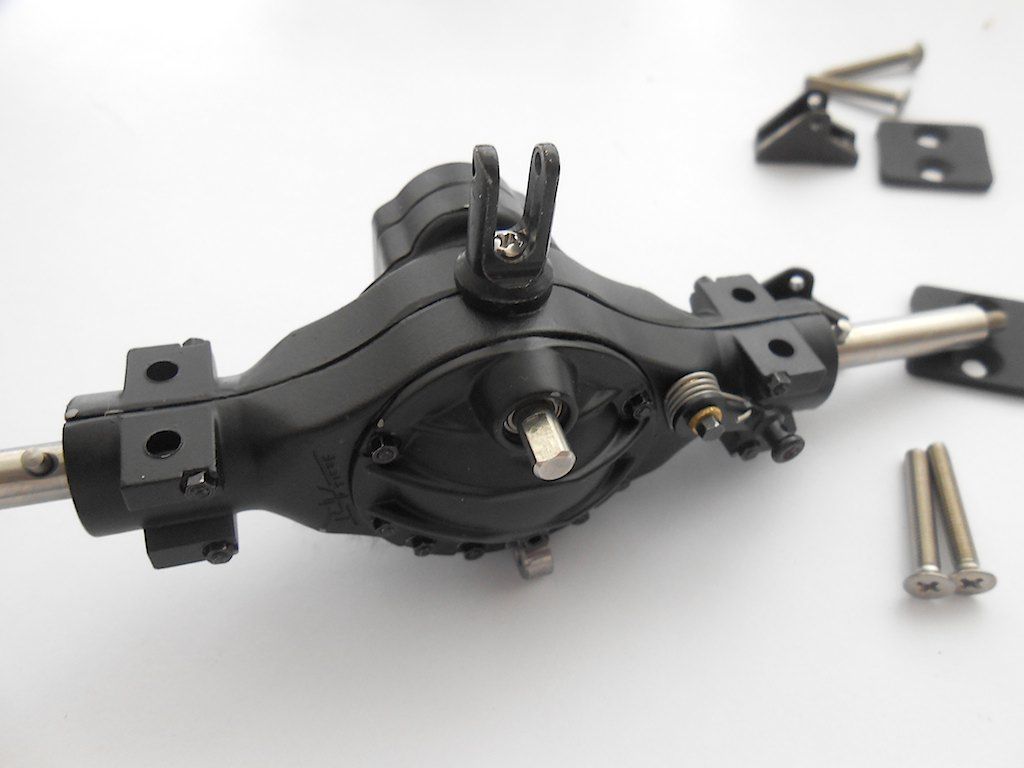 axle ready to install 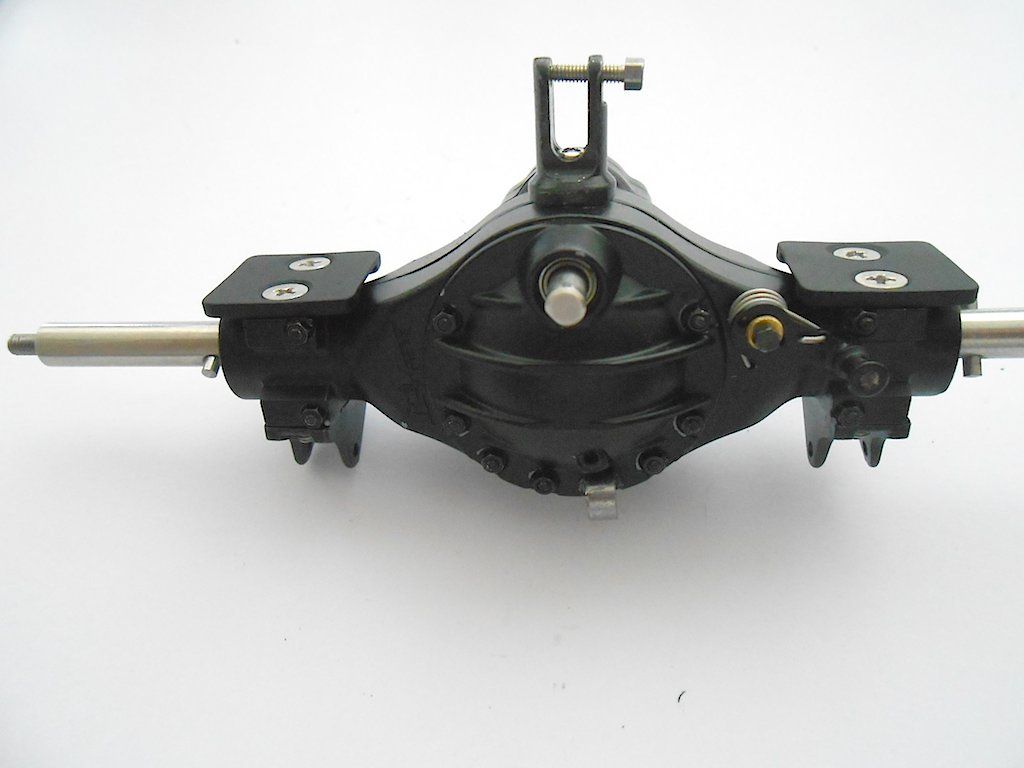 Rear axle attached to the triangle 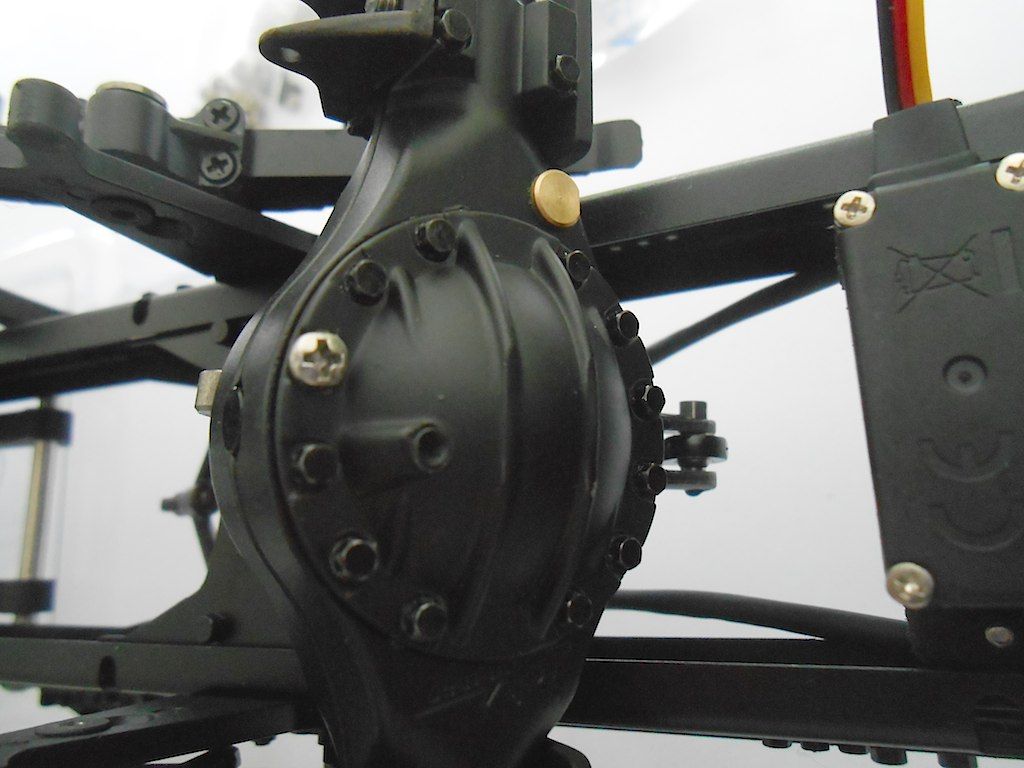 Both installed and balancing on the leaf springs. (connecting the axles to the triangles is another one of those moments that invites the use of colourful language  ) )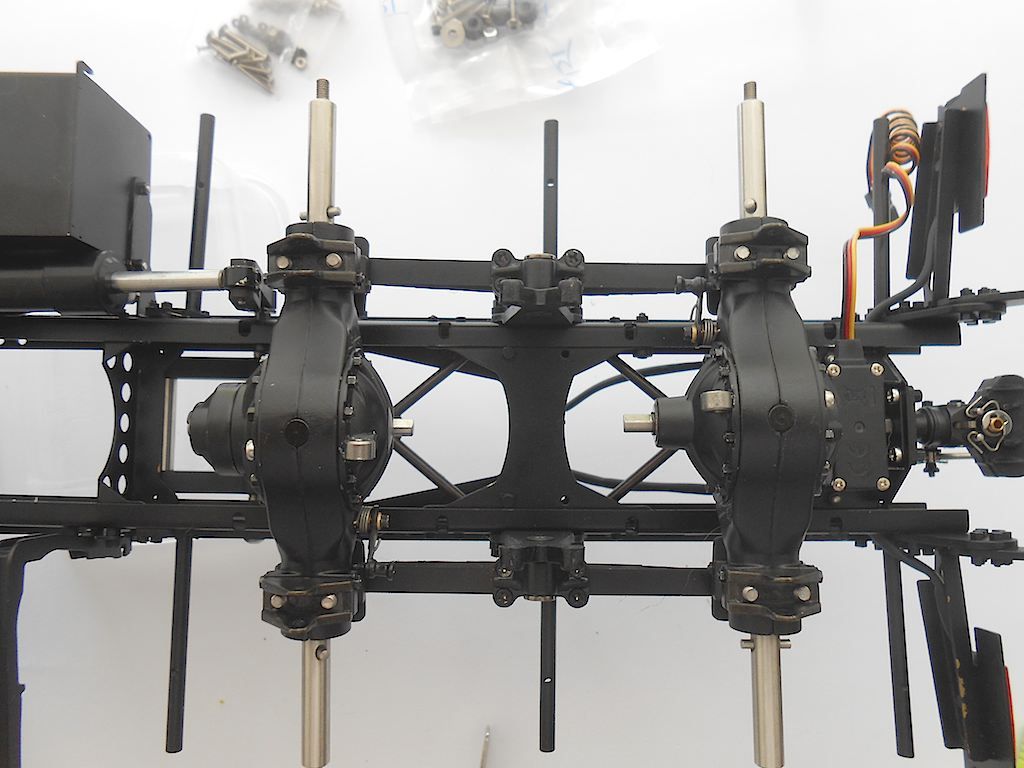 Next we need the 4 track rods. Manual states to set them at 50mm and if needed do adjustments later once wheels and fenders are installed. 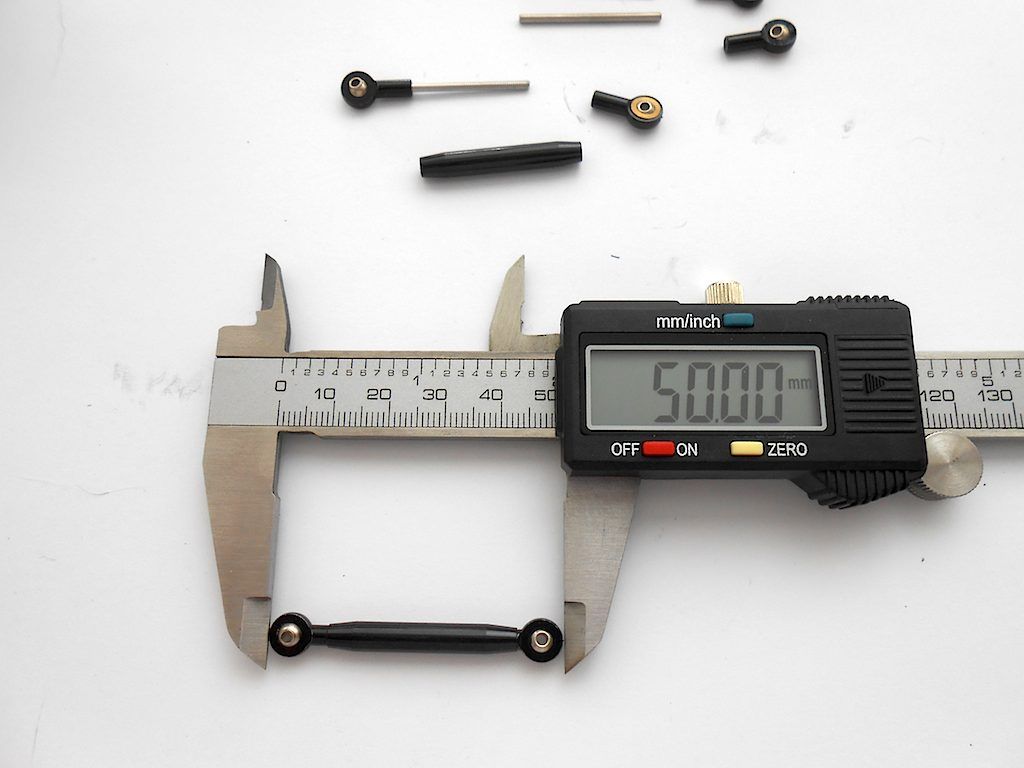 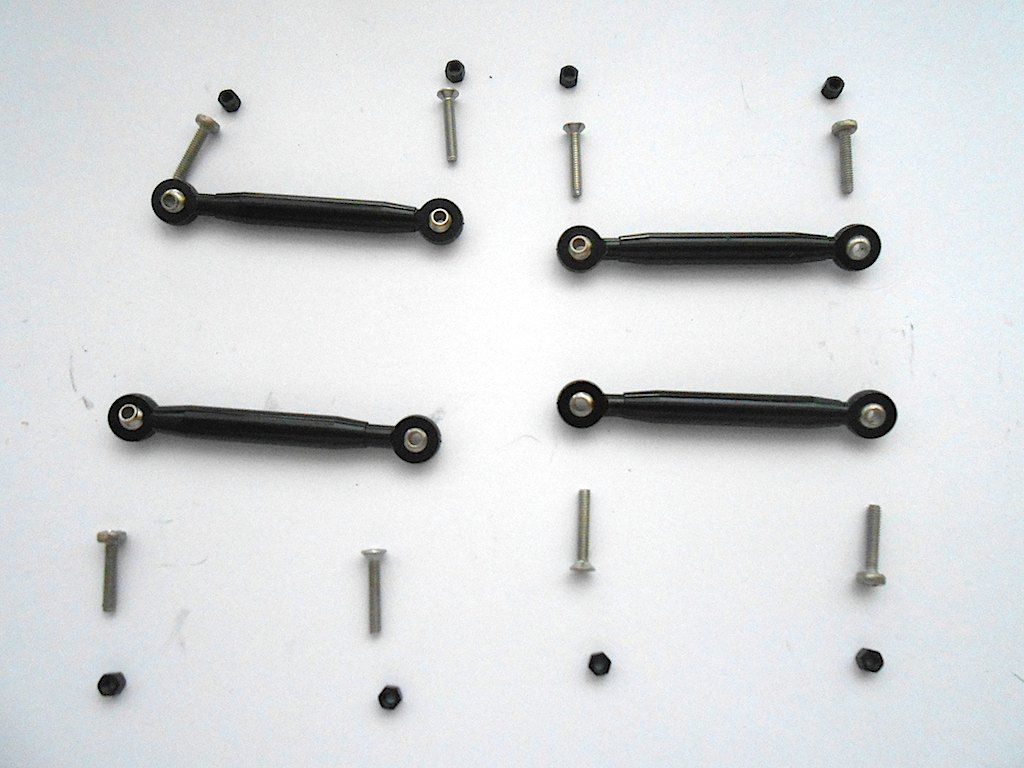 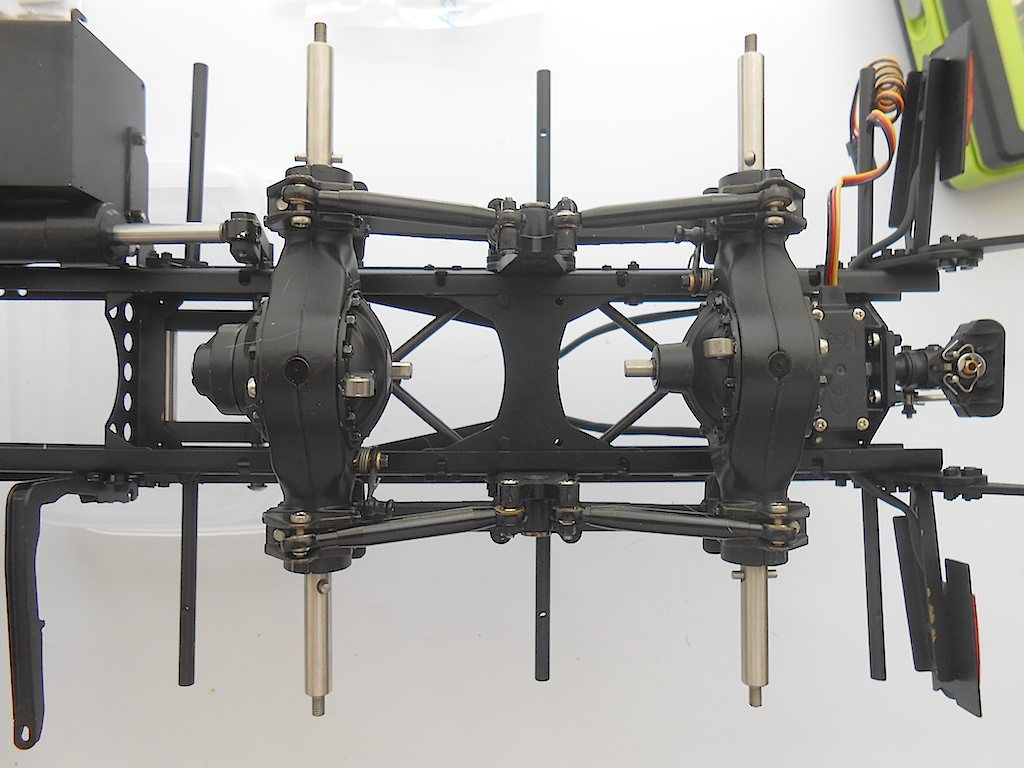 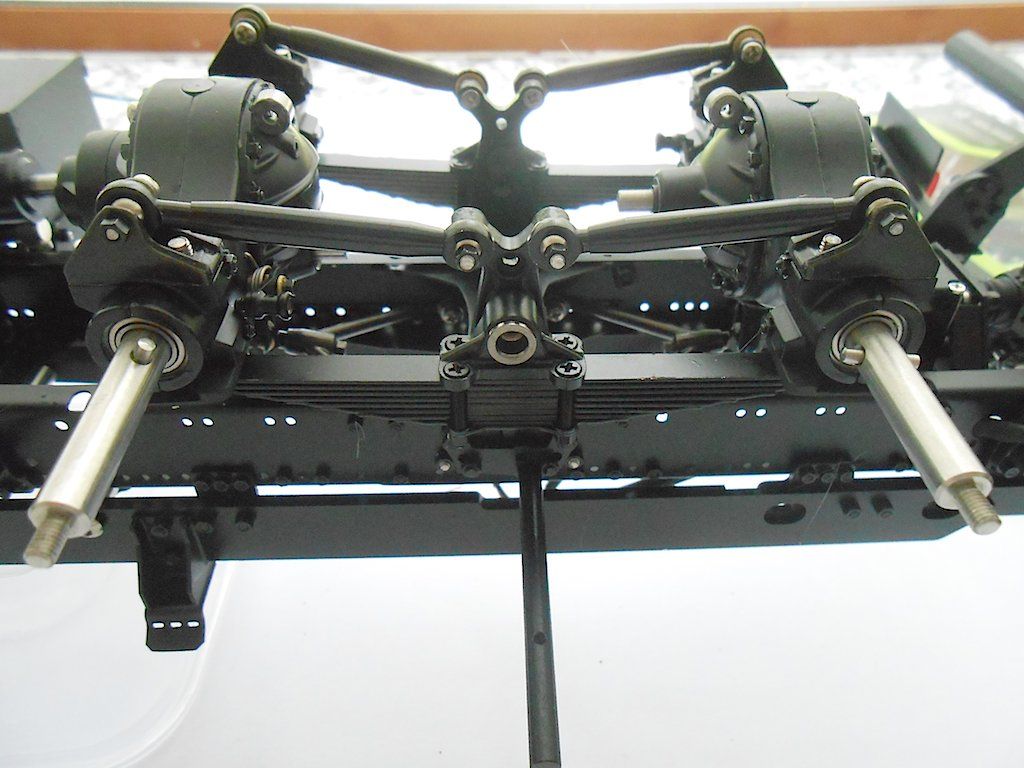 View right side up 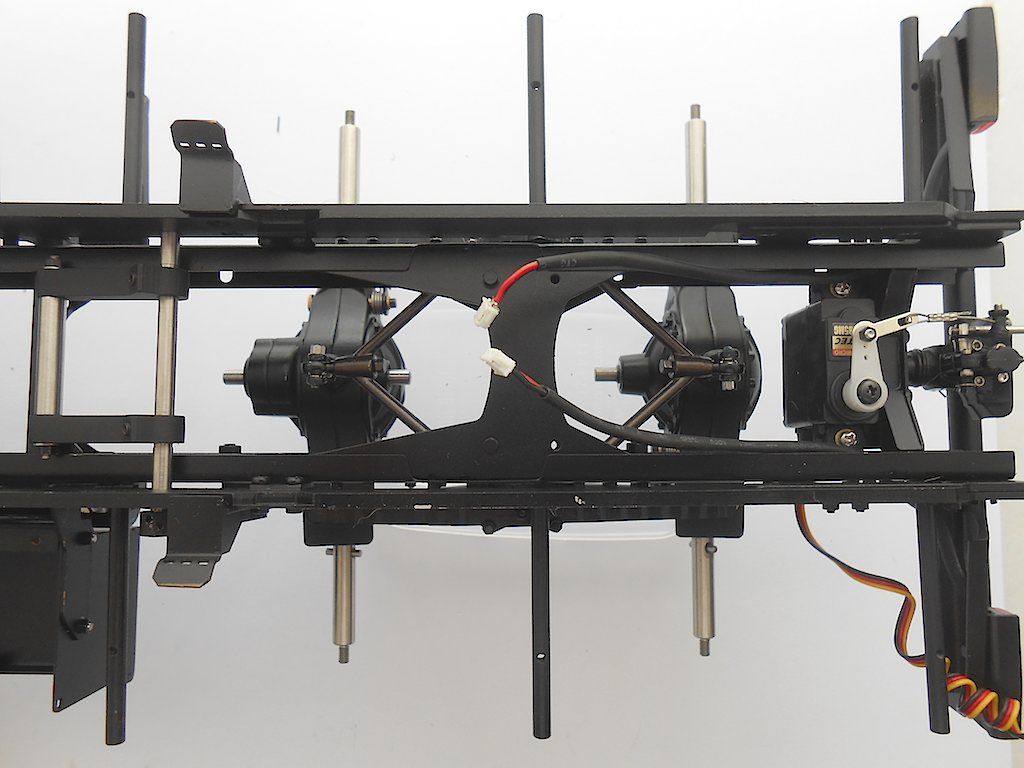 Whole frame from above 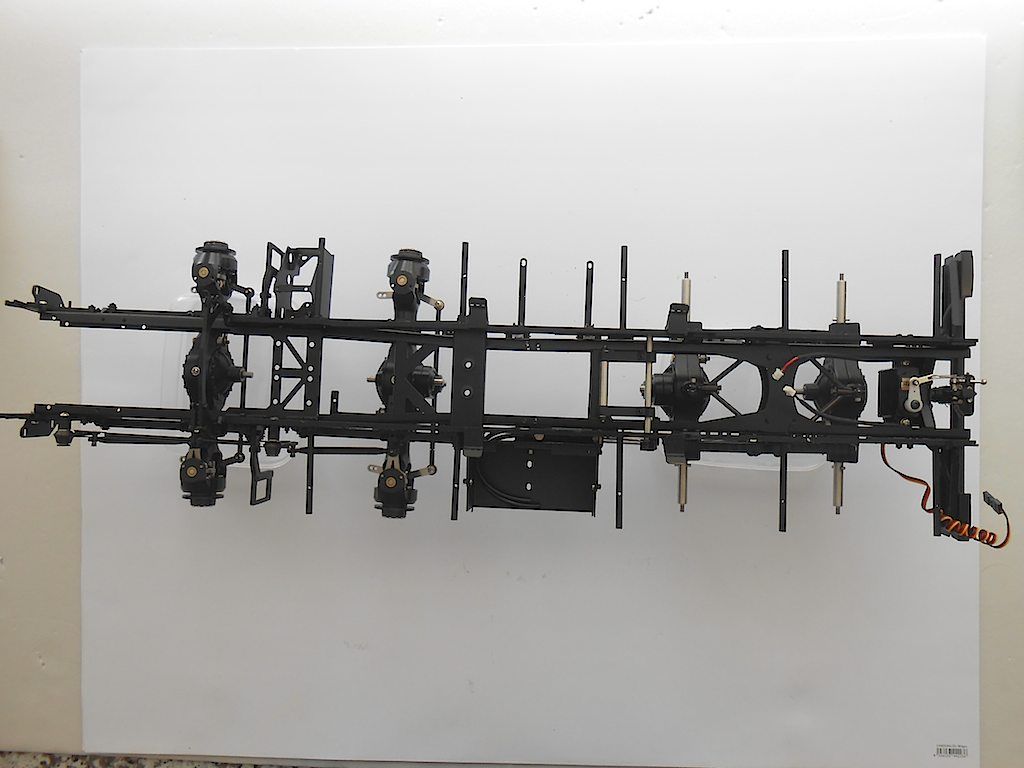 and upside down 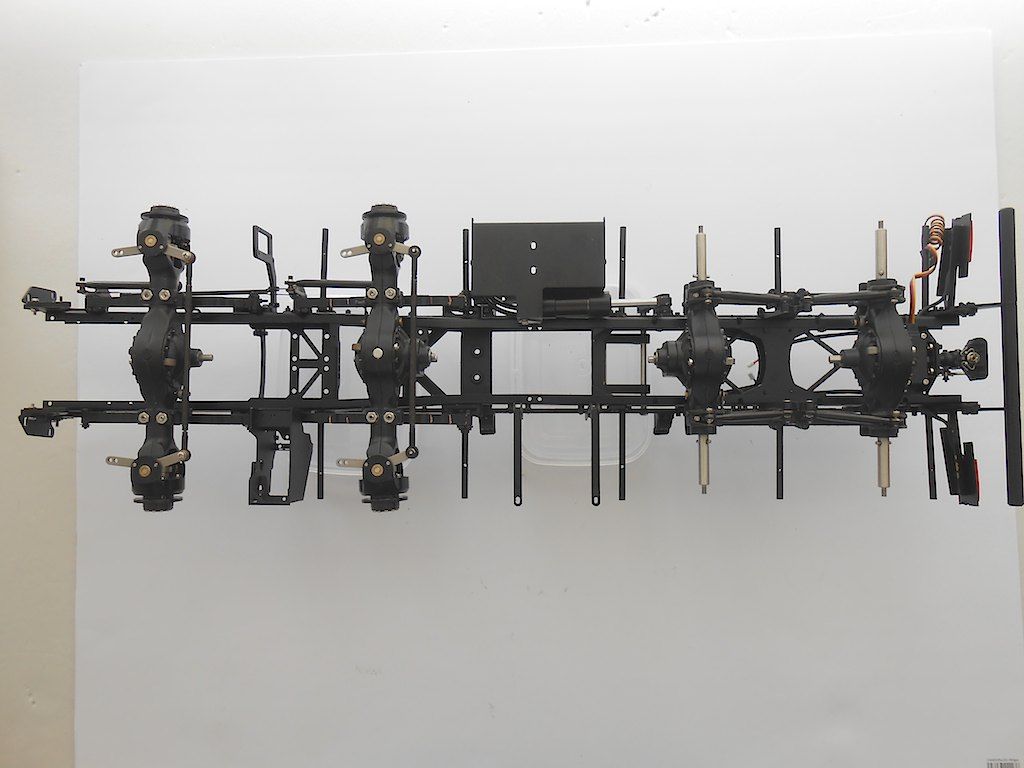 And as point of interest ... these are the bits left over from the packages supplied. Never even opened those that came with the axles. 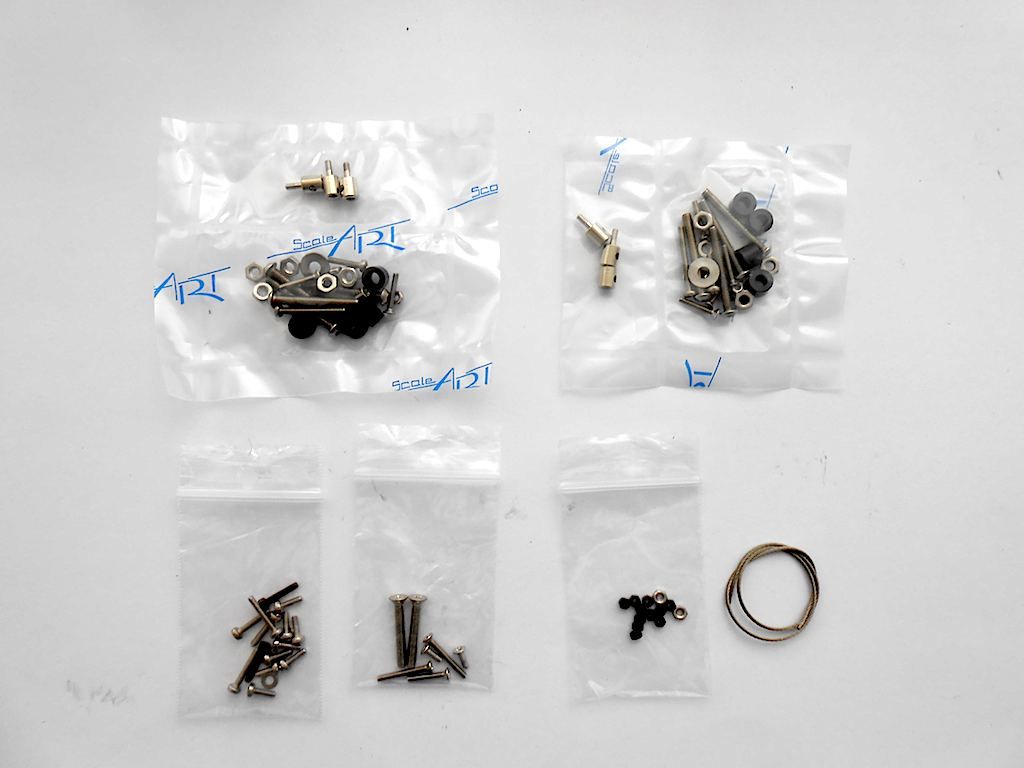 Next supposed to do the servos for the diff lock and the bowden cables, but might put that of for a bit. Probably will assemble the wheels and fenders next. Just to get the thing on wheels. |
|
#16
|
||||
|
||||
|
Quote:
Just gorgeous stuff! |
|
#17
|
|||
|
|||
|
Simply a masterpiece...
|
|
#18
|
||||
|
||||
|
Started assembling the wheels. The front ones just bolt on, the rear ones need to be bolted together.
The front gets a wide tire. The rear 2 thinner ones each side. 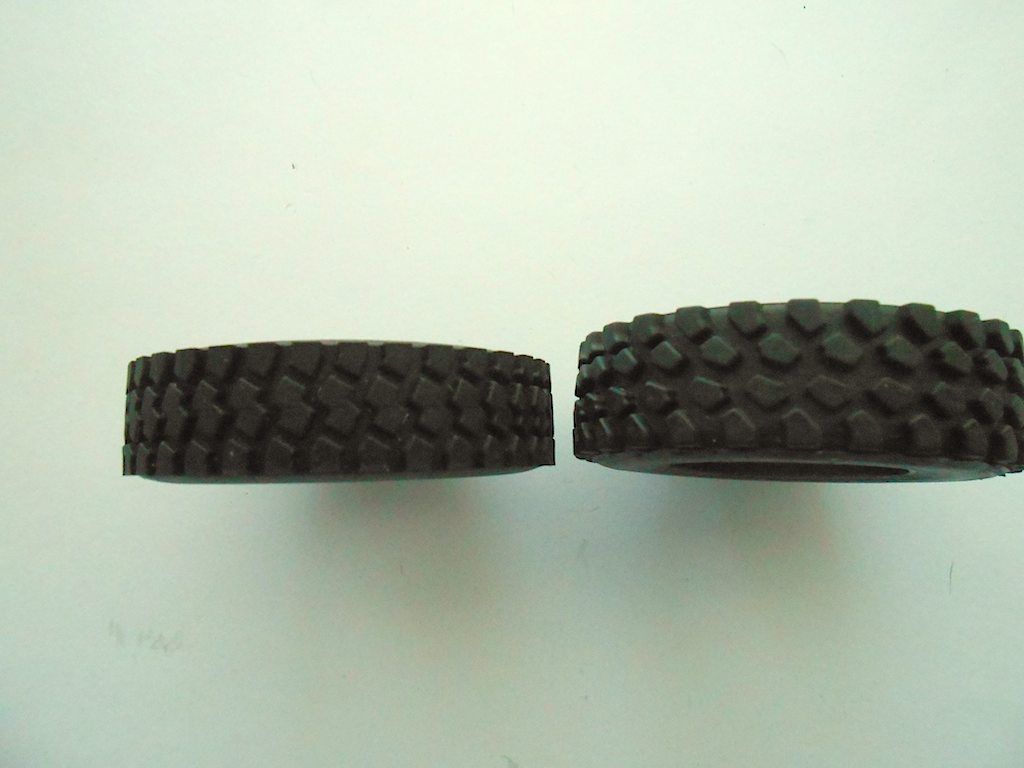 Didn't get around to putting them on the axles. So only the rear ones. 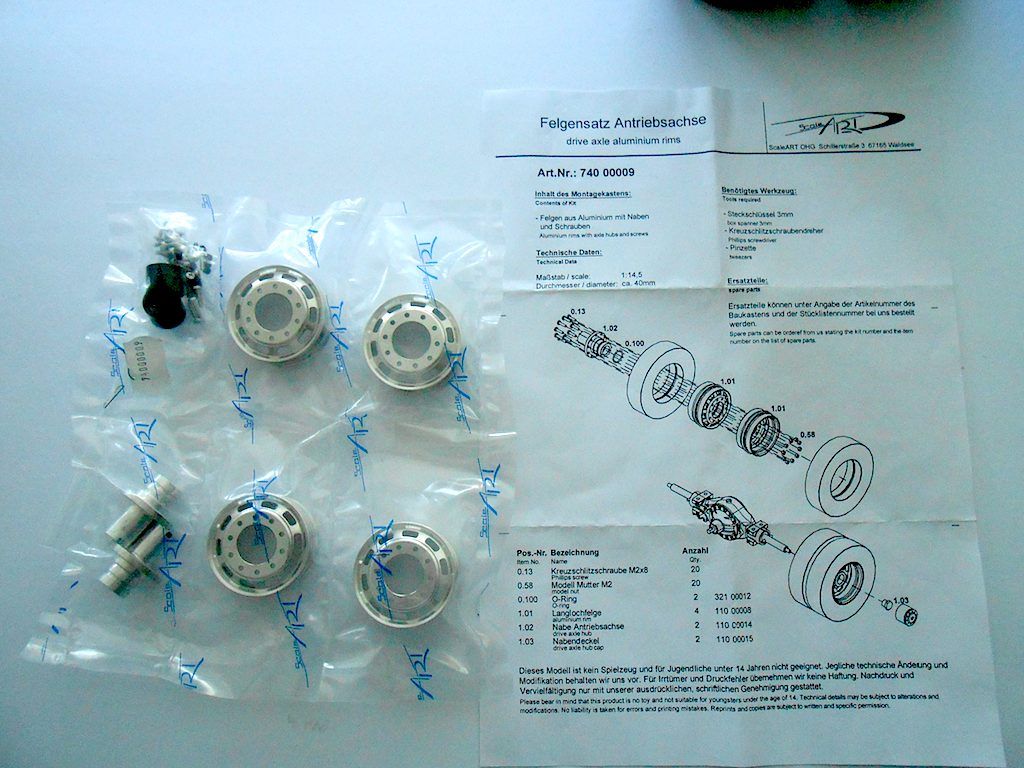 The little rubber bit is to hold the black cap on. 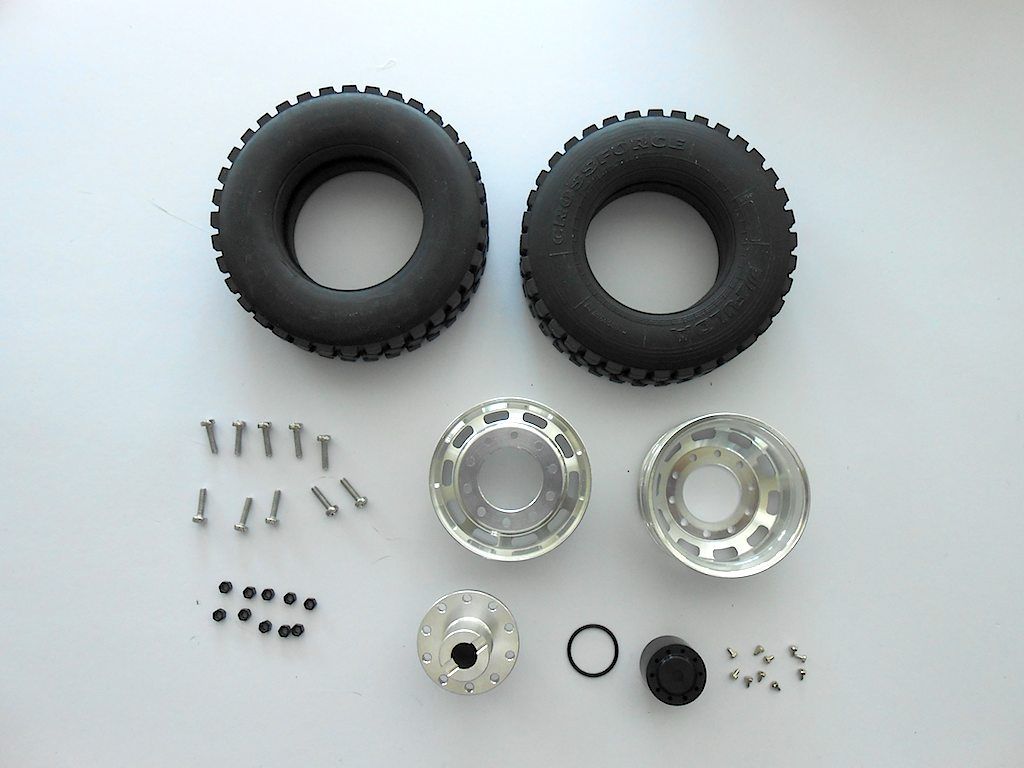 Here too we add the little decorative bolts. No need to drill the holes out, most of the little bolts just slide in. So some Loctite applied to the holes. 3 of them "escaped" not to be found when doing the 4 caps. Good thing they provide some extras. 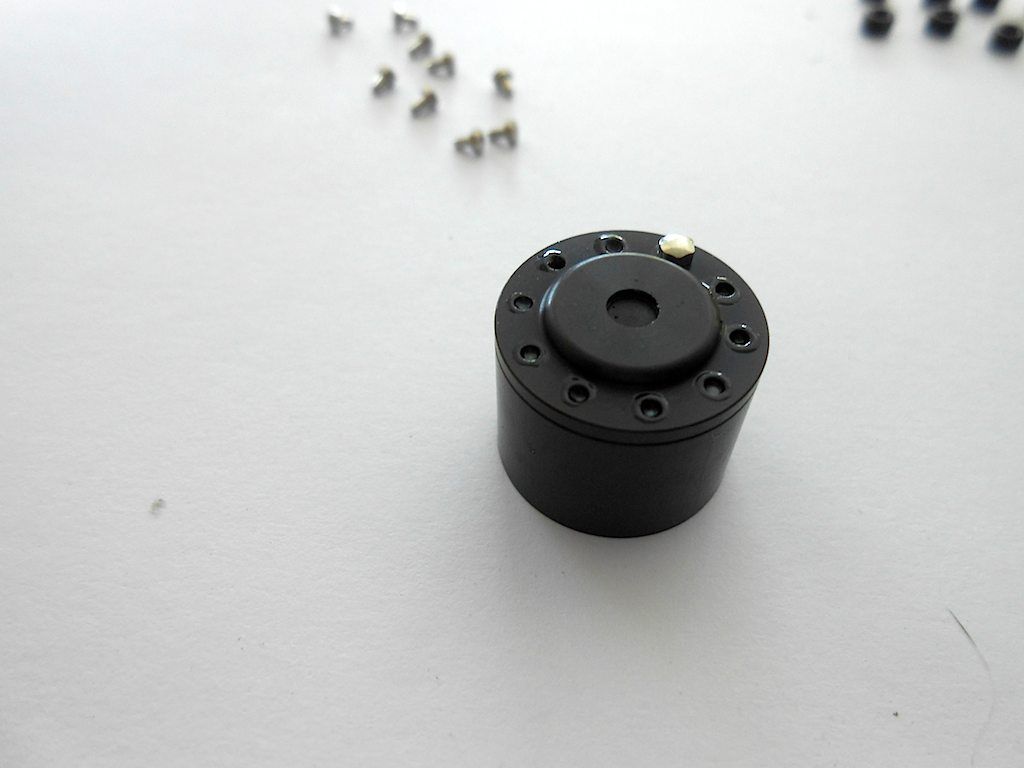 Only 3 of the 40 installed needed a tap with the hammer 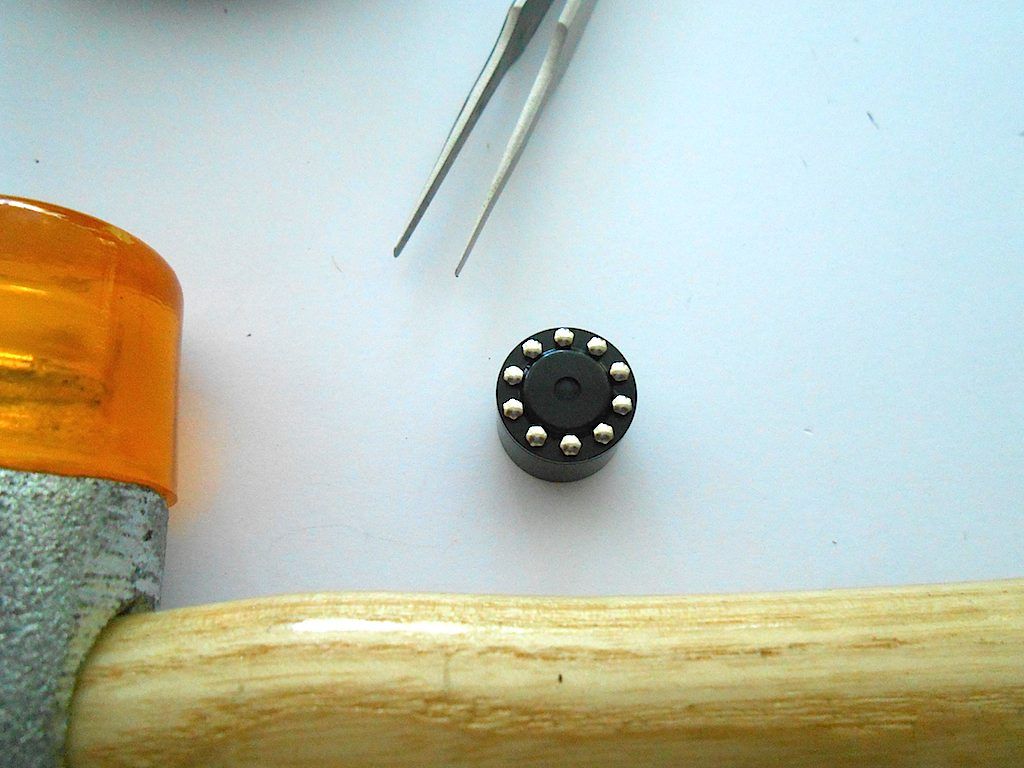 First install the rubber ring on the centre piece. Would be a pain afterwards. 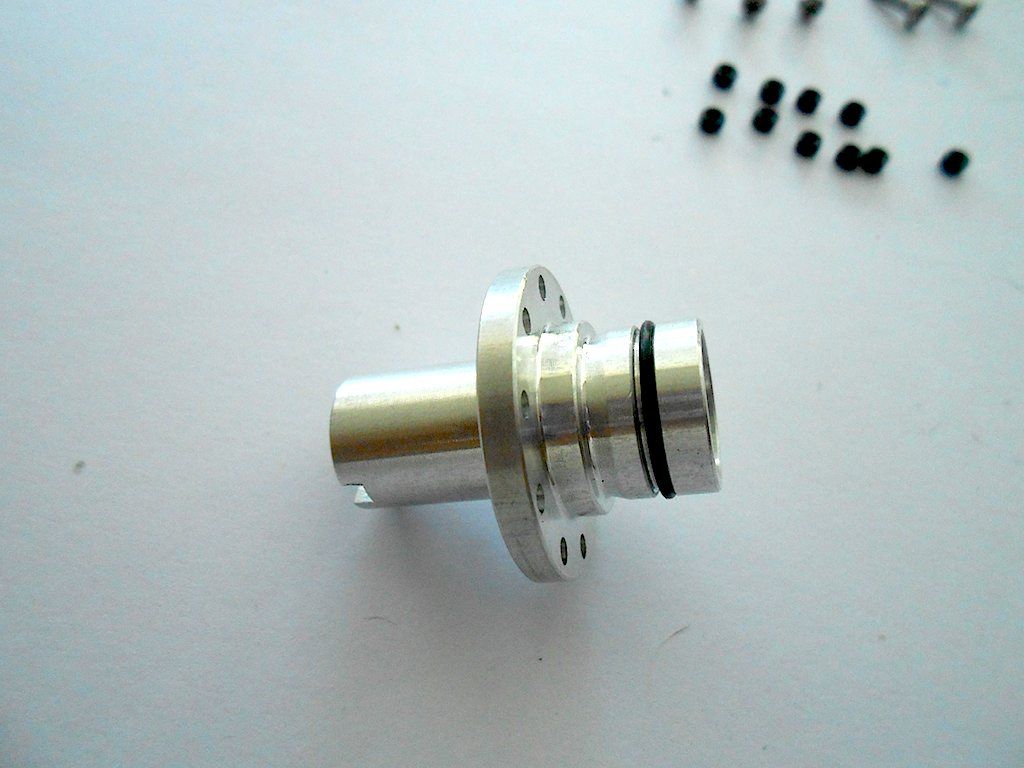 Then simply slide the 3 parts together and fasten them 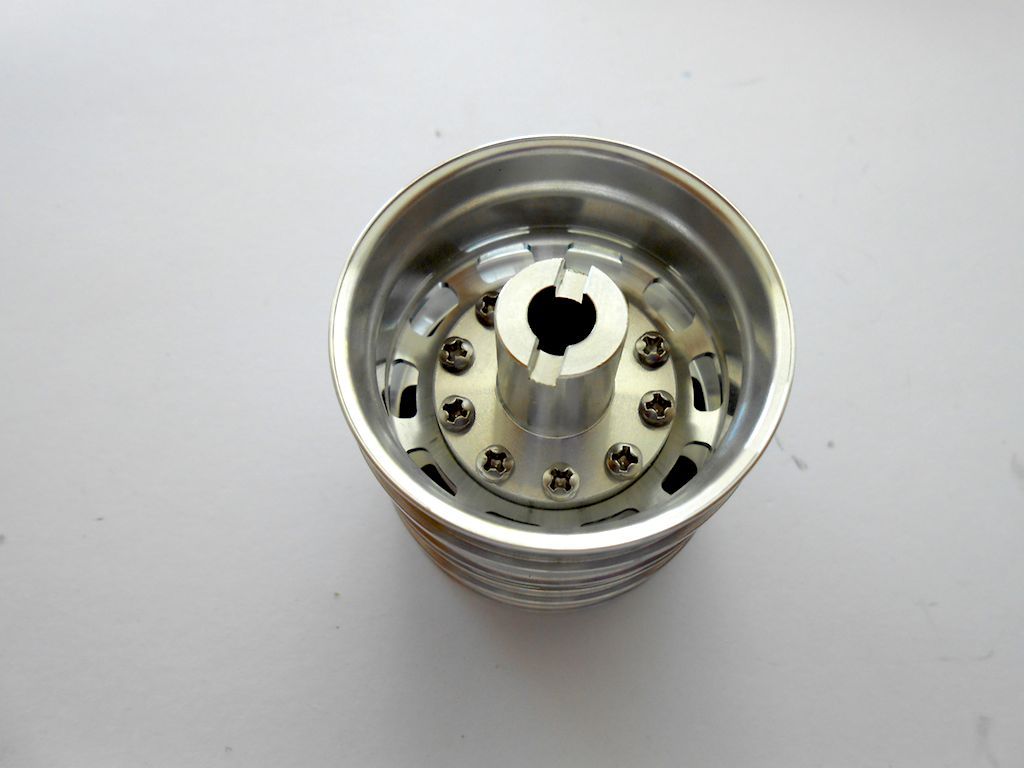 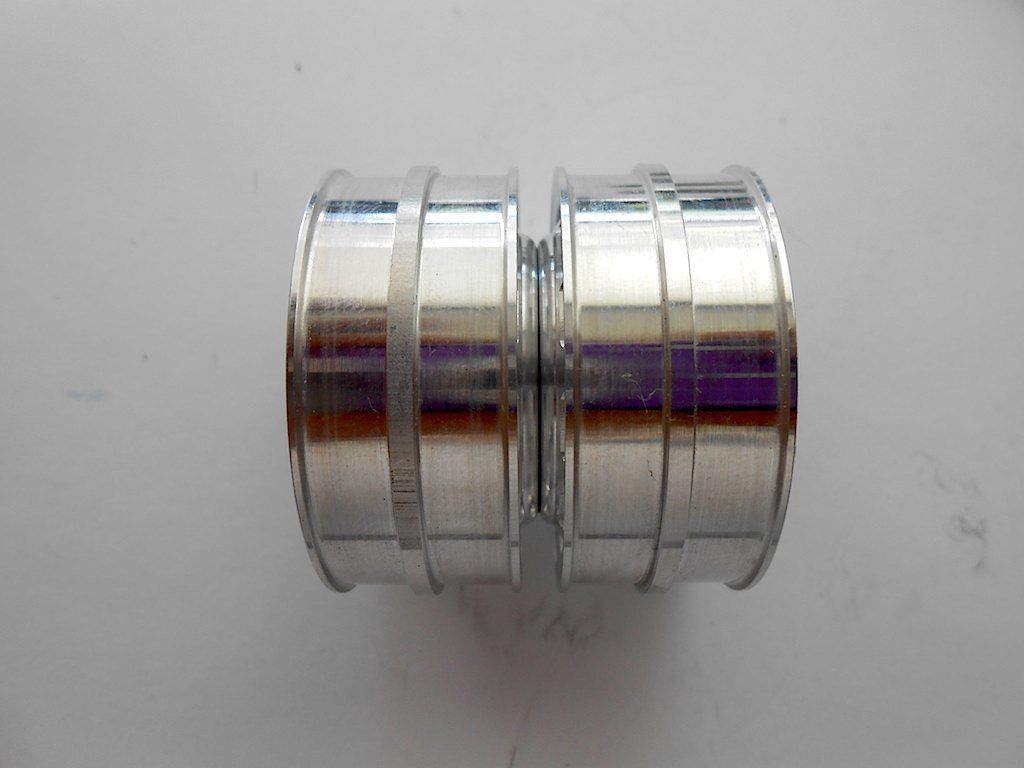 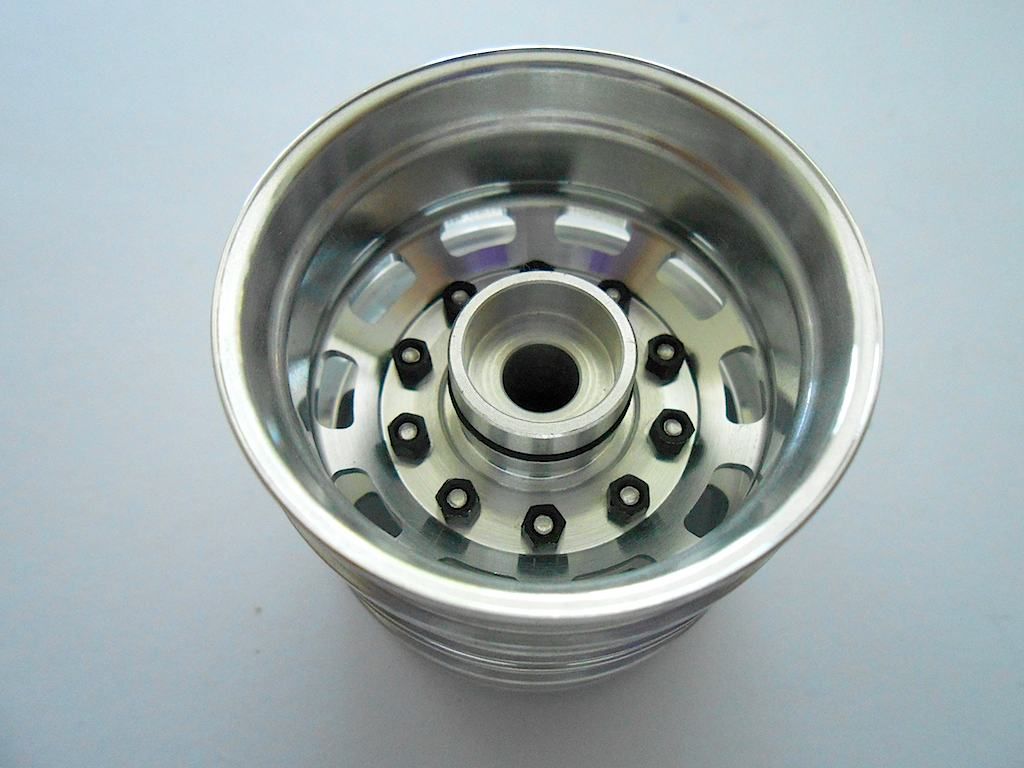 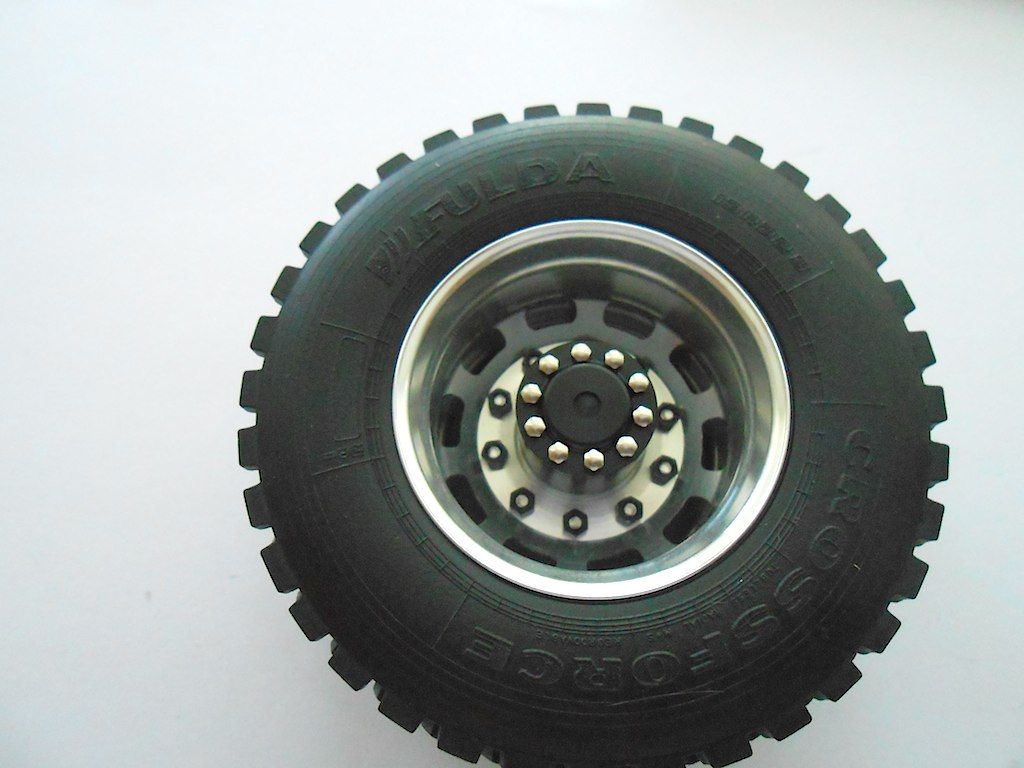 Instead of bolting them to the axles, decided to do the diff lock servos. This turned out a real pain. First prepping the servo horn and add the bowden cable holder. (Holder needs to be installed so it can still move a bit) 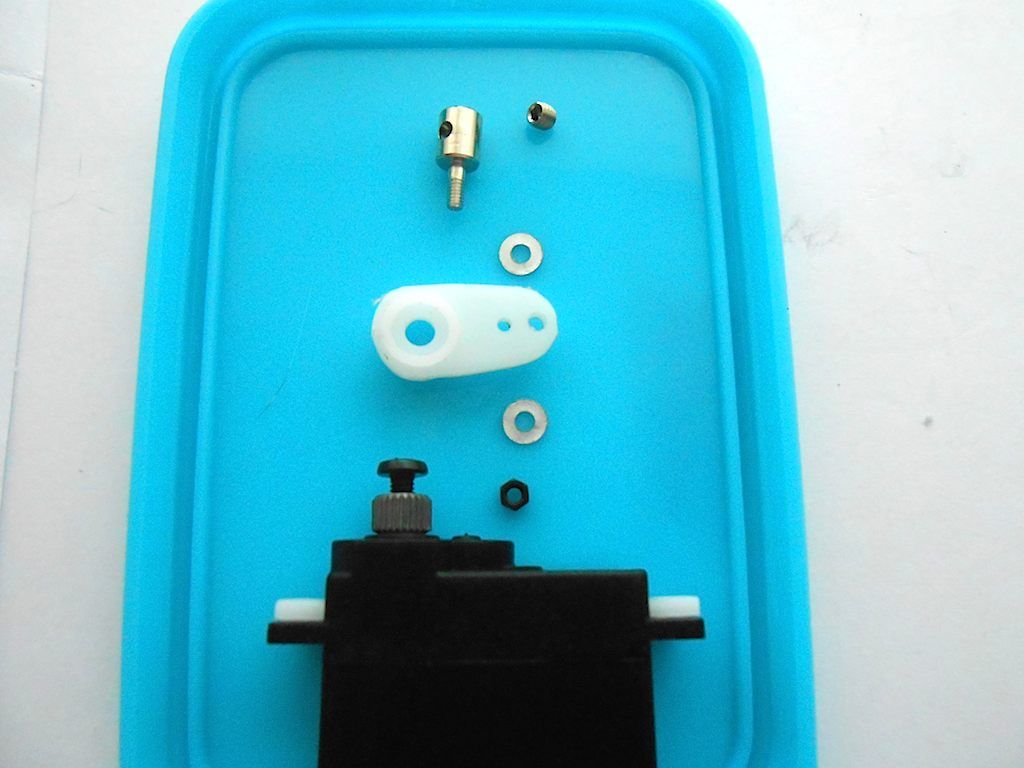 Servos and other bits ready to be installed. (each servo is for 2 axles) 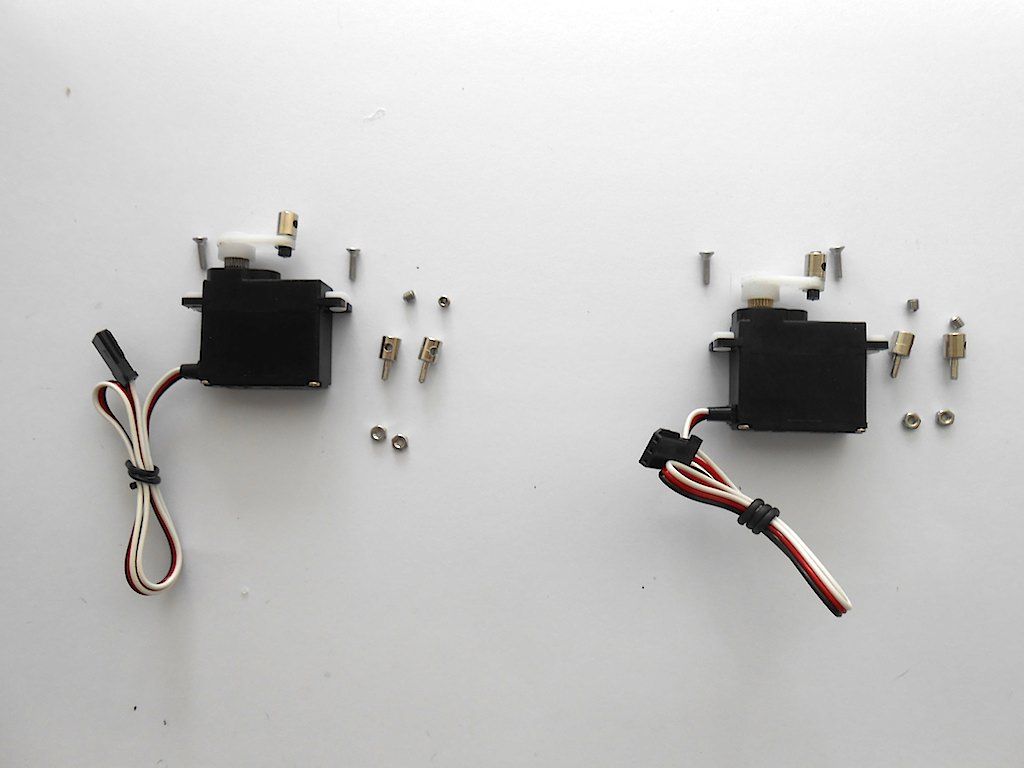 These were a pain should have installed them earlier. 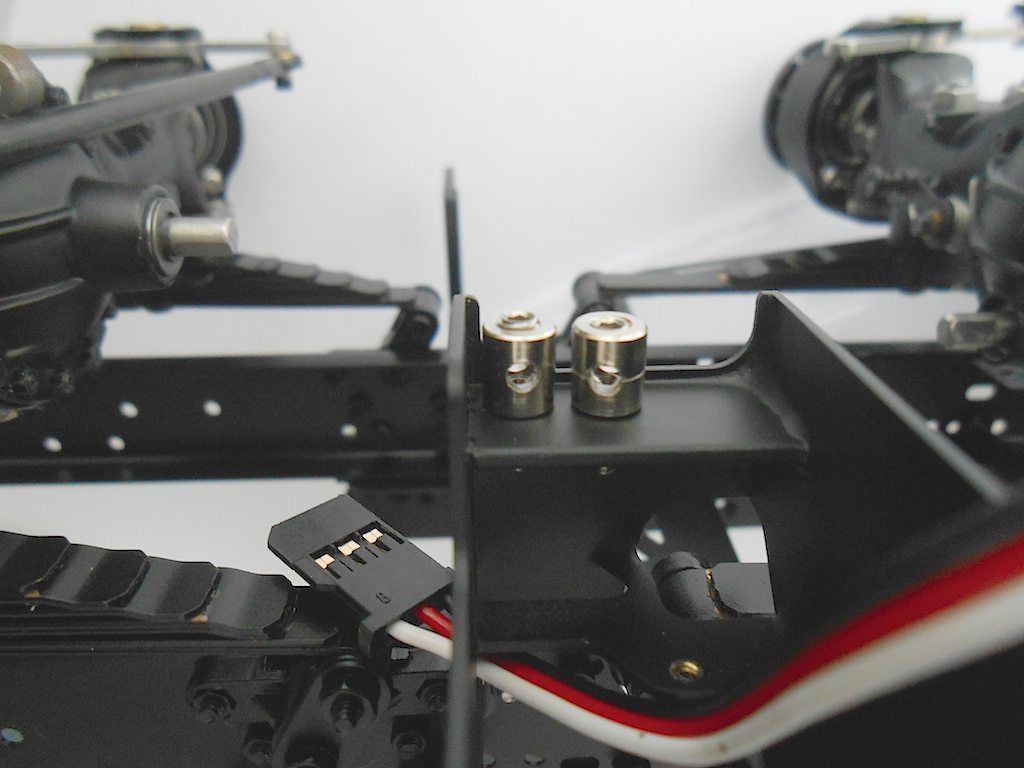 Luckily access from underside. however none of my wrenches fitted through. Ended up holding the nut in place with a pair off strong tweezers and screwing a long M3 bolt where the grub screw goes. Then tightened up by using the M3 bolt. 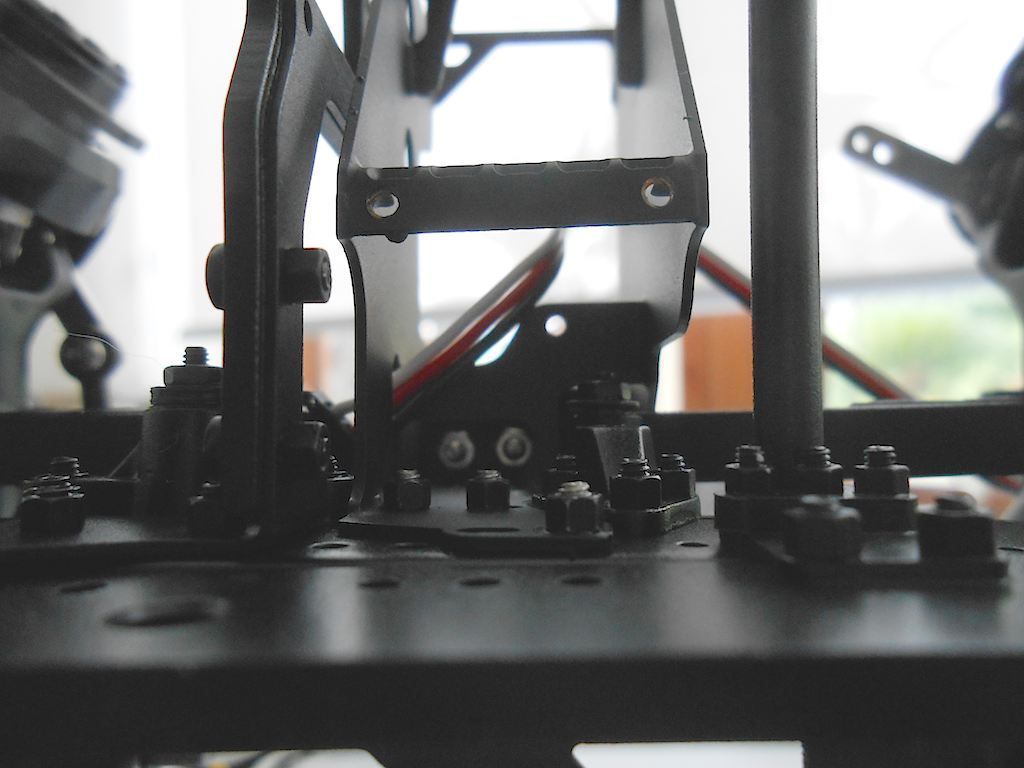 Front axles servo installed - horn in the diff closed position. 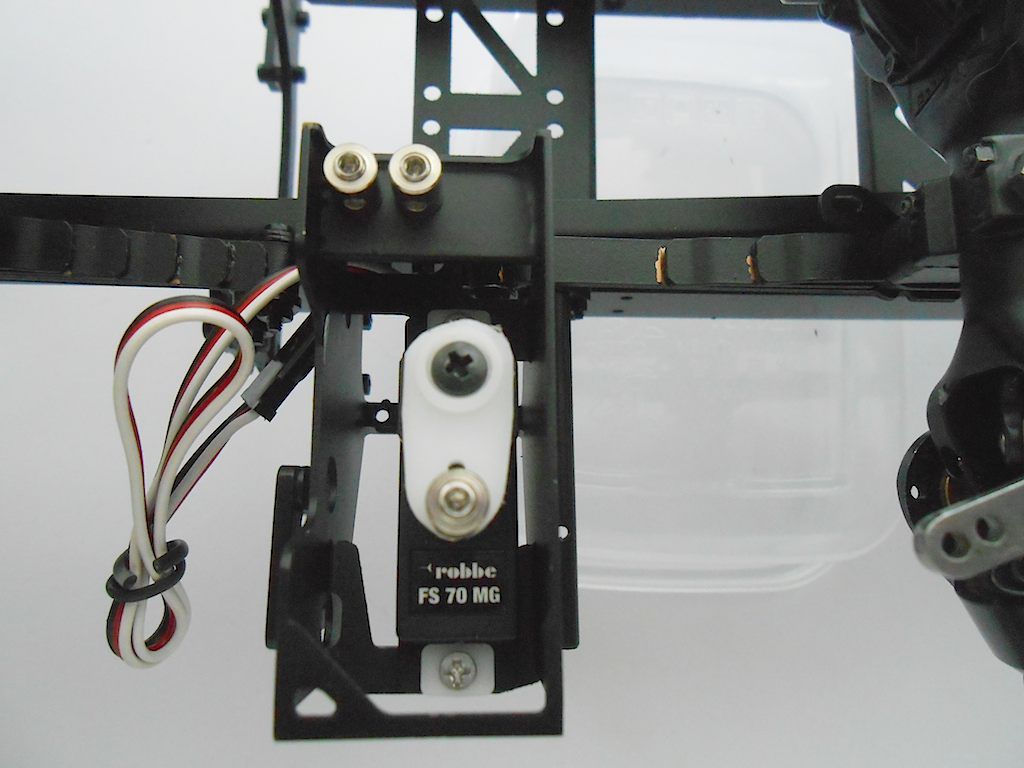 The one for the rear axles should have been installed before the axles. Almost no access to the screws. The 2 bowden holders were a struggle too. This one too in the diff locked position. Unlocked will be 90° turn towards the leaf springs. 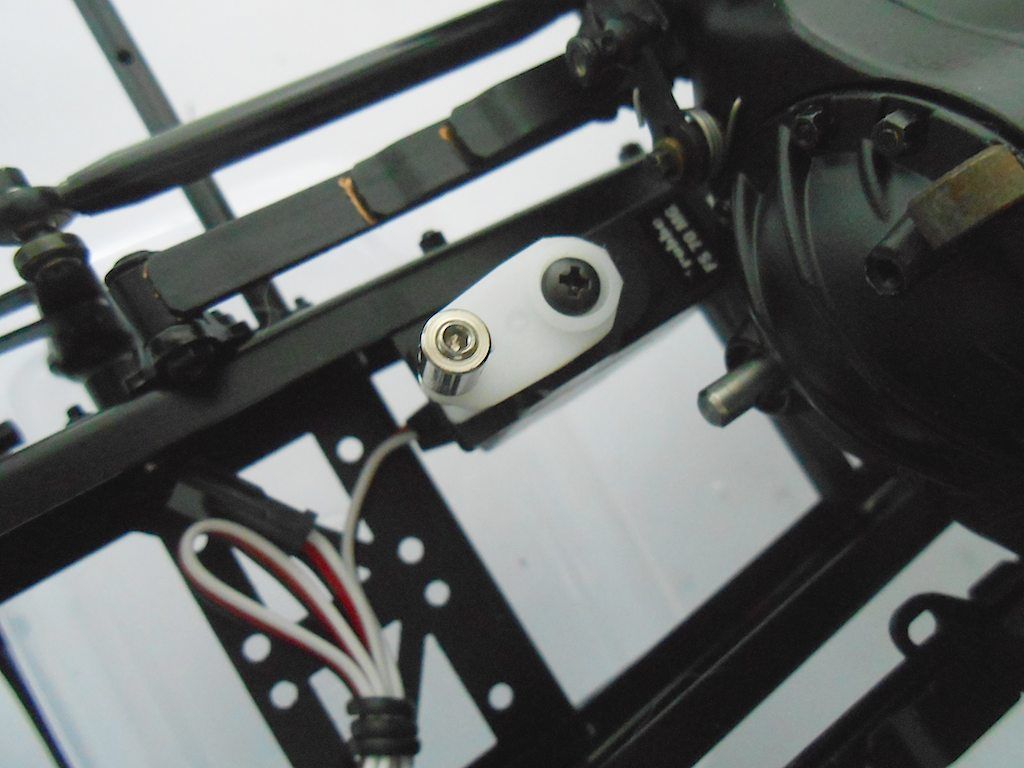 Almost had to remove the axle to get to the screw that holds the servo. 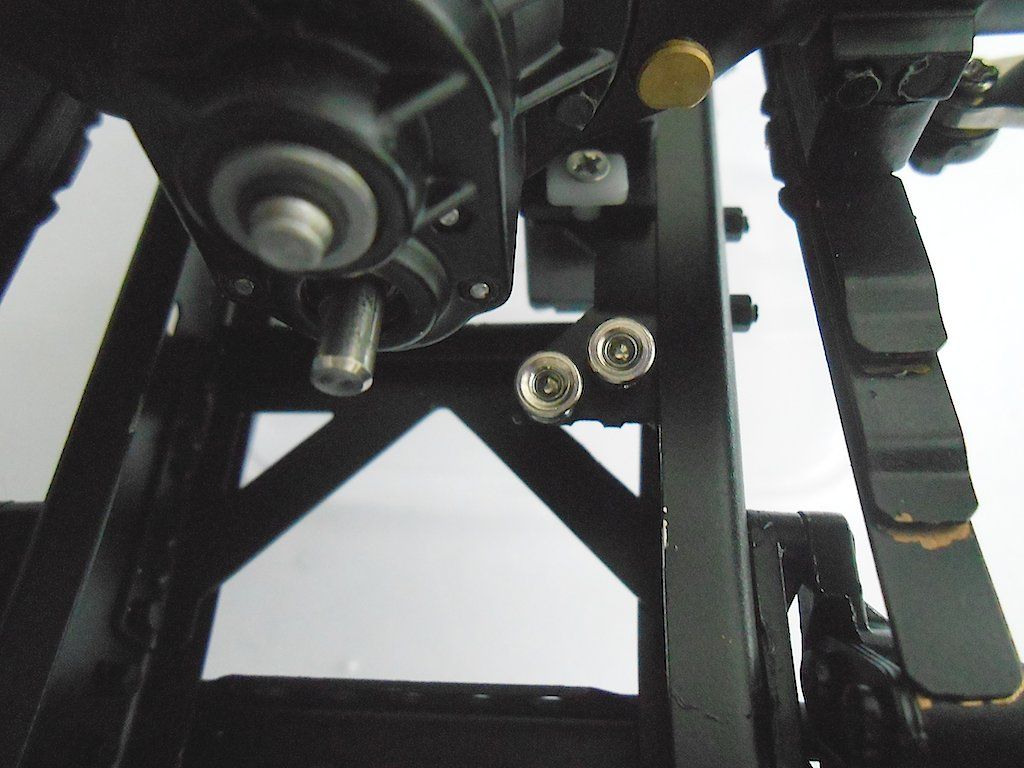 Have to remember to install the support bracket for plate that will hold the electronics before I get in a tight mess there too. Worn out ... Cheers! Stephan Last edited by Rakthi; 05-28-2015 at 05:18 AM. |
|
#19
|
||||
|
||||
|
Prop, Louisbaby ... yup those guys at ScaleART know what they are doing.
Stephan |
|
#20
|
||||
|
||||
|
WOW im glad your building this monster and not me
|
 |
| Tags |
| 8x8, arocs, scaleart |
| Currently Active Users Viewing This Thread: 1 (0 members and 1 guests) | |
|
|