
 |
|
|||||||
| Euro Style Trucks and Trailers A place for the Euro style trucks single and twin axle trucks and trailers... |
 |
|
|
Thread Tools | Display Modes |
|
|
|
#1
|
||||
|
||||
|
Part 1 of the next step: assembling the arm and part of the hydraulics.
Only a few pieces for now 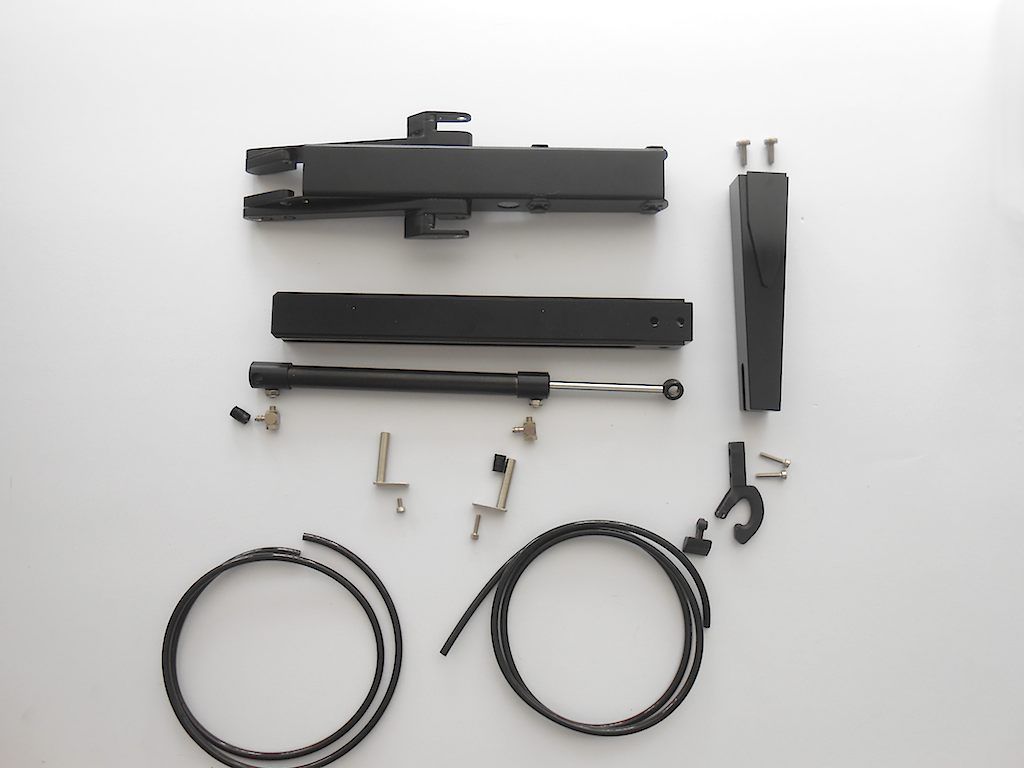 First we prep the hydraulic cylinder 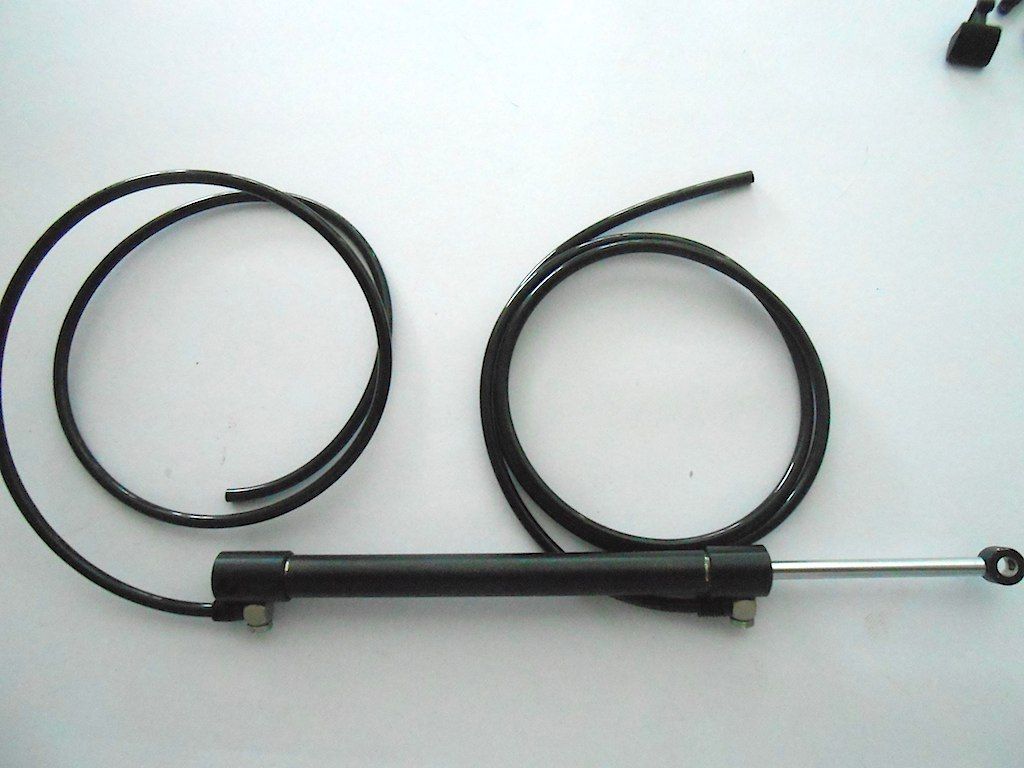 Then the hook 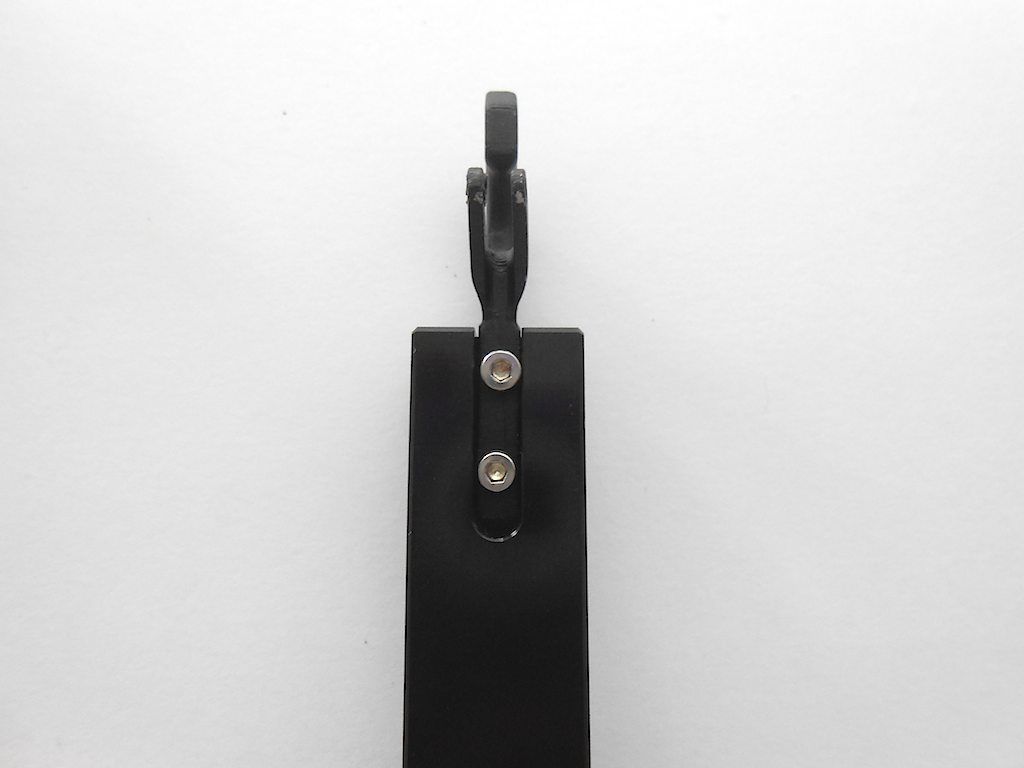 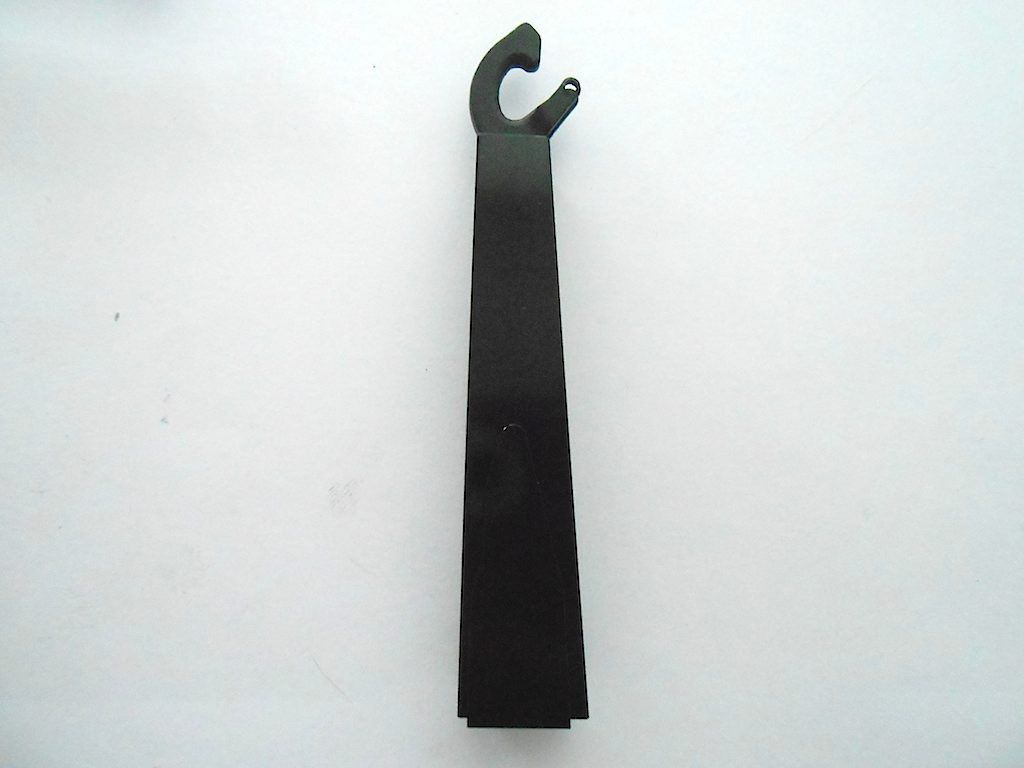 Then the above part gets bolted on the moving arm. The screws are recessed to allow for the hydraulic cylinder and not that easy to get into place. 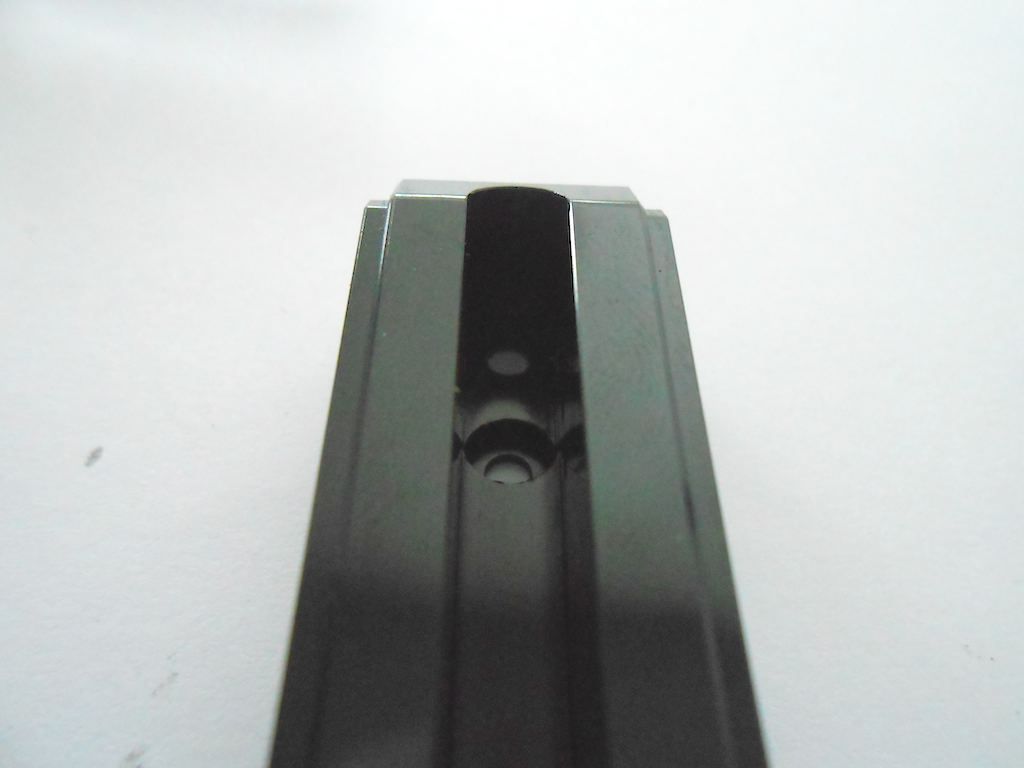 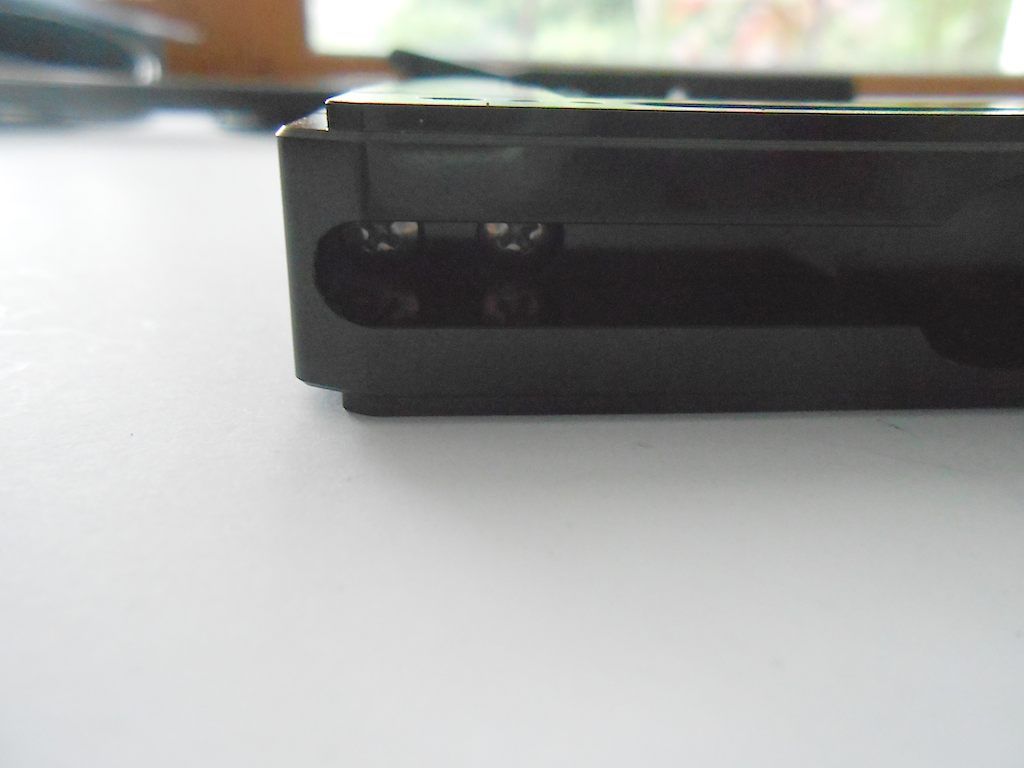 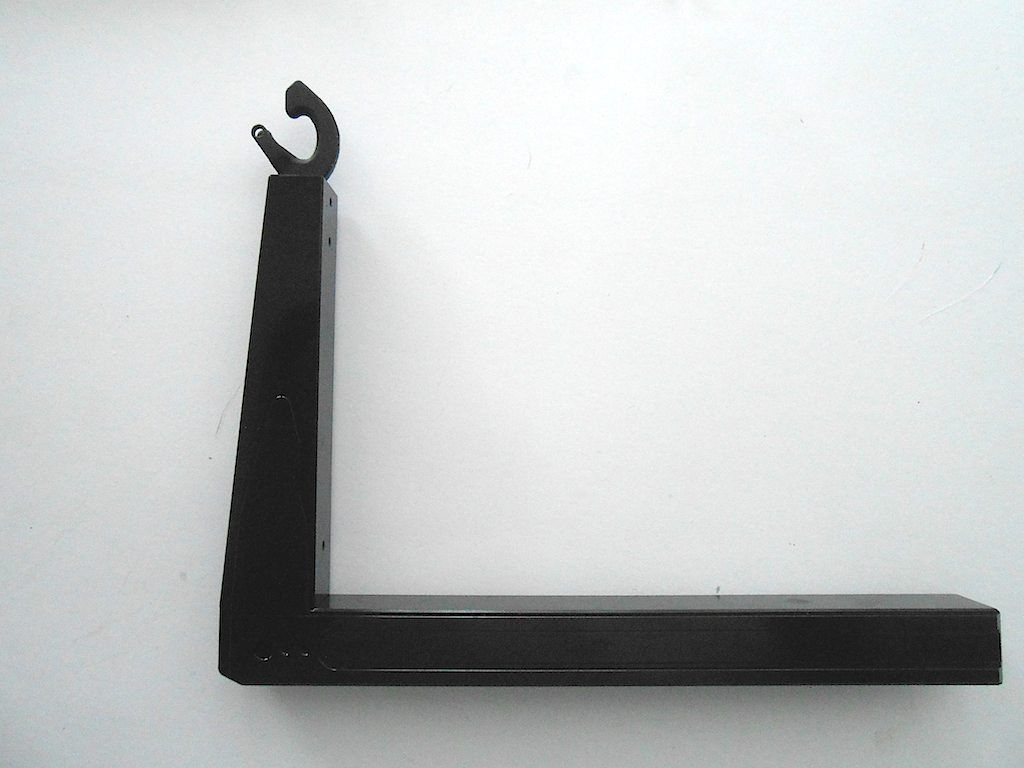 Next we have to insert/mount the hydraulic cylinder in the stationary part of the mechanism. This, because you have to slide the cylinder in a an angle because the nipples will otherwise not pass through. 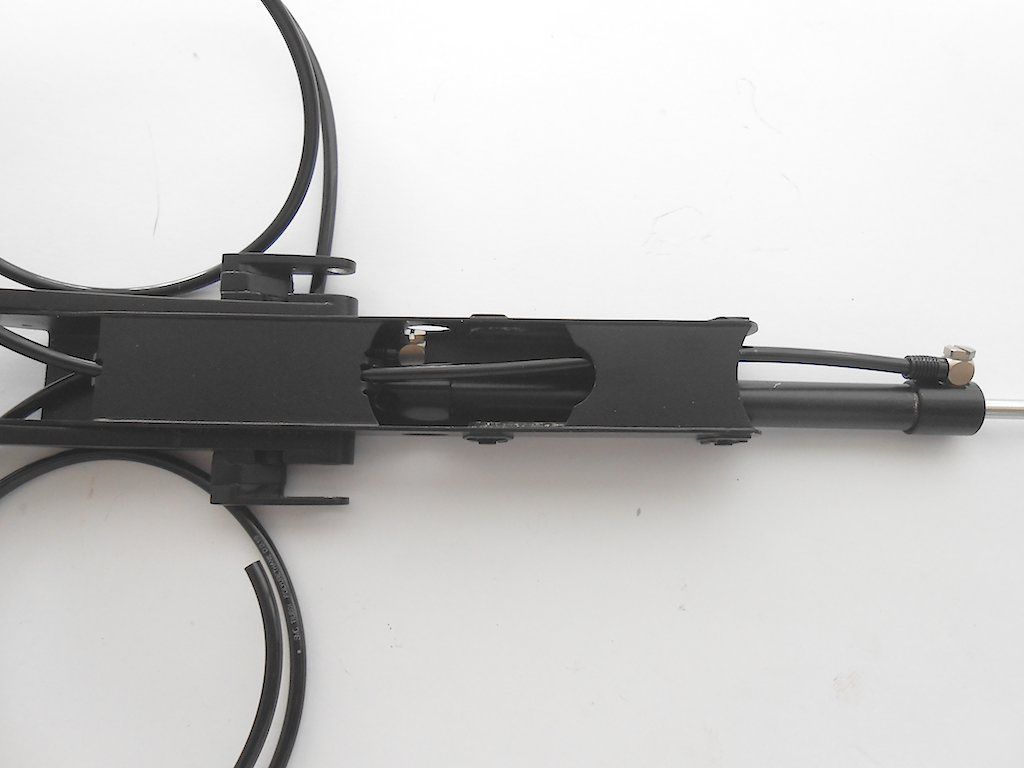 We also pass the hydraulic line of the top nipple through the provided guides 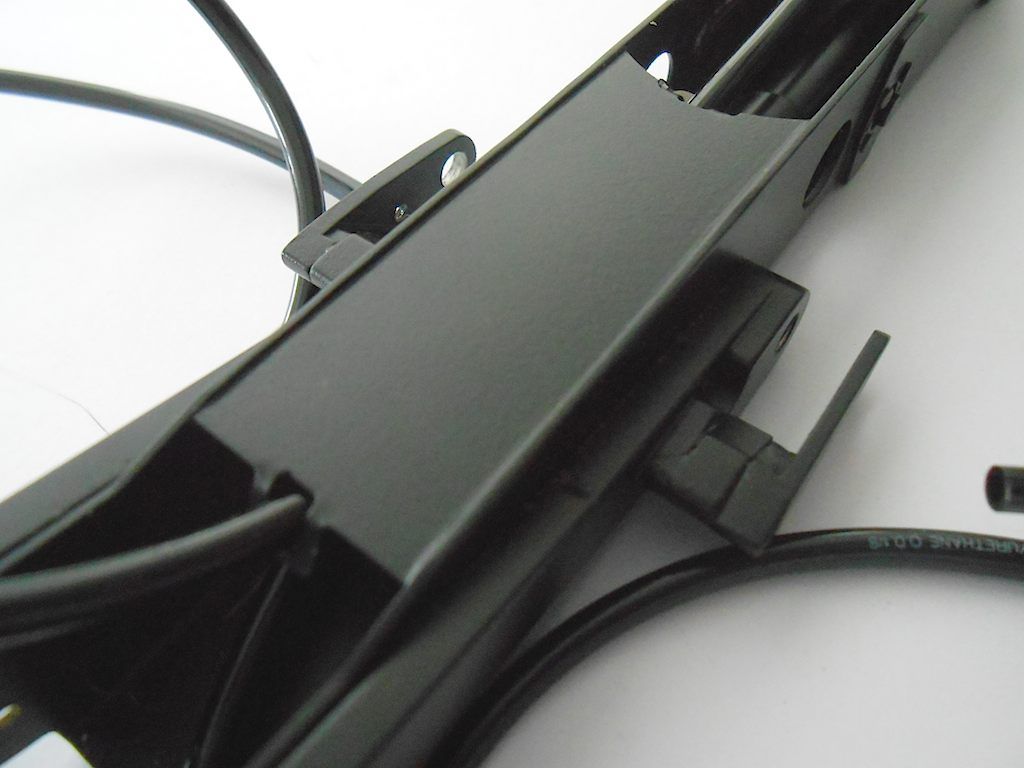 Secure the back end 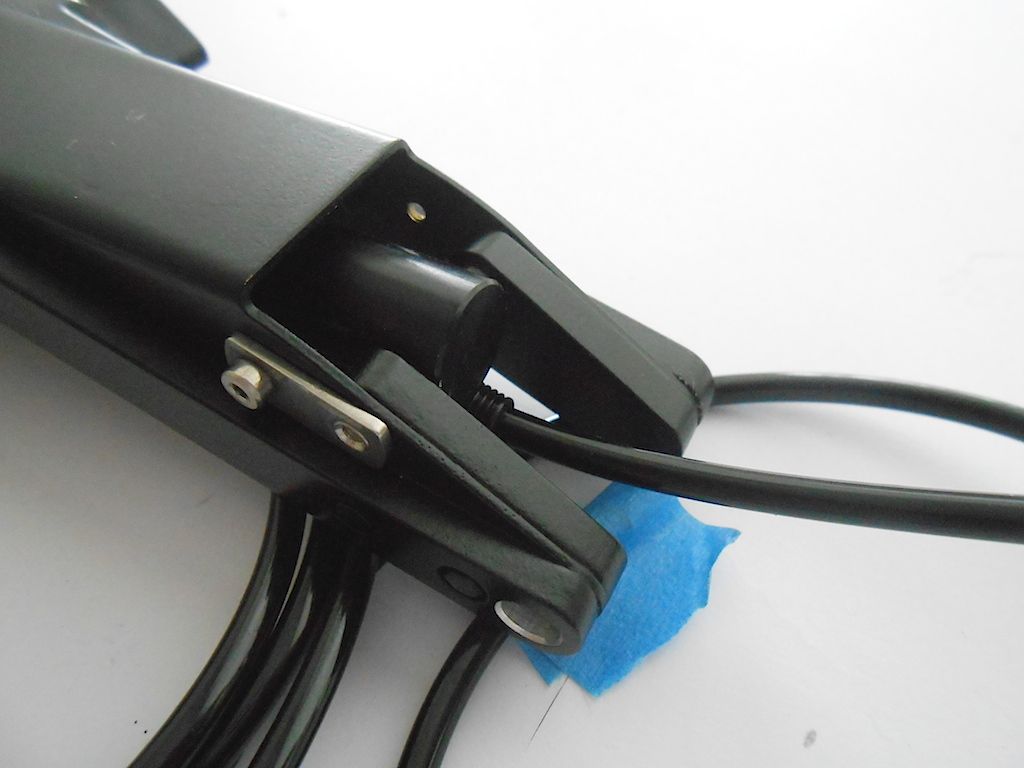 Pull out the piston 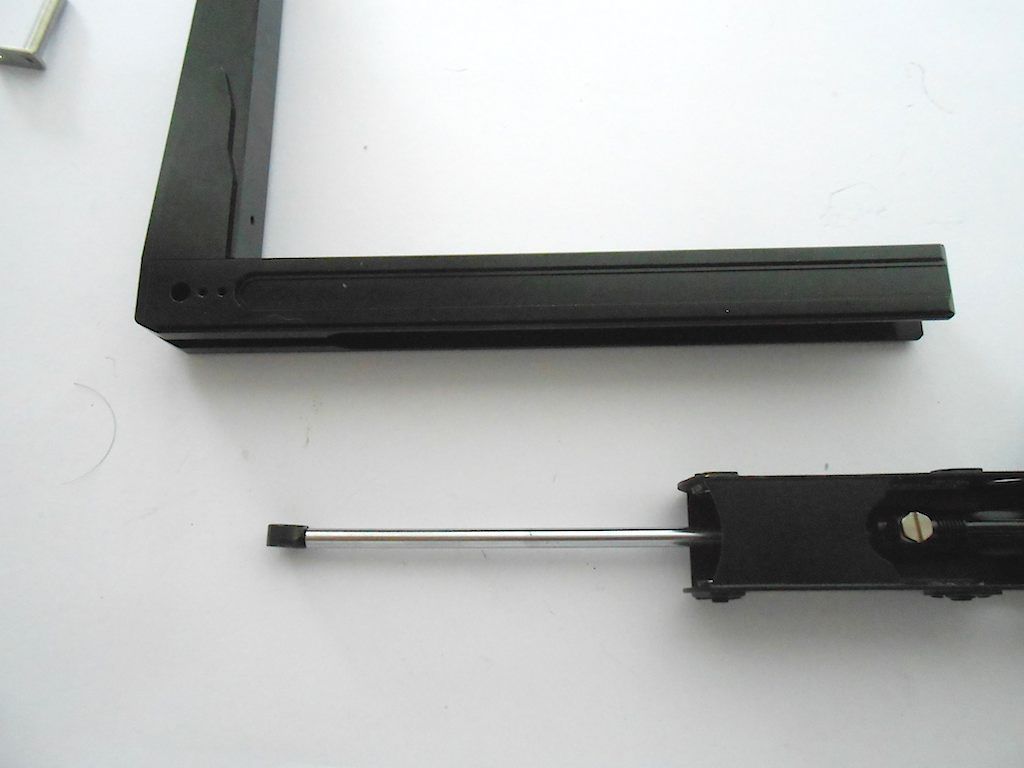 Slide the moving part of the arm into the stationary one (which goes smoothly) with due diligence and secure the other side of the hydraulic cylinder. (Before all this check the fit of the pins!) 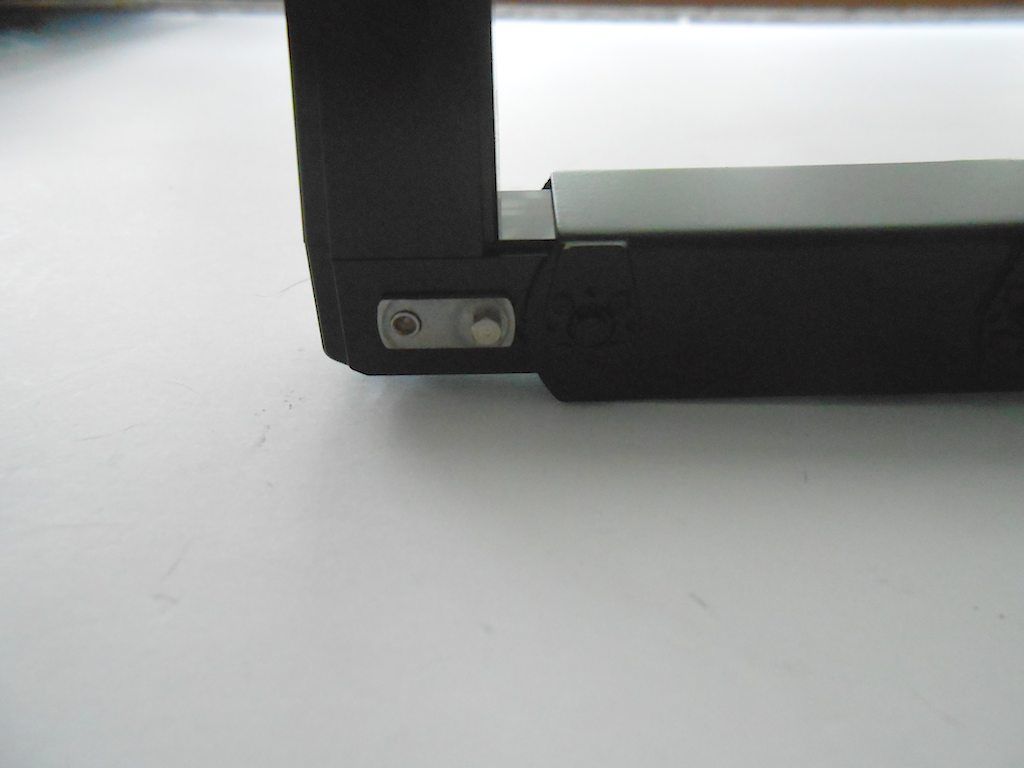 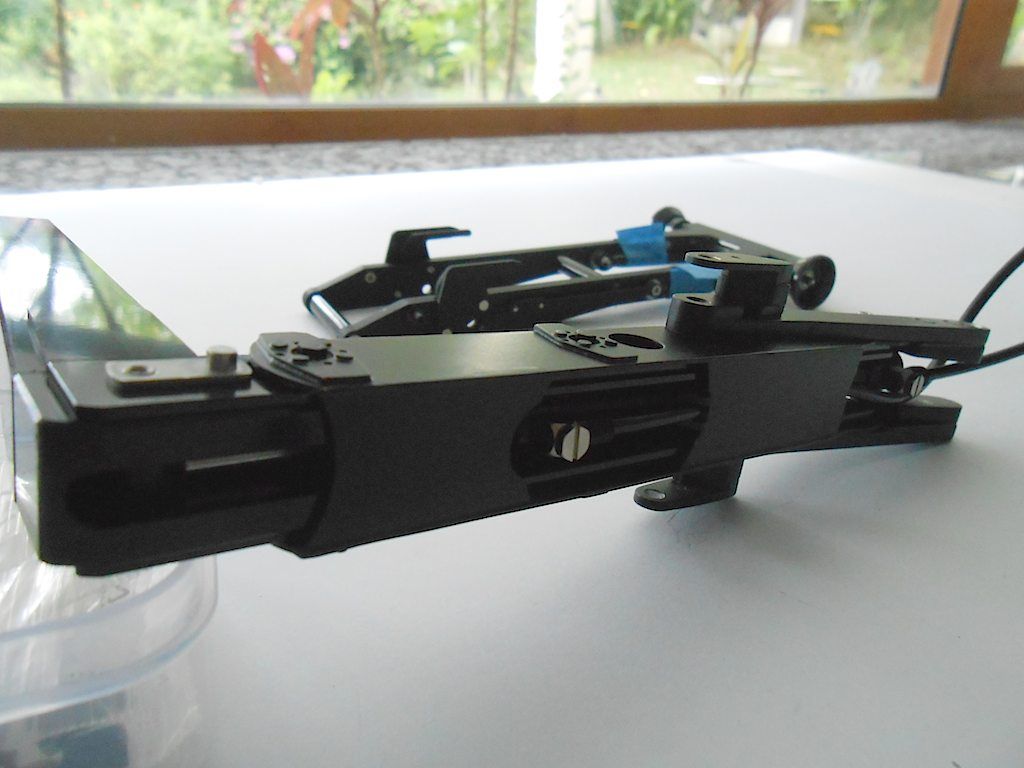 Some nice detailing 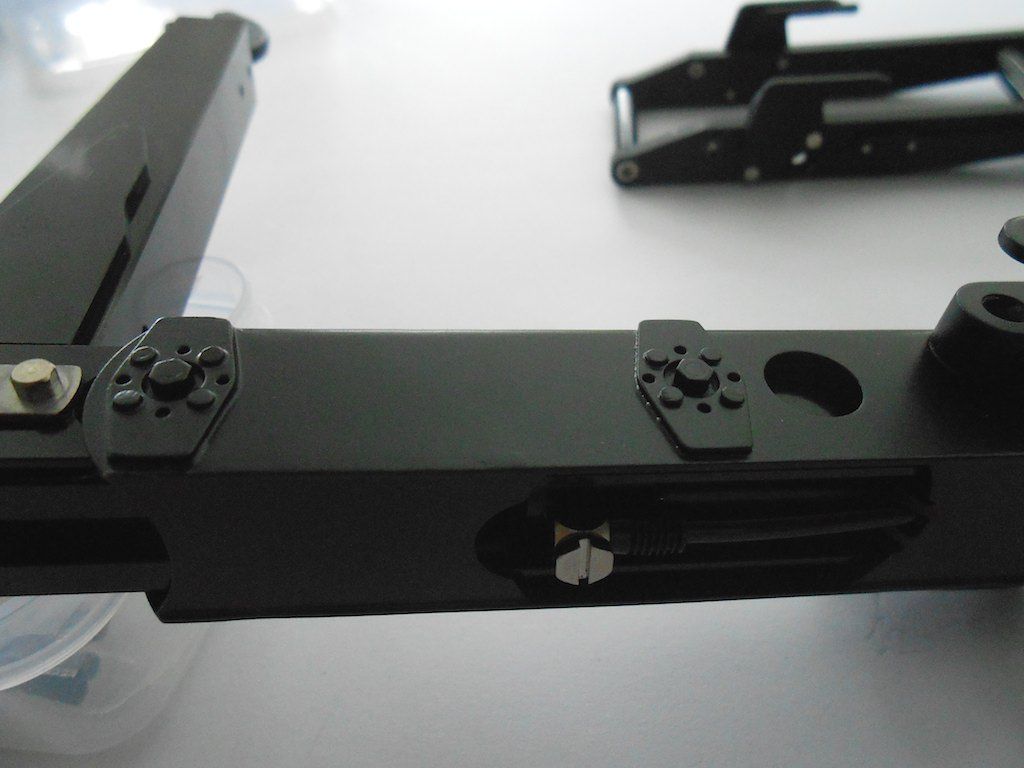 I also installed the provided lock on the hook ... Will remove it later. Nobody uses it because half the time it doesn't open because the counterweight is too light. 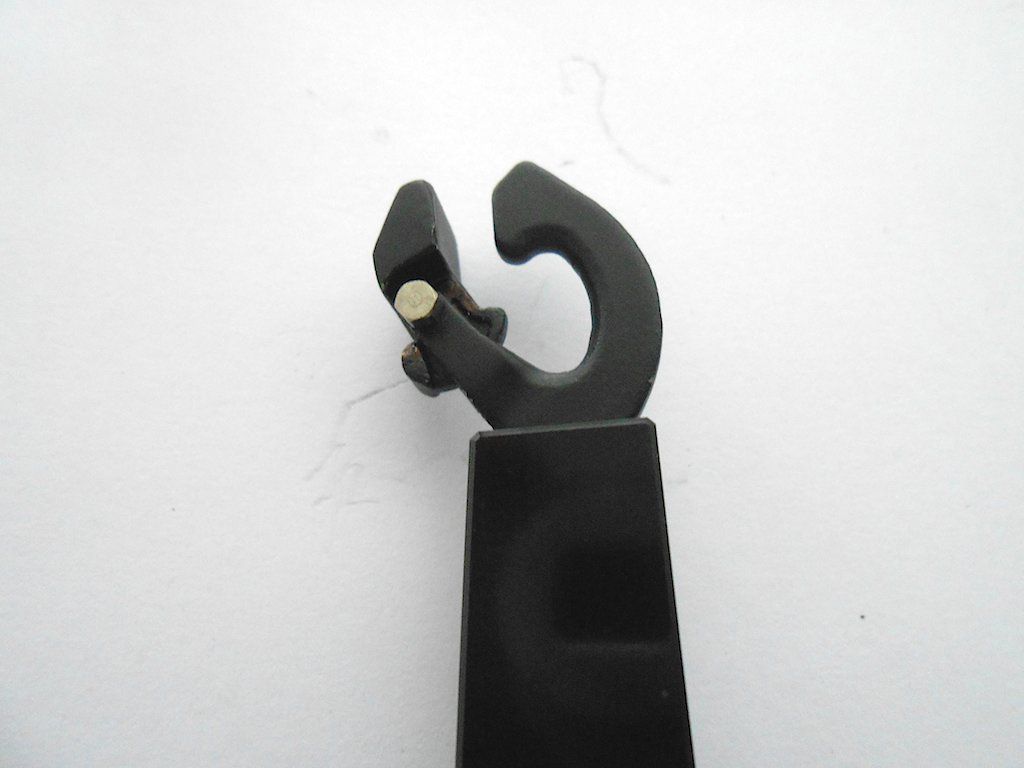
|
|
#2
|
||||
|
||||
|
Part 2 - connecting the 2 parts of the hook mechanism.
The parts 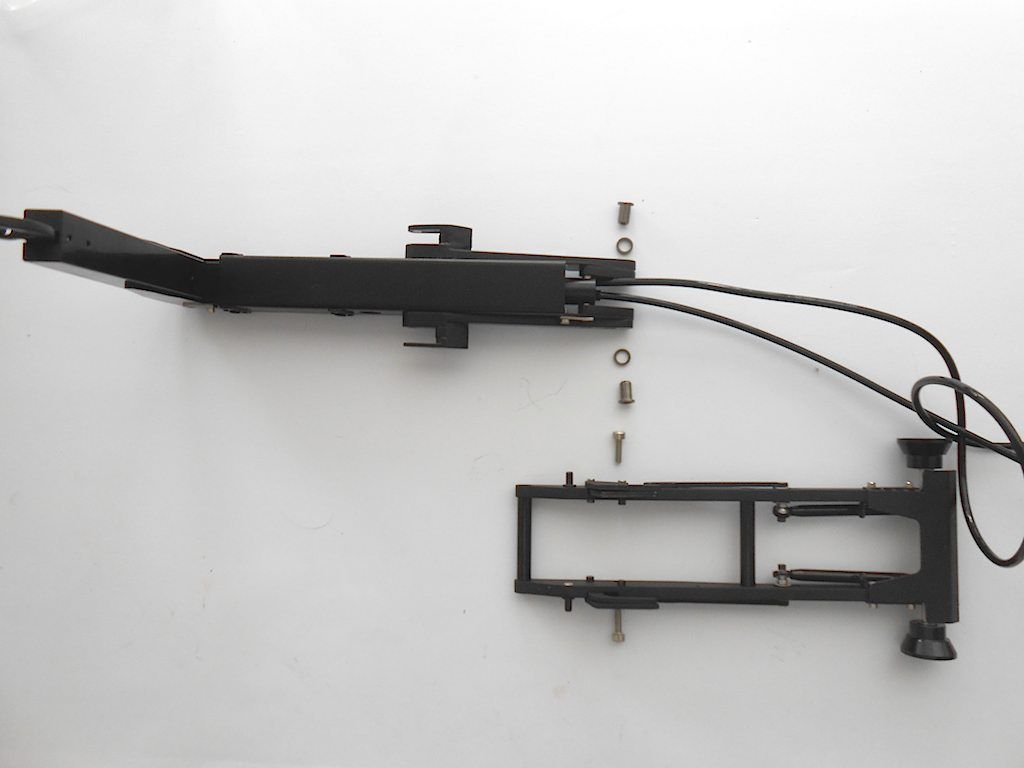 Per the manual, apply some grease where the bushing will fit 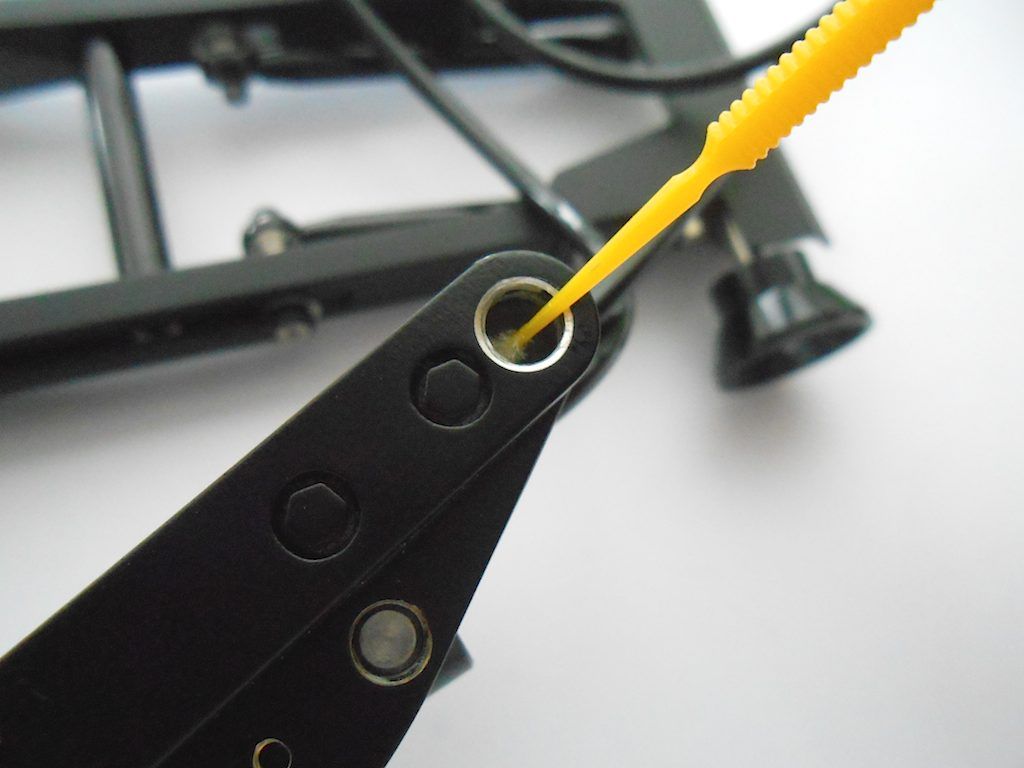 Space and bushing in place and then bolt to the already finished frame. A very precise fit by te way. 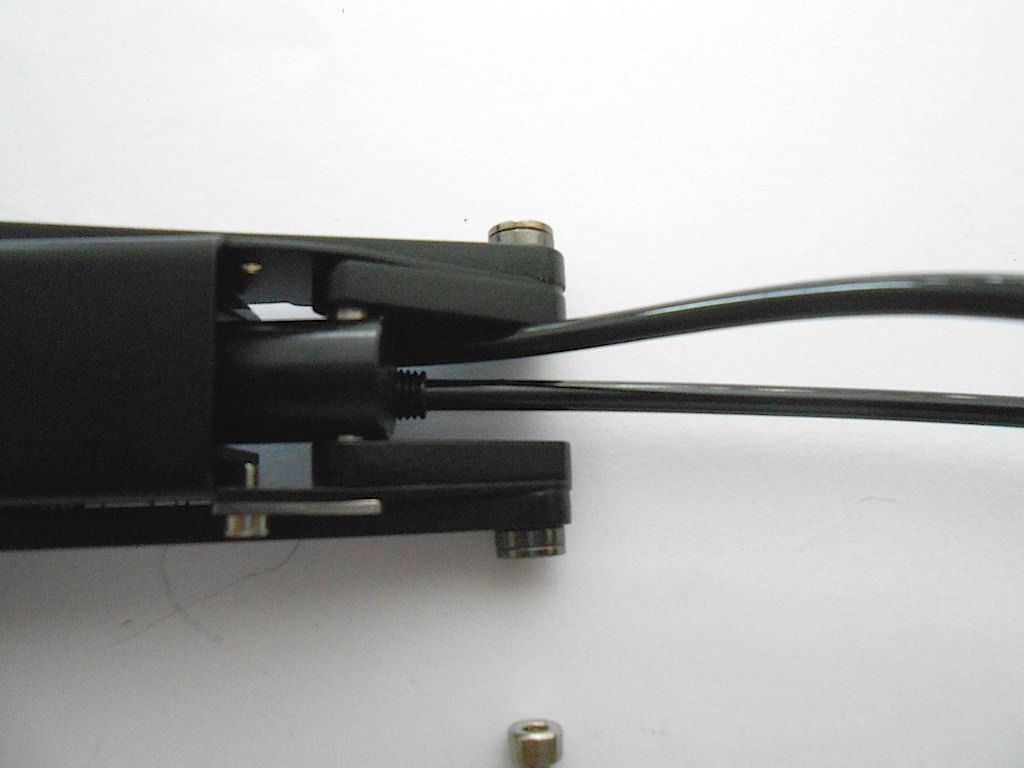 Both connected and shown with the parts needed to work the sliding hook and connect it to the truck chassis 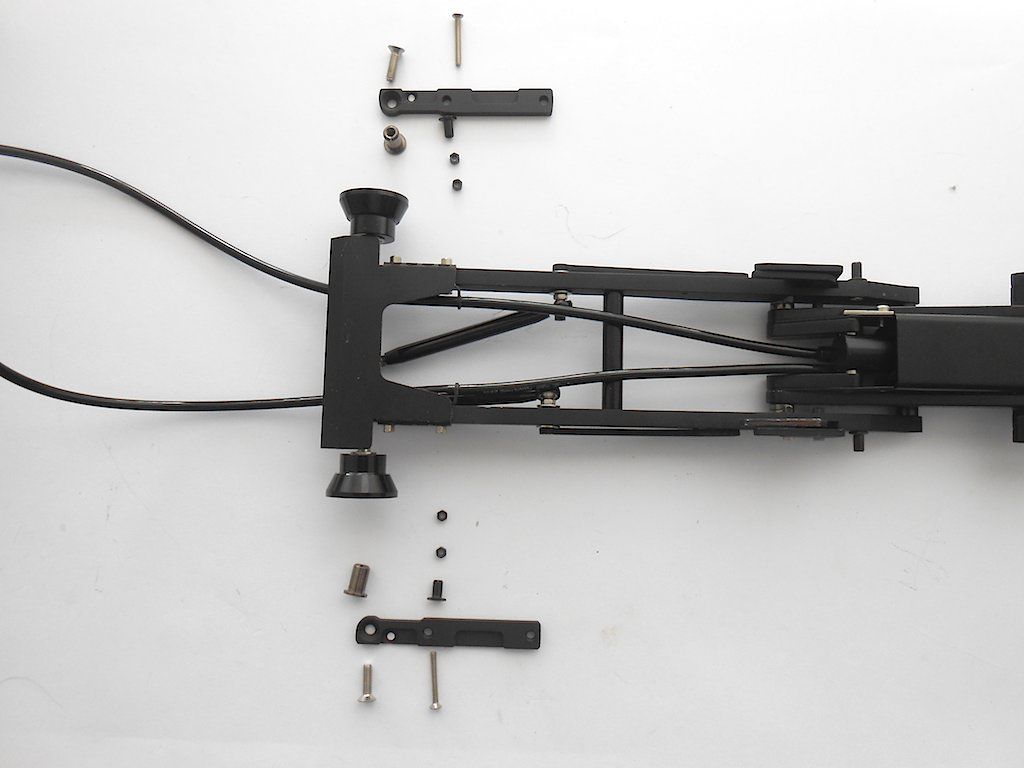 First the pull/push rod 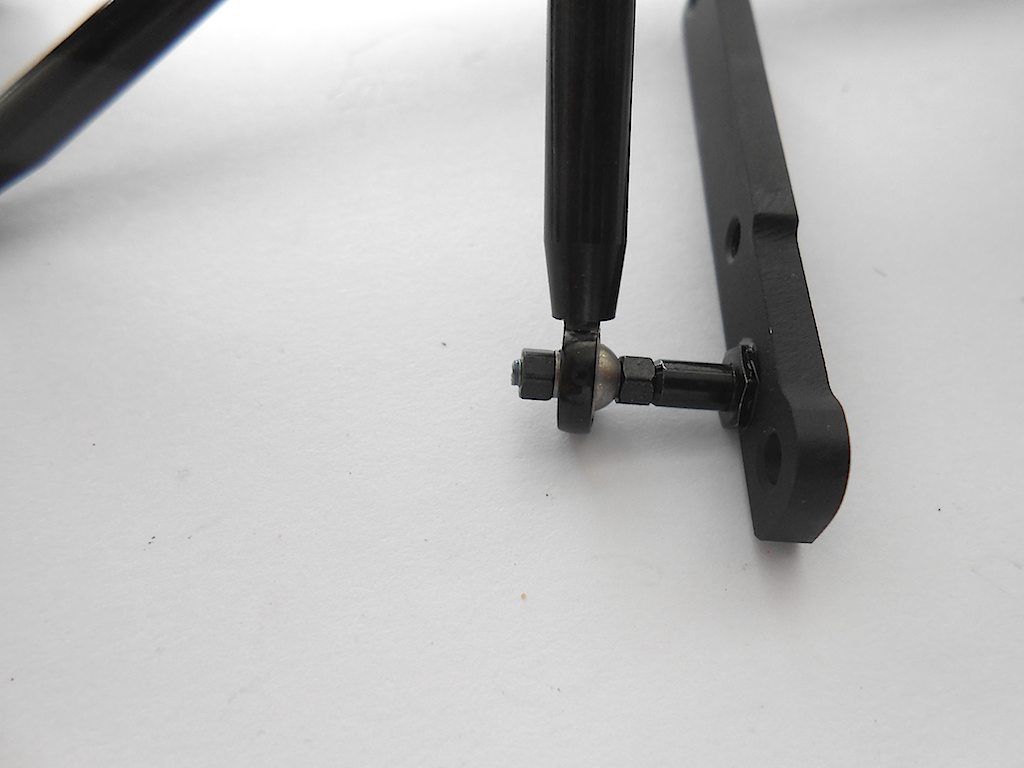 Then grease applied where the bushing will go. 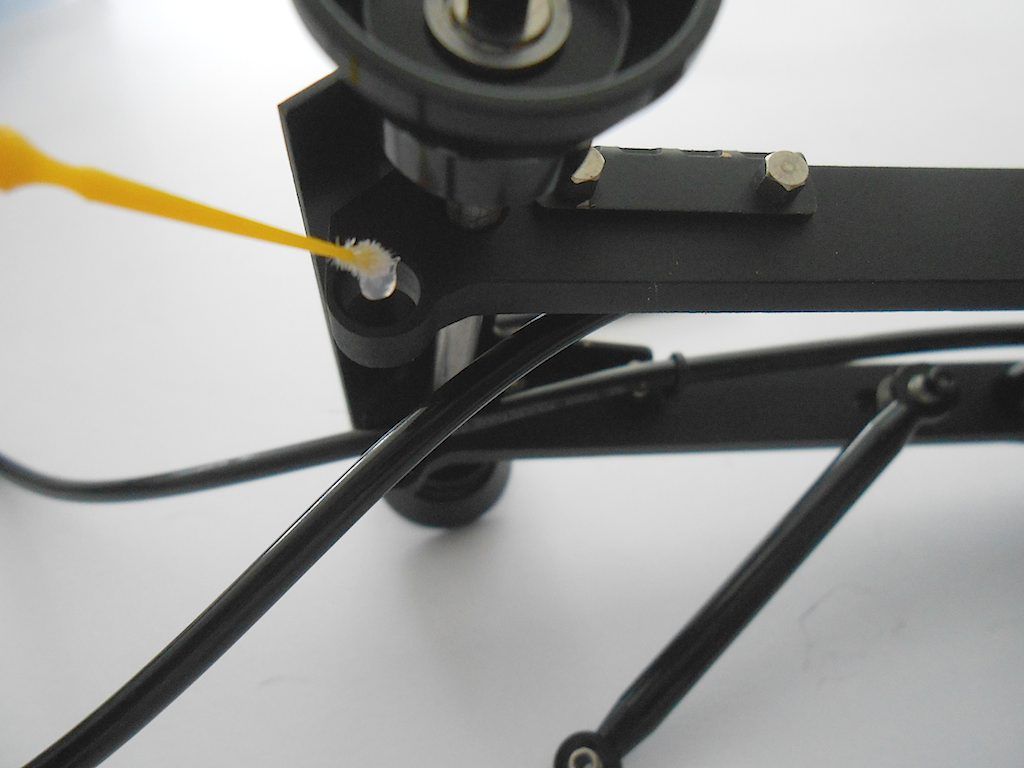 The part that will attach it to the frame installed. The holes indicated is where the bolts will go that hold it in place. 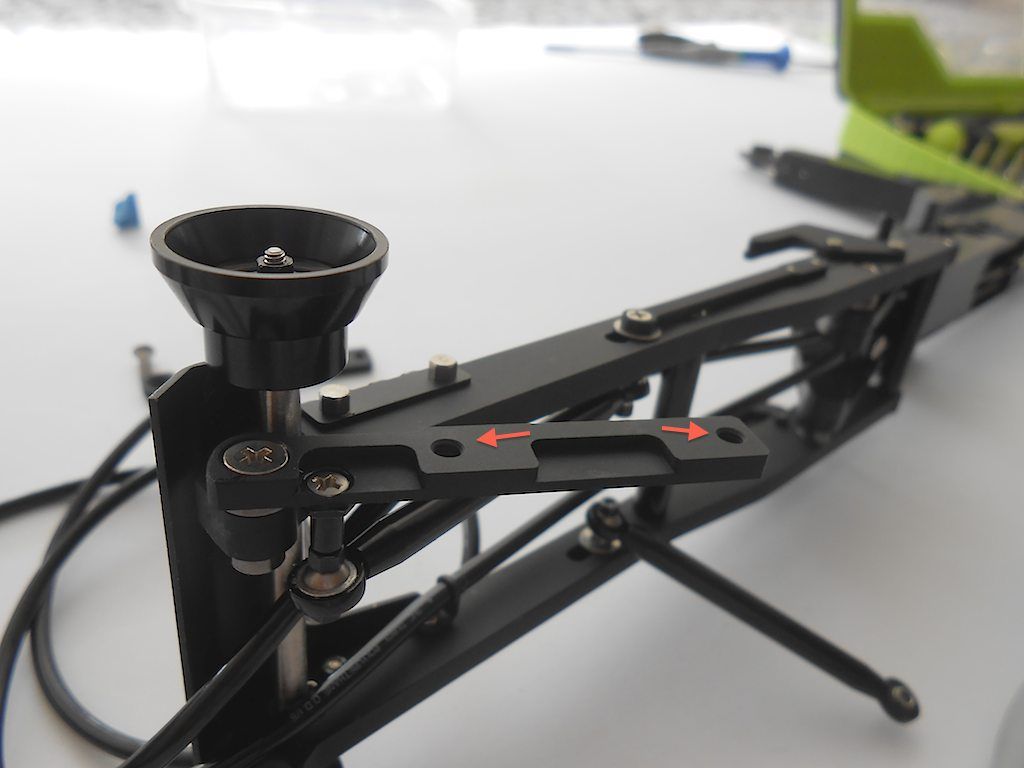 When used as a kipper, this whole assembly will move up and the hooks will slide out to secure the container. 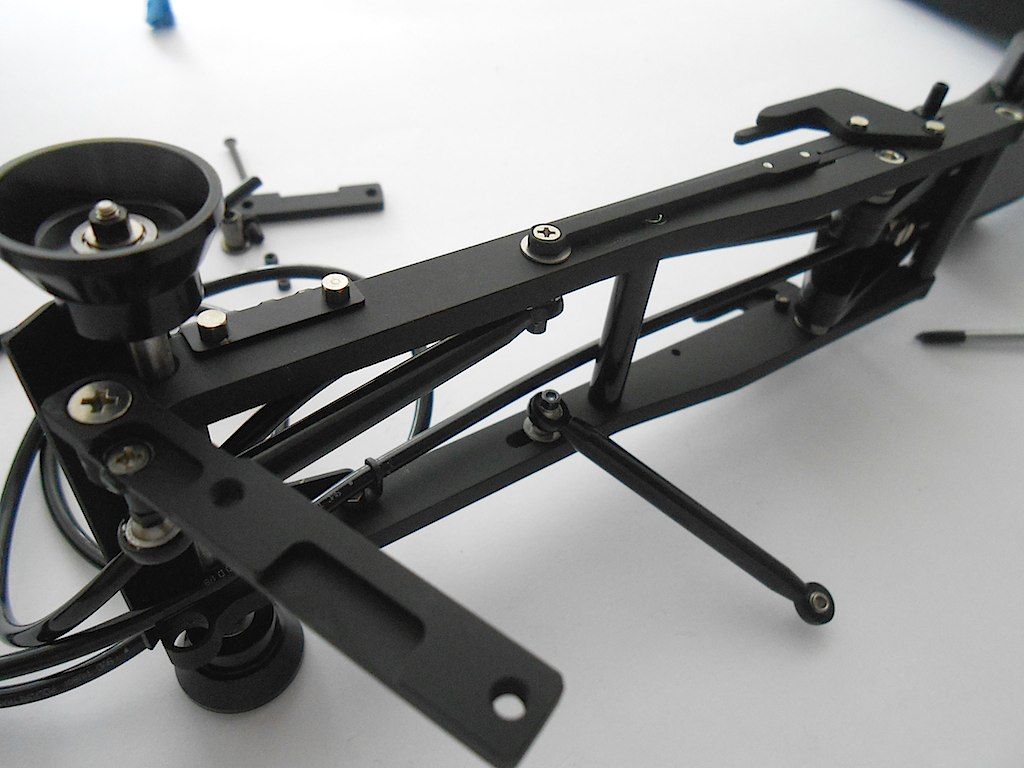 You can see I put the hydraulic lines above the cross brace. Will have to move them below, they might get clamped when using in roll off roll on mode. (getting the hydraulic lines through the guides was made easier by applying some grease to the guides) 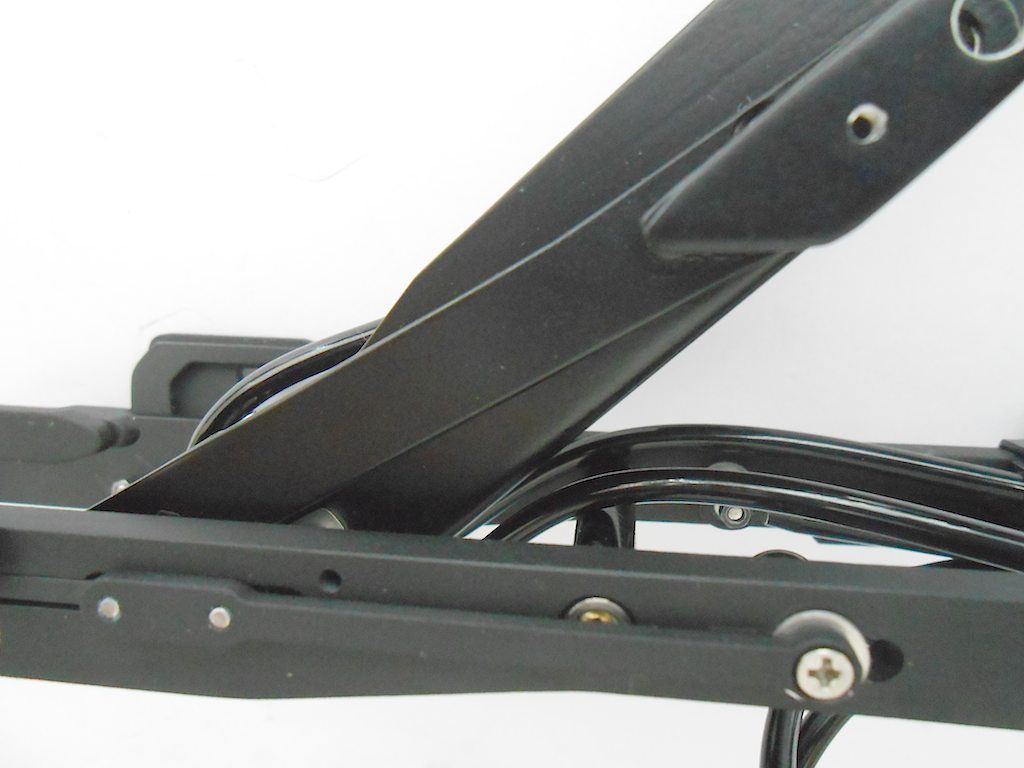 Both sides done 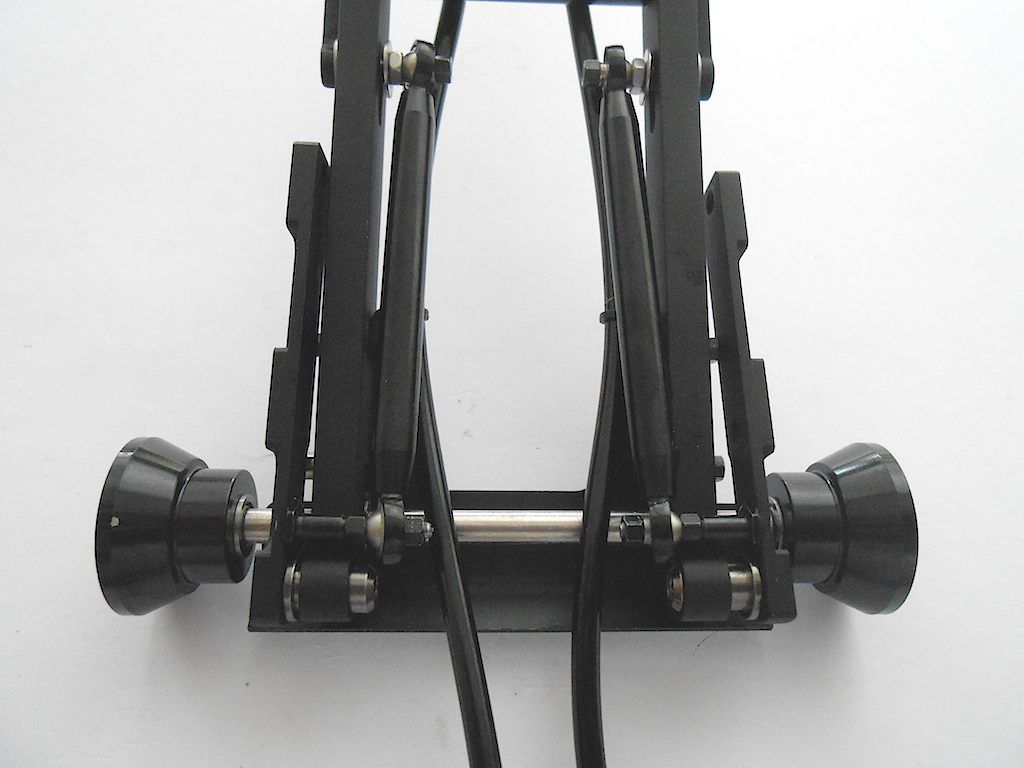 Quick look for fit on the rolling chassis 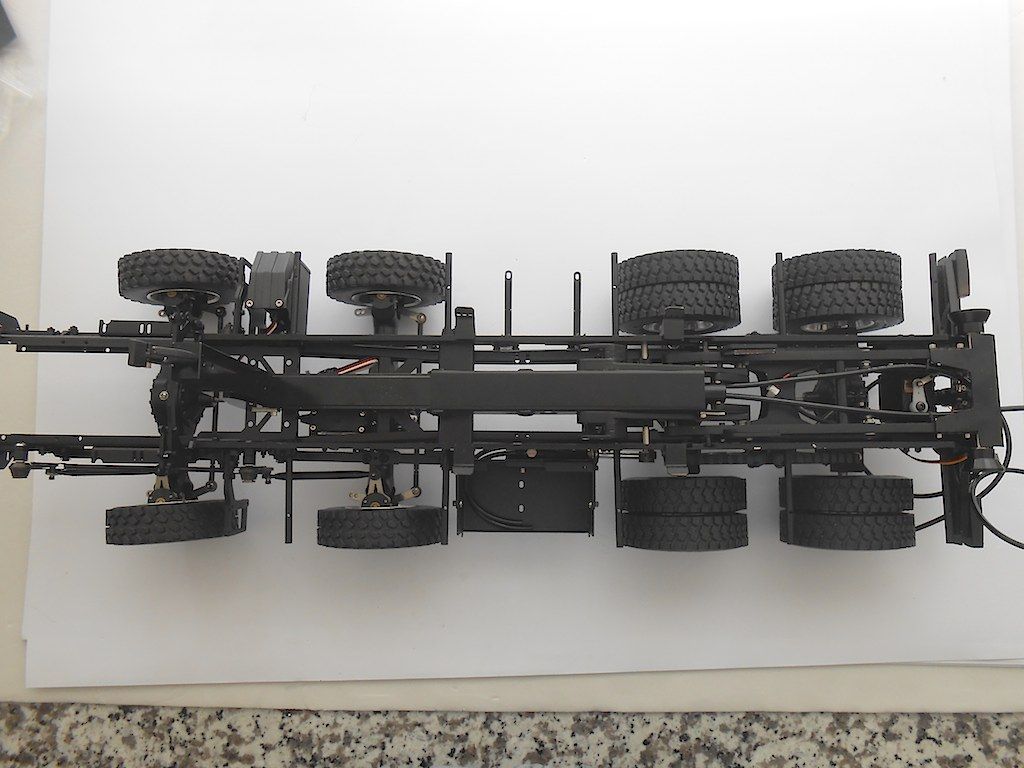 And the why of those 2 little bits installed in the beginning. And no, I did not forget to put a nut on the naked bolts  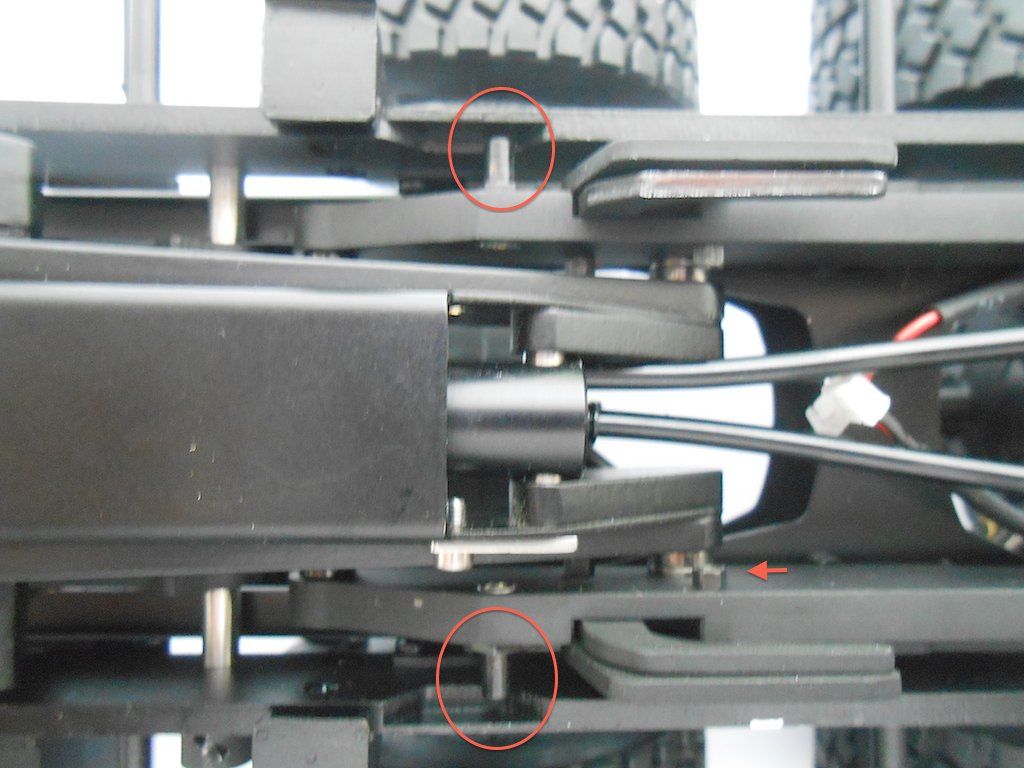 That's it for the moment. Stephan |
|
#3
|
||||
|
||||
|
|
|
#4
|
||||
|
||||
|
Found some time to add some small parts to the frame, namely the bits that hold / lock the driver's cabin in place.
Here the parts - all in stainless: The 2 big hooks at the bottom are for the front. 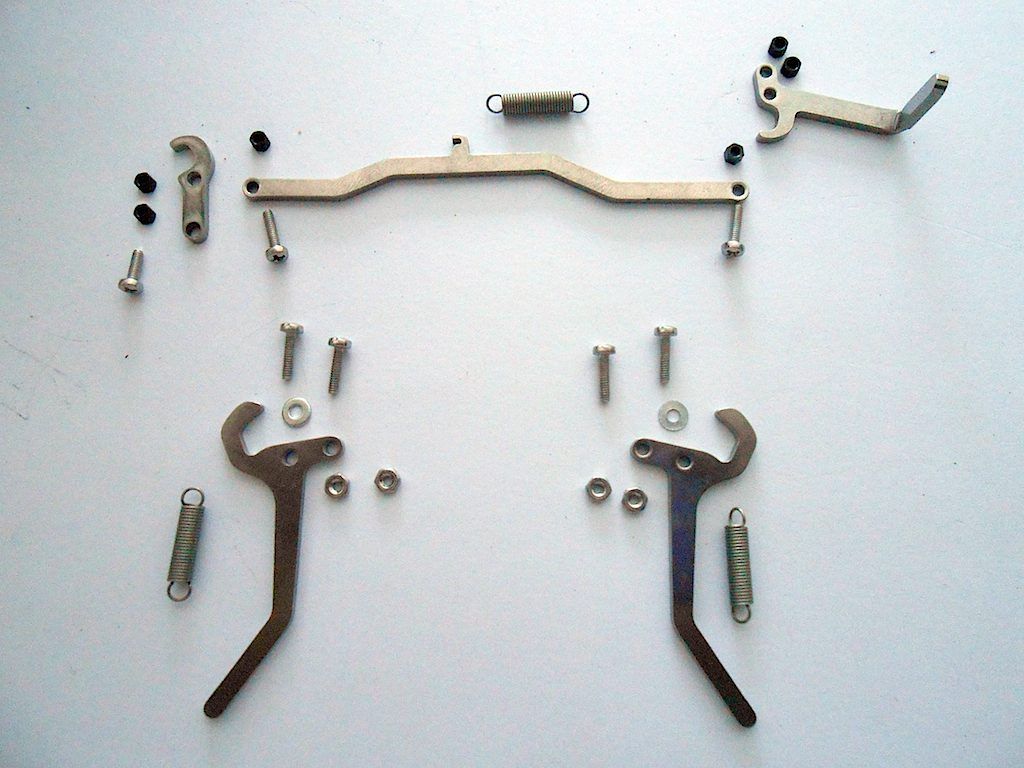 First one to go in. This part 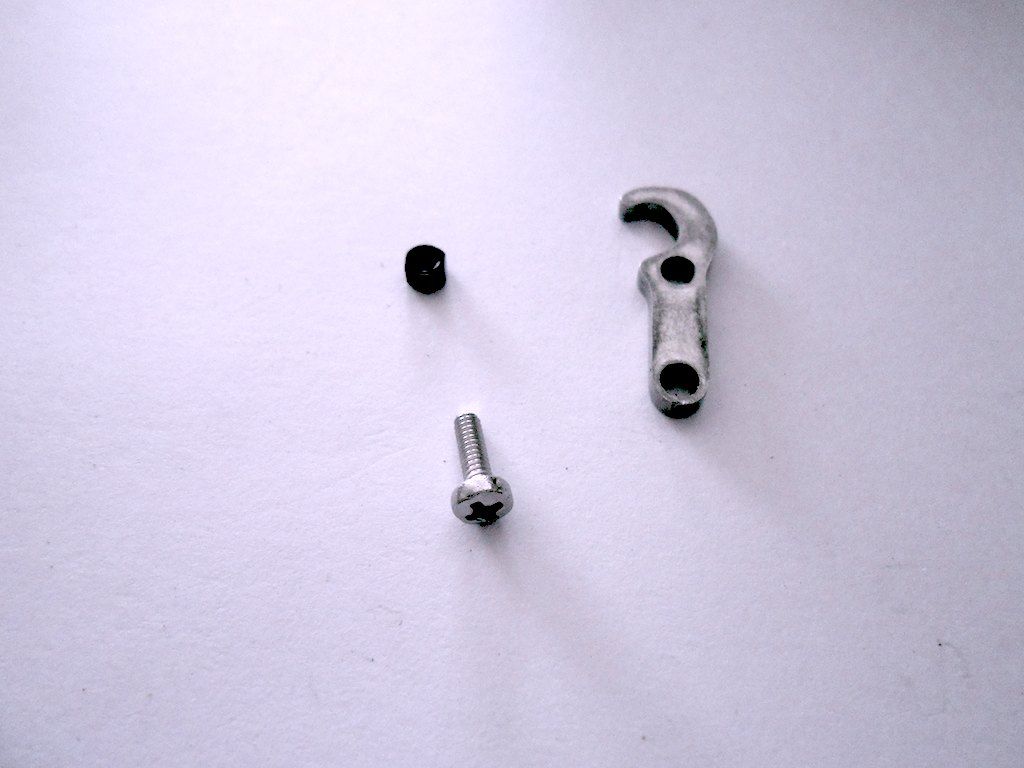 Goes here on the right side. 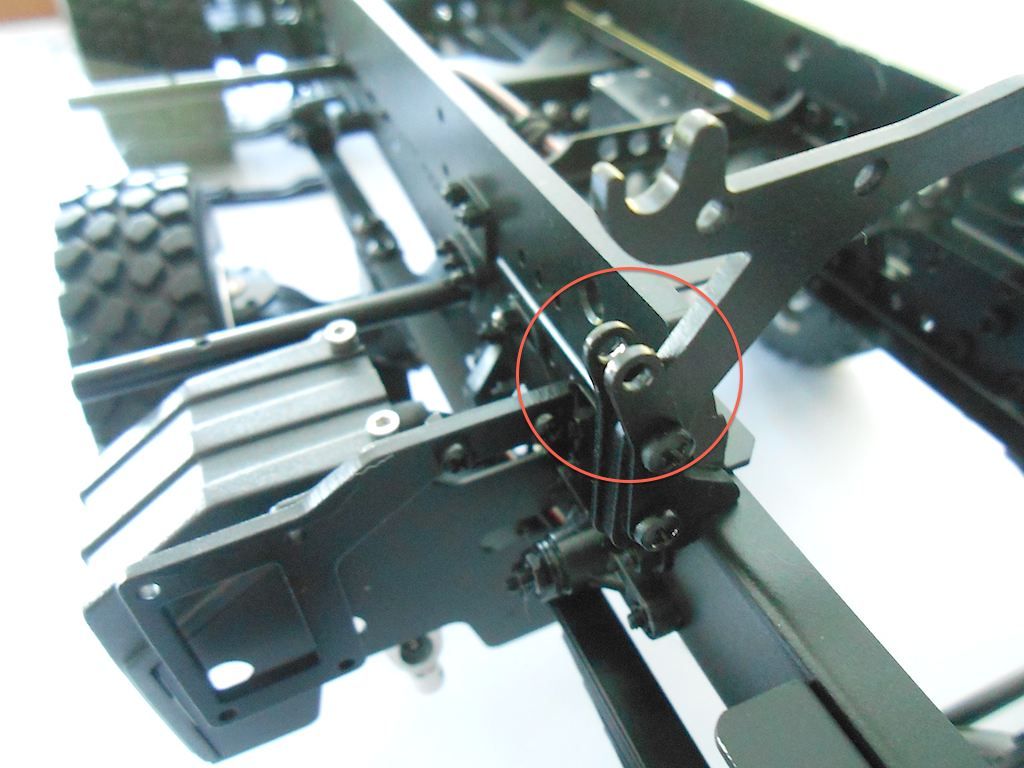 Loctite applied to the nut. This part needs to stay moveable. 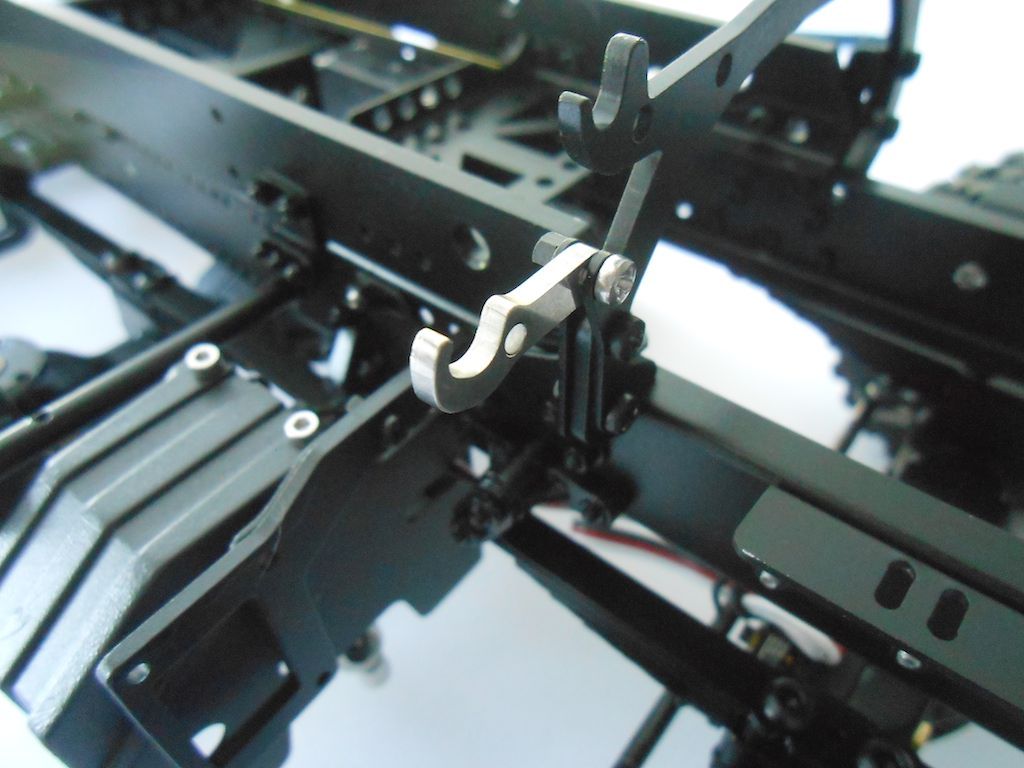 The second part 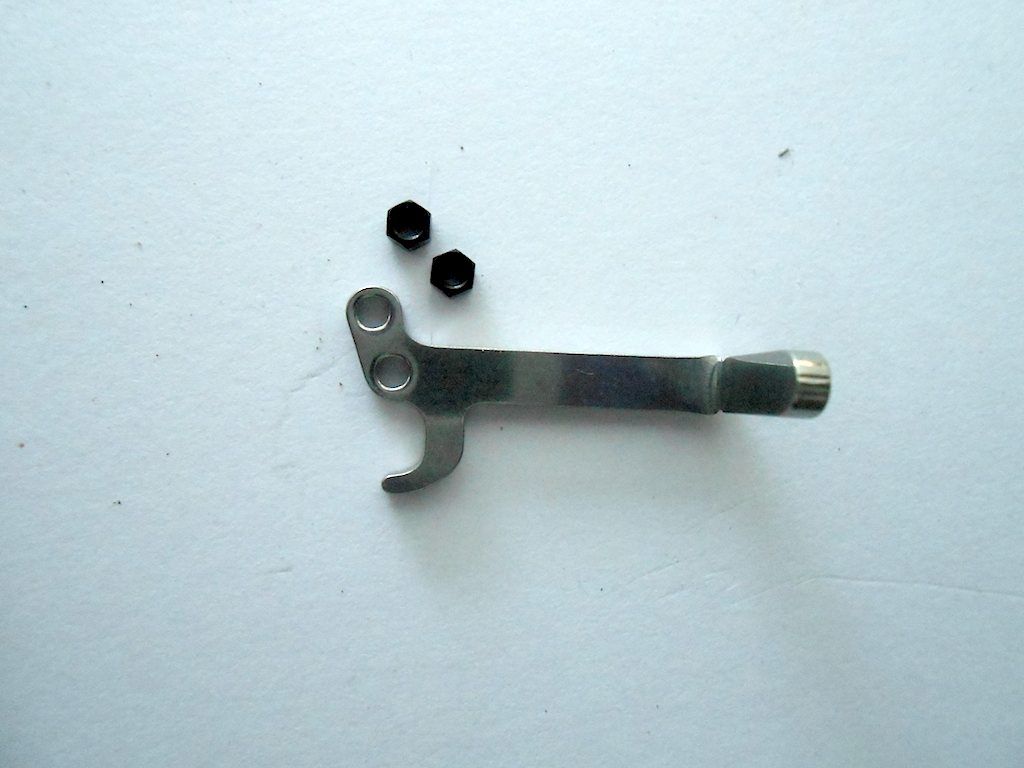 Goest on here on the left side 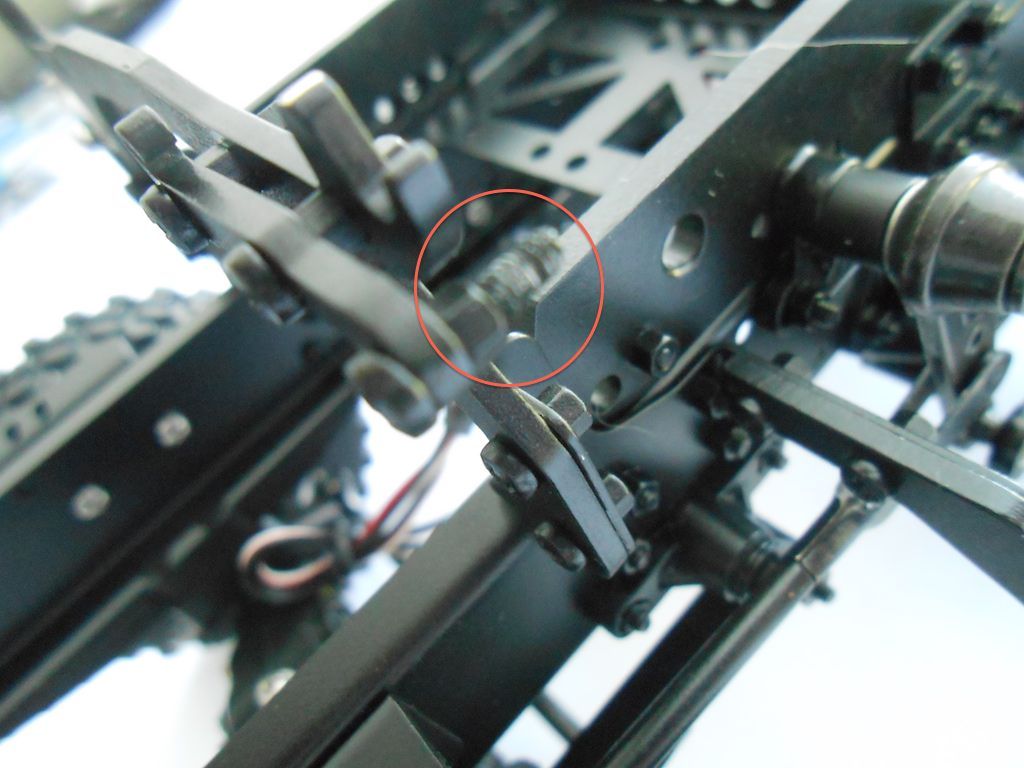 Here too loctite on the nut so the handle stays moveable. 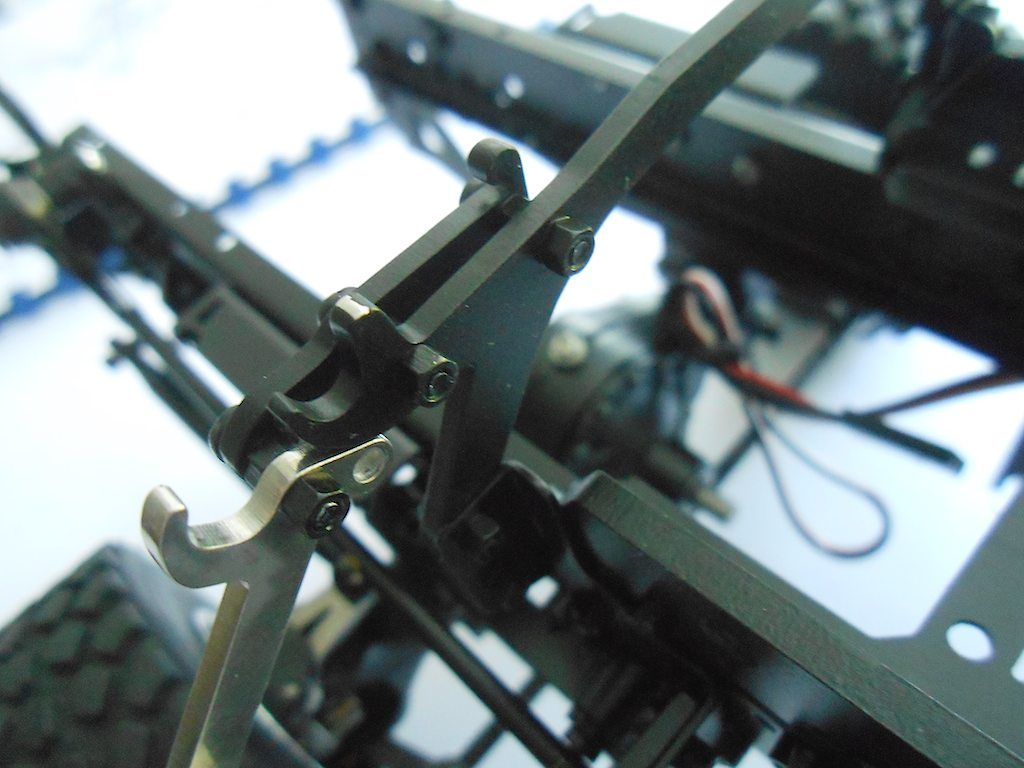 Next up the bar that connects these 2 parts. (spacer nuts already in place) 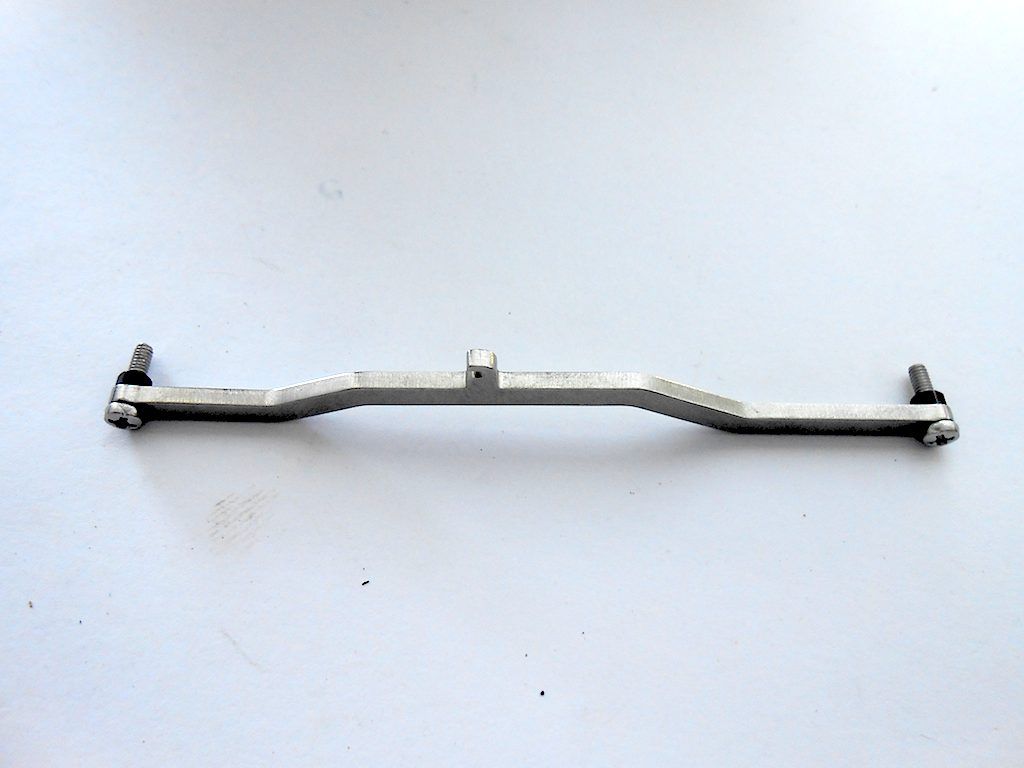 Loctite here too. 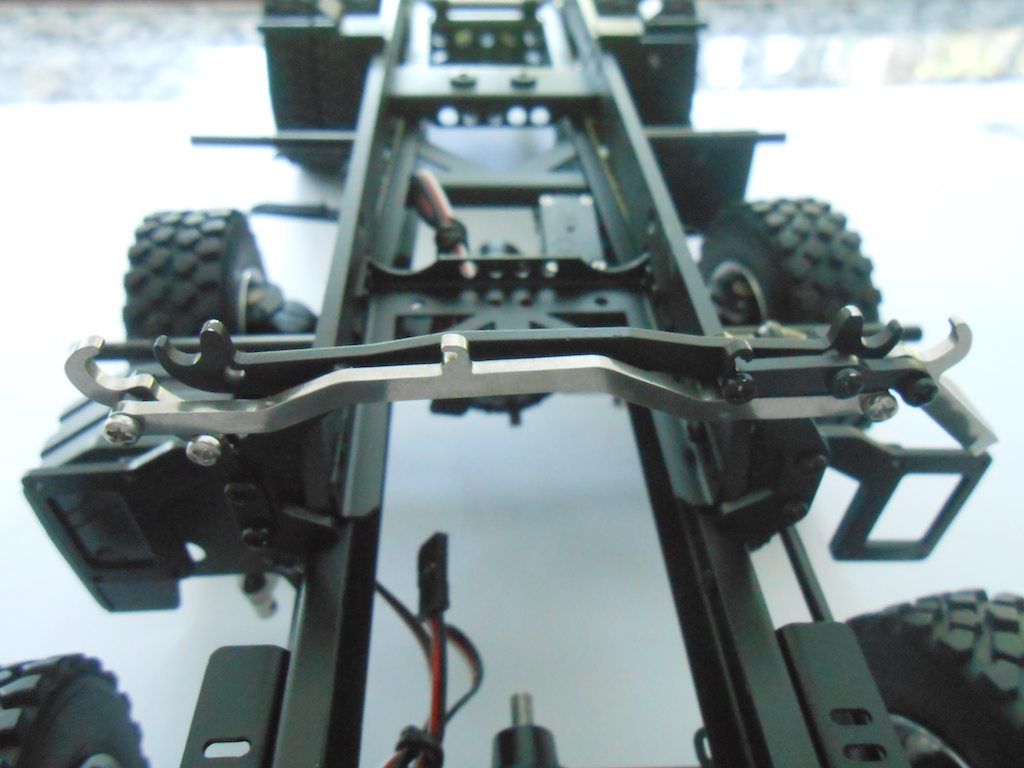 Finally the spring to keep it in locking position. 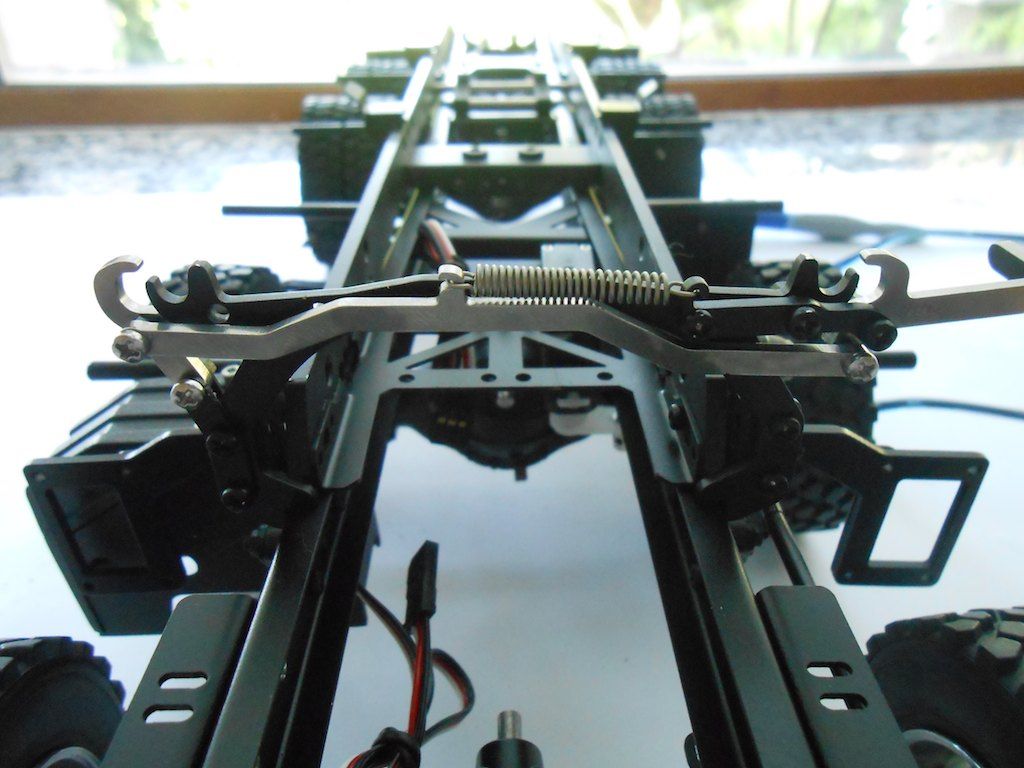 Now the front. Hook goes here 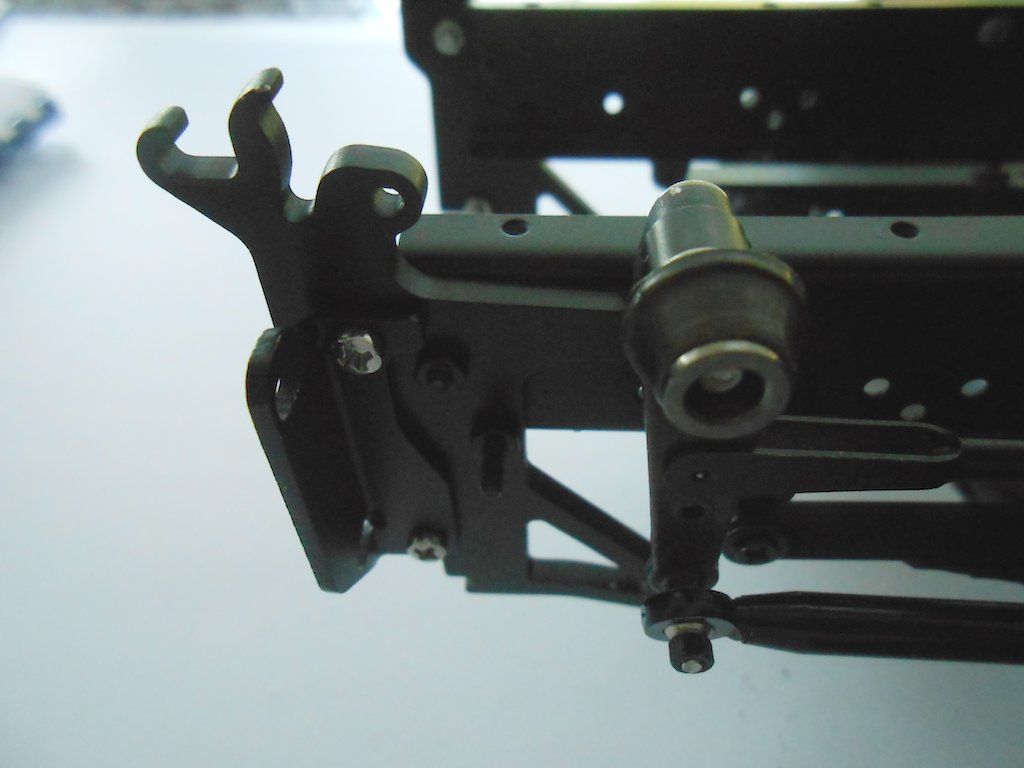 Here too loctite on the nut/bolt that holds it attached to the frame. Tightened so the handle can still move forwards and back. 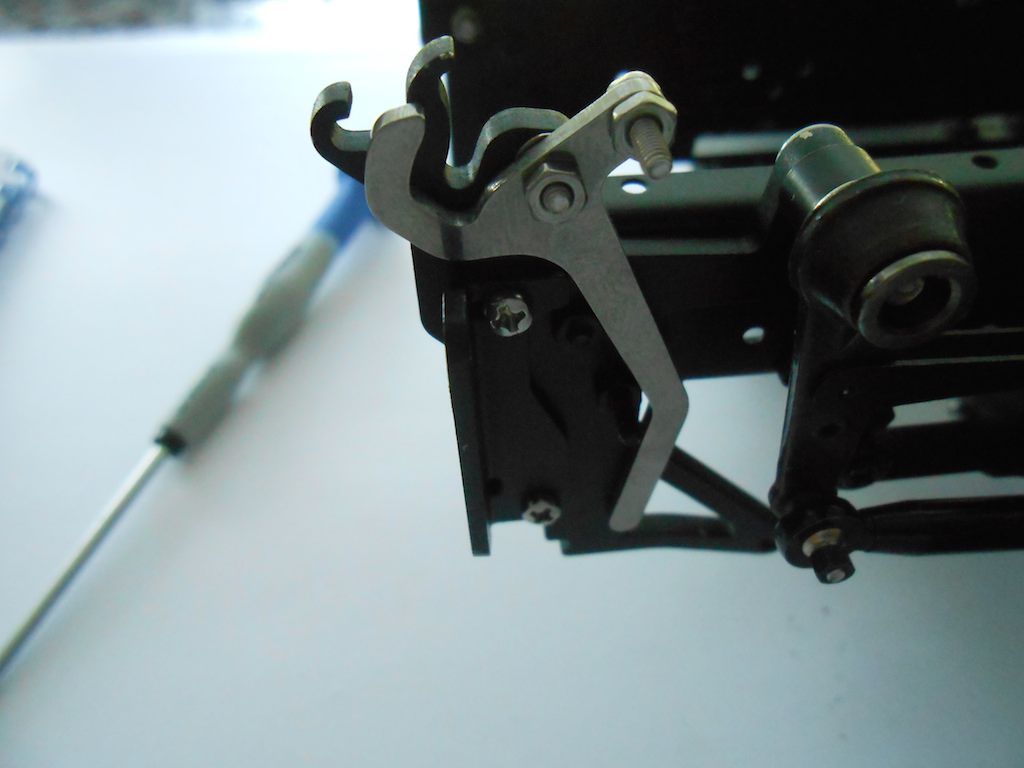 The spring is kept in place by the thread on the bolts. 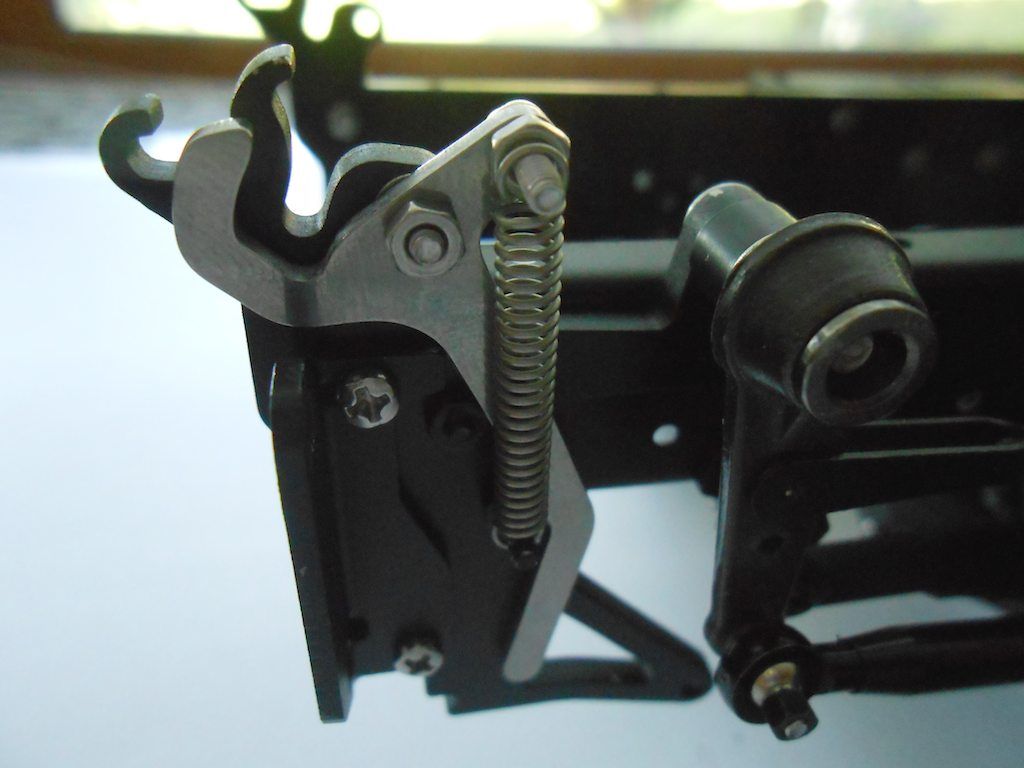 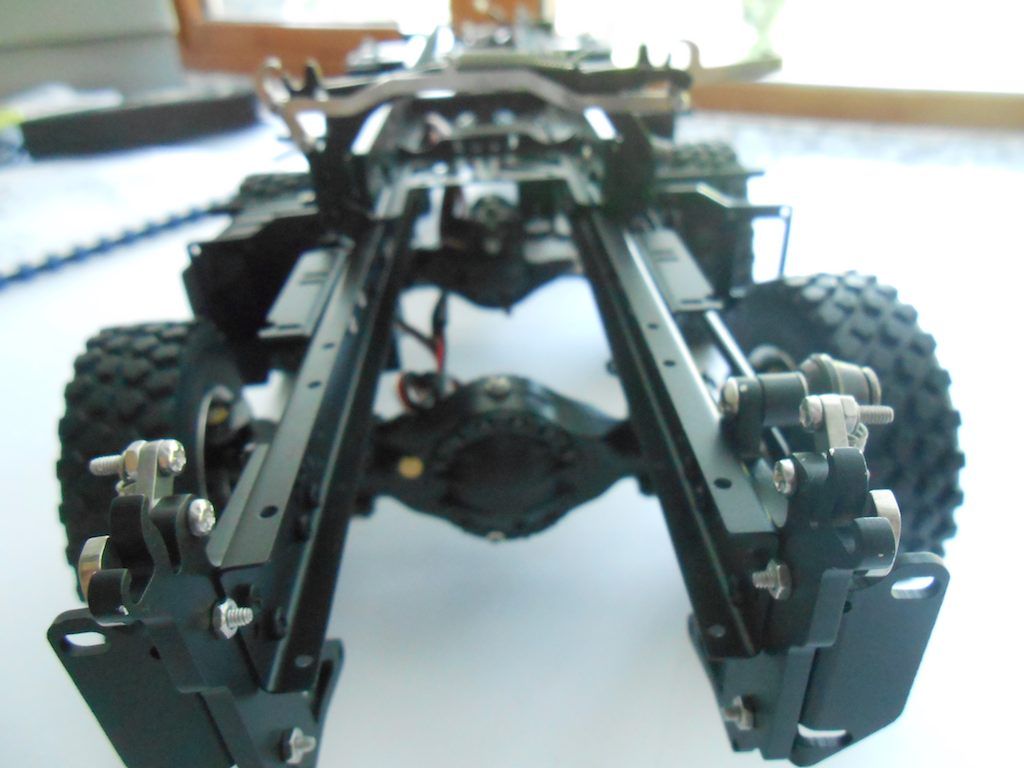 That's it for now. Might be another couple of days before the next update. Cheers - Stephan |
|
#5
|
||||
|
||||
|
So many pieces!!! Lovin it.
|
 |
| Tags |
| 8x8, arocs, scaleart |
| Currently Active Users Viewing This Thread: 6 (0 members and 6 guests) | |
|
|