
 |
|
|||||||
| Euro Style Trucks and Trailers A place for the Euro style trucks single and twin axle trucks and trailers... |
 |
|
|
Thread Tools | Display Modes |
|
|
|
#1
|
||||
|
||||
|
Hi Stephan,
thank you for inviting me to post some pictures of the updated cross brace for the container in your thread. Let´s start! - In the following picture you can see an extract of the manual, the new cross brace (= the black parts) an the old version (the red part on right side):  And here you can have a closer look on the updated parts and the first step of the assembling:   The next step is to mount it on the container. Because of the contersunk holes on the longitudinal profile of the carriage, I swapped the round head screws of the manual against countersunk screws and bolted them from the outside inwards. The screw head I simply painted black with a waterproof pen.    The new cross brace has passed the function test. It can slide under the hooks of the roll-on/-off-mechanism and is held securely. The small scratches prove a secure hold.   It also fits to the trailor:    I'm glad because of the supporting of ScaleART in such cases. If there is a problem, they're always searching for a solution. Stephan, now it´s your turn to go on. But first of all do all the the other things around you! Then you can much more enjoy the assembling. 
__________________
Greetings Christian You can find some of my RC-models on To view links or images in signatures your post count must be 10 or greater. You currently have 0 posts. Normally I´m speaking german, please forgive my mistakes in English. |
|
#2
|
||||
|
||||
|
Thank you Christian! If we had to wait till I receive the updated parts and find the time to install it, would have taken forever
 Interesting to see how it fits/hooks to the trailer too! Always wondered about that.
__________________
Cheers, Stephan (Rakthi is the one in the avatar) |
|
#3
|
||||
|
||||
|
Today appointments got cancelled and it rained so no painting the front door ... meaning I could do some stuff to the Arocs.
First replace the bits I mucked up drilling out the screws. A bit of a fiddle with all the hydraulic lines installed, but all in all doable. Good thing I re-ordered the screws because seriously messed up the head of the countersunk screw due to the loctite used. Should have heated the screw with a soldering iron to loosen the loctite. 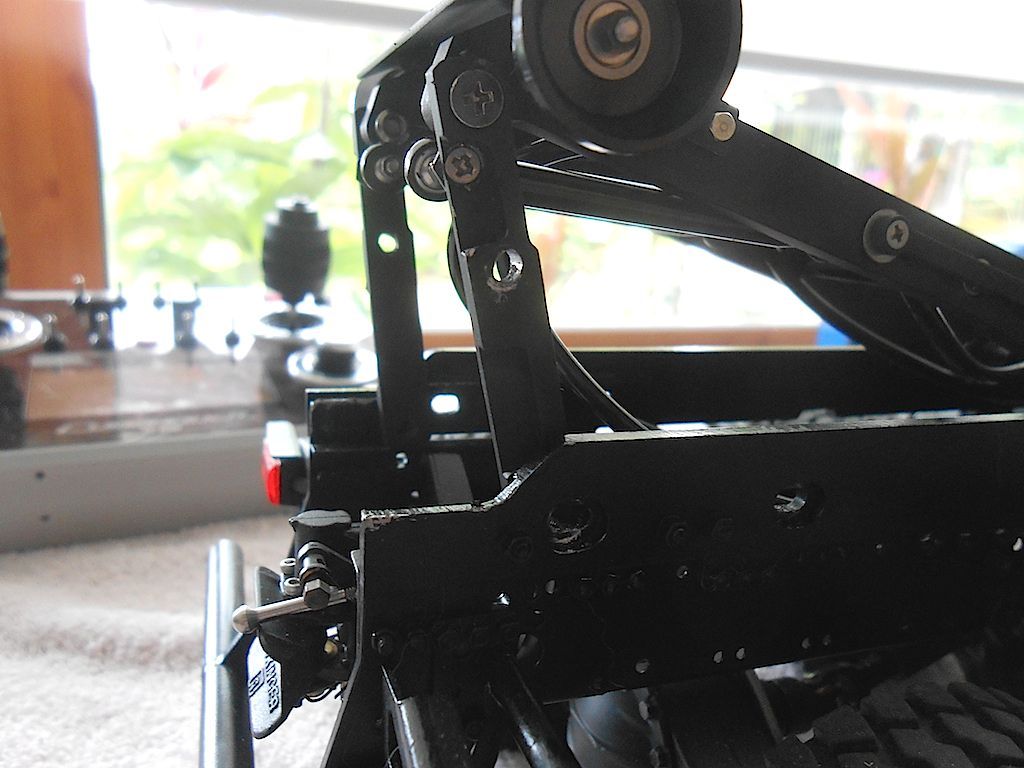 Replaced them one side at the time. Here the worst one with the replacement. Replacement is gloss and looks better finished. 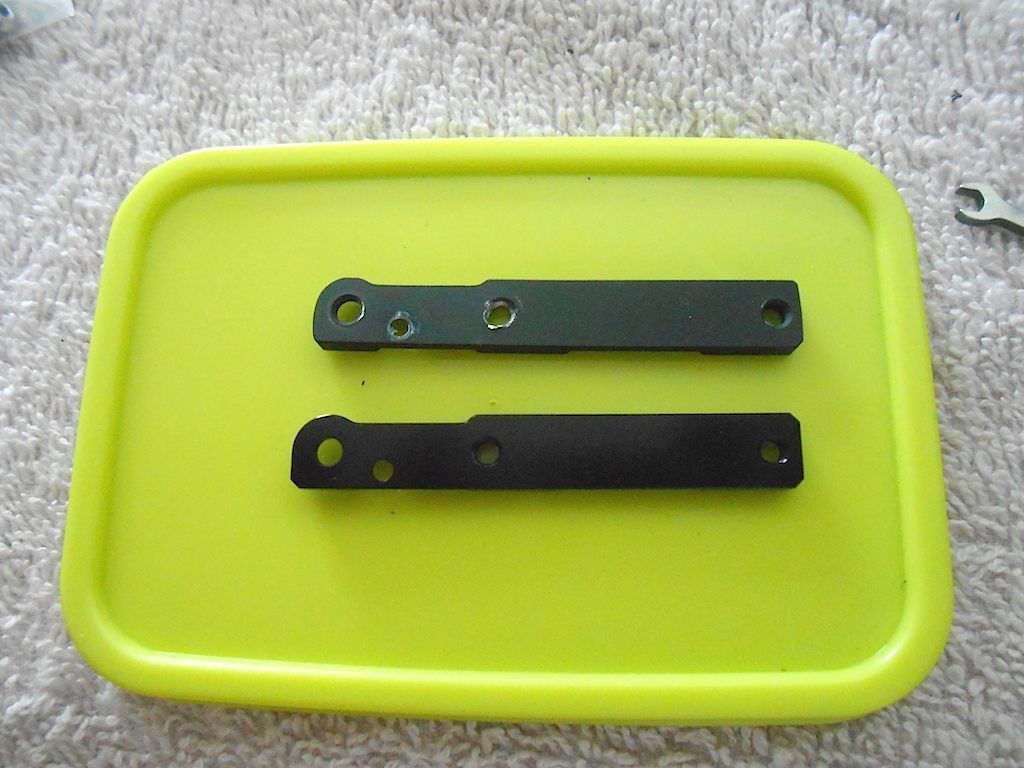 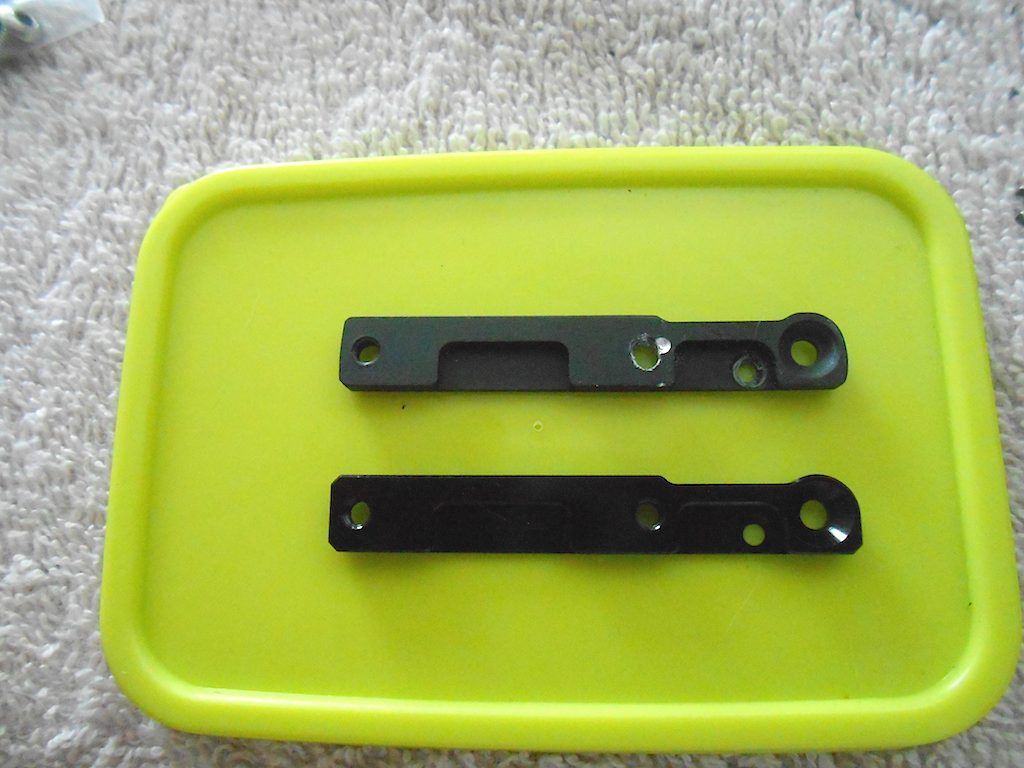 Had to take the fenders of to do this repair. Painted the screws holding them together black - something I picked up from Christian. Looks much better this way. 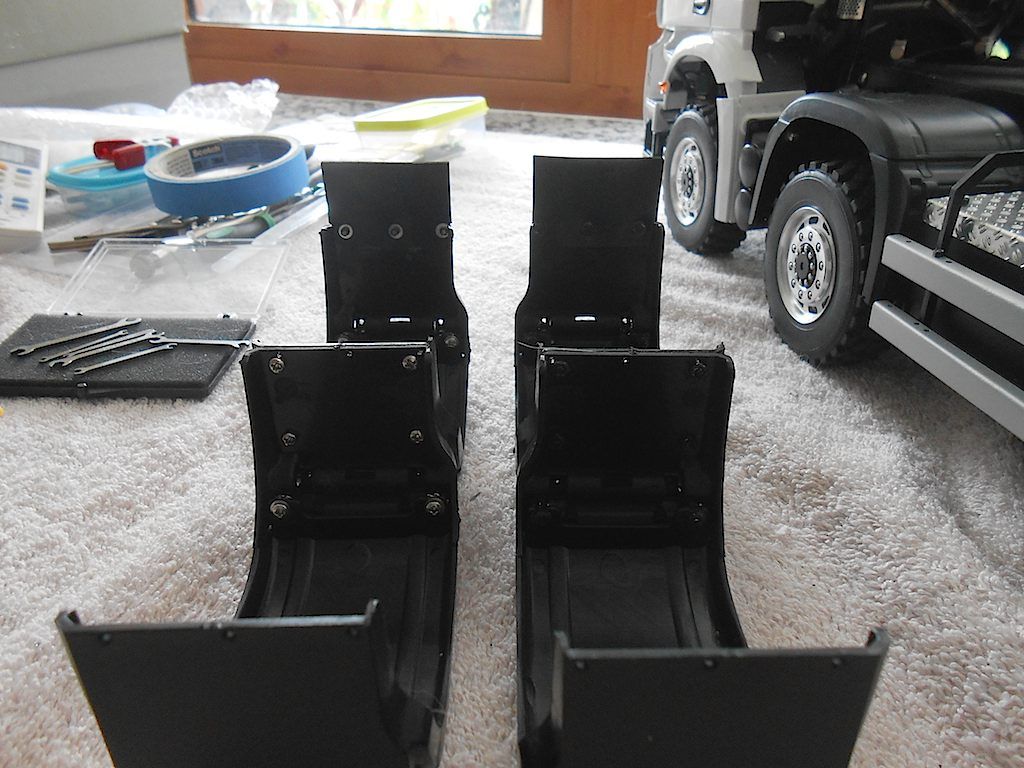 Then had to adjust the tracking rods on the rear axle. In the manual they indicated about 50mm, so shortened them to 48.5 mm. Not so easy to get those track rods off. Good thing I have a flexible screw driver. 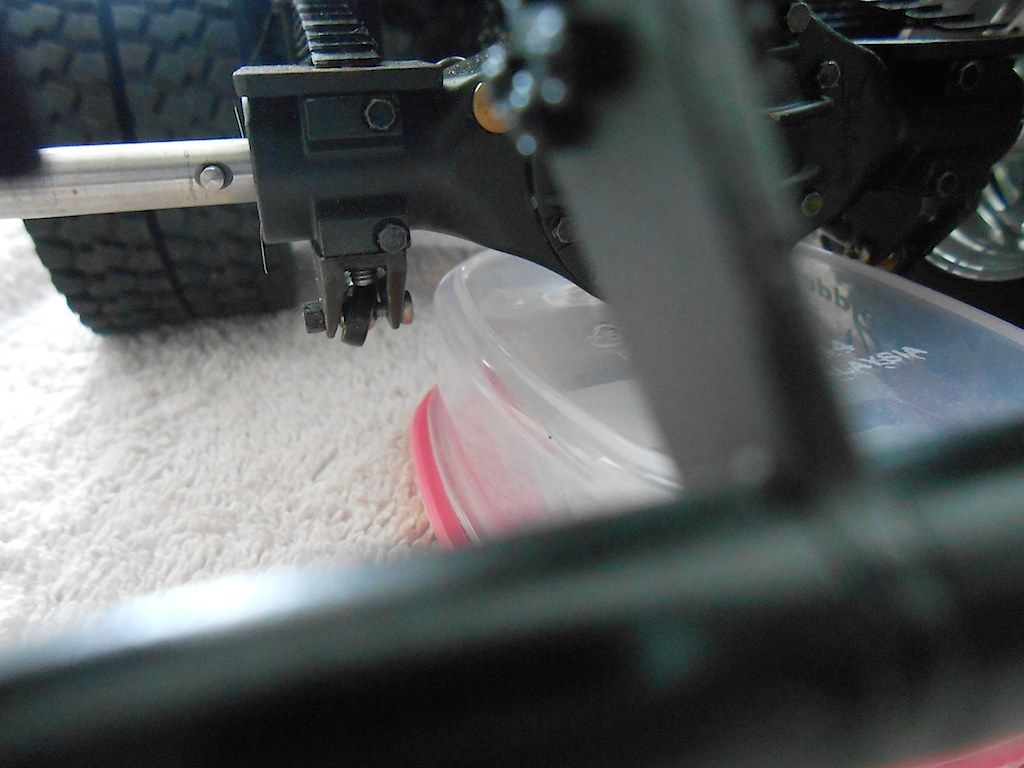 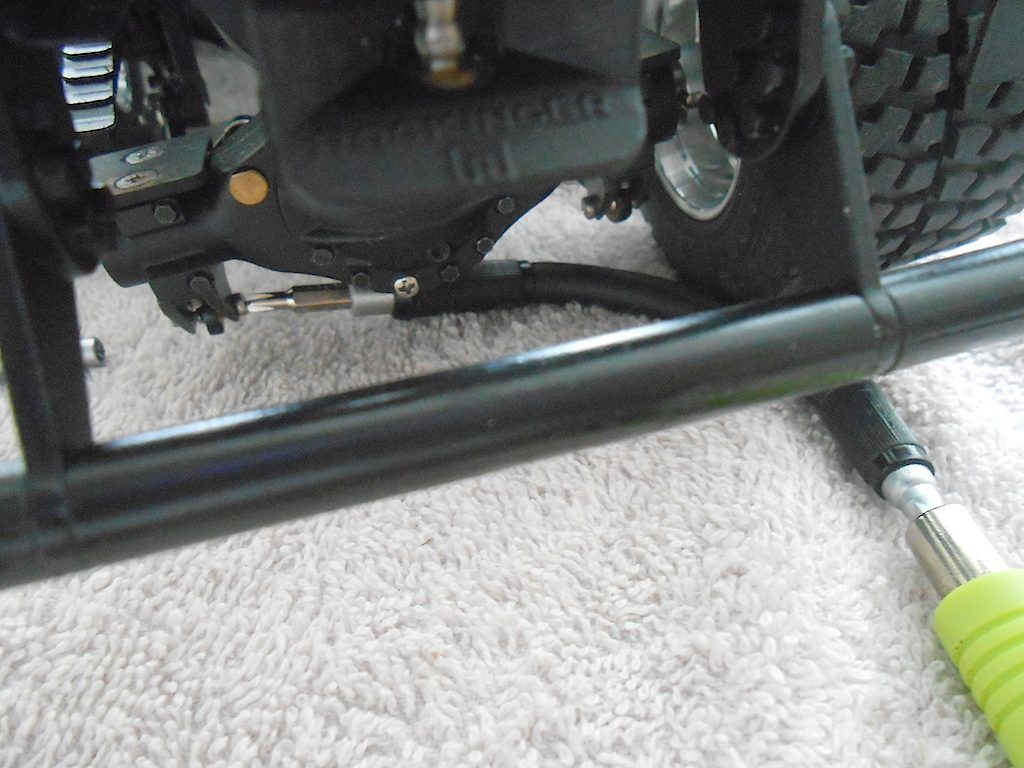 Then replace the off-road tires to street tires. 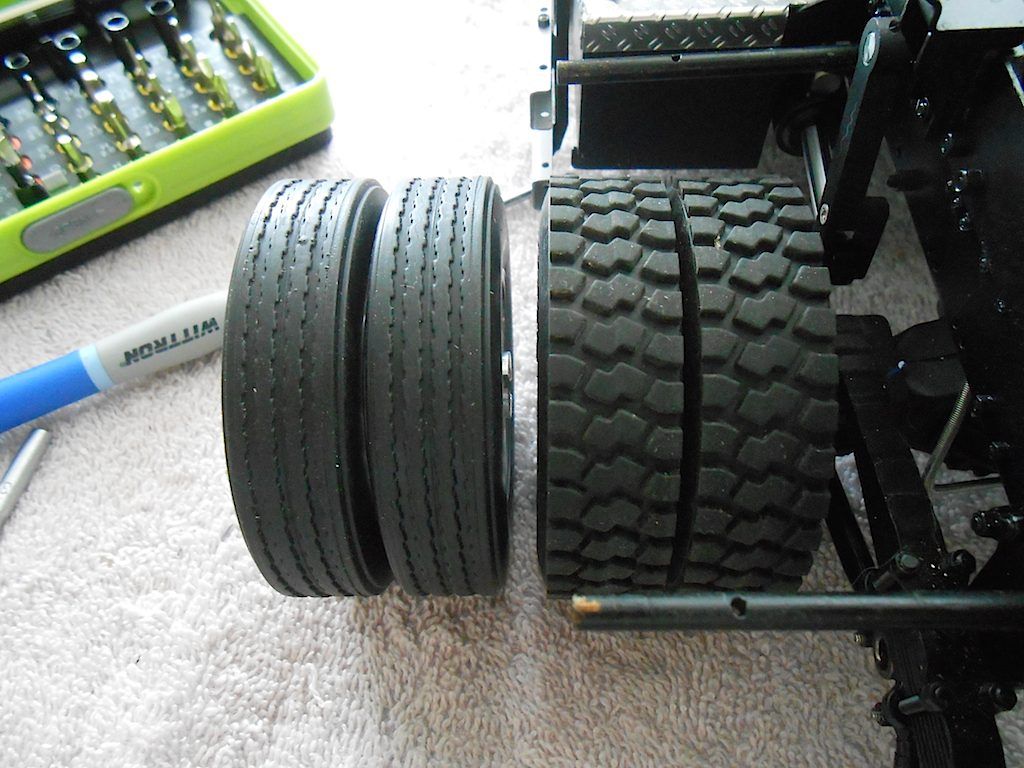 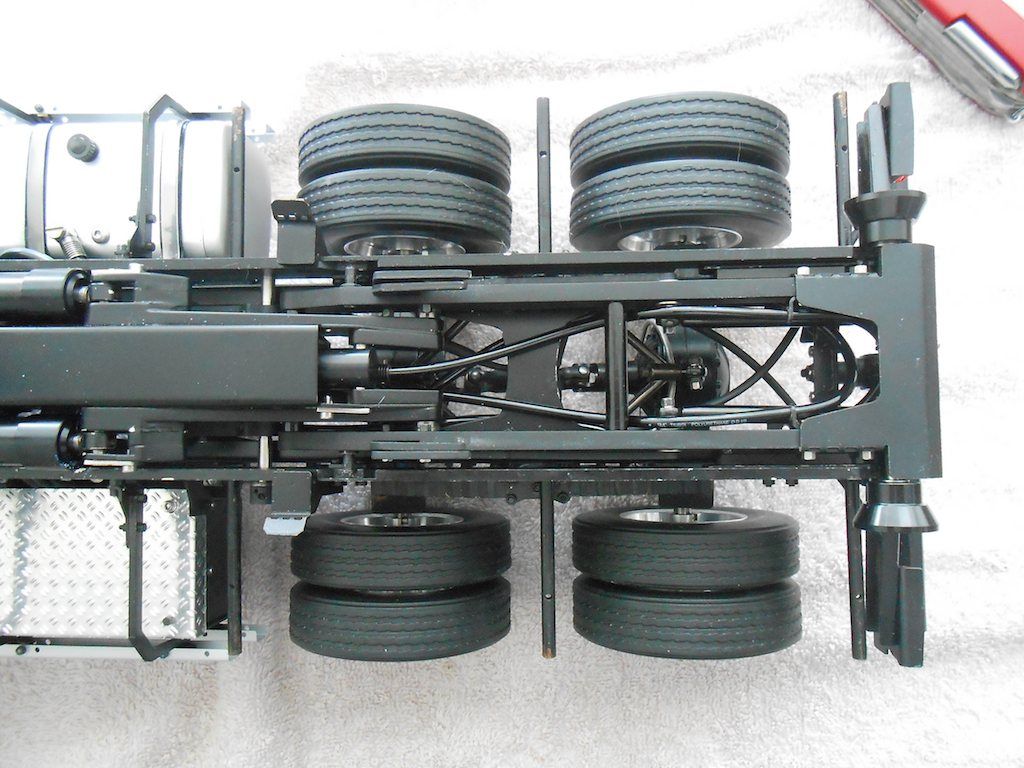 Could have shortened the tracking rod a bit more, but still better than before. 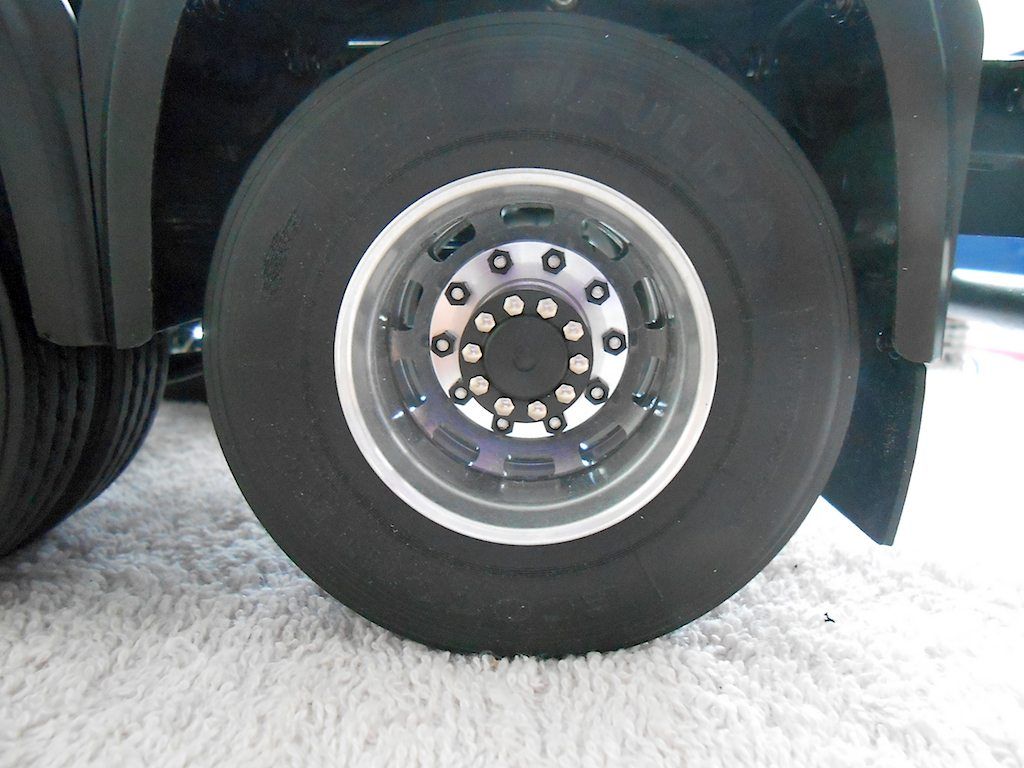 And everything back in place and working. 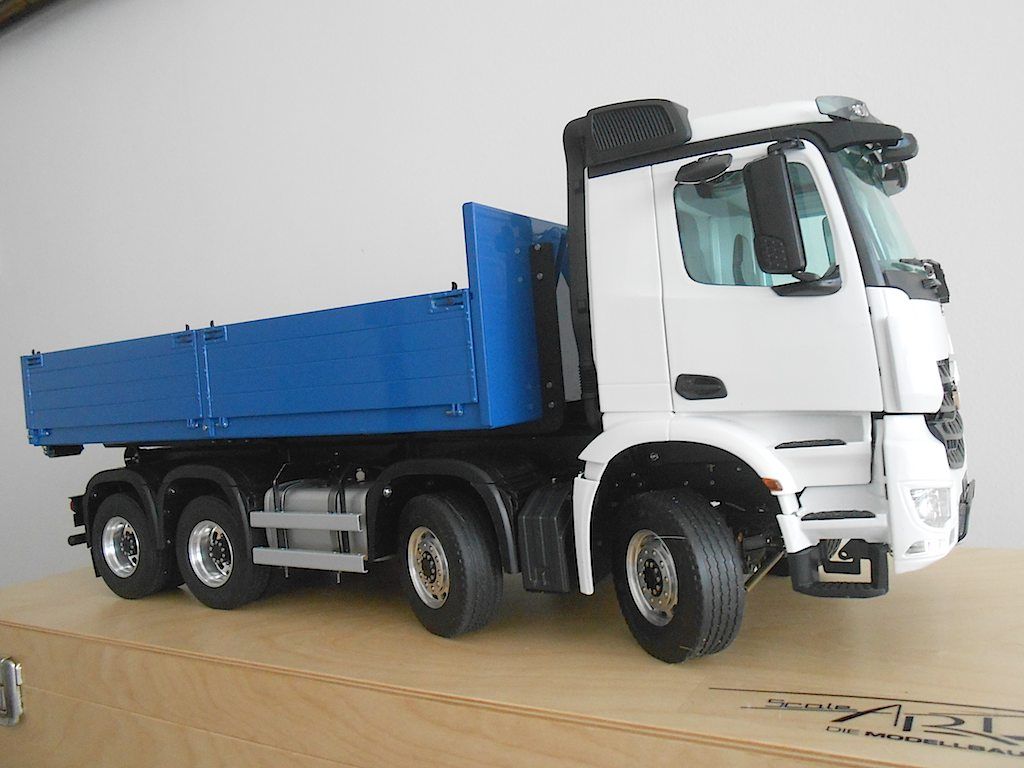 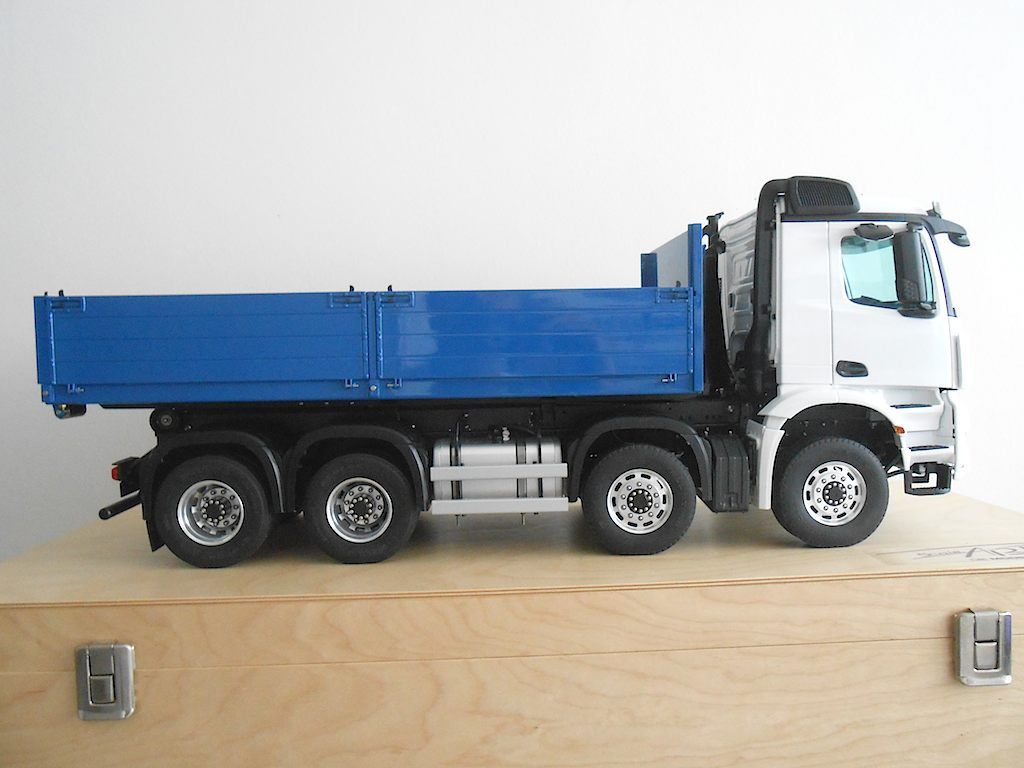 That's it. 
__________________
Cheers, Stephan (Rakthi is the one in the avatar) |
|
#4
|
|||
|
|||
|
Looks neat! And curious about your new project as well
 Br, Thomas |
 |
| Tags |
| 8x8, arocs, scaleart |
| Currently Active Users Viewing This Thread: 4 (0 members and 4 guests) | |
|
|