|
|||||||
| Construction Equipment If it digs, pushes, hauls dirt "off road" post it here. |
 |
|
|
Thread Tools | Display Modes |
|
|
|
#1
 03-12-2023, 12:05 PM
|
|||
|
|||
|
Ok....I'm kind of new at scratch building small detail pieces with brass stuff so some of this may look a little amateurish to some of the builders ....
A builder on another site was kind enough to send me some rear view mirror files these are the ones I chose for this truck cause I liked the art deco looking detail on them  These are just remixed spring hangers for the WPL springs and axles they drop the axle about 1/8 of an inch... I screw one end down and let the other slide in this mount.  This is just a frame spacer for the rear if you just want a flush rear frame...I either use WPL self tapping screws made for plastic or run a 3mm bolt thru the top or bottom of the frame rail, threading the aluminum to hold the screw this stops the frame from spreading or the block from slipping out.  This crazy looking thing is my mount for the bed lift actuator, the first one I made and installed didn't have any way for routing wire past it for lights or anything else... so I made some space... this piece doesn't actually take all the thrust from the lift actuator, there is a 3mm rod all the way thru it that goes thru the frame this just supports the rod and takes the flex out of it...  These 56 cabs didn't have anything inside ...heck they didn't have a windshield...so I remixed a steering wheel and mount. For the windshield I cut clear plastic from a Diecast Masters box and bent it to the shape of the cab and hot glued it in...( sorry no picture of that)  This is what it looked like with the mount before I cleaned it up and added some paint.  This is a test mounting of the cab after paint.... you can see the running boards/battery box steps...  The cab sides should be straight but they taper back to the rear of the cab, this made putting running boards on it a little tough. Getting the taper angle was giving me a hard time so I just squared up the steps with the side of the frame, not the exact look I wanted but .... I wanted those boards on the bed sides... so I made some up... I believe these are scale 2x12s...  The supports should be about a scale 6 inches across  I did the bed in a semi-gloss black I didn't want it super shiny. 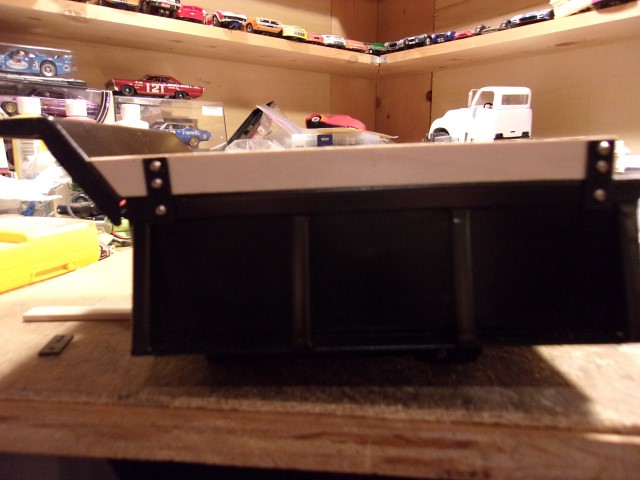 So here are a few shots of it in the sun for the first time.   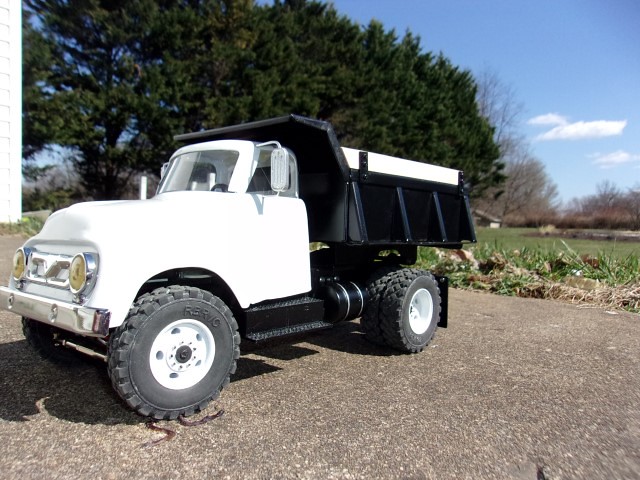  I did 3d printed mud flaps just to try them plus I wanted some kind of logo...I printed these in white, then shot a heavy coat of primer on the back to fill the lines a little. Then I sprayed them flat black, let that dry over night and dabbed blue in the low spots in the oval. After that dried over night I carefully sanded the raised parts of the logo to expose the white underneath, I tried painting them white by hand but it looked like crap.... This came out way better. One final shot...I'm really happy with how this one came out.... I learn a little more each time I do one  I think this truck needs a friend..... 

|
|
| Currently Active Users Viewing This Thread: 41 (0 members and 41 guests) | |
|
|


 Hybrid Mode
